3D model description
Elevate Your Stealth Tactics with Advanced Design
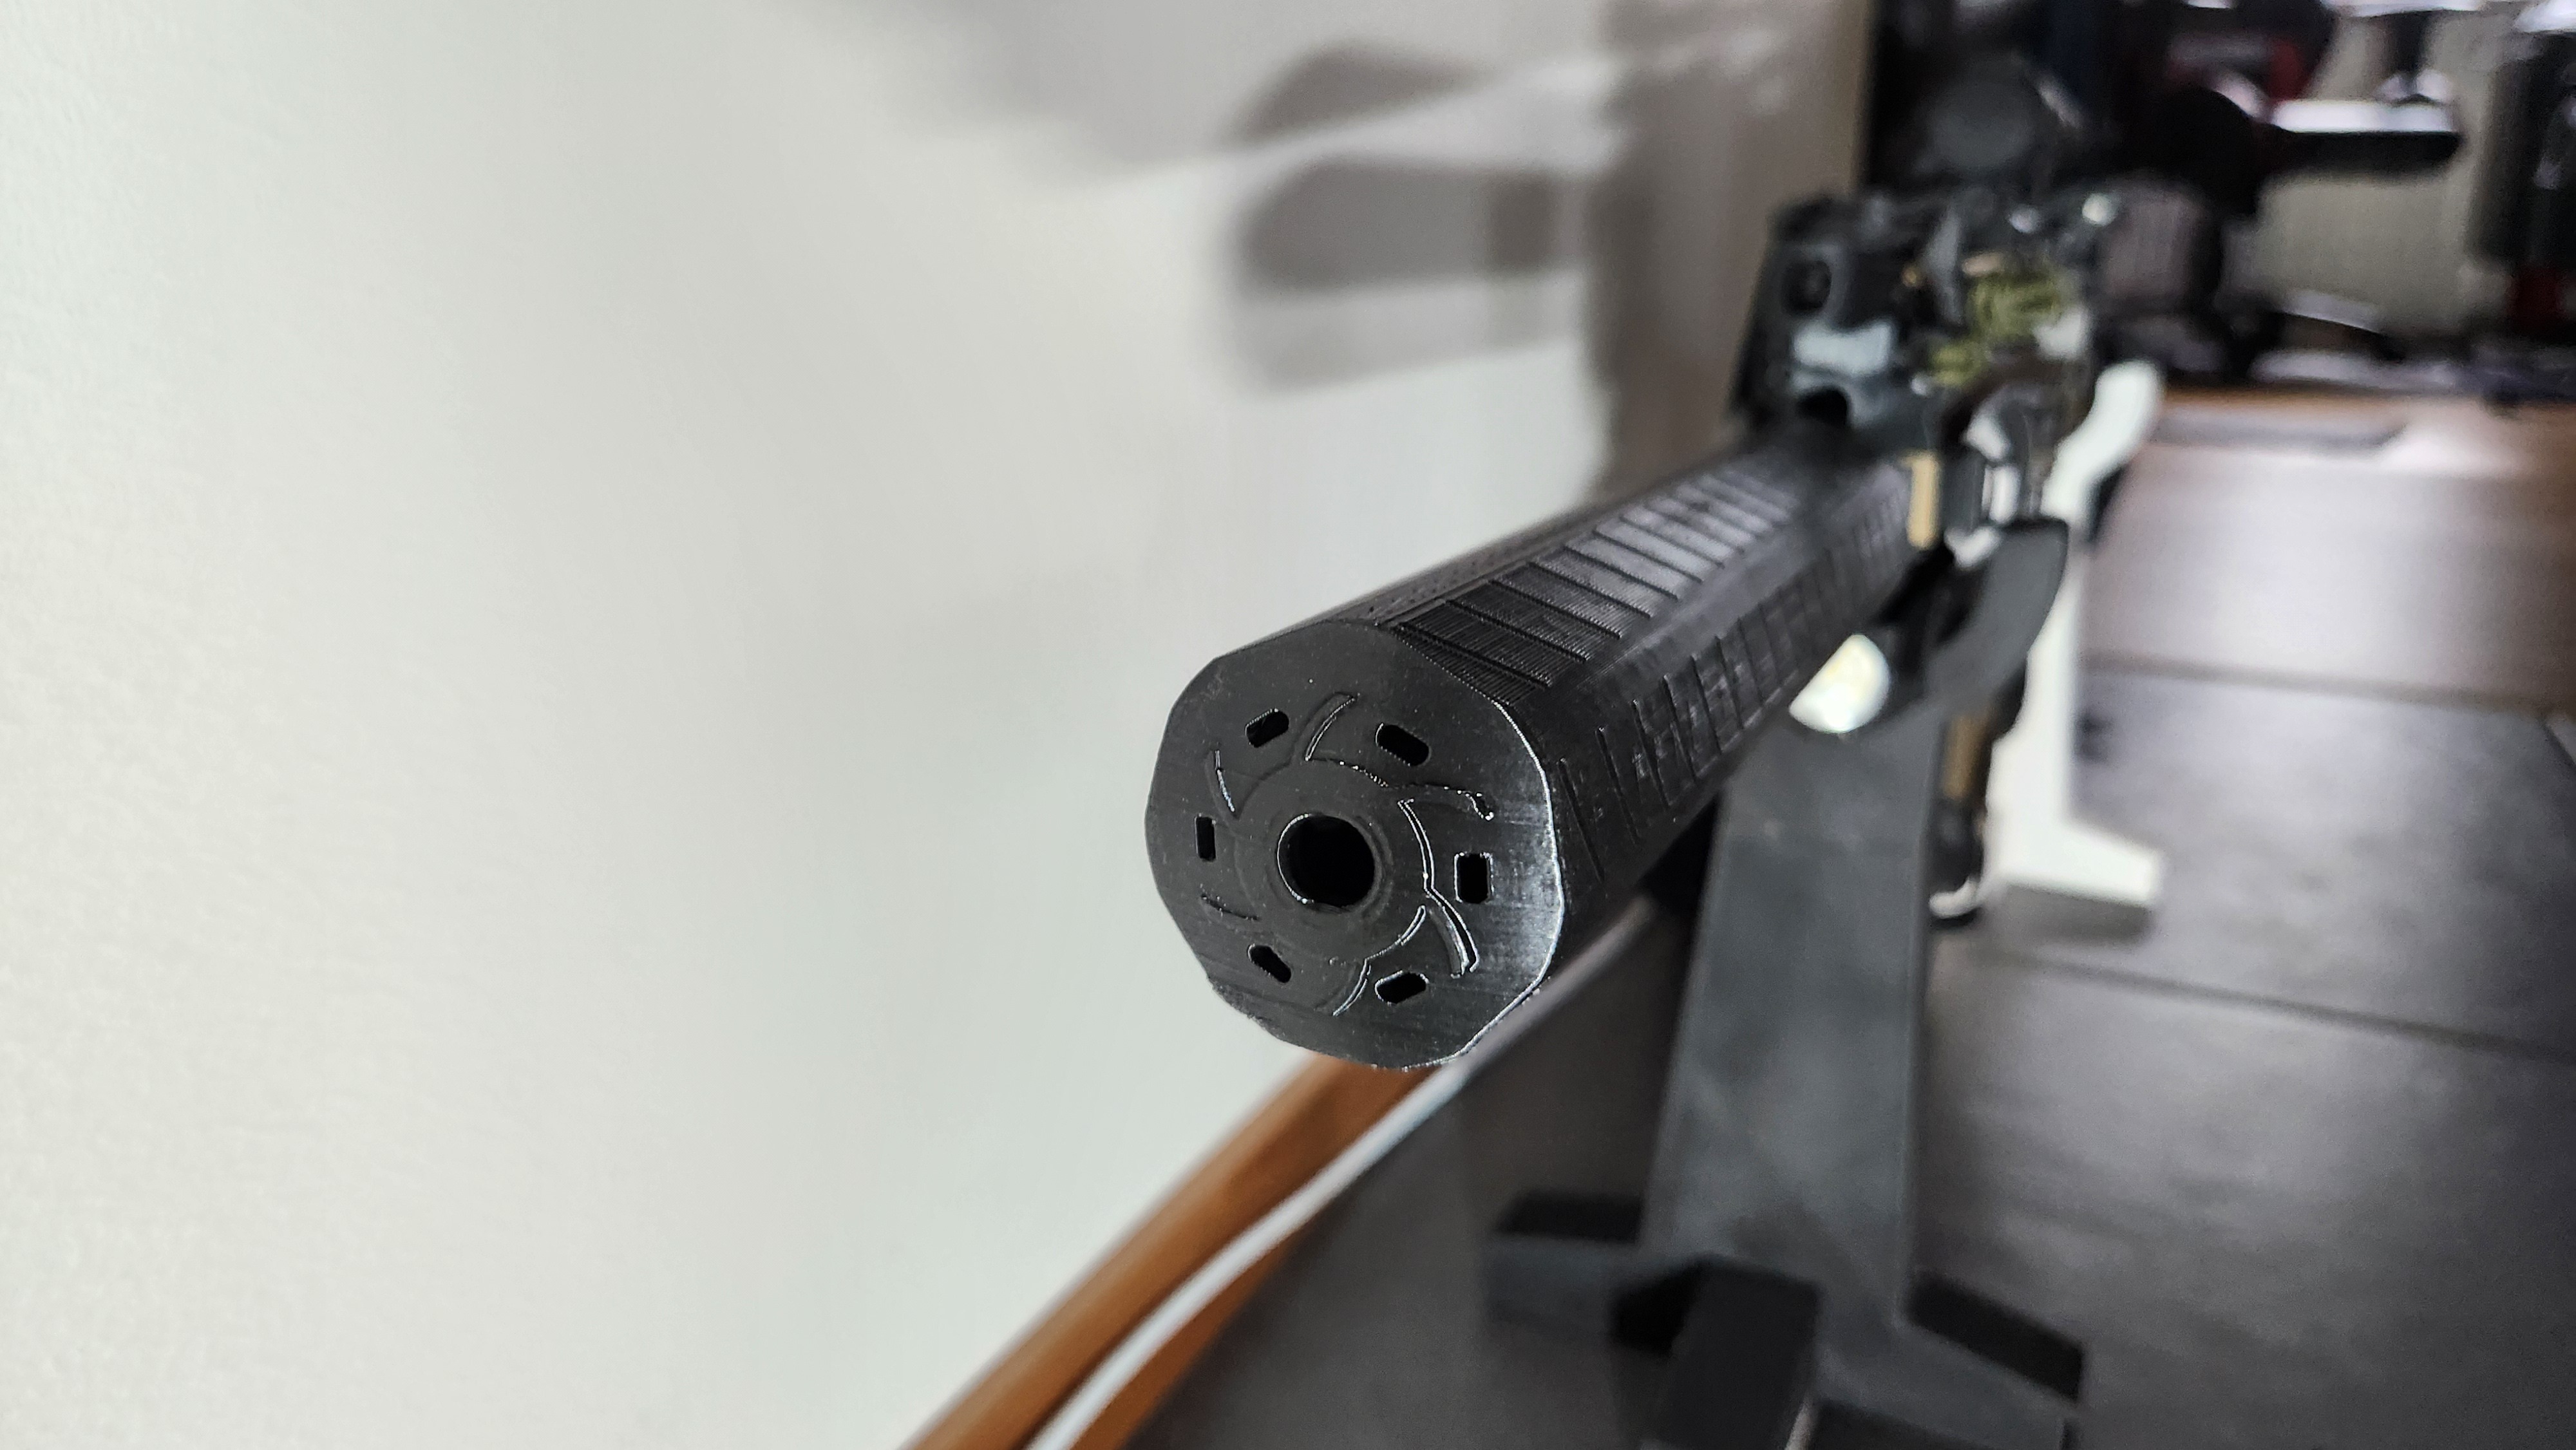
Introducing the Starburst Suppressor: Elevate Your Stealth Tactics with Advanced Design
Key Specifications:
- Length: 22 cm
- Diameter: 44 mm
- Thread: 14 mm Anti-Clockwise Lock
Superior Features for Optimal Tactical Performance:
- Versatile Baffle Design: Equipped with both long and short baffles, the Starburst Suppressor offers customizable sound modulation. Choose the setup that best suits your tactical needs, whether you’re looking for deeper noise reduction or a more spread sound signature.
- Enhanced Durability: Our suppressor features a durable 14mm anti-clockwise locking mechanism for quick and secure attachment and removal, tailored for rigorous field use.
- Advanced Sound Dispersion: Tailor your field strategy with a suppressor designed to modify sound frequencies and disperse noise laterally. This technology makes it challenging for opponents to detect the direction of incoming shots, thus enhancing your stealth capabilities.
- Green Gas Compatibility: Thoroughly tested with green gas to guarantee peak performance and reliability in all your tactical engagements.
- Distinctive Sound in Automatic Mode: The Starburst Suppressor not only reduces noise but also produces a cool, unique sound signature during automatic fire, adding an auditory stealth advantage and enjoyment to your operations.
Why Choose the Starburst Suppressor?
The Starburst Suppressor is the essential upgrade for airsoft enthusiasts who prioritize stealth, sound management, and tactical versatility. Its advanced features, including the innovative baffle system, ensure that you stay ahead in technology and stealth.
Enhance Your Tactical Edge
Step up your game with the Starburst Suppressor, now available on Cults3D. Perfect for players who demand precision and control, this suppressor is your key to mastering stealth and maintaining the upper hand in any tactical situation.
3D printing settings
Printing the Starburst Suppressor horizontally without internal supports in PLA Plus is a feasible task if you optimize your print settings carefully. Here's how to achieve the best results under these conditions:
Recommended Material:
- PLA Plus: Chosen for its enhanced properties over standard PLA, including better strength and minimal warping, which is critical for horizontal printing.
Printer Setup:
- Nozzle Temperature: Set the nozzle temperature to about 210°C to 230°C. This temperature range is ideal for PLA Plus, ensuring smooth extrusion and strong layer bonding.
- Bed Temperature: Heat the bed to approximately 60°C to 70°C to ensure good first-layer adhesion and reduce the chances of warping.
Orientation and Layout:
- Horizontal Orientation: Lay the suppressor flat along its longest axis. This orientation reduces the need for supports and typically results in a stronger build as the layer lines run along the length of the suppressor, enhancing structural integrity.
Layer Height:
- 0.1 mm to 0.2 mm: Opting for a finer layer height will help in capturing detailed features more accurately and producing a smoother finish on the suppressor’s surface.
Shell Thickness and Infill:
- Increase Shell Thickness: To compensate for the absence of internal supports, increase the number of shells or wall thickness. Consider setting this to 4-6 layers to ensure the outer walls are robust enough to support the structure during printing and use.
- Infill Percentage: Set the infill to a higher percentage, around 30-40%, to provide internal strength and support the outer shell. A higher infill acts as a grid-like structure inside the suppressor, offering additional support.
Cooling:
- Cooling Fan: Enable the cooling fan at 100% after the first few layers are laid down. This helps in quickly solidifying the material, crucial for maintaining shape and reducing sagging, especially when printing horizontally.
Build Plate Adhesion:
- Brim or Raft: Use a brim or raft to enhance the first layer adhesion and provide a stable base, crucial for horizontal printing where the contact area with the print bed is larger.
Post-Processing:
- Trimming and Sanding: Once the print is complete, carefully remove any brims or rafts. Sand the surfaces where necessary to remove any imperfections and achieve a smooth finish.
Testing:
- Fit and Function Test: After the suppressor is assembled, attach it to your airsoft gun to ensure proper fit and functionality. This is important to verify that the horizontal print has not compromised any functional aspects due to layer orientation or increased infill.
By tailoring these settings, your horizontally printed Starburst Suppressor should come out strong, functional, and aesthetically pleasing, even without internal supports.