Bambu Lab P1P Complete Clean Look

Remixed by

Bambu Lab P1P Complete Clean Look

Remixed by
Boost
26
41
16

Print Profile(2)

All
P1P
P1S
X1
X1 Carbon
X1E
A1

0.2mm layer, 3 walls, 20% infill
Designer
17.8 h
4 plates
5.0(1)

0.2mm layer, 2 walls, 15% infill
14.2 h
2 plates
4.8(6)

Boost
26
41
16
0
132
137
Released

Description

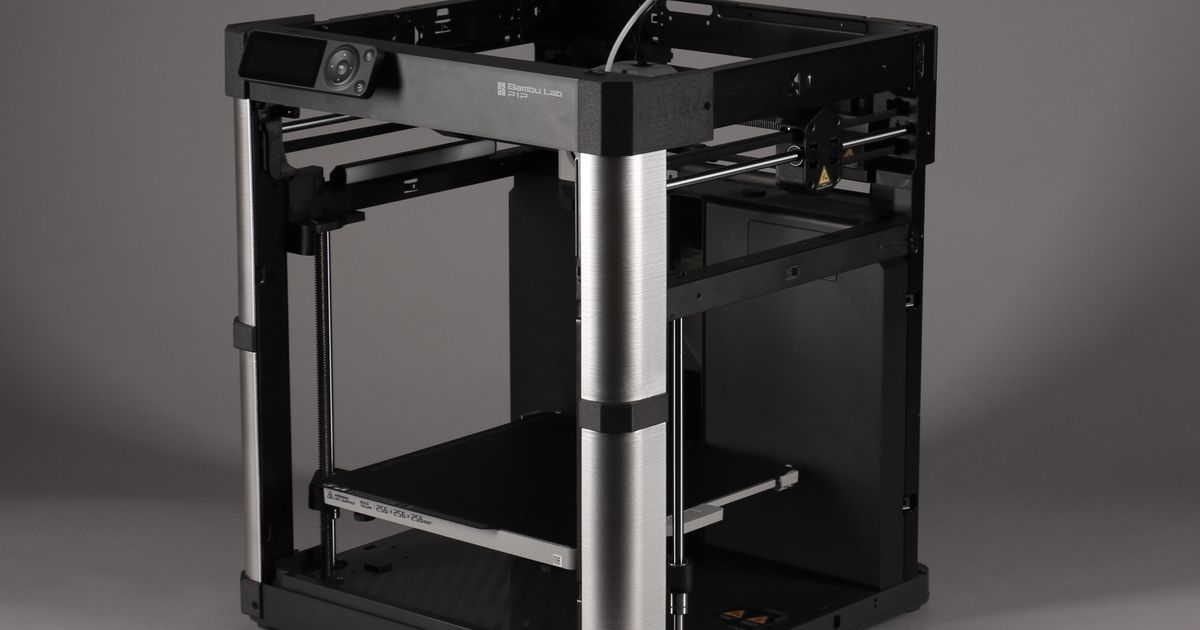
After printing Sven's Clean Look model for my P1P, I knew straight away that I needed the same look for the rear too! I have no need for an enclosure any time soon but I still wanted to give the printer a nice look.


I took the files from the Lite Enclosure and gave the accent pieces a rounded appearance to blend in with the P1P a bit more. At the same time I also removed any unnecessary features that are needed for the clear panels to attach to.


The bottom left side piece was also adapted to sit flush with the bottom of the printer to aid in removing any stray bits of filament that have fallen down. It flaps when touched due to there not being the clear panel present but a piece of double sided tape would help. I haven't done this but the option is there. The original side piece is also included too.


In terms of printing, please refer to Sven's detailed instructions from the Lite Enclosure as the parts are ultimately the same. This also applies to the tools and screws needed. Just ignore the ones for the clear panels.


Pictured is the side mount spool holder and filament guide that you can find here.


Another nice upgrade is this Rear Panel Cover from Vadity to complete the look!


Comment & Rating (16)

Please fill in your opinion
(0/5000)

Love it! Turned out perfect!
The designer has replied
0
Reply
That looks fantastic I'm glad you are happy with it! What filament did you use? I already want to do mine in another colour!
0
Reply
Replying to @Turtleyawesome :
I used Esun pla+ for the blue color and then creality pla for the black
(Edited)
0
Reply
Print Profile
0.2mm layer, 2 walls, 15% infill
Flawless print and easy to assemble.
0
Reply
A bit of a project, But love the clean look. I've been looking for something like this for awhile as I didn't want a full enclosure.
0
Reply
Print Profile
0.2mm layer, 2 walls, 15% infill
(Edited)
0
Reply
vorn habe ich die cover auch dran, würde das nun gern für hinten noch machen. wo bekommt man denn die kleinen schrauben her ? habe alle schon vorn verbraucht.
The designer has replied
0
Reply
Ich habe meine Schrauben bei Amazon gekauft. Sie benötigen 2,5 mm und 3 mm :)
0
Reply
danke für die antwort. gibt es einen link zu den schrauben? 2.5 bzw 3 mm ist die stärke. und wie lang? bzw welchen suchbegriff muss ich verwenden?
0
Reply
Wirklich gut, aber es gibt ein kleines Problem bei der Bennenung der Teile, so meine ich. Es gibt zB 2x Top Front Right, einmal das große Teil einmal die Abschlußkappe.
0
Reply
What files do we need from the Lite Enclosure to complete this look? Thanks
0
Reply
Print Profile
0.2mm layer, 3 walls, 20% infill
0
Reply
Print Profile
0.2mm layer, 2 walls, 15% infill
0
Reply
Print Profile
0.2mm layer, 2 walls, 15% infill
0
Reply