BentoBox V2.0 Thermally Controlled 5015 Fans
BentoBox V2.0 Thermally Controlled 5015 Fans


Print Profile(2)


Description
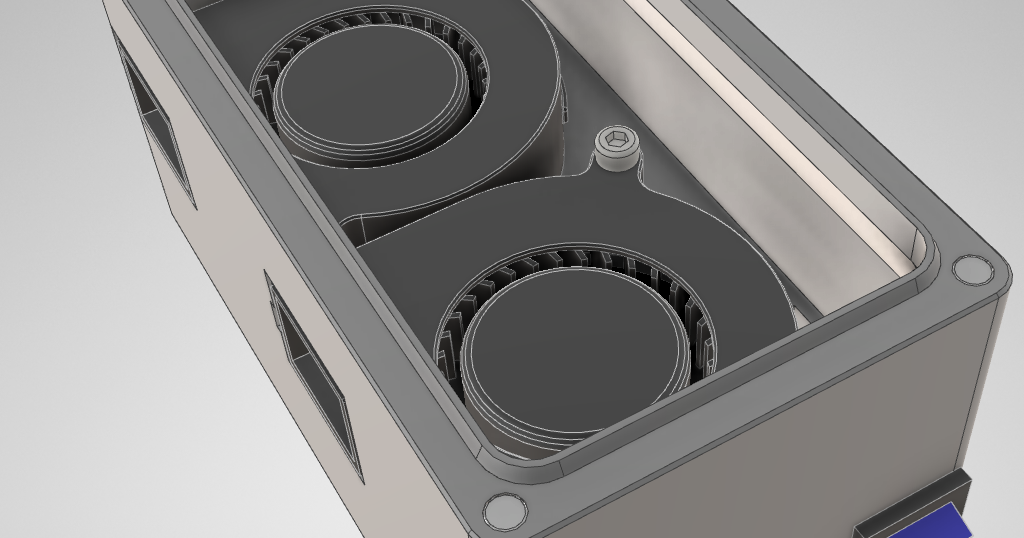
I loved the design of the bento box, knowing that the built-in carbon filter in the X1C is insufficient to really clean the air properly. However, I wanted to use standard 5015 blower style fans I already had. Enter the design from SSX556 on Printables.
I also wanted to never have to manually flip a switch to turn on the Bento box, I wanted it to automatically turn on when it is needed, and turn off after providing a bit of extra cleaning time after a print finishes. Enter a thermally controlled power switch. I modified the shroud portion to take this specific thermal control, and provided a clip to snap in the thermocouple as well. In the design I included a small anchor point for a ziptie to help manage the wires on the inside, but found I didn't actually need it.
Thermal Controller:
https://www.amazon.com/gp/product/B0B6CNLD3H/ref=ppx_yo_dt_b_search_asin_title?ie=UTF8
NOTE: This controller comes with a “debounce” feature you can adjust if desired. By default, it will wait until +2C above your setpoint before it actually turns on. For example, if the setpoint is 36C, it will wait until it reads 38C before it turns on. It will then wait until 36C to turn back off. I personally found that 36C was a good value to ensure it turned on when I was printing ABS/ASA/Nylon, but didn't turn on when I was printing PLA with the top glass lifted off. Your milage may vary.
I also designed a small TPU gasket that can be used to seal around the thermal controller, and modified the TPU cable plugs to have a small slot for the cables to come out, and modified the shape to be easier to print.
Gasket and plugs should be printed in TPU. The fan case and shroud should be in something that can handle higher temps like PETG, ABS, ASA, or equivalent. I personally used PETG-CF because I liked the way it looked.
Comment & Rating (13)