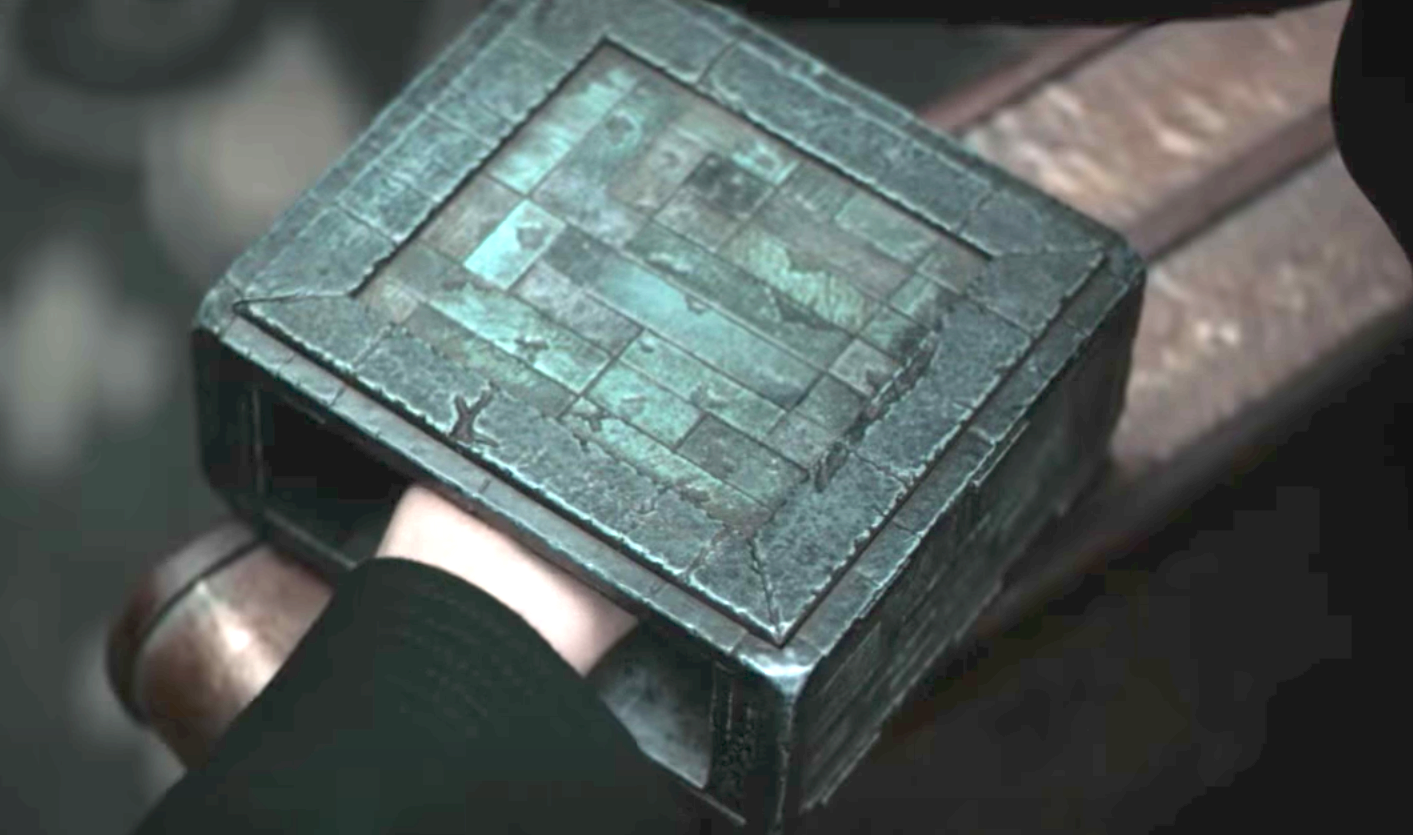
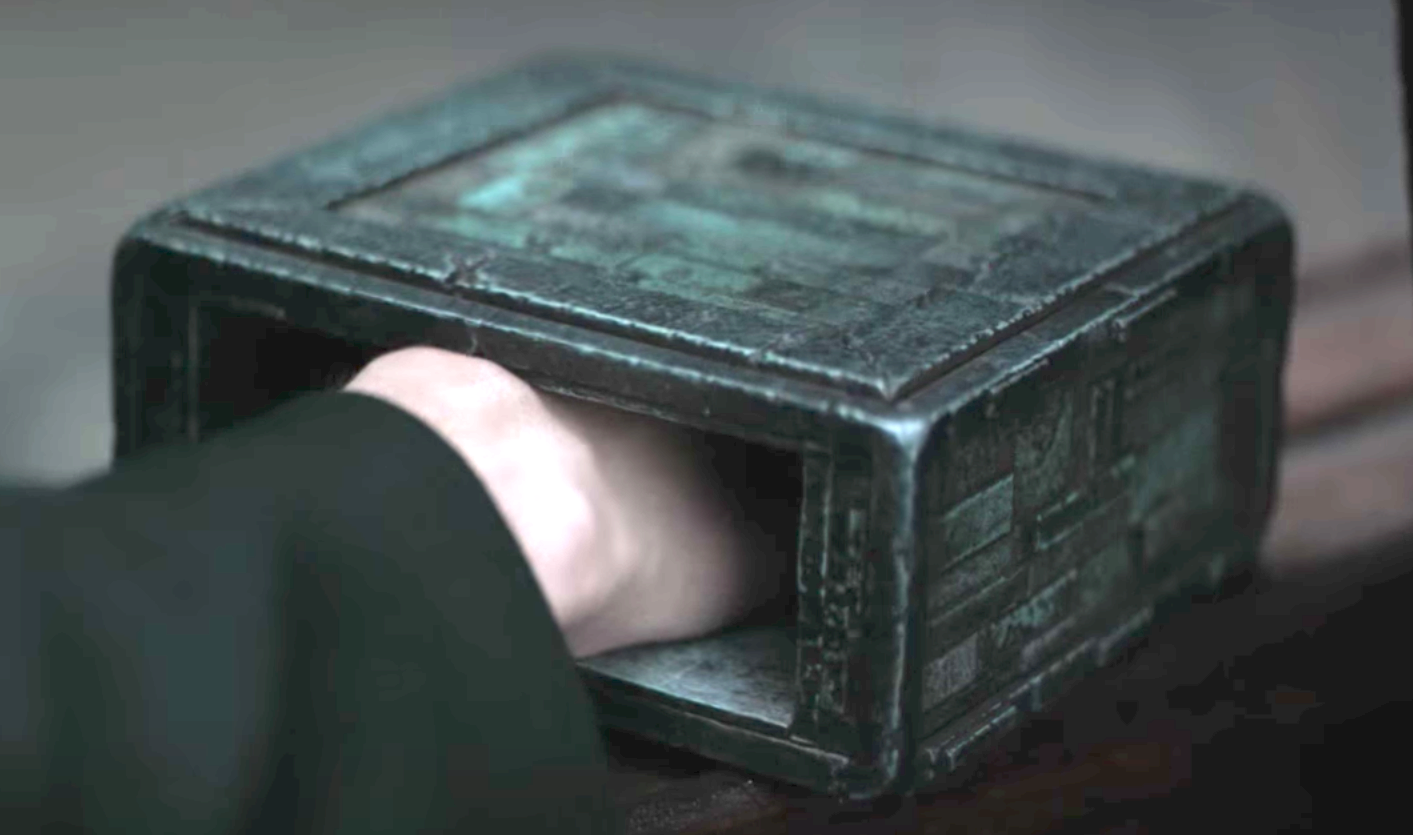
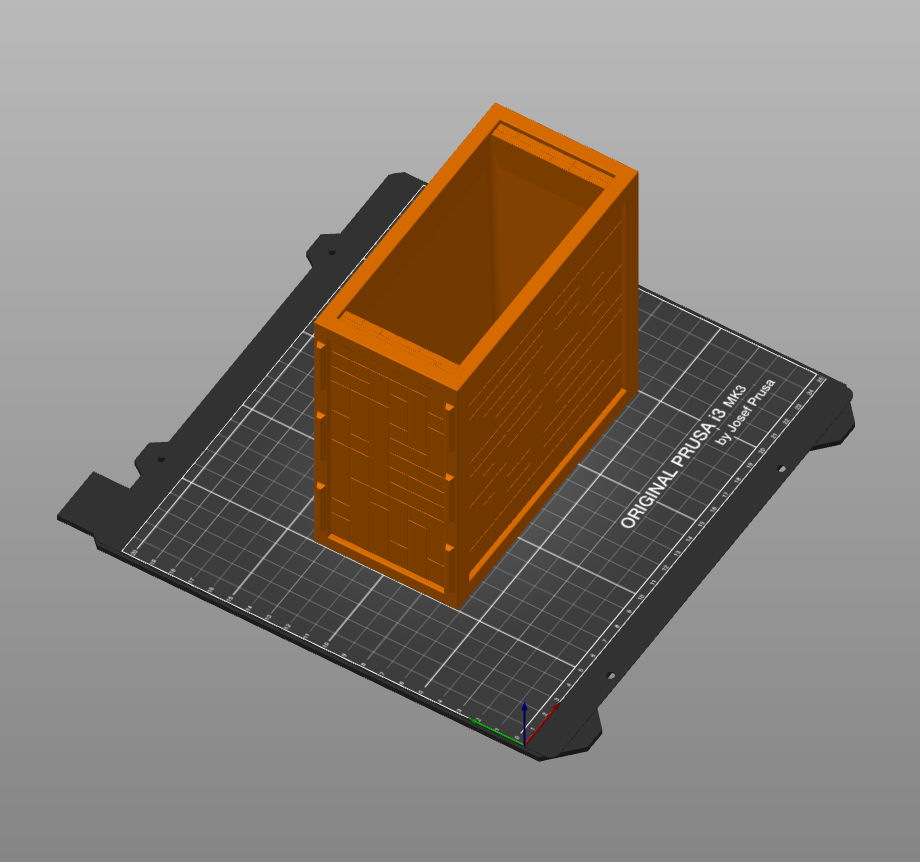
As earlier mentioned, I designed this with Fusion360. The novel describes the box as being a cube of 15cm on a side. However, Denis Villeneuve altered the Z-Dimension to ~10cm in height. I chose to follow this as I was making a 2021 movie prop and not my interpretation of Frank Herbert's description. What I ended up with is shown in the Fusion 360 build replay.
Very precise and angular - what F360 does best.
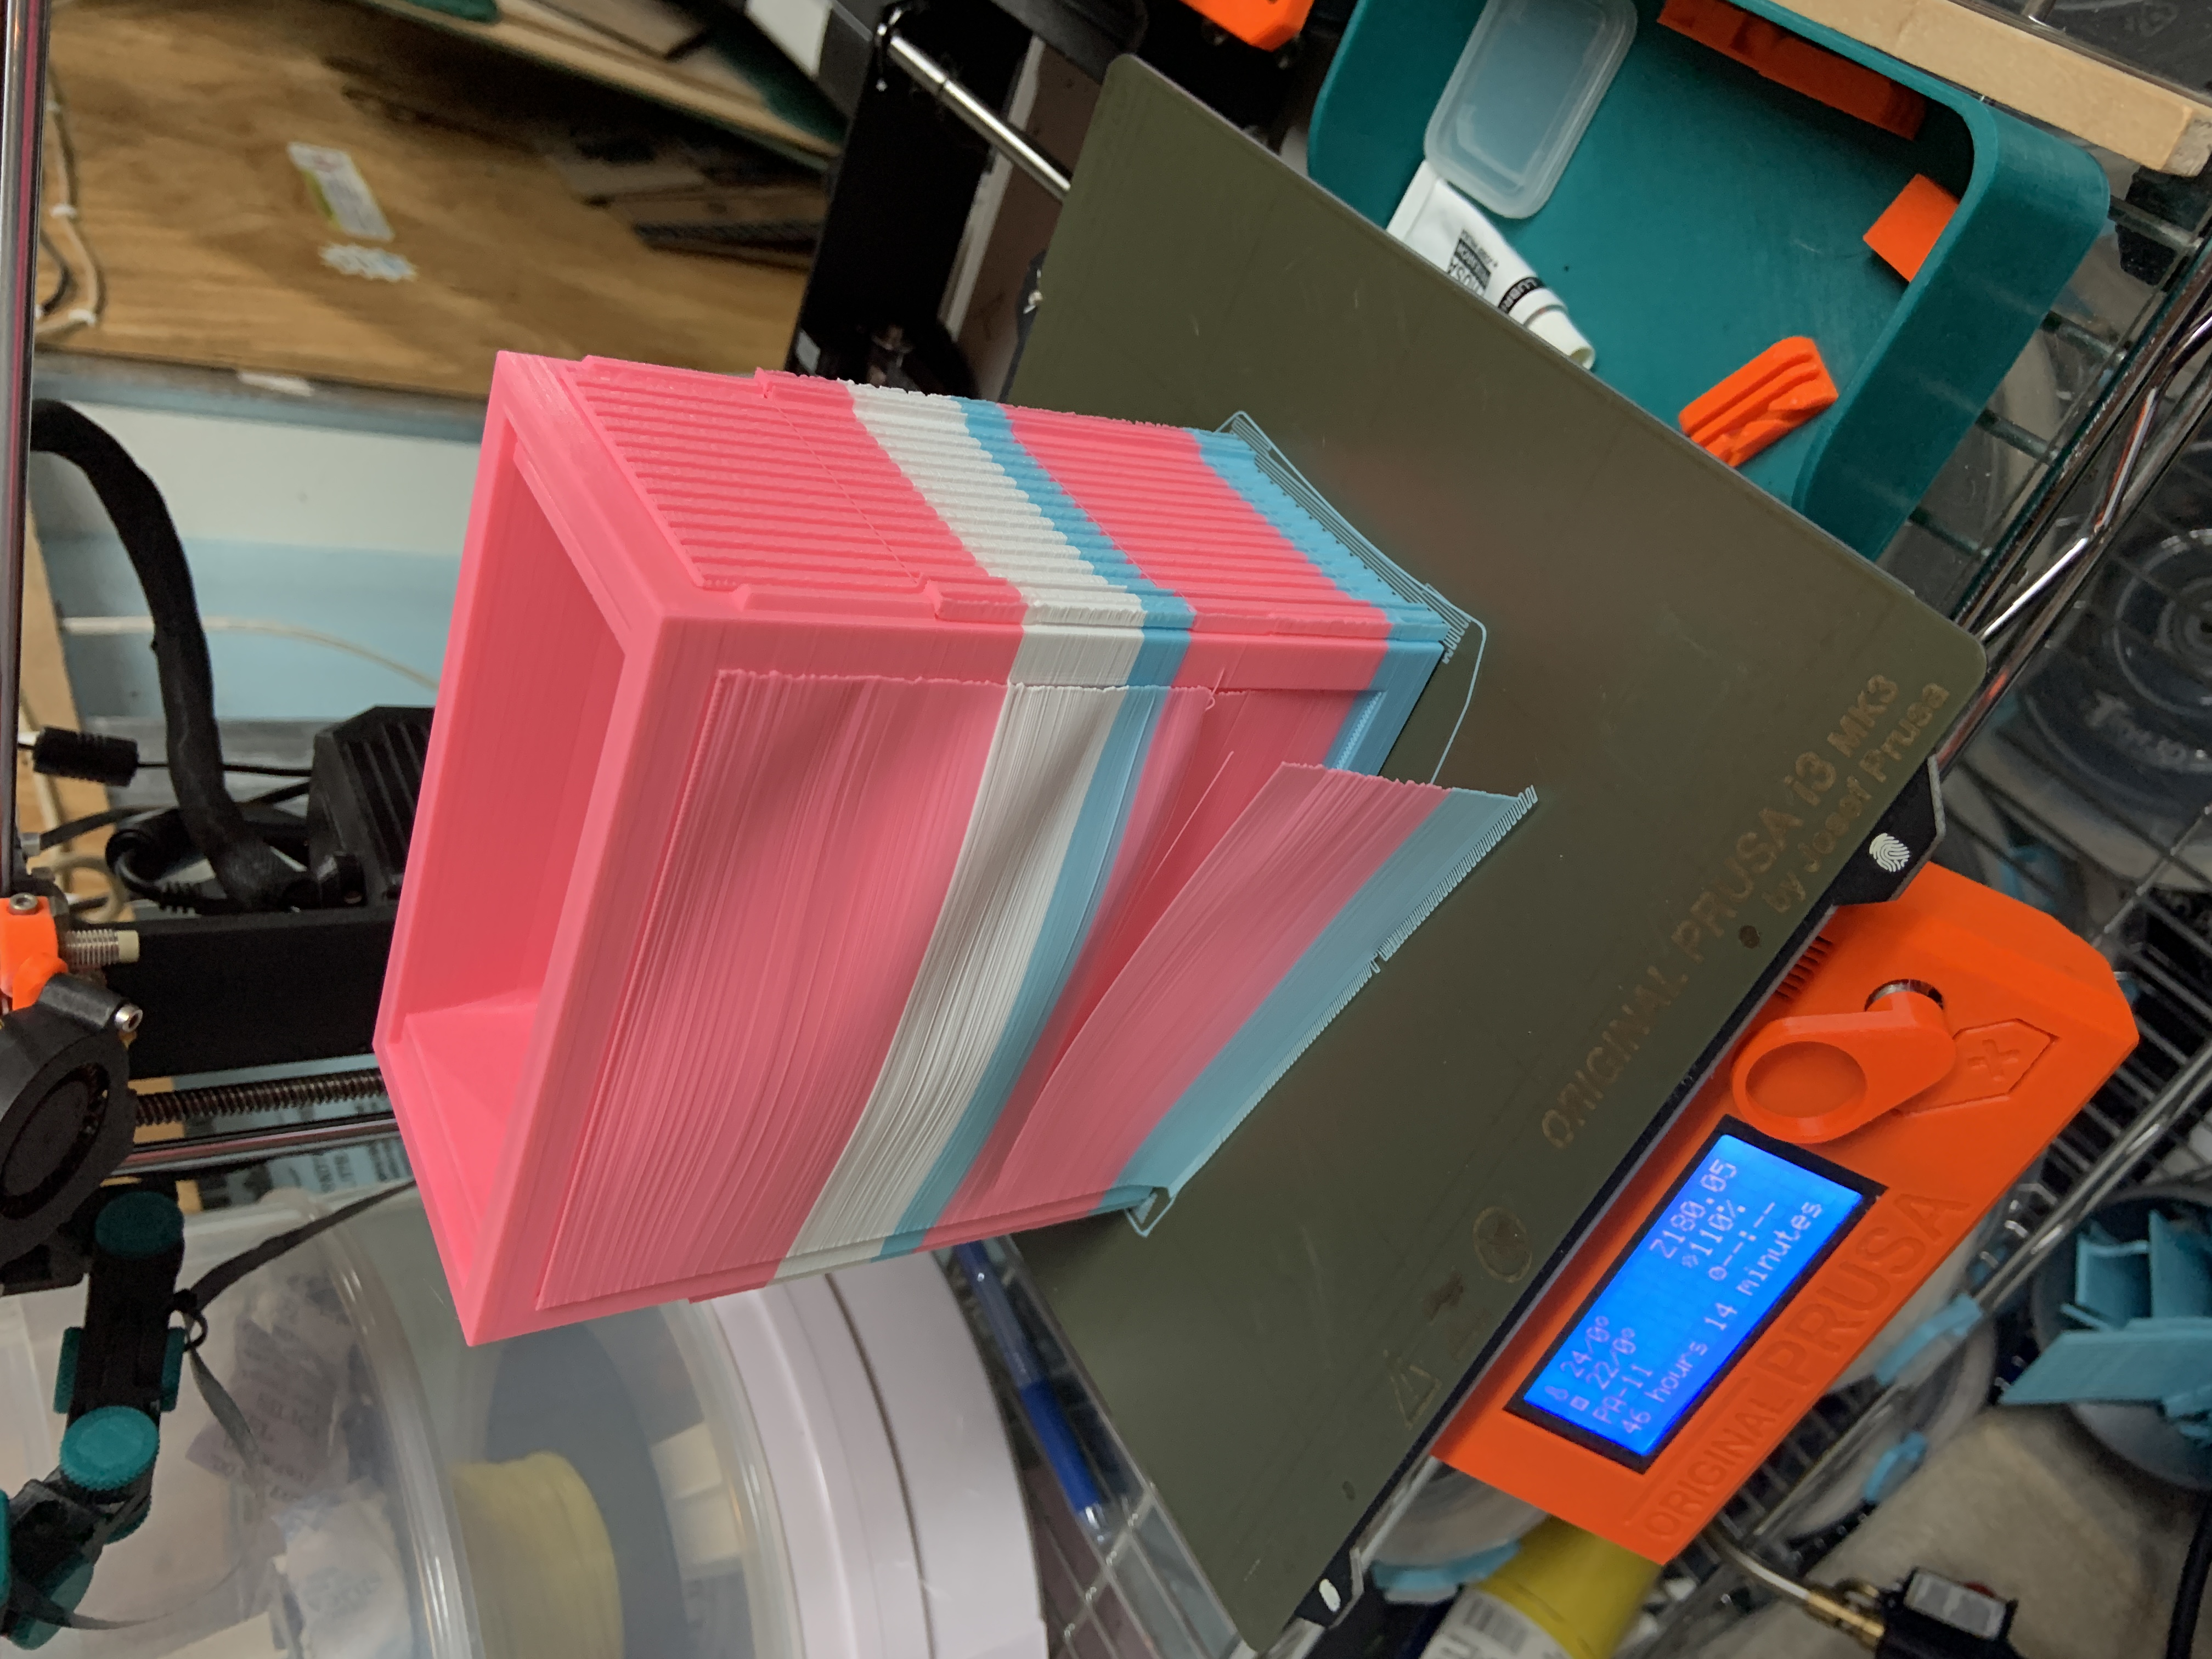
I printed the STL with the box oriented on it's back side (Rear, X-Z Plane), so that I could minimize supports and maintain smooth internal surgaces. I was looking for a perfectly smooth interior. The reason for this decision will be clear shortly. I used defaults for most settings except for perimiters and top and bottom layers. I knew I would be distressing the final result a lot so I didn't want to cut in or sand down corners where I exposed infull. I chose 7 for each of these settings, but in hindsight I think I would push it to 10. Once or twice in my weathering (corners) I exposed infill.
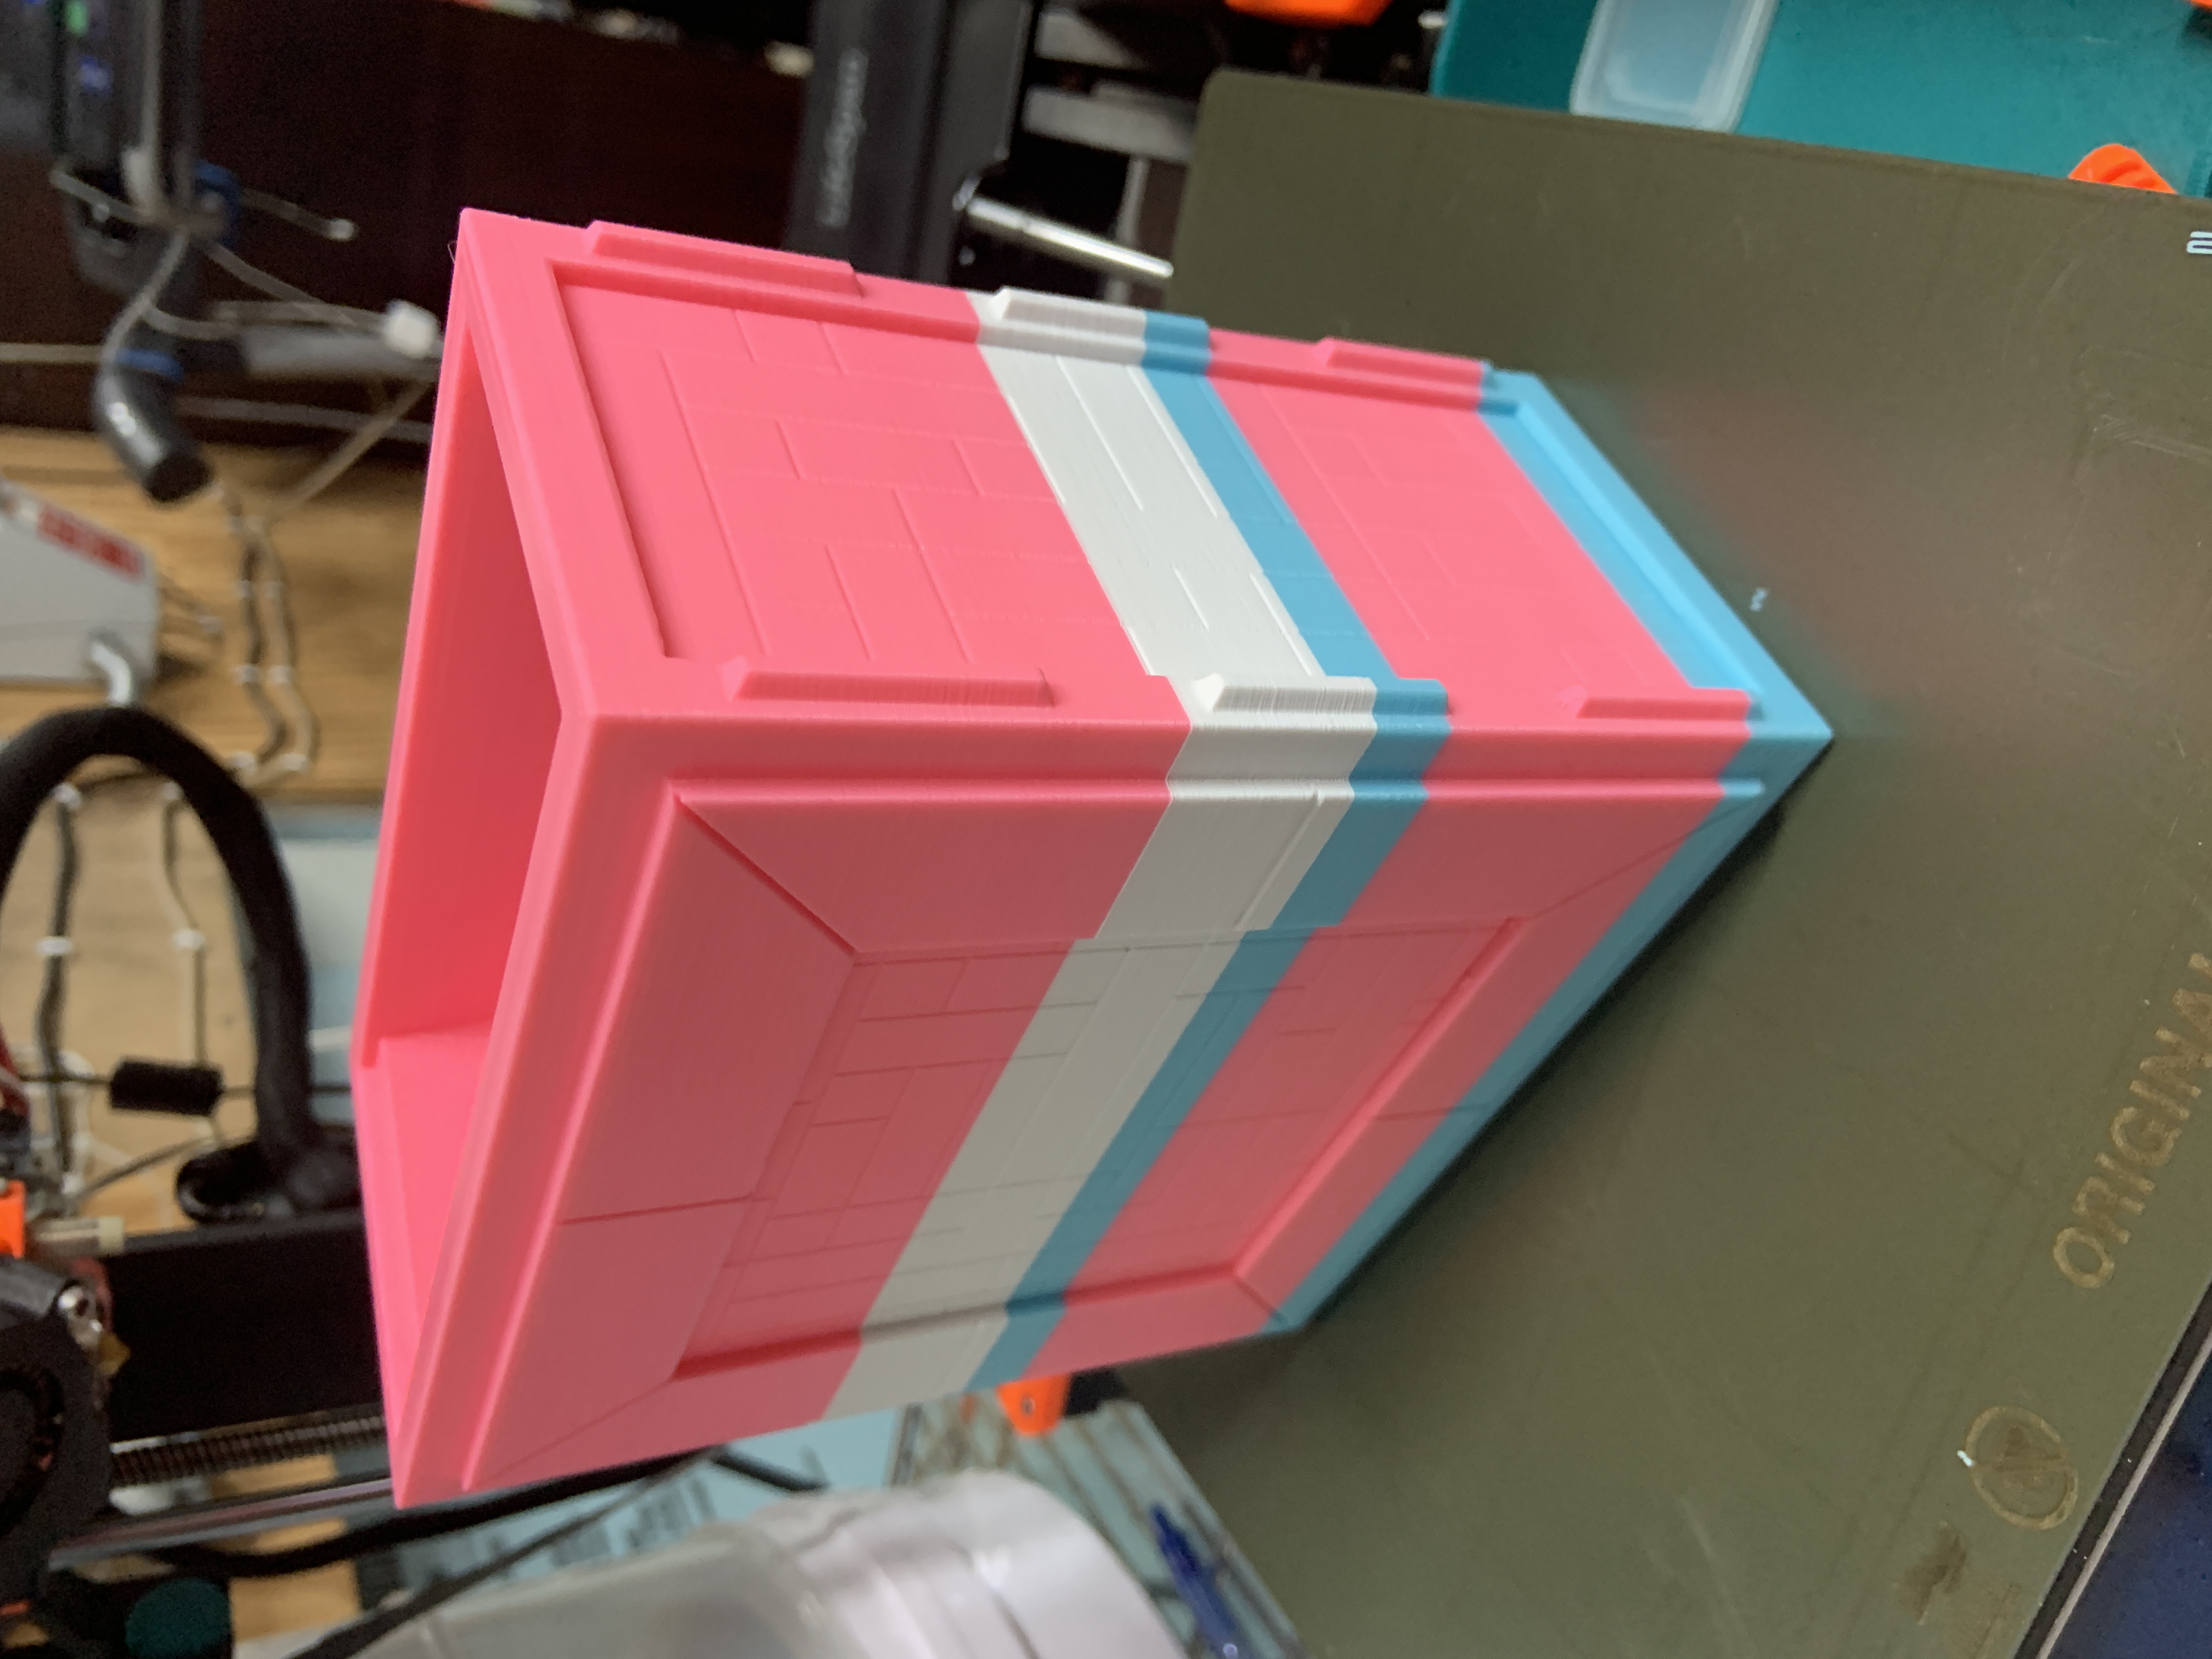
Photo: The Box - 01.jpg: Immediately after printing with supports still in place. You will see that I used scrap PLA for this. It was all the same material, Inland PLA+, so I was happy with texture and consistency, but knowing that I was going to completely paint the final print the colors did not matter at all.
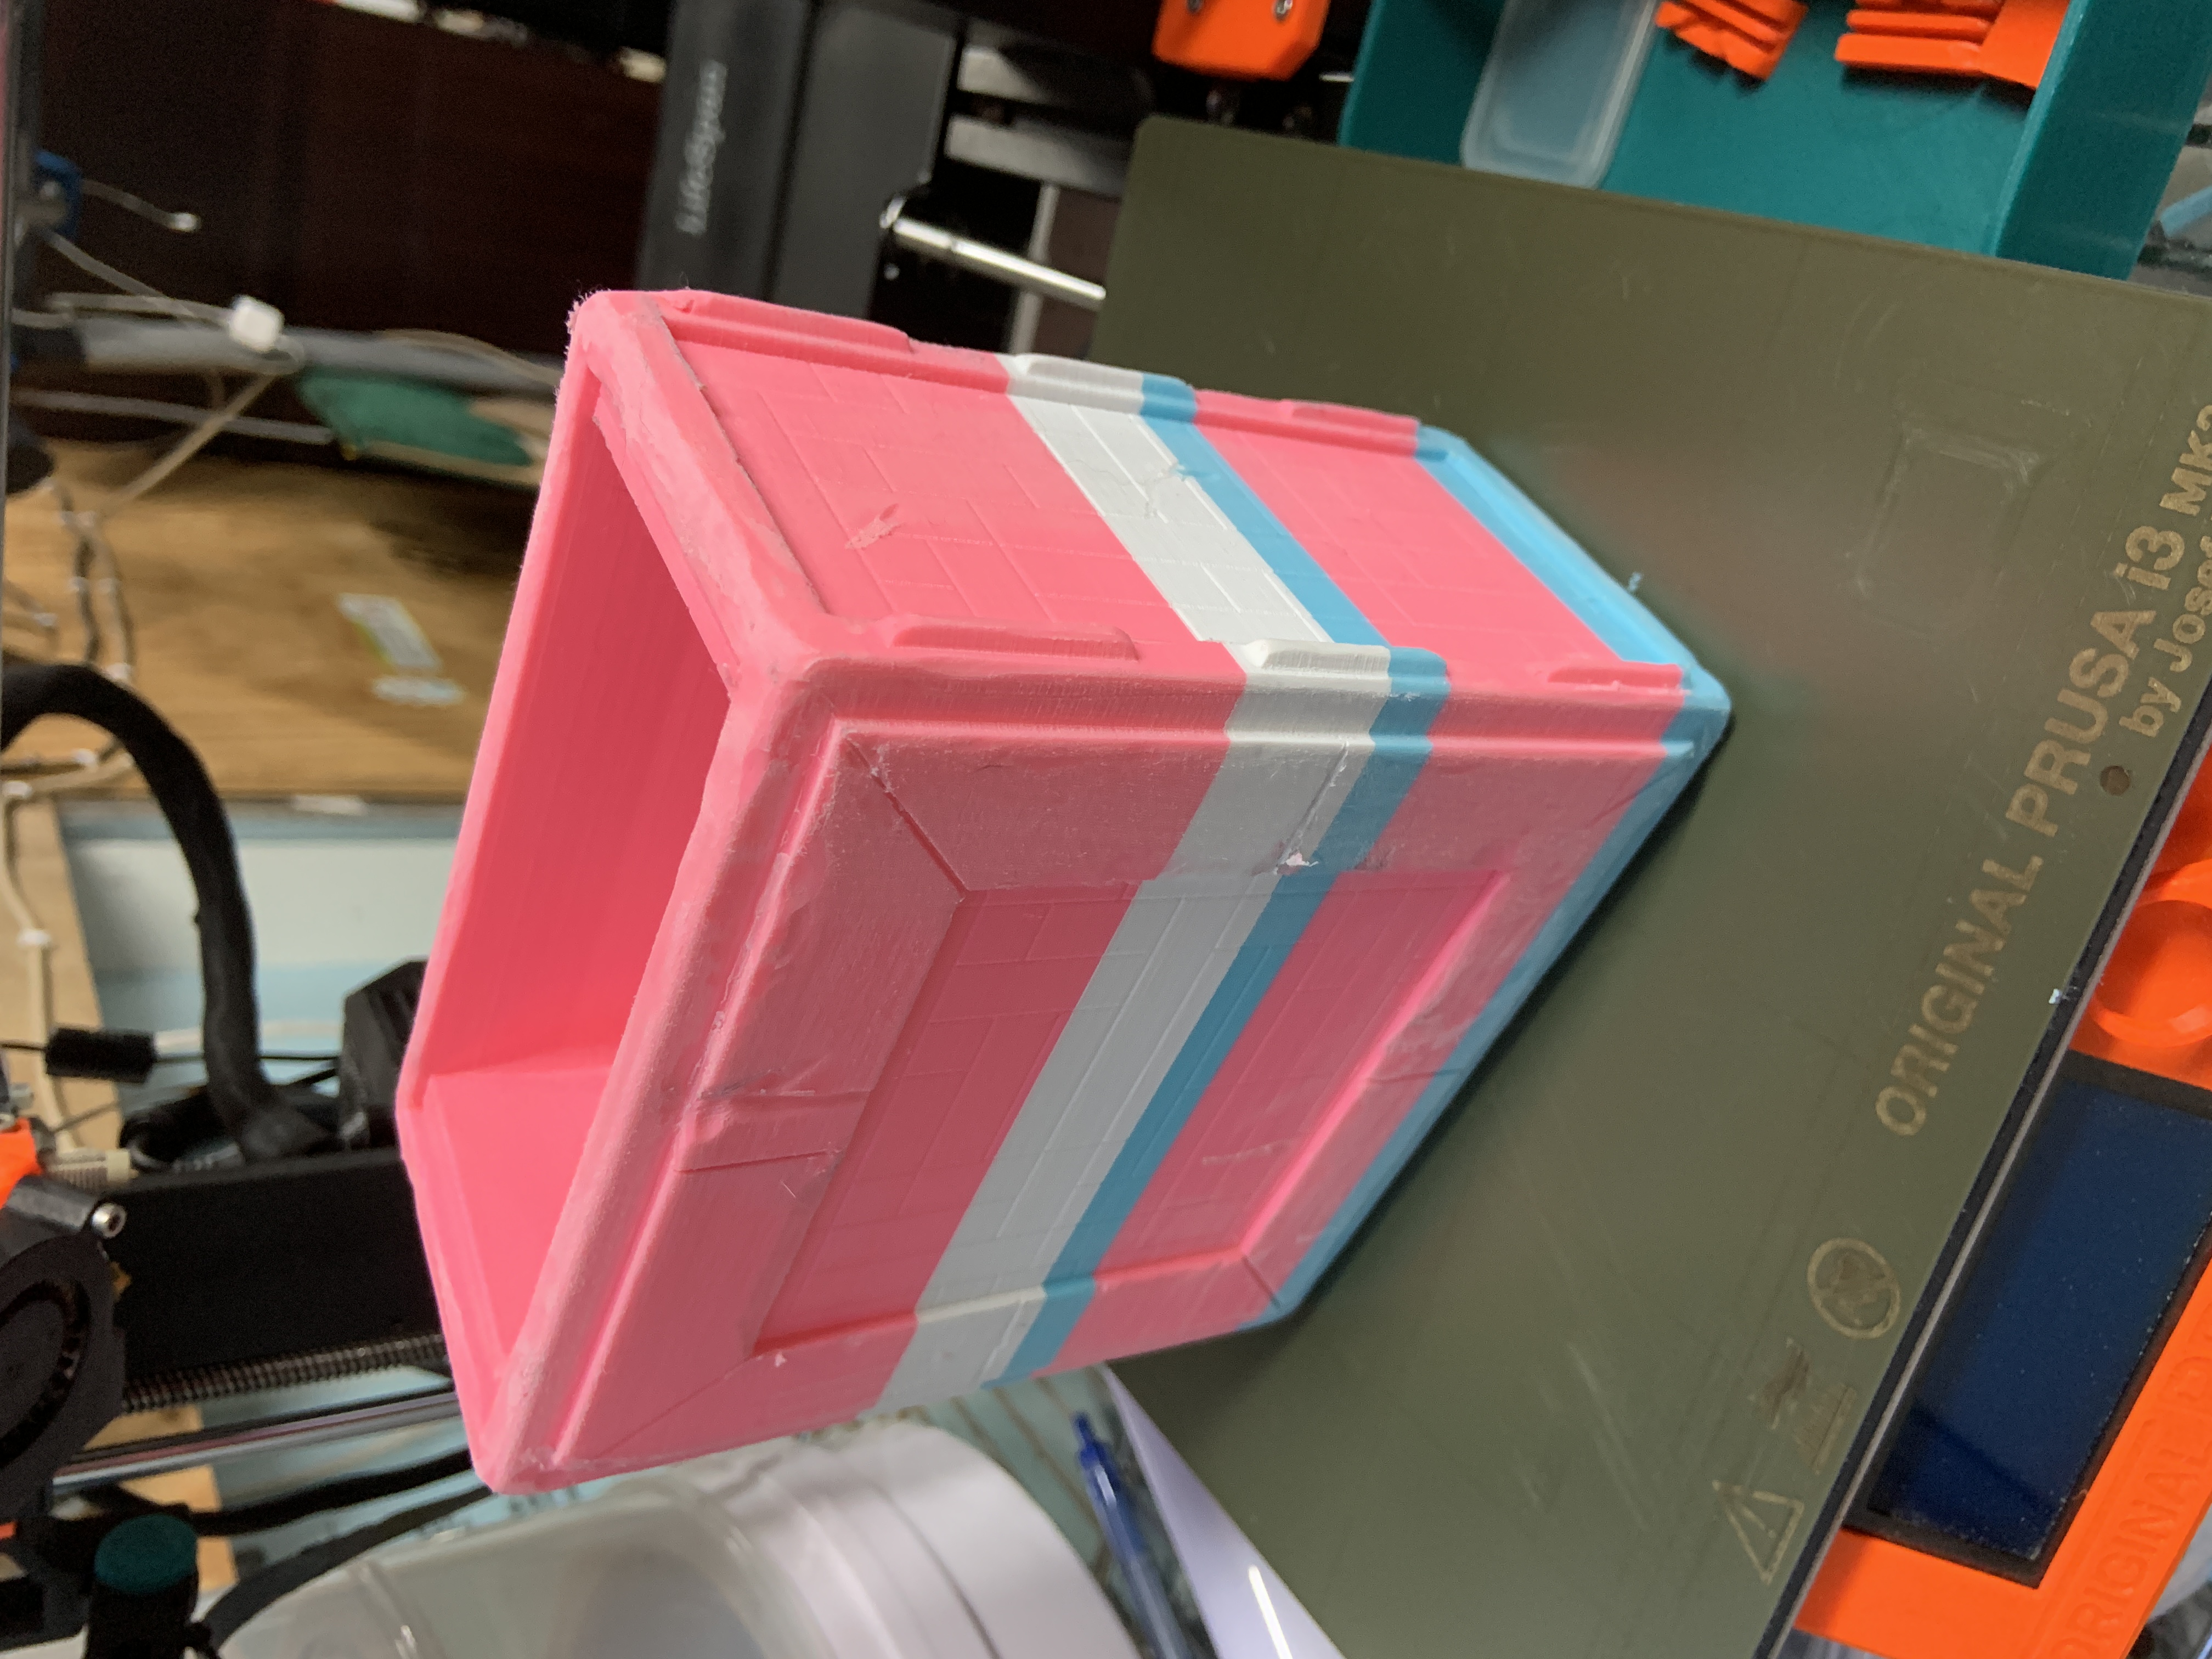
Photo: The Box - 02.jpg: Supports removed, minor surface cleanup.
Photo: The Box - 03.jpg: Distressing, stage 1. This was done with a Dremmel tool with a 100grit sanding wheel. Setting the Dremmel on too high RPMs cause too much heat if you leave the head in any one place for .5s, so I recommend a lower RPM. Corners were rounded down quite a bit - I could have used a few more perimeters to let me go even further without hitting infill. A matte knife was used to really gouge corners and joints. Don't be afraid to really knock this around, you are trying to put 10,000 years' worth of damage on this ancient artifact.
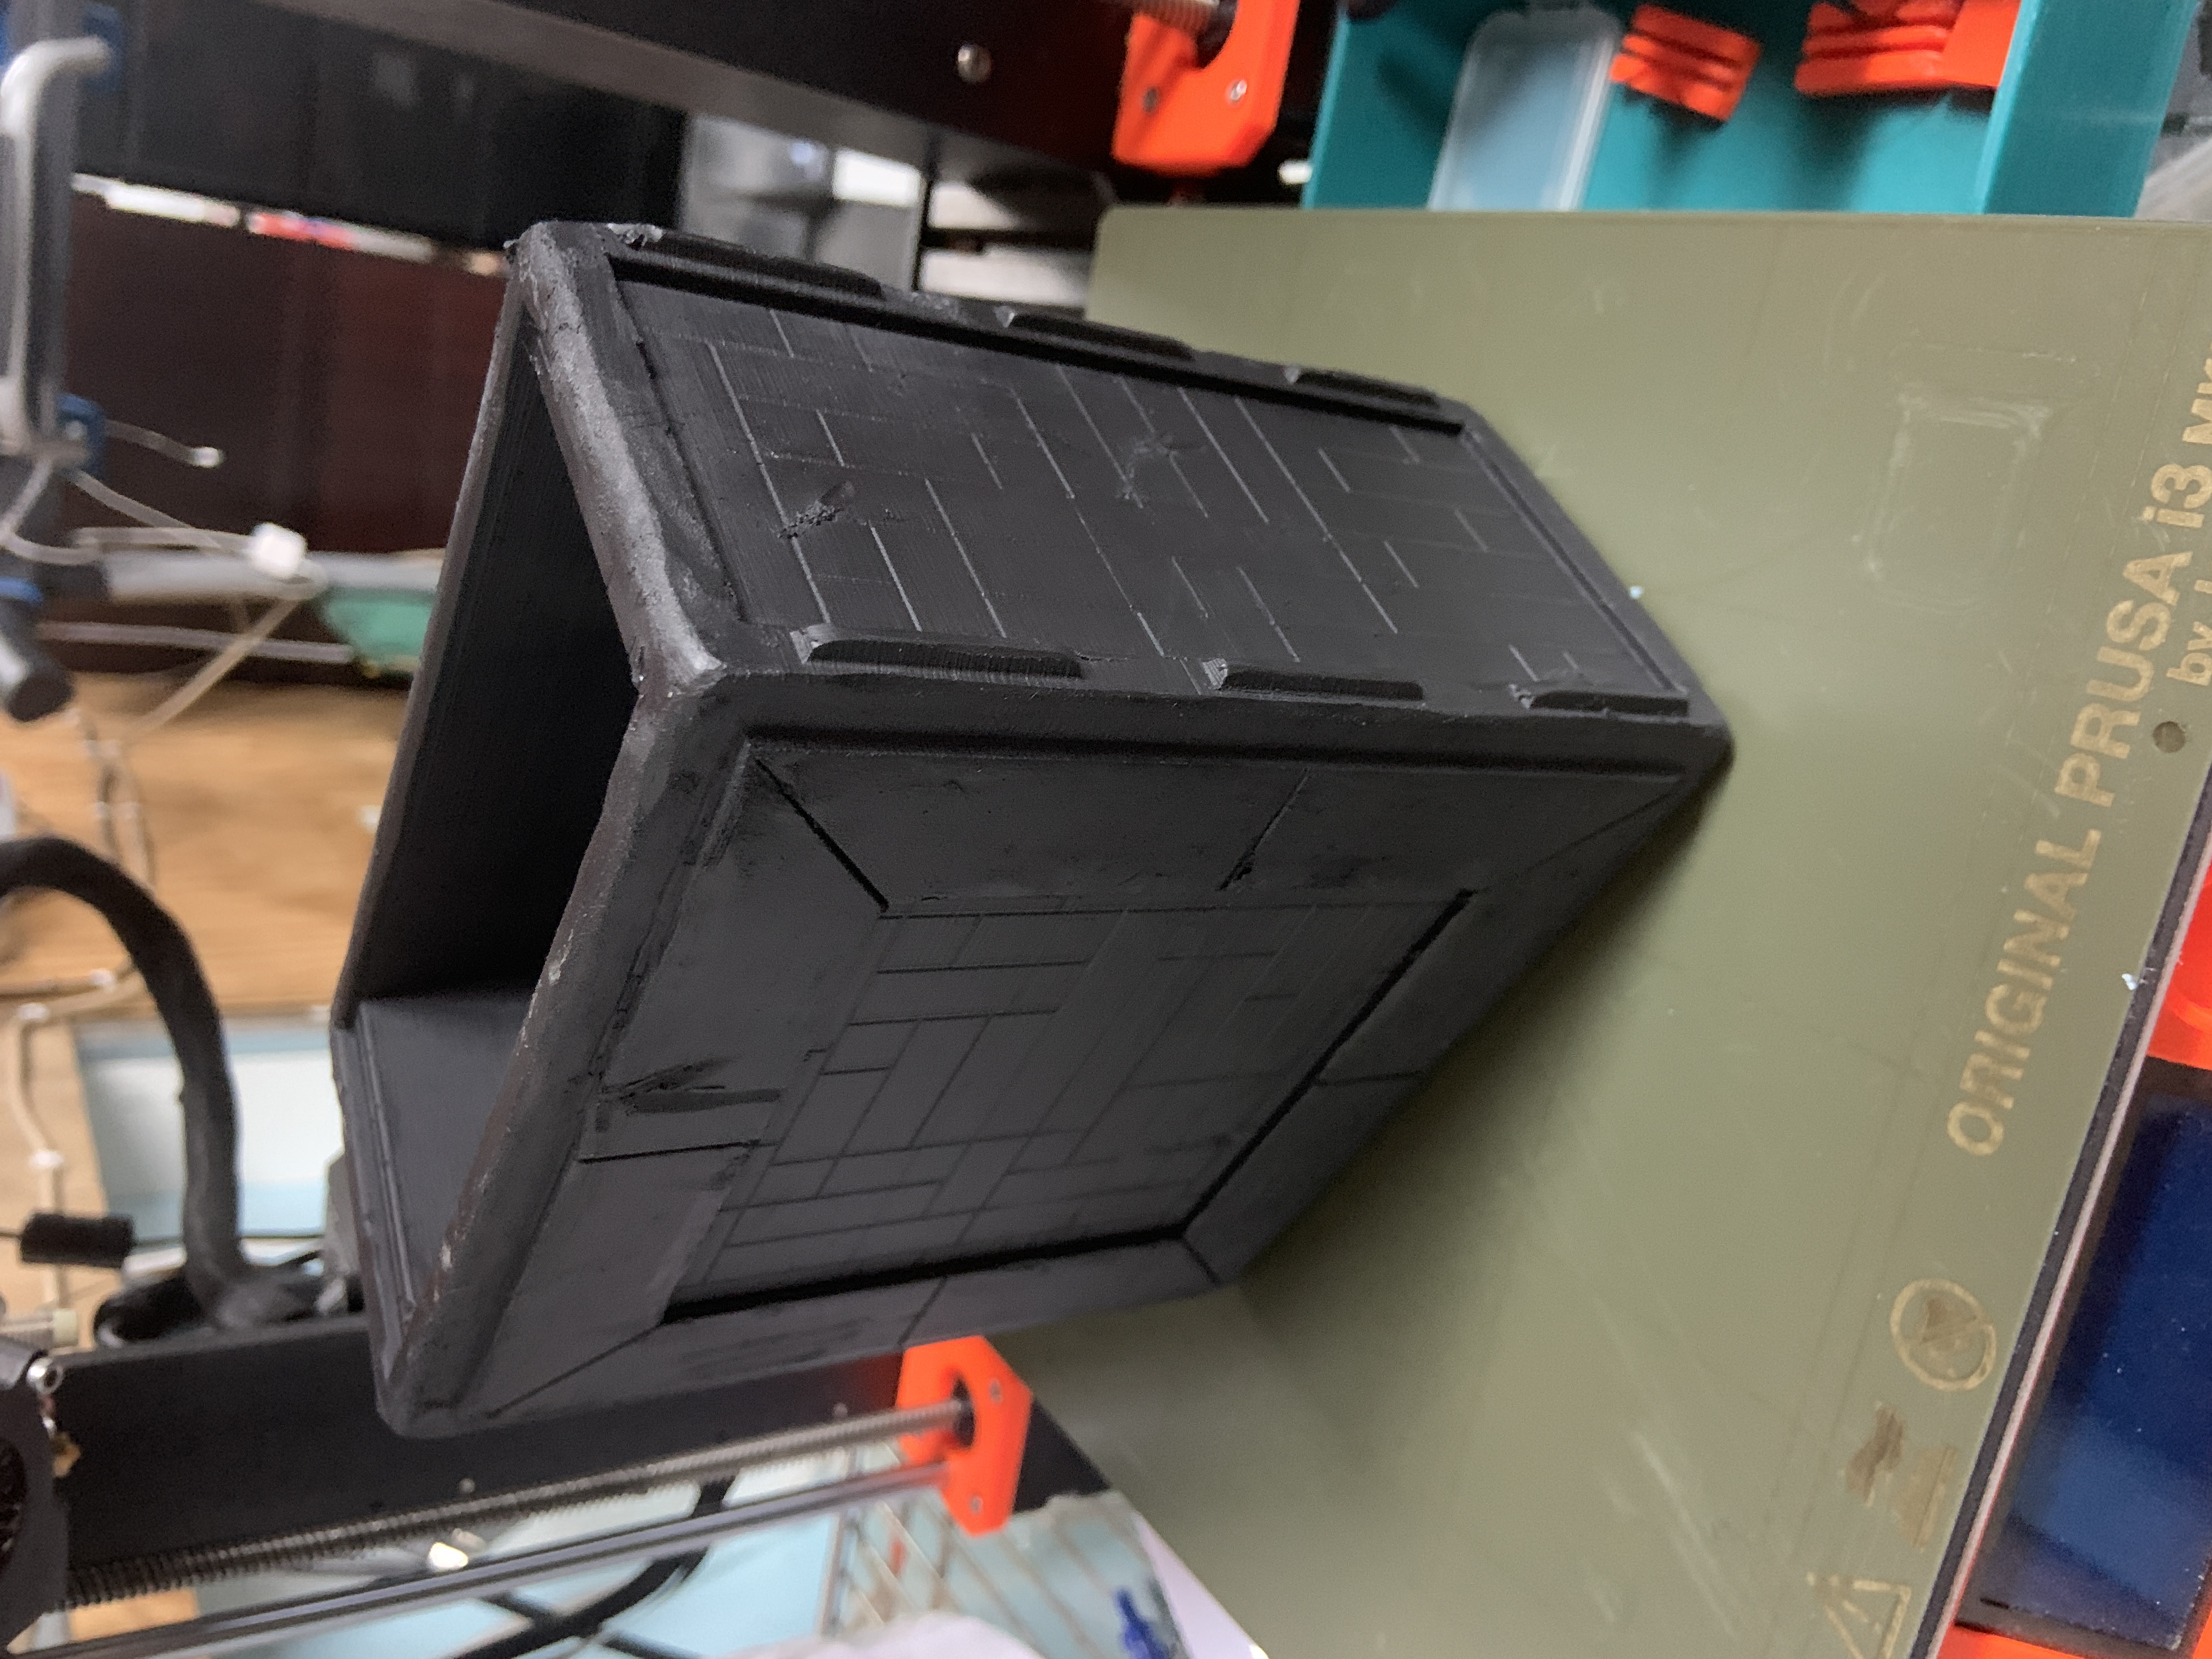
Photo: The Box - 04.jpg: I used Krylon Sandable Primer spray paint as my base layer. Multiple thin coats are the key. This is probably after 5-6 coats. Once complete I noticed that my distressing (as shown in #03) was not enough, so I went at it again. This time with more gusto. Unfortunately, I did not take any pictures of the result of the 2nd pass of damage, but you will see a pretty significant addition by the time we got to picture #05.
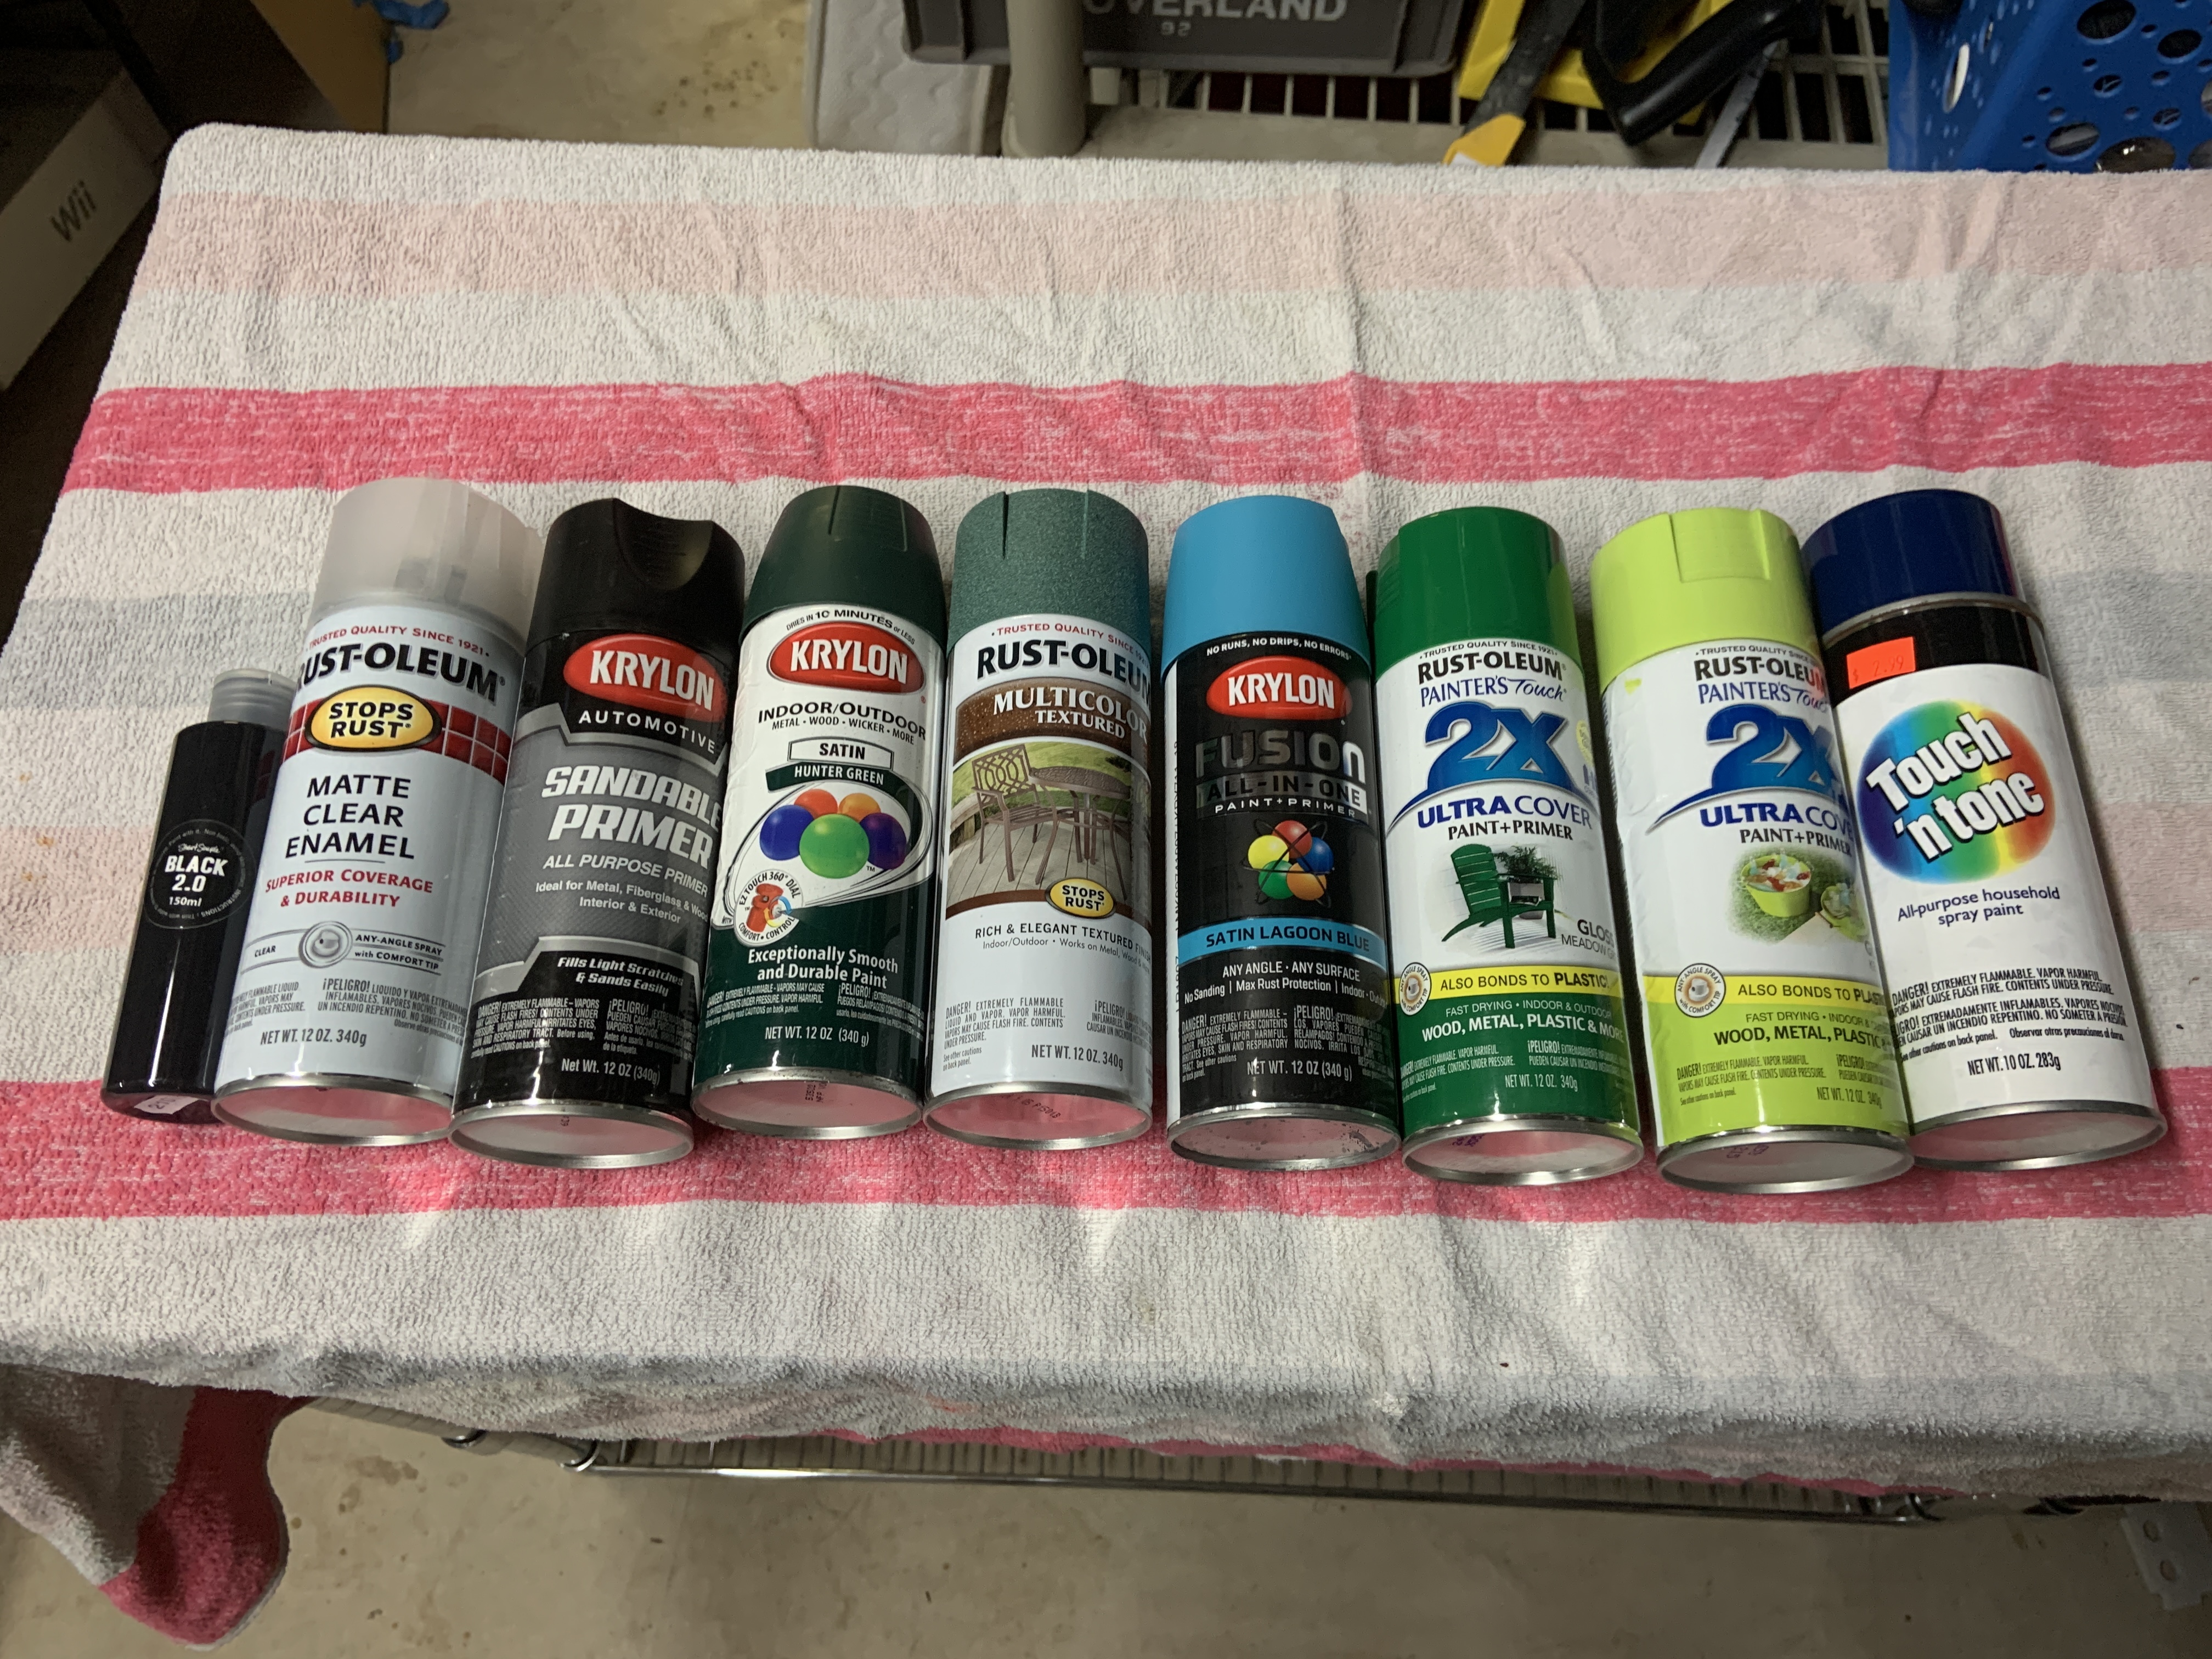
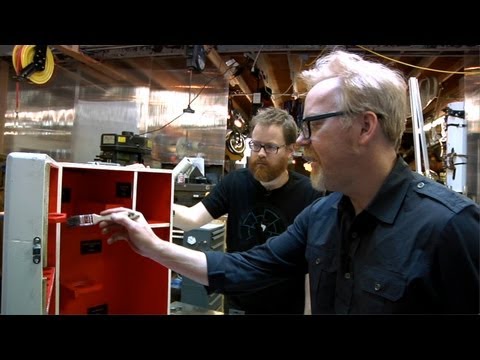
Photo: Colors.jpg: In following Adam Savage's recommendations I used many colors. I knew I wanted to follow the green/blue hues of the 2021 box's prop, so I got all types of blues, greens. Nicks, dents, and sanding provided the negative marks, and I found this interesting texture spraypaint that added positive bumps on the surface. This process took almost 3 days of painting and rubbing and wiping. I used an old cotton t-shirt to wipe paint in to crevices and corners.
I urge you to watch YouTube videos of the distressing process. The tl;dr was, heavy spray in an area, wipe away, repeat with a different color. The more colors, the more depth and the more wiping the better.
When I felt I was getting to the place I wanted, I started spraying some of the brighter Teal and Green paints and gently wiping away - leaving highlights in the cracks and crevices.
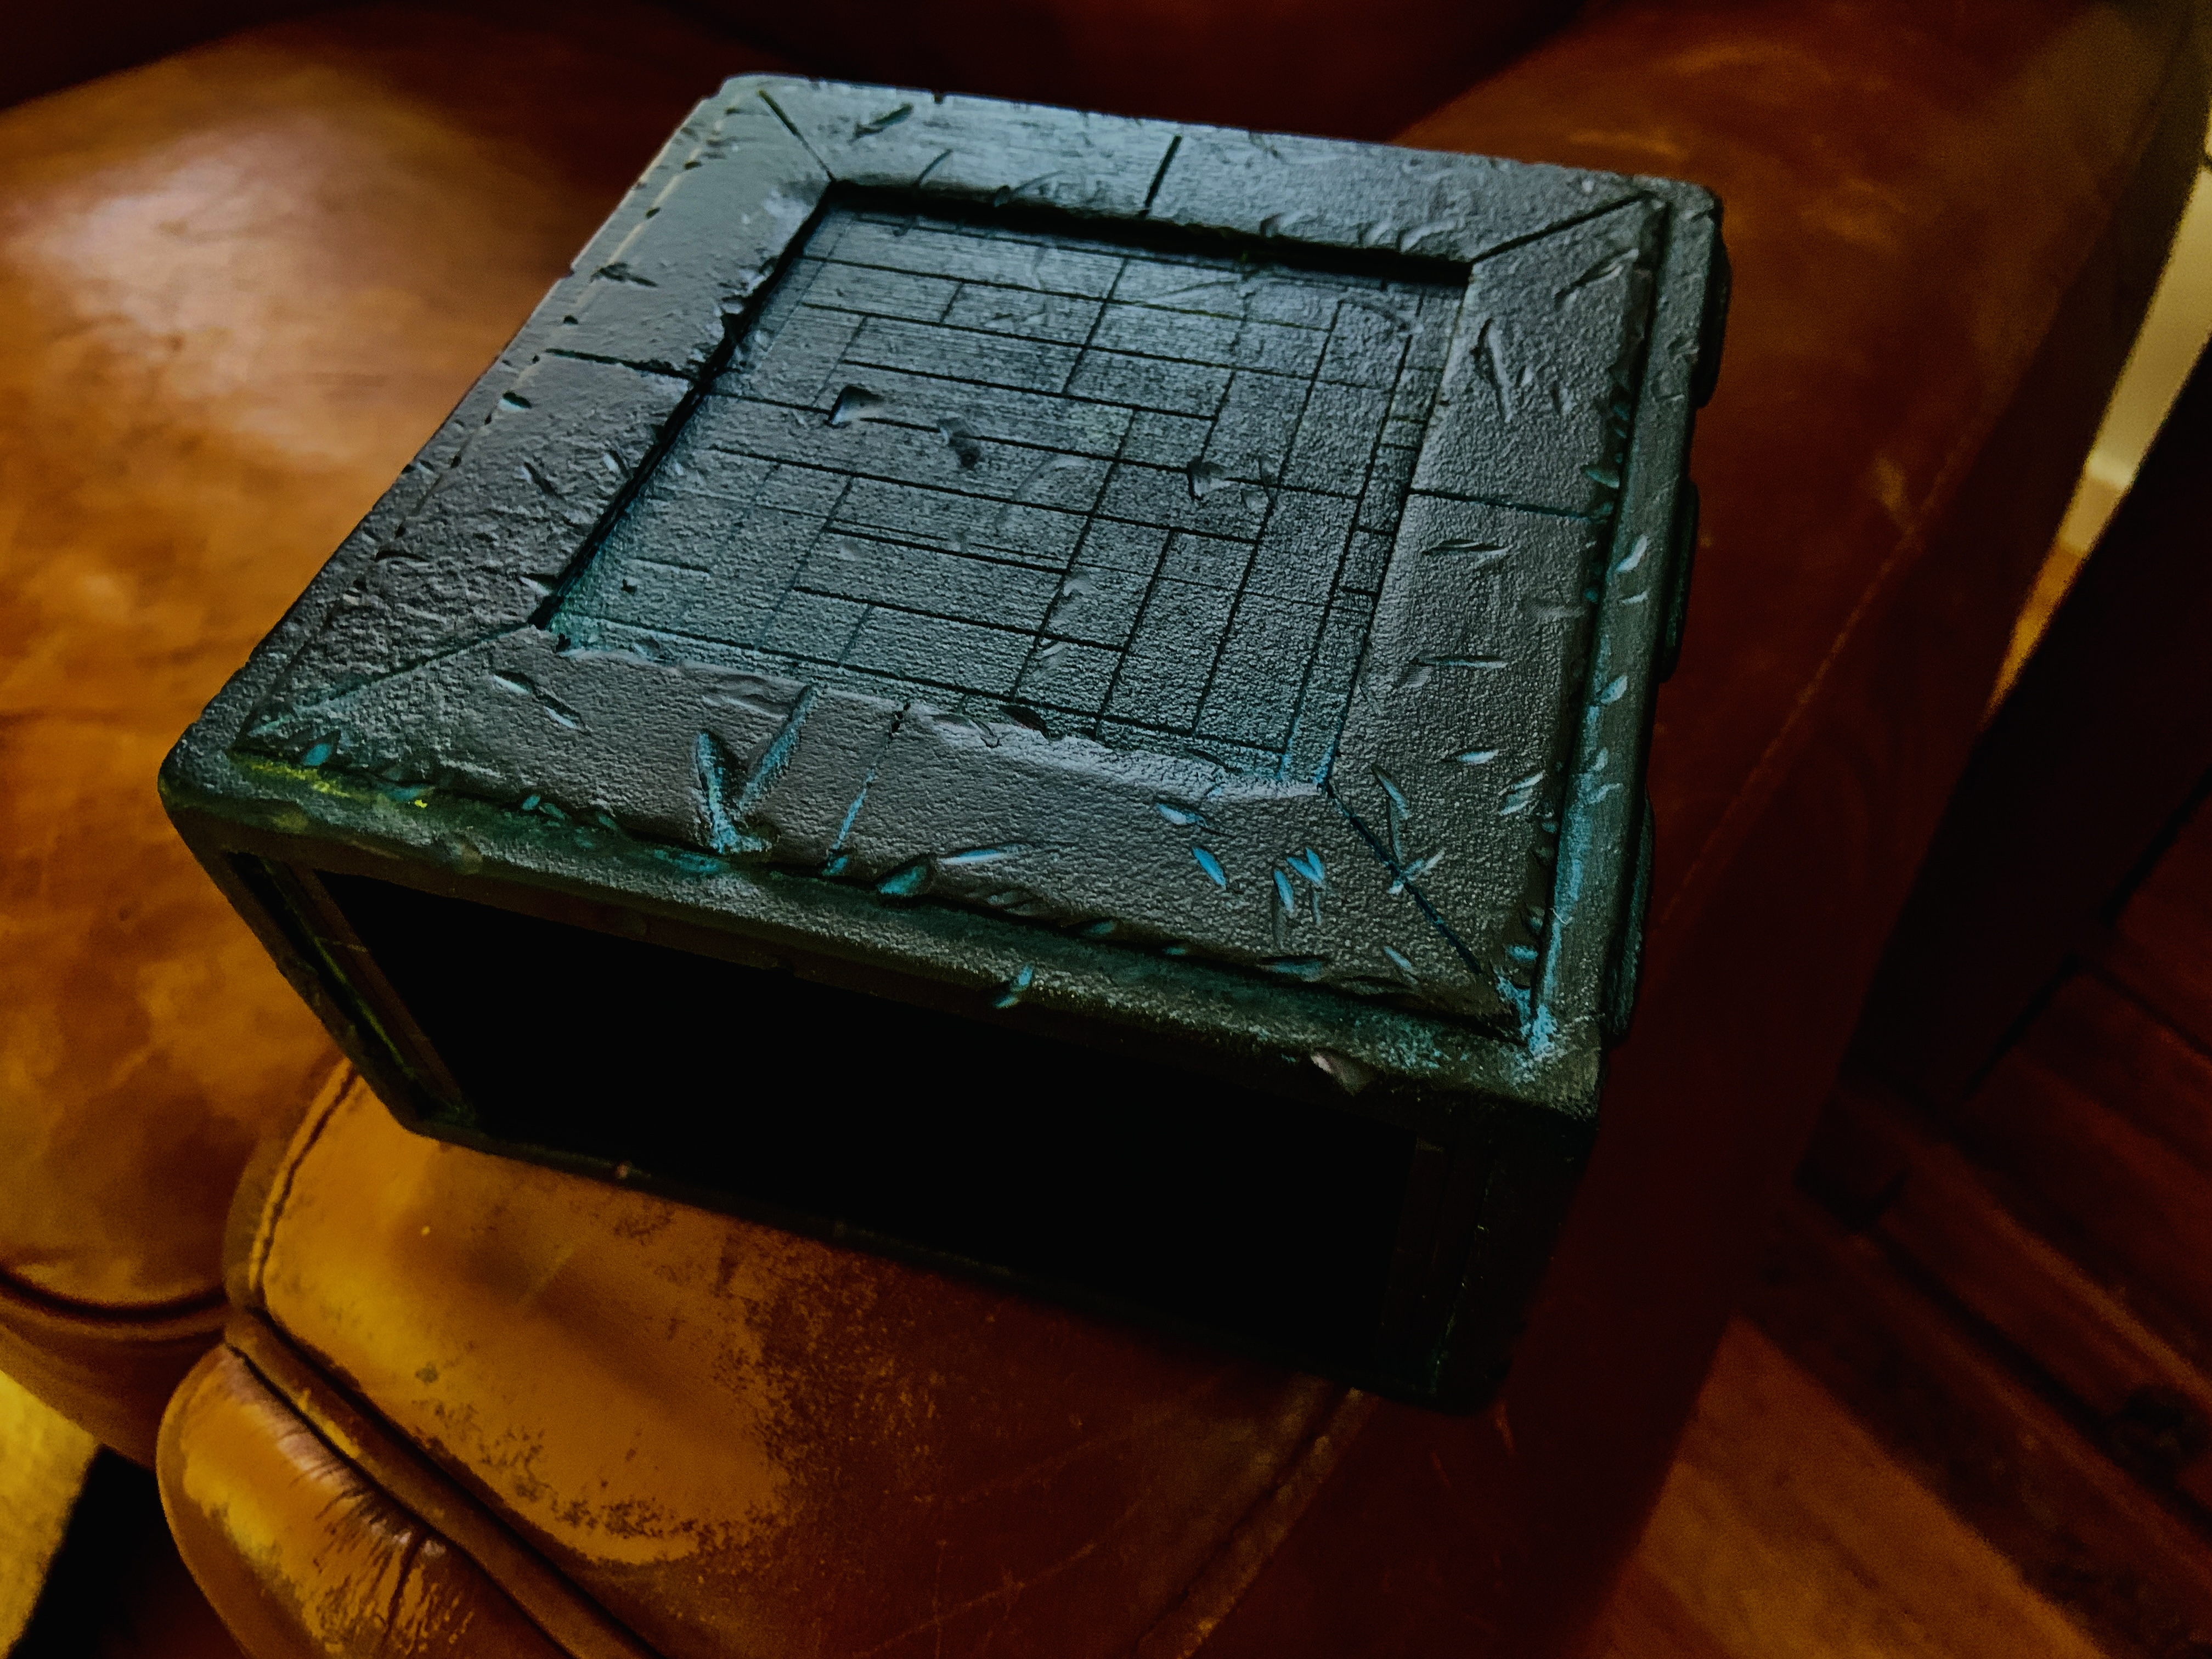
After everything was dry, I hand painted the interior with Black 2.0 a consumer attainable version of Vantablack. I wanted the interior to look like Frank Herbert described the box... the interior was a "void". Black 2.0 is "the mattest, flattest, blackest" art material - meaning that it reflects no light (pretty much 0% reflectivity) and just looks like I imagine a void would look.
Photo: The Box - 05.jpg: Final Photo.
Printer: Prusa MK3s
Material: Inland PLA - various colors / scrap
Resolution: .15mm layers
Supports: Yes, on build plate only.
Special Settings: 7 Perimiters, 7 Top Layers, 7 Bottom Layers
Print Time: 49 Hours!!
Material Used: 604g
:format(webp)/https://fbi.cults3d.com/uploaders/15298879/illustration-file/c29841ea-b076-4434-92ee-13cd4c36c107/The-Box-05.jpg)


/https://preview3d-images.cults3d.com/variants/q691a5somhnfqsaxtn8raeb1a3k9/740653c6971db8cfdca21475487b95b09ce19114e42428007af25545a7f8a383)


:format(webp)/https://fbi.cults3d.com/uploaders/15298879/illustration-file/38aa3efa-2a98-419e-bc28-a07f67814e75/Piranha_Plant.jpg)
:format(webp)/https://fbi.cults3d.com/uploaders/15298879/illustration-file/ba1394bb-1482-41ba-bb56-2ccb0e5b0a67/Planty.png)
:format(webp)/https://fbi.cults3d.com/uploaders/15298879/illustration-file/edbdbfeb-9ccc-4df1-ae21-005081b53847/abbda21b0dc0e083f42c7c4d7c130e01.png)
:format(webp)/https://fbi.cults3d.com/uploaders/15298879/illustration-file/5a378f18-8cb6-49cf-8a2f-3d8a02c1fe3b/IMG_7985.jpg)