Rock Me Archimedes and Seesaw Torque Balance


Rock Me Archimedes and Seesaw Torque Balance
Published 2020-10-10T16:39:57+00:00
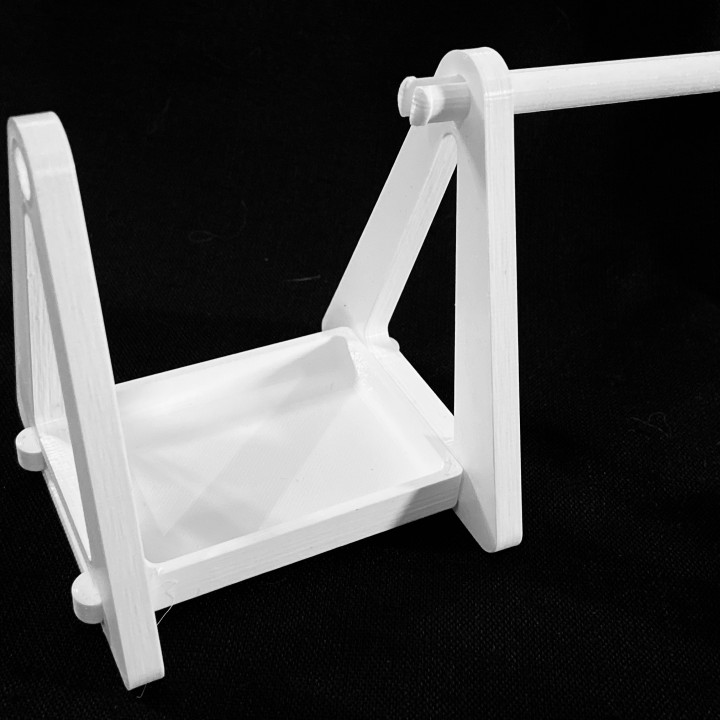
This design is a fun hands-on way to learn about torque. This model can be used in both the classroom setting or at home for fun. As well this model can be used to generate ideas for what are some of the design possibilities with 3D Printing and OpenSCAD. The entire model is designed around optimizing print orientation allowing for no supports, smooth curved surfaces, and the least amount of friction between parts. •
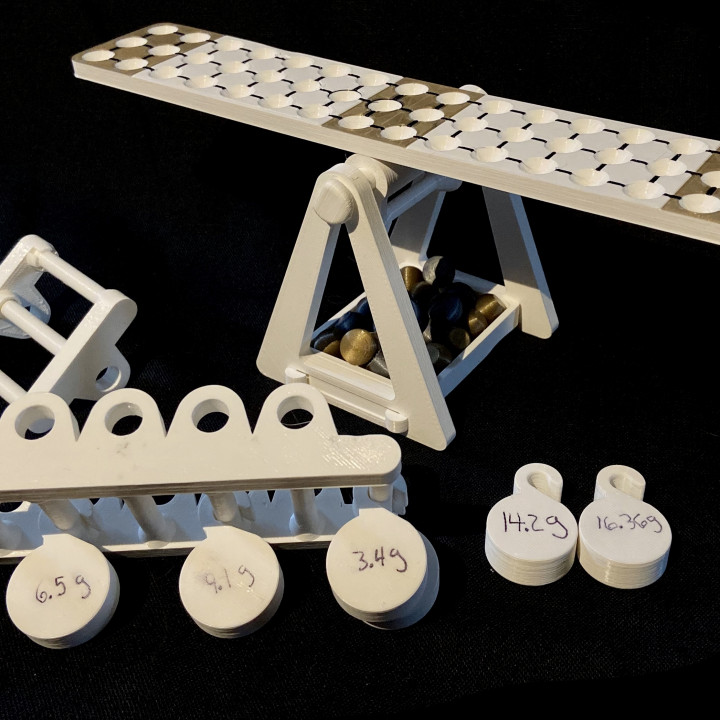
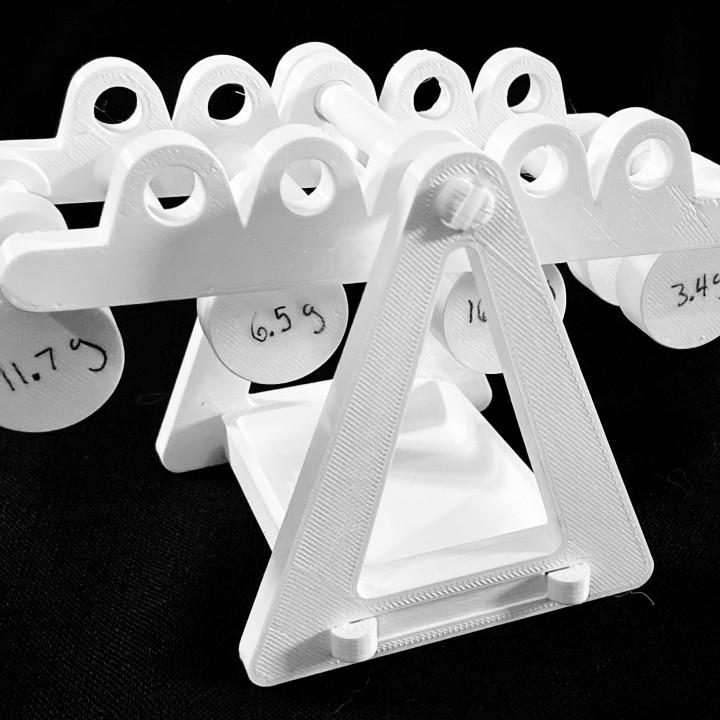
Students can first use the ladder and printed weights (Print a mix of different weights) can learn hands-on how the distance from the pivot point and where the mass is placed can keep the ladder balanced. Having students measure each of the weights and given the displacement of each rung (20mm) they can then calculate the ideal placement of each weight using the equation Force = Mass x Distance. For a more in-depth coverage of torque equilibrium, you can visit this website.
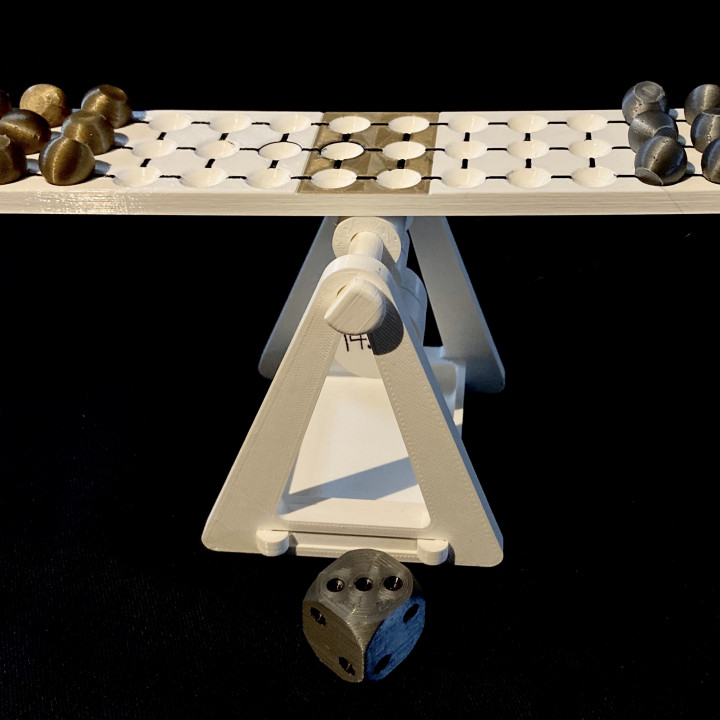
After students have observed how the placement of the mass can balance out heavier or lighter masses they can then apply it to a fun strategic game of Rock Me Archimedes. The game can be switched out with the ladder. To adjust the difficulty of the game adding the weights from the ladder to the bottom hanging point will lower the center of gravity of the game making the top board more stable.
Rock Me Archimedes is a commercially available board game that has a couple of variants of the rules this is the general idea of the game: (2 player game)
- Each player starts with 12 marbles and each chooses their side (End zone)
- Players start with no marbles on the board
- Players can either place a marble in the starting zone or choose to roll the die to play any existing marbles on the board.
- Players who choose to roll the die with numbers 1-3 on it have to:
- Move there marbles along the grid lines
- You may jump over other players marbles but not your own
- You can split your moves amongst your marbles on the board
- How to win:
- Get 4 of your marbles into your end zone first
- During your opponent's turn if they cause the board to tip and if either end touches the table at all they lose the game.
(Taller heights of the side pieces may make it easier to use the ladder but make tipping the game board to the table harder. To counter this you can either modify the OpenSCAD file to shorten the side height or place separate objects of equal height to both sides of the game that will be the new "table" for the board to touch)


- Printed using Prusa i3 Mk2.5 using PLA
- Most parts can be printed with 0.3 layers with 2 - 3 perimeters
- Some of the snap fittings work better if you have completely solid using perimeters.
- When printing the weights I used a US Penny for my weights and inserting a pause when slicing at the top of the model you can insert the pennies and then finish printing to enclose the added weight
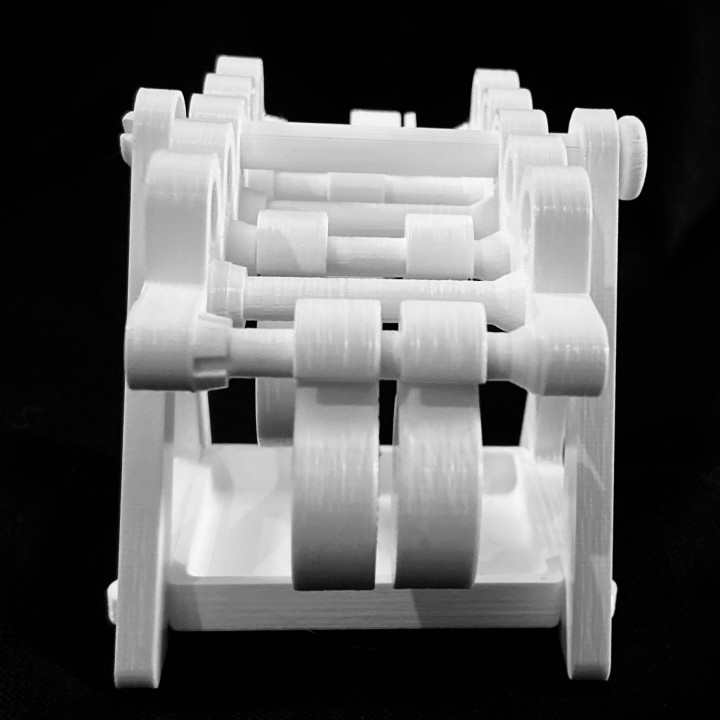
- The snap fittings for the ladder are not able to withstand taking it apart. I haven't had any issues with them breaking when assembling and using the ladders.
- Game top:
- Printed with 0.2 layers (unless you change it in OpenSCAD)
- There are three sections to this if you have a multimaterial/color printer this is set up for that. For a single extruder printer you will need to slice the game top, game top end and start, and game top grid separately. I suggest printing the first 2 layers of the game top then inserting filament change. Edit the gcode and splice in the grid and start/end zone after the filament change command. adding filament change after each of the spliced in gcode files to be able to change the color. There are many ways and other methods to do this as well.
| Date published | 10/10/2020 |
| Time to do | 20 - minutes |
| Material Quantity | 175 grams |
| Support Free | YES |