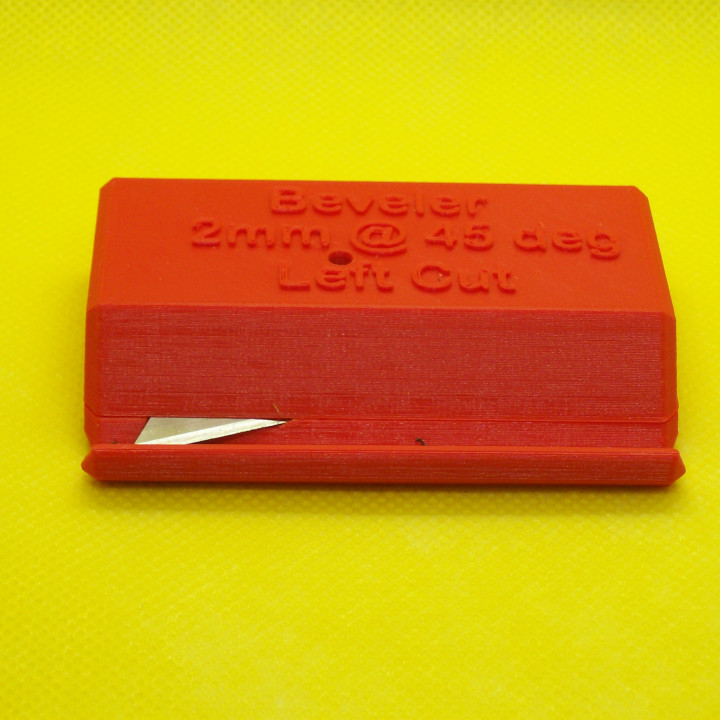
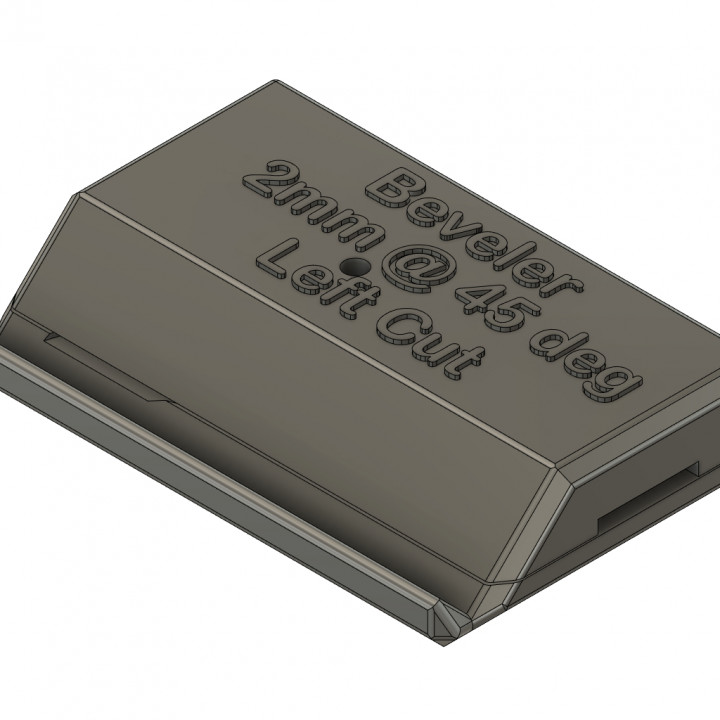
Beveling/Chamfering Tool Set – 45 degrees cut


$2.70 Beveling/Chamfering Tool Set – 45 degrees cut
Published 2019-09-30T22:35:13+00:00
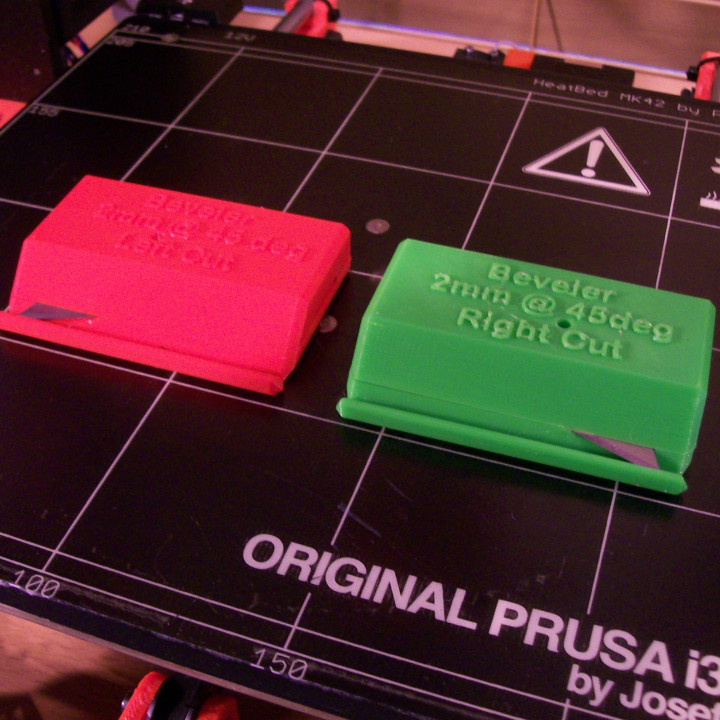
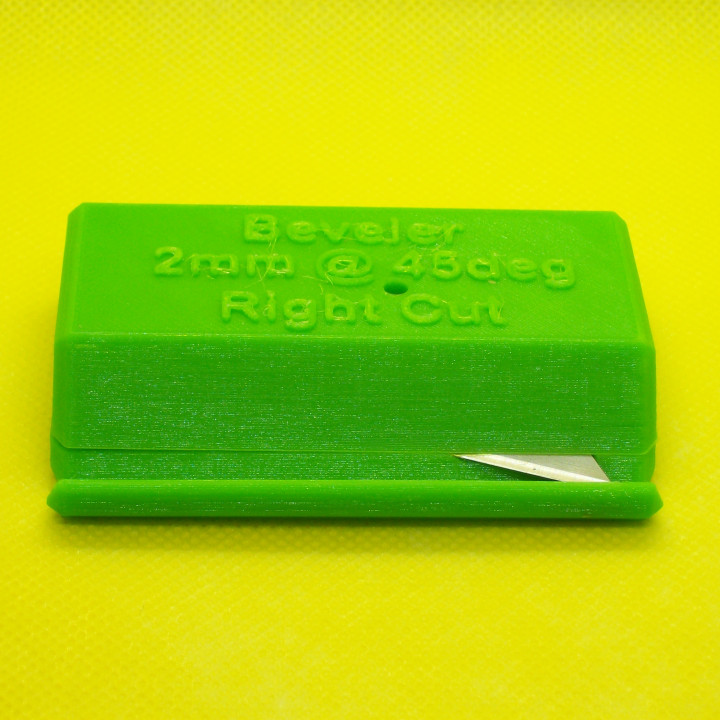
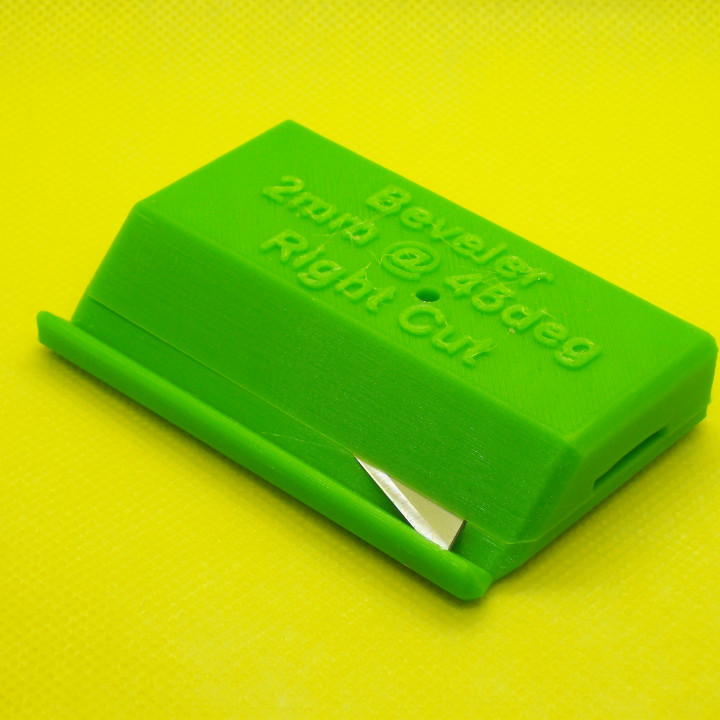
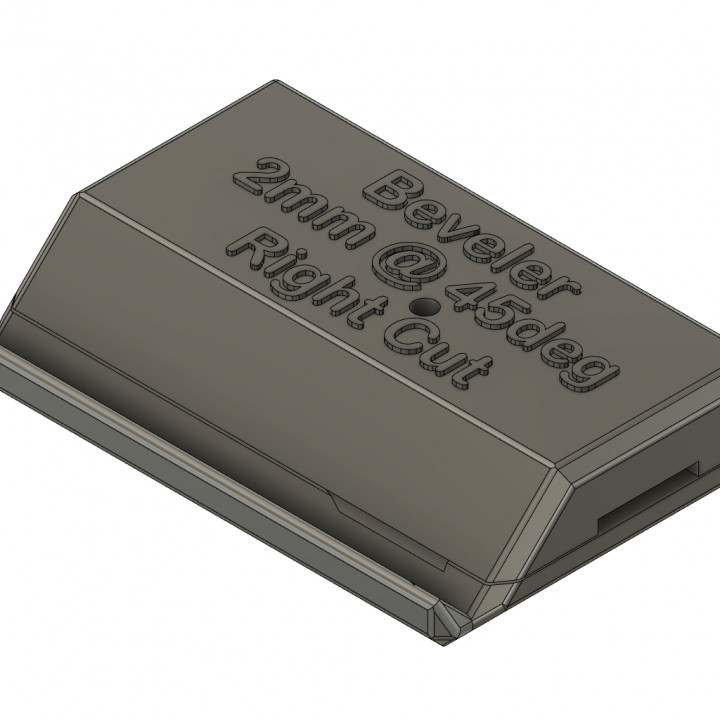
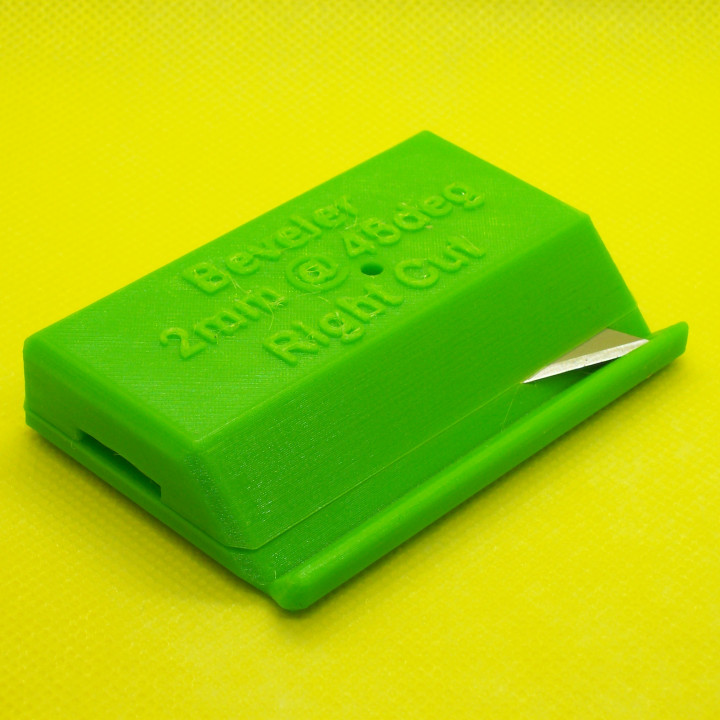
A beveling/chamfering tool set consisting of 2 separate tools, designed to hold a standard utility knife cutting blade, for cutting a 45 degrees chamfer onto standard foamboard or balsa sheets and blocks, which are used to make RC aircrafts and other hobby items. One tool is designed to cut from left to right and the other one will cut from right to left.
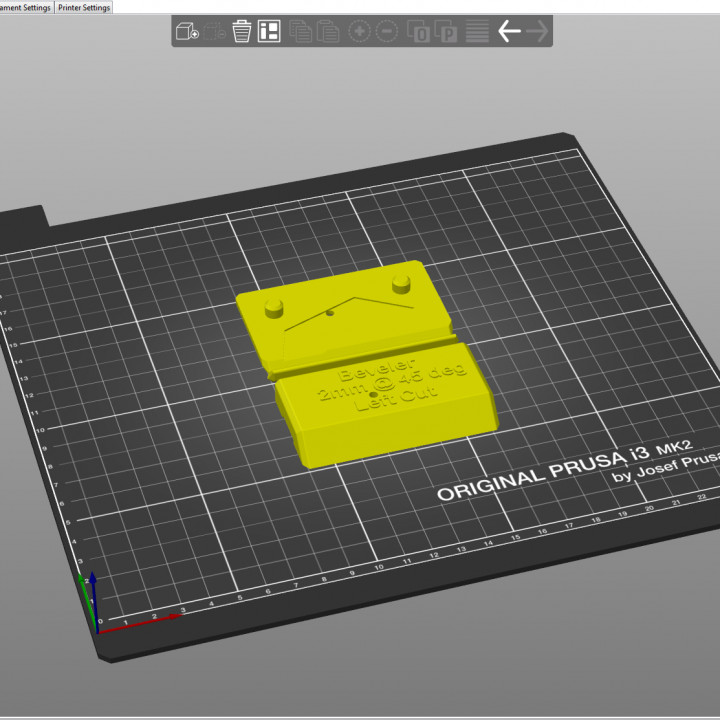
The parts can be easily 3D printed, without any support, on a modern inexpensive 3D Printer. They can be printed with a variety of materials, including PLA, PETG, ABS and many other types of printable materials.
PLA works very well for this application. It is easy to print. The tools should be durable, easy to maintain, and last for a long time. However, they should not be stored or kept at high temperature, exceeding ~55 C (~ 130 F).
Should the beveling tools be left in a high temperature environment, such as a parked car in the summer, I strongly recommend using another heat tolerant material, such as PETG or ABS to prevent warping.
Recommended print settings with a .4 mm nozzle:
- Layer Hight: .150 ~.160 mm, depending on motors and gearing
- 3 perimeters or shells (1.2 ~ 1.5 mm)
- 8 bottom layers (1.2 ~ 1.3 mm)
- 8 top layers (1.2 ~ 1.3 mm)
- Infill 20%, depending on infill type
Additional items needed for assembly
- 2 Button head screws M3x8 (or M3x10)
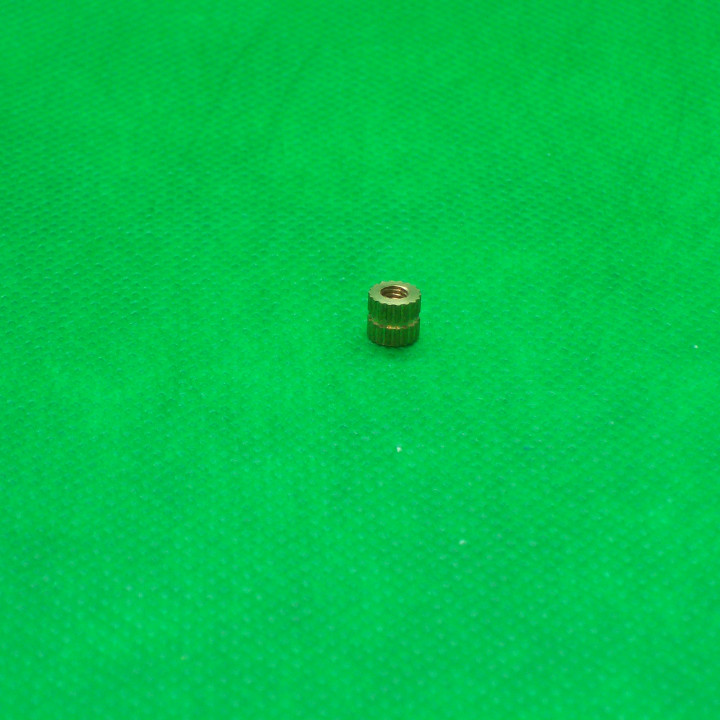
- 2 Brass Heat-Set-Inserts M3 threads
- 2 Standard utility knife disposable blades
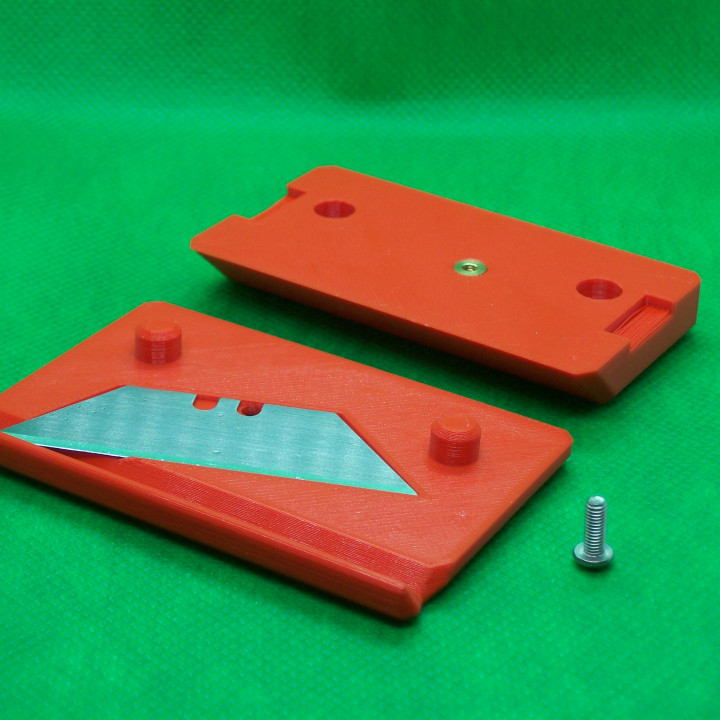
Assembly Instructions
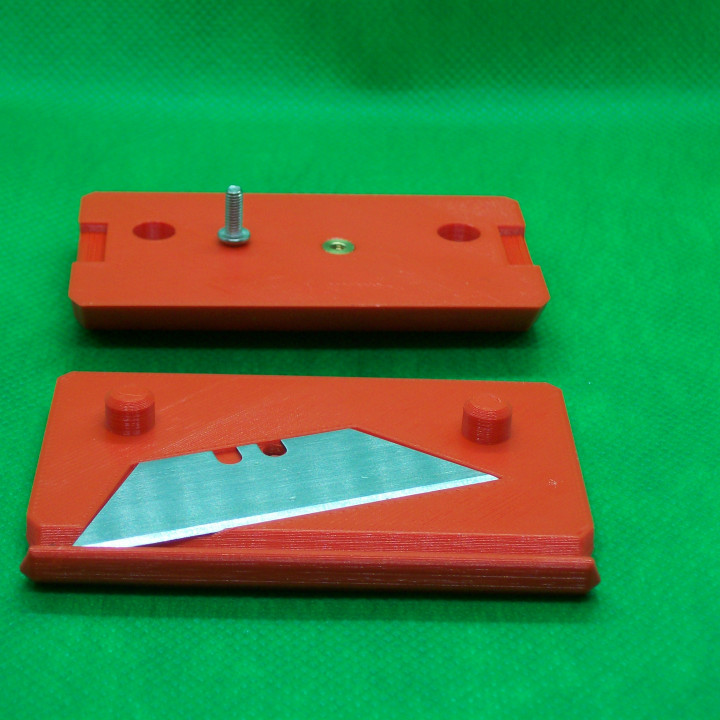
1- Using a hot iron, insert one brass M3 heat-set-insert fully into the hole at the base of the top cover. It is important to push the insert fully into the hole – It must not protrude outside of the top cover.
2- Carefully place a utility knife blade in the bottom cover, making sure that the cutting edge is facing the cutting direction – toward the opposite edge of the tool.
3 - Place and align the top cover onto the bottom cover, using the guide pins to help with the alignment.
4 - Once the two covers are in place, use a button head screw M3x8 (or M3x10) inserted from the bottom to secure the two covers in place. Apply just enough torque to secure the parts together - DO NOT OVERTIGHTENT!
Note: Button head screws work best for this application. However, it should be possible to use a different type screw head that would fit and function such as:
- Pan head
- Round head
- Countersunk head
- etc., etc...
Socket head screw should be avoided because they will most likely protrude from the bottom of the tool.
| Date published | 30/09/2019 |
| Price | $2.70 |
| Time to do | 160 - 400 minutes |
| Material Quantity | 36 grams each |
| Dimensions | 75mm X 50mm X20mm each |
| Support Free | YES |