Vase Mode Origami Snowflake Bauble


Vase Mode Origami Snowflake Bauble
Published 2017-12-01T15:27:44+00:00
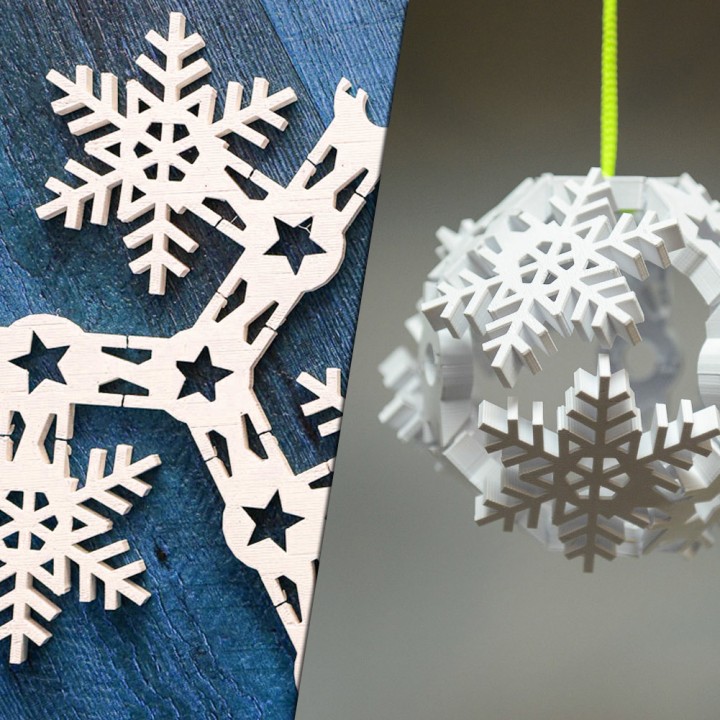
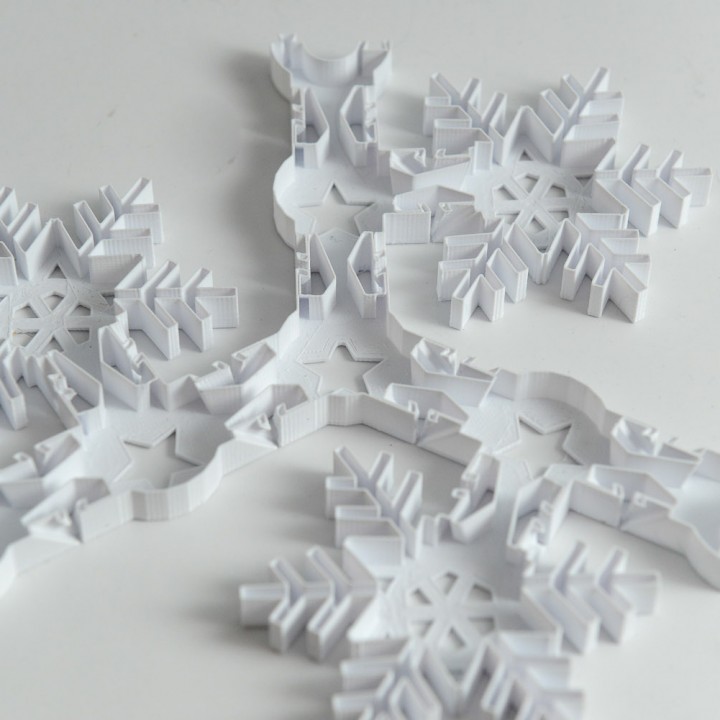
Origami with tensioned bends held fast by flexing hooks, all printed as a single vase-mode shell! What is this xmas bauble craziness? Read on!
What's this all about?
3D printing is great at cranking out exactly the shapes we design, and it's why we love it so! What I wanted to explore, though, was ways of designing - and engineering - prints in order to build shapes that would be very difficult to produce with static FDM printing. Gradually, that idea firmed into the concept of a design that could be bent to fill space, and would hold its shape despite the tension in the bent material.
And hey, while we're at it, let's do the entire structure as one single line!
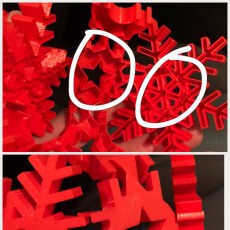
Yup, vase mode! Quick to print, mesmerising to watch, and when we start bending it, it's more like origami than assembly...
(For anyone who isn't aware, vase mode is "spiralize outer contour" in cura-speak)
How do I make this thing?
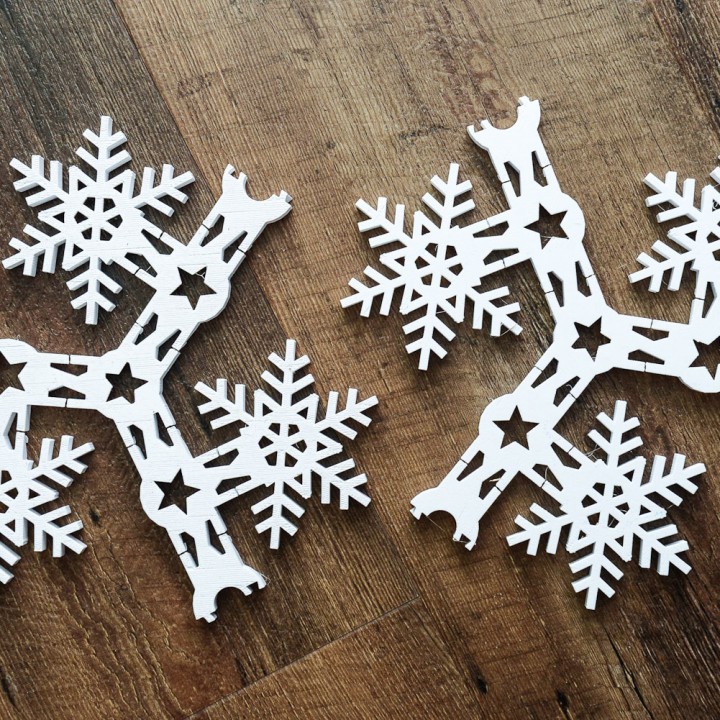
Just print the main object in vase mode - see the printing tips below.
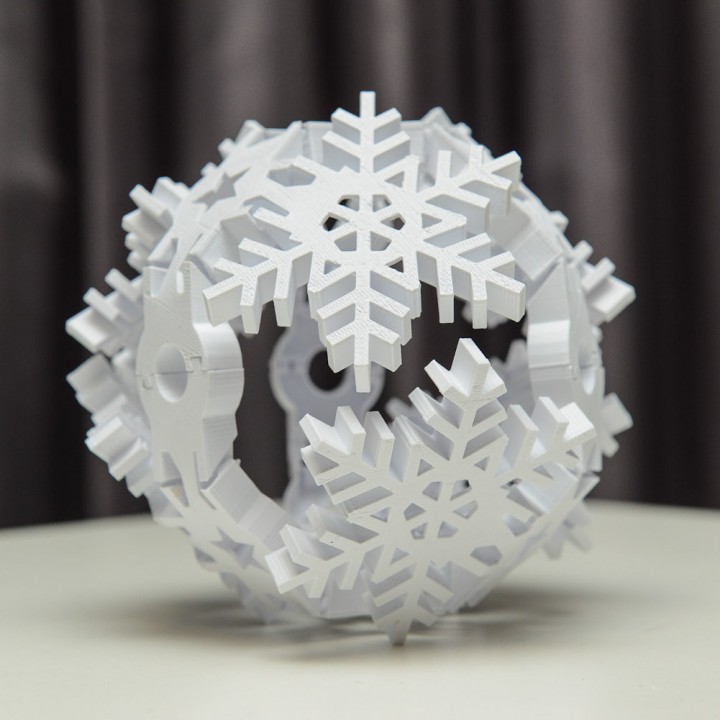
Once you have your prints, start bending the hinge points and latching the hooks together! I start with the outside and work inwards, then do the snowflakes last, but really, it's just a matter of what's convenient. Once you have two halves constructed, you should be able to snug the three sets of connectors together to make the round bauble.
Go forth and decorate!
The nuts and bolts (or lack thereof)
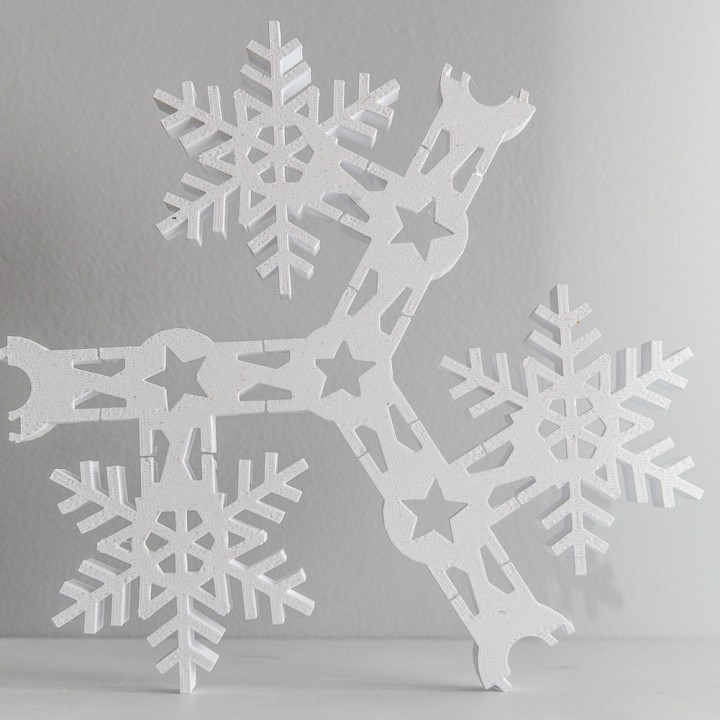
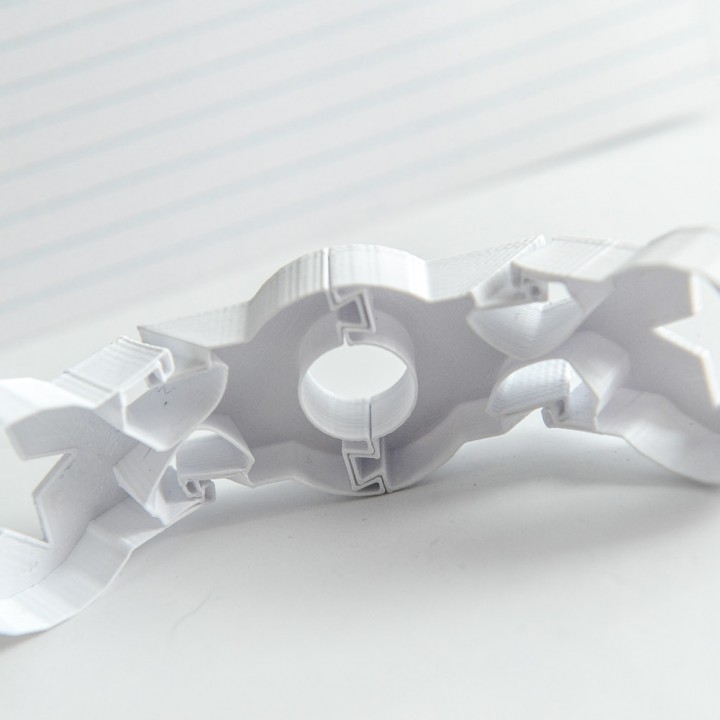
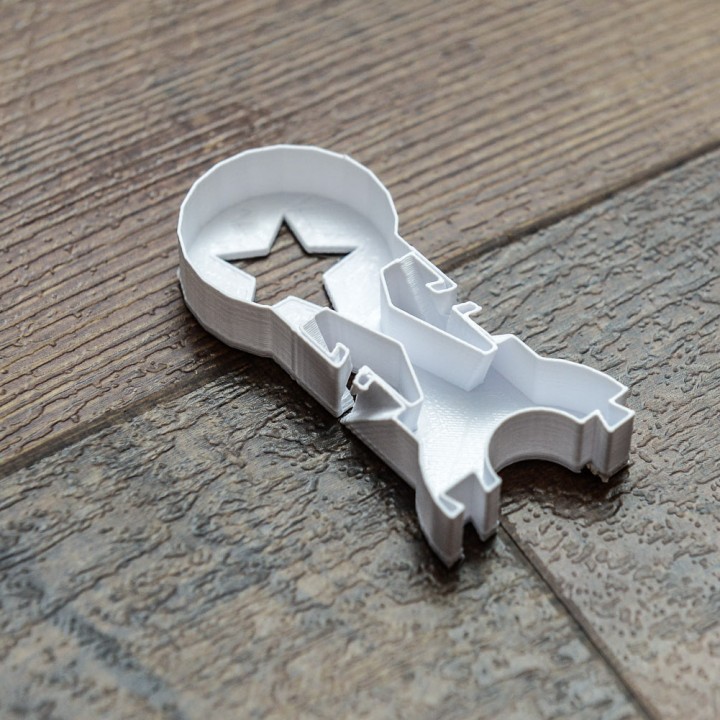
Well, the key to this whole endeavour is the bending element and its associated retaining mechanism, which ended up being a set of hooks. I knew exactly what I was going to do, and nothing could possibly go wrong... well, two long weeks and 36 redesigns later, it finally came together! Below are a few principles I worked by:
- Everything needed to be the same height. It's not really a single outline otherwise.
- There could be no holes (except for the decorative stars and snowflake inners in the base, which don't affect structure)
And, some things I learnt in the process:
- Bridging is a horrible gamble in vase mode, so features need to emerge gradually. This mostly affects the hooks, which took quite some fiddling to get printable at the angles required for their operation.
- The internal walls at the hinge point need to allow for graceful deformation. However, there's a balance there between avoiding wall collisions that prevent bending, and allowing walls to push against each other in order to put tension on the hooks outside.
- The hinge point walls also need to be as simple as possible, with minimal detail - every extra feature adds more material, which affects bendability.
- Because the hooks are stressed when bending, they deform; thinner hooks deform less. However, a degree of deformation allows the hooks to maintain tension! So, there's a balance to be struck.
Working in Vectary
The array plugin in Vectary was tremendously useful here! I needed only to maintain the hinge component in one place as I iterated through designs, and Vectary did the heavy lifting to push the changes to where they needed to be.
Where to from here?
I really like the idea of expanding on this to do something truly awesome like a folded dinosaur skull, or some concept that makes use of the tension and flexing for a grander purpose...
The fine print
This model was created with VECTARY - the free, online 3D modeling tool
Credits:
- model by Clockspring


Print it in vase mode! Or spiralize outer contour mode, if you will. It should be trivial to print. It's pretty big, but it'll fit on a 210mm bed if you watch your skirt settings.
The main thing to consider is that there is only intended to be one single outer contour. From memory, one of the slicers will outline internal voids, too. this probably won't be a structural problem, but it subverts the idea of one gradually-rising stream of material.
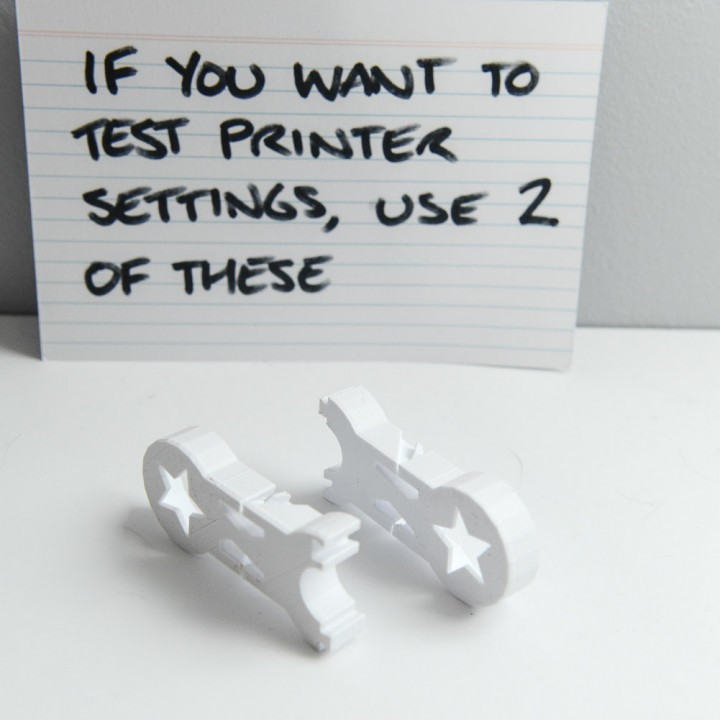
Now, that said, every printer is different, and while I printed this with 0.2mm layers and a 4mm nozzle, your mileage may vary. So, there's a test piece included, and you can use that to test settings before committing to the main print, if you're worried. With one test piece, you can test the bending aspect. With two test pieces, you can also test the join between the two halves.
Material-wise, I've only printed this in PLA, but it would be interesting to give it a try in PETG...
Happy bending!
| Date published | 01/12/2017 |
| Support Free | YES |

Printed fine sliced with S3D using the single shell version.