Drink Can Planter and Drip Feeder


Drink Can Planter and Drip Feeder
Published 2018-02-07T11:58:29+00:00
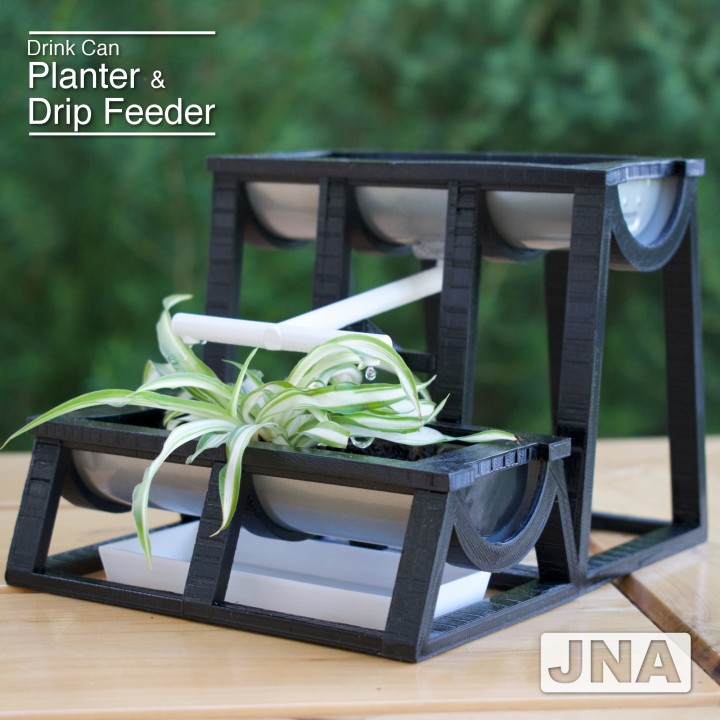
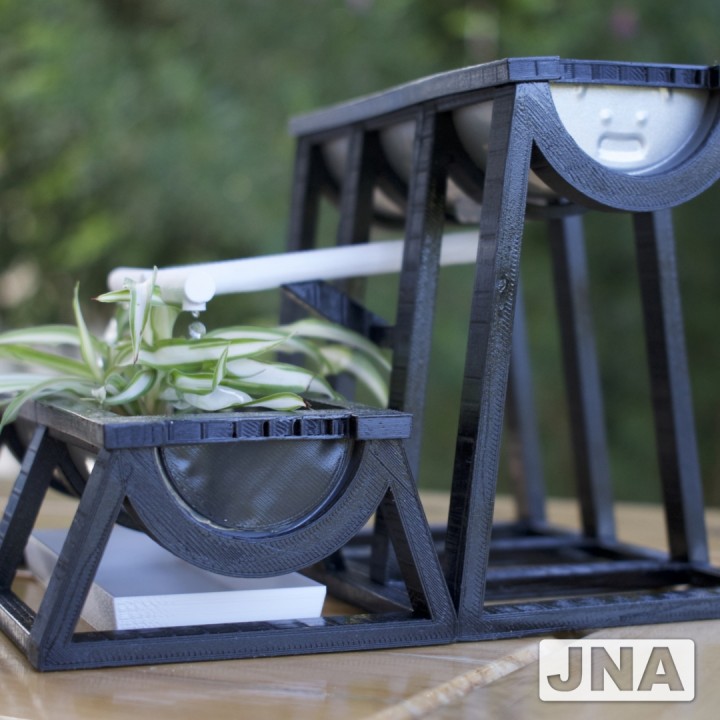
Use 3D printing to turn an old drink can (250 mL - 'slim' style) into a unique pot for small plants and seedlings, as well as a drip feeder to gently deliver water from a raised reservoir.
Watch my assembly video, or read my thorough instructions below.
Steps for construction:
(1) Cut drink can
- Cut in half lengthways (make sure the drinking hole is only in one of the halves - we'll use the holeless half for the raised reservoir, which needs to be watertight).
(2) Drill holes
- The reservoir half should have one central hole for the water outlet. Drill two holes for drainage in planter half.
- [Optional] spray paint the can halves in your colour of choice.
(3) Print parts
- You'll need three pieces for the planter stand, and four for the reservoir stand. These can be printed without supports. I chose 0.2 mm layer heights, with 17% infill.
- Print two 'edge frames'. I've uploaded two versions. One has the full frame and one is in two pieces. I had to print in pieces so it would fit in my tiny print volume. NOTE: I originally designed the frames to fit the RedBull can model available here: https://www.myminifactory.com/object/48502. The curvature in the bottom of the can on the model was too extreme for the can I had, so I modified it. Please check your can and redesign this part as necessary.
- The pipe and collection tray should be printed at 100% infill. The pipe will need supports.
- Also print brace and sealing plate. The brace will also need support.
(4) Assemble
- Use super glue to fix the planter stand pieces together, as well as the edge frames, if printed in pieces.
- Glue the reservoir stand parts 1 and 2 together, and 3 and 4 together. Leave the two halves separate for now.
(5) Make holes in pipe
- The 'pipe' piece prints without holes to let the water drip out. Make small holes in the two bottom outlet cylinders using a fine sharp implement, like a map pin.
(6) Secure the pipe with hot glue
- Hot glue seems to work fine for sealing the pipe onto the bottom of the reservoir. I made a mess of it, however, and tried to hide it with some paint.
(7) Attach sealing plate
- Hot glue also works alright to secure the sealing plate over the hole in the planter half of the can. If the plate doesn't sit comfortably on the curved surface, I recommend softening the plastic with a hair drier and moulding it with your hands (if you're using PLA).
(8) Fit everything together
- Fit the cans into the edge frames, and push into place on top of the stands.
- Make sure you feed the pipe through the reservoir stand before gluing the two halves together.
- Let the brace sit loosely in its slots without glue. This gives you room to move it in place relative to the pipe. Glue to top of the brace to the pipe.
- Add soil and plants!


I printed with 0.2 mm layer heights in PLA on the Cocoon Create ModelMaker (a rebranded Wanhao i3 Mini).
Only the 'Pipe' and 'Brace' parts need supports.
For best results, I'd recommend using 100% infill for the 'Pipe' and 'Collection_tray'.
If your printing volume is large enough, print 'Edge_frame_full' rather than 'Edge_frame'.
| Date published | 07/02/2018 |
| Technology | FDM |
| Complexity | Easy |