Google AIY Case Ironman Mark 7 torso and base Adafruit Neopixel rings


Google AIY Case Ironman Mark 7 torso and base Adafruit Neopixel rings
Published 2018-07-04T14:27:44+00:00
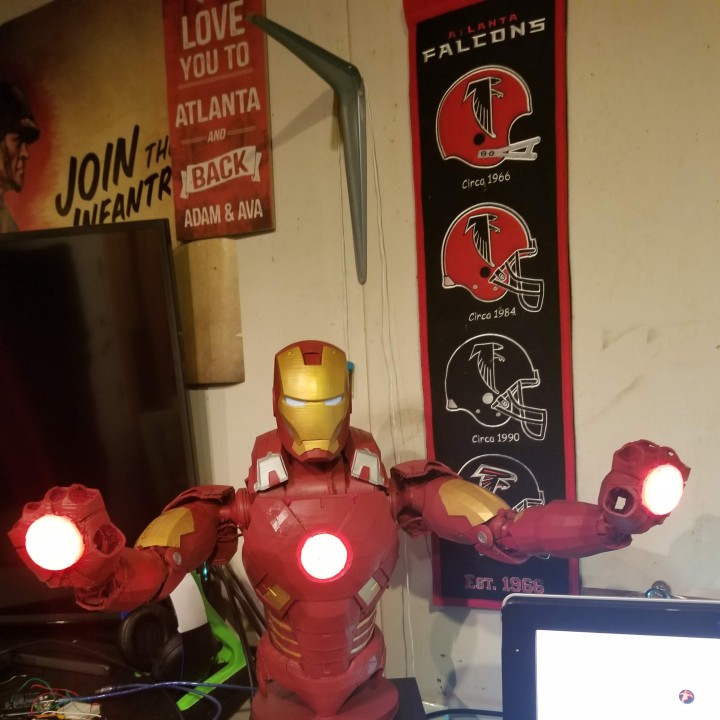
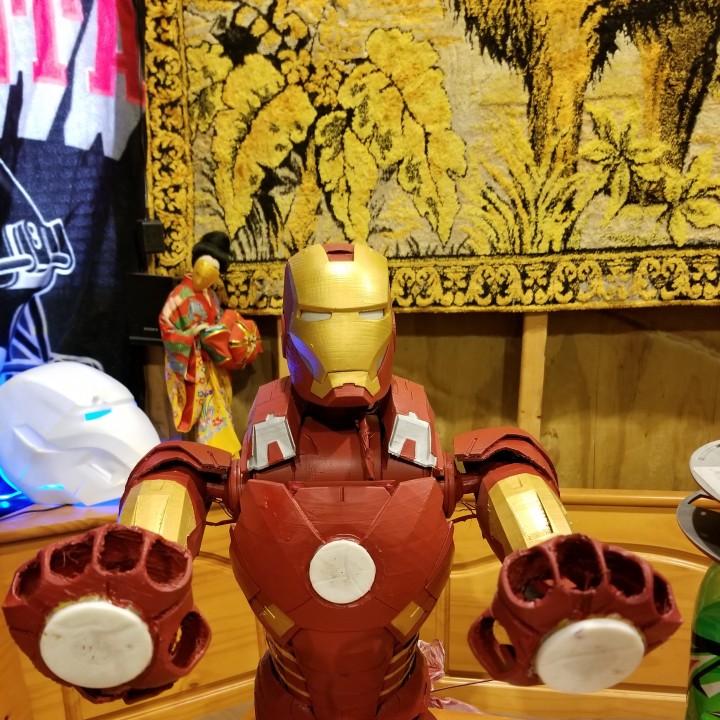
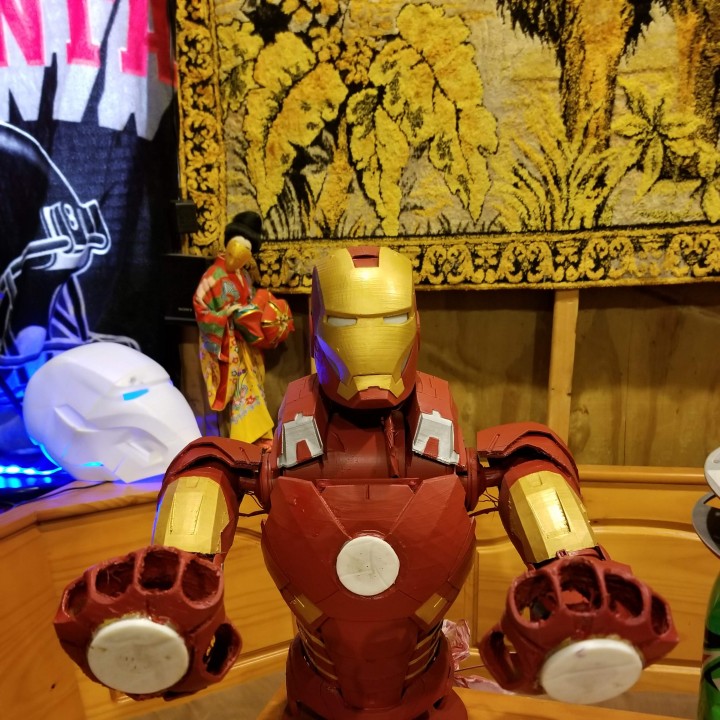
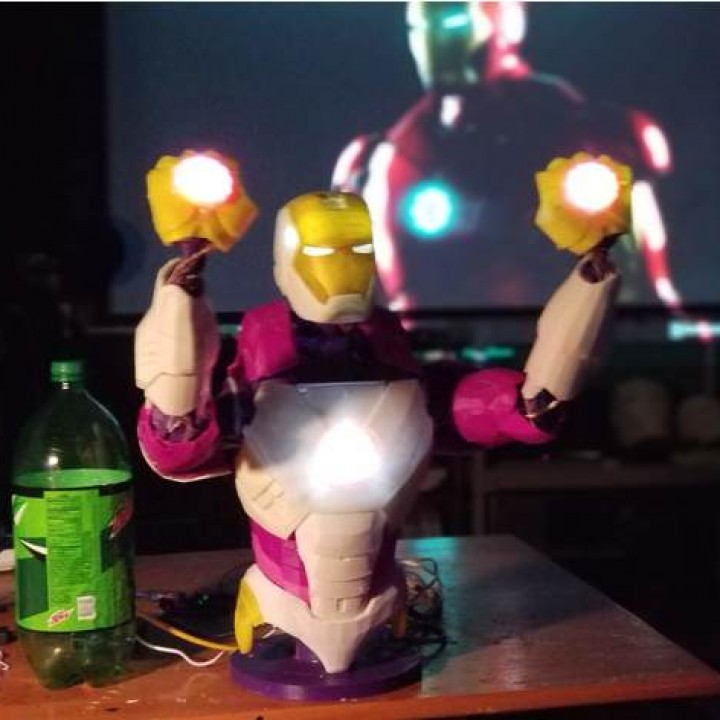
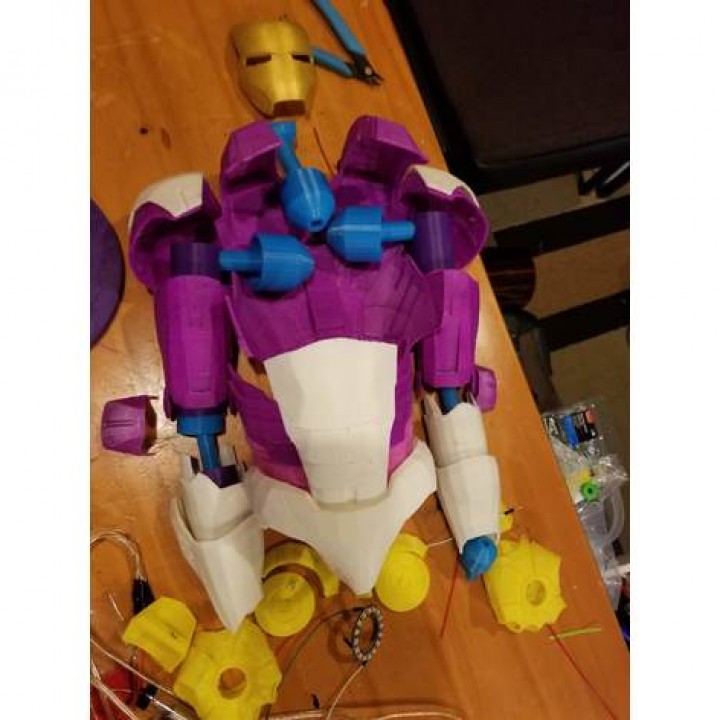
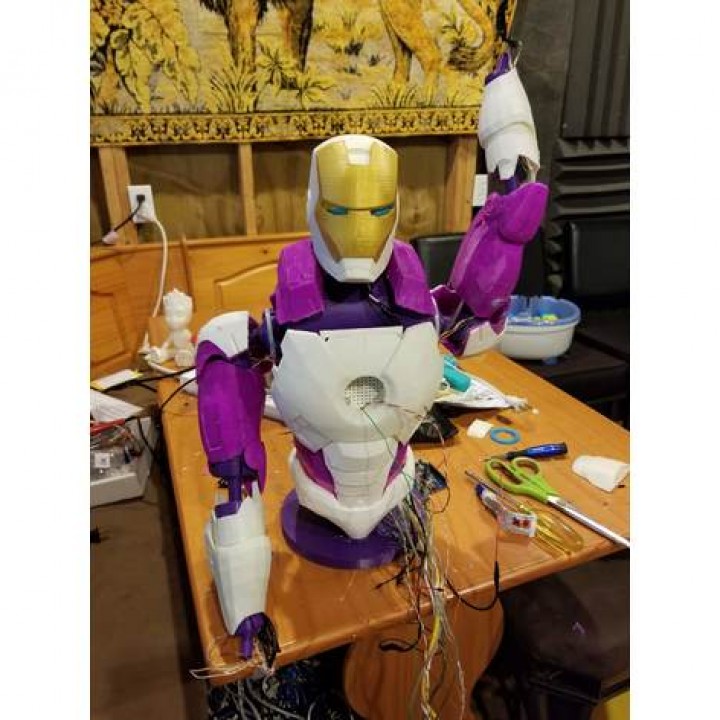
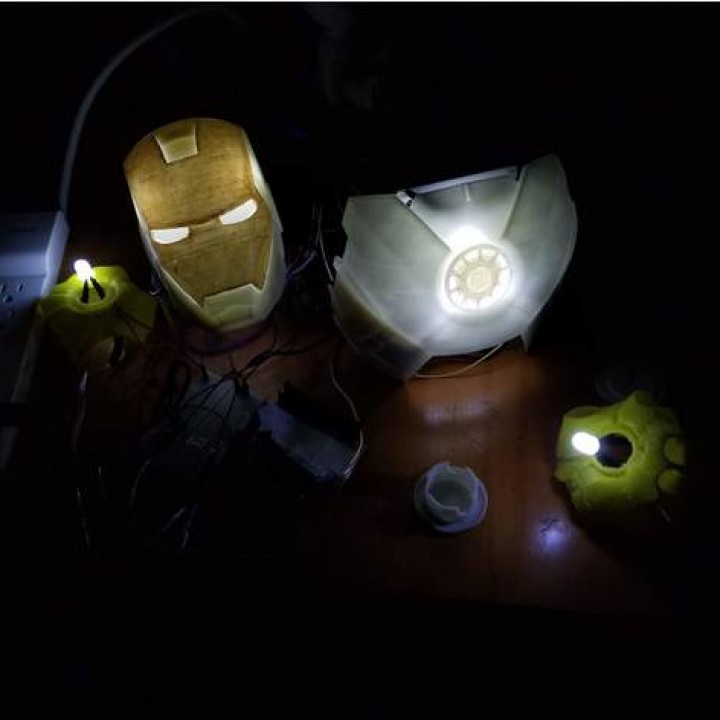
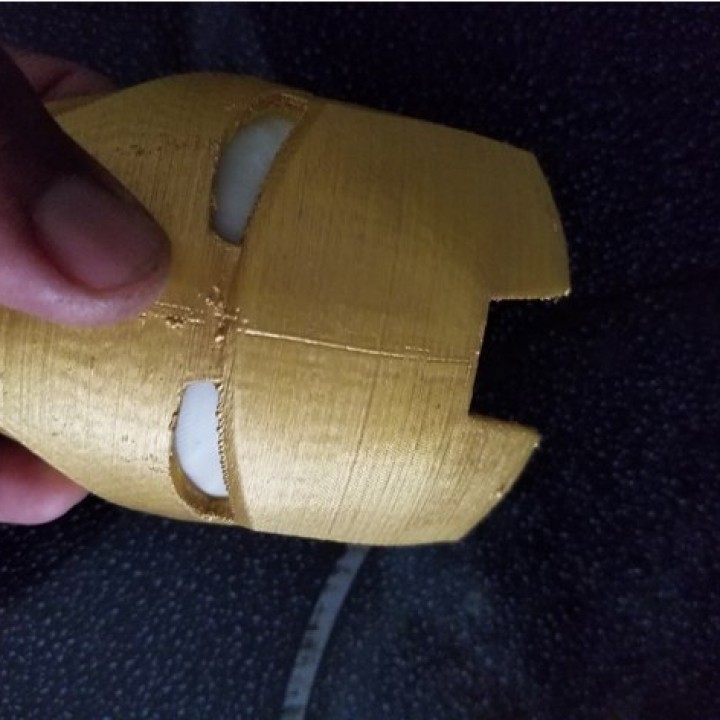
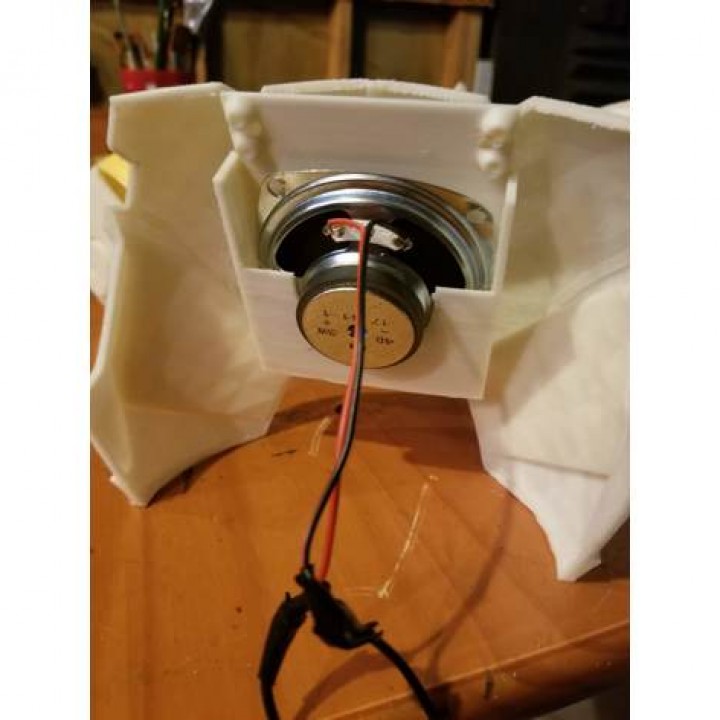
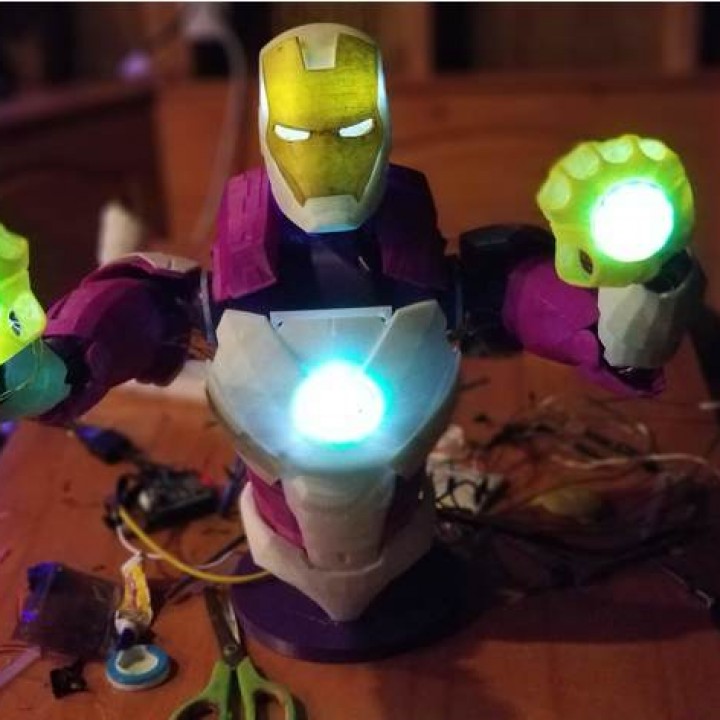
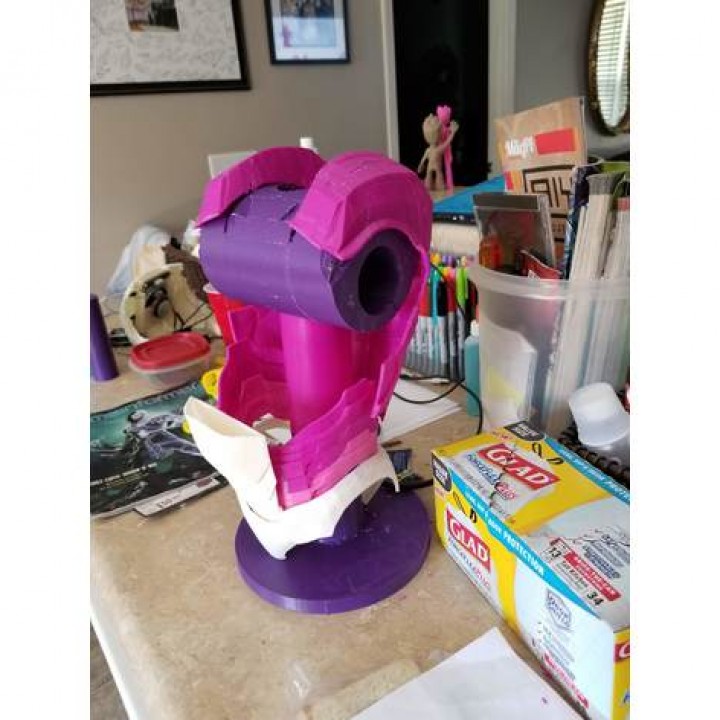
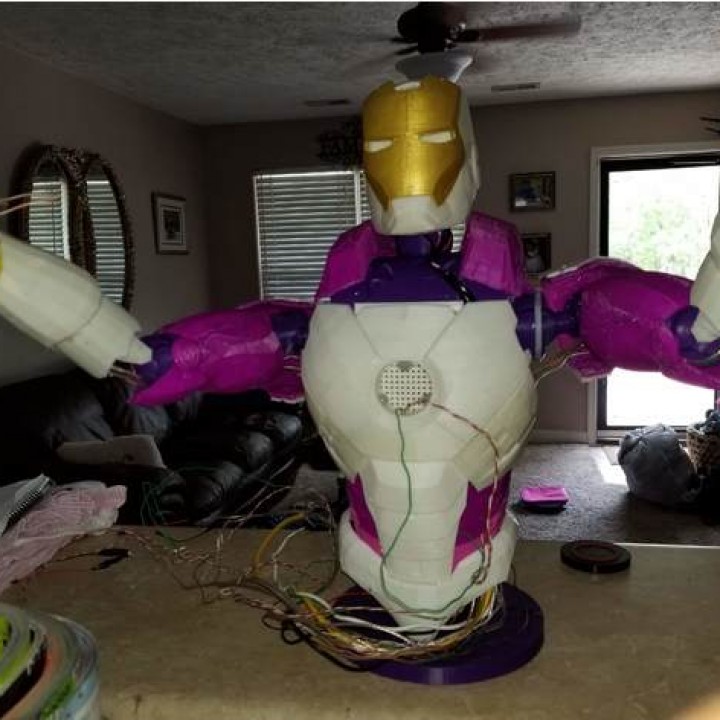
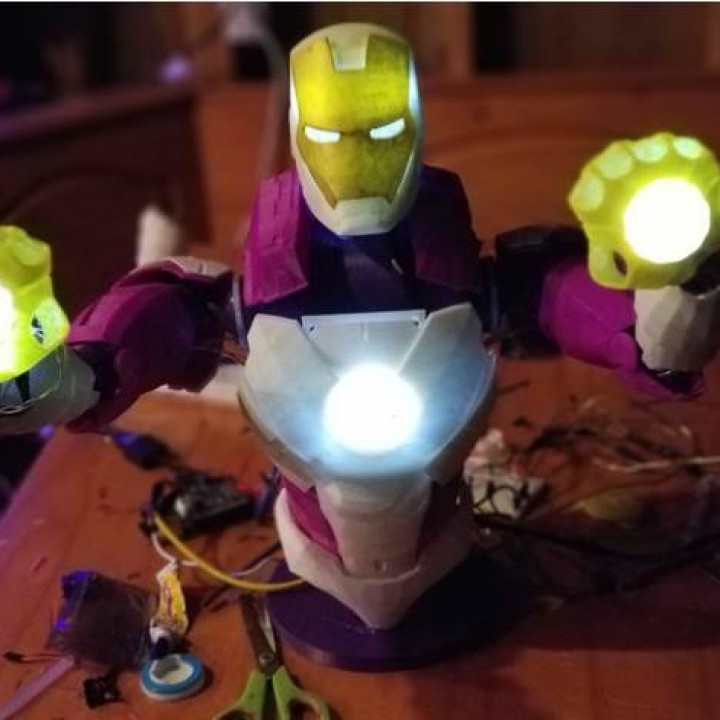
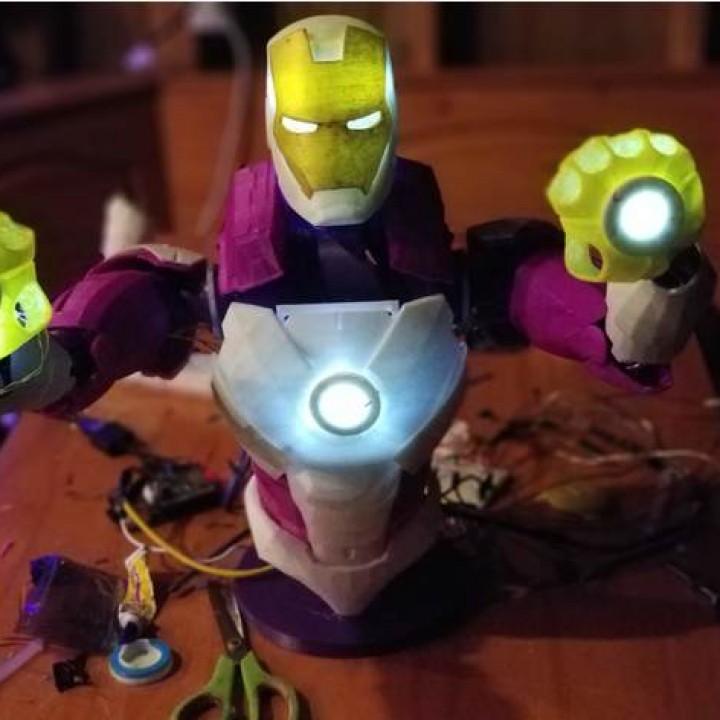
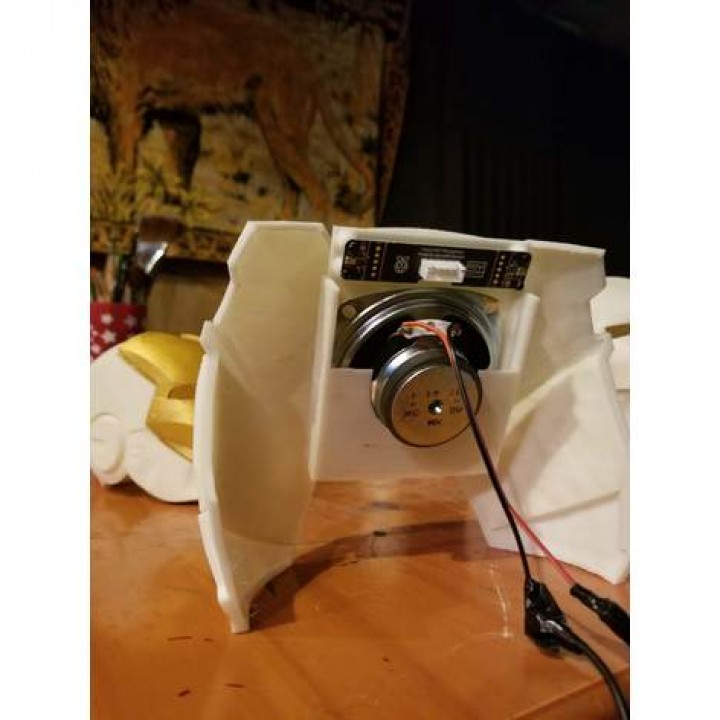
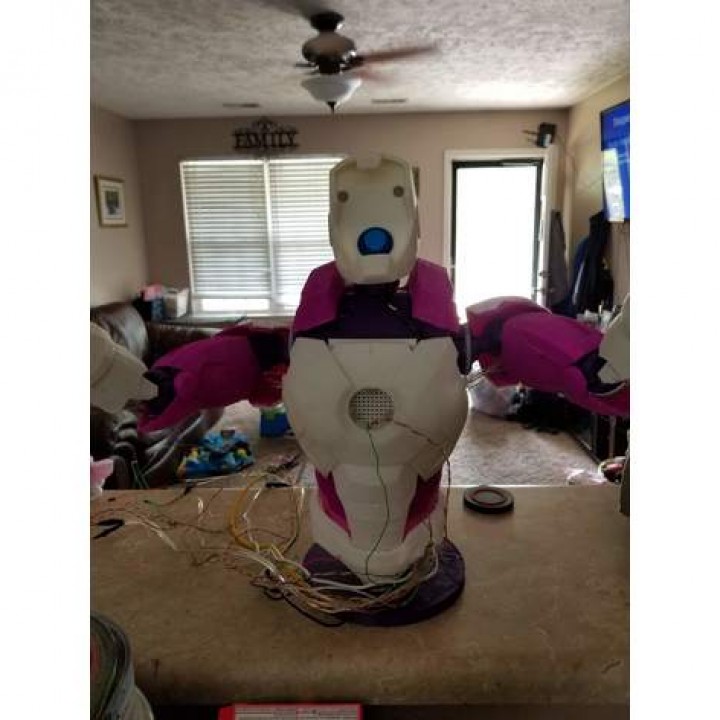
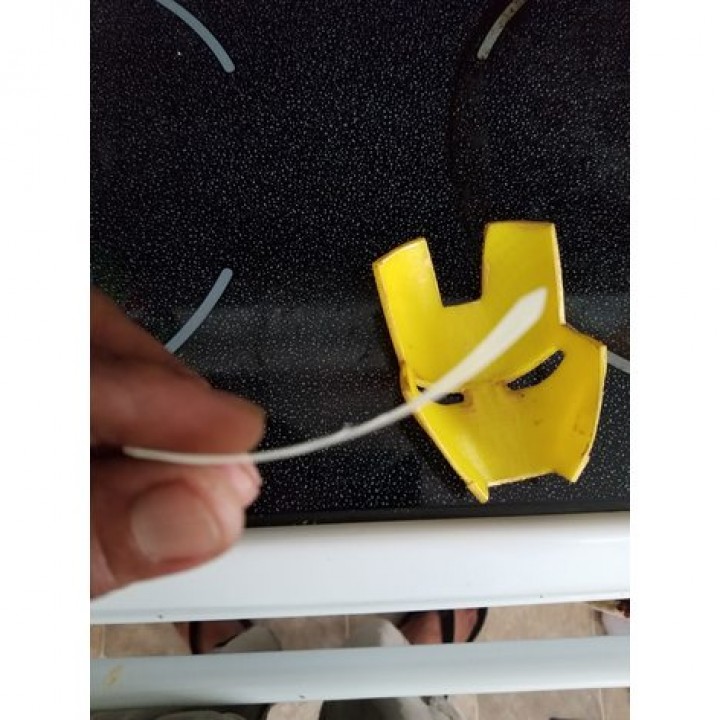
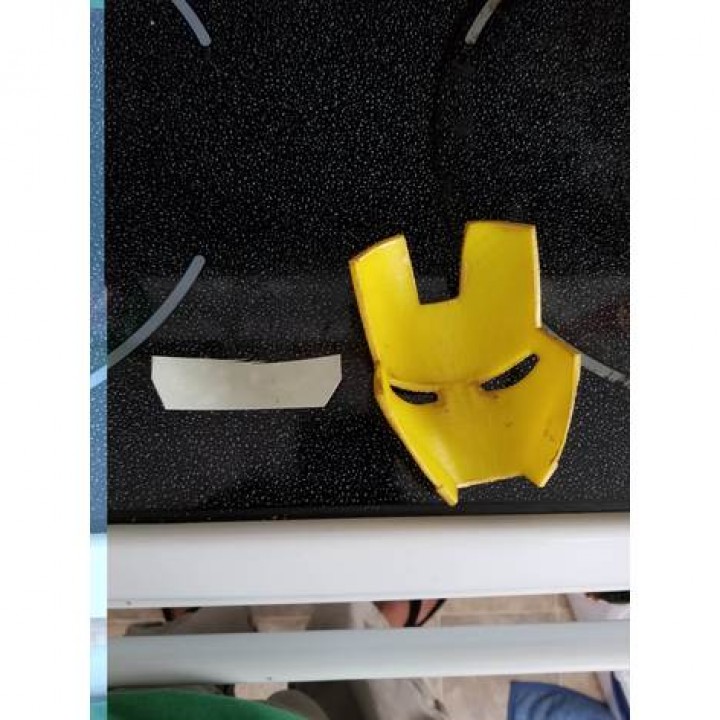
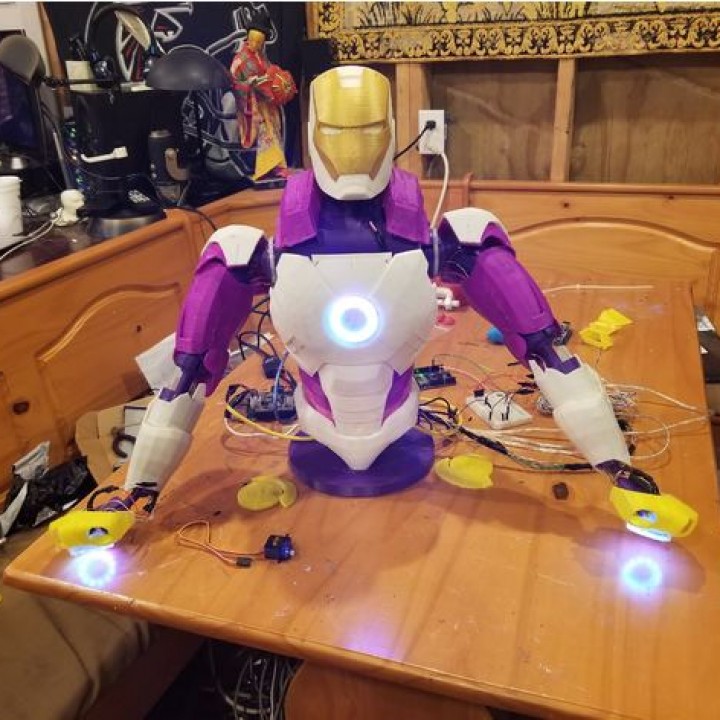
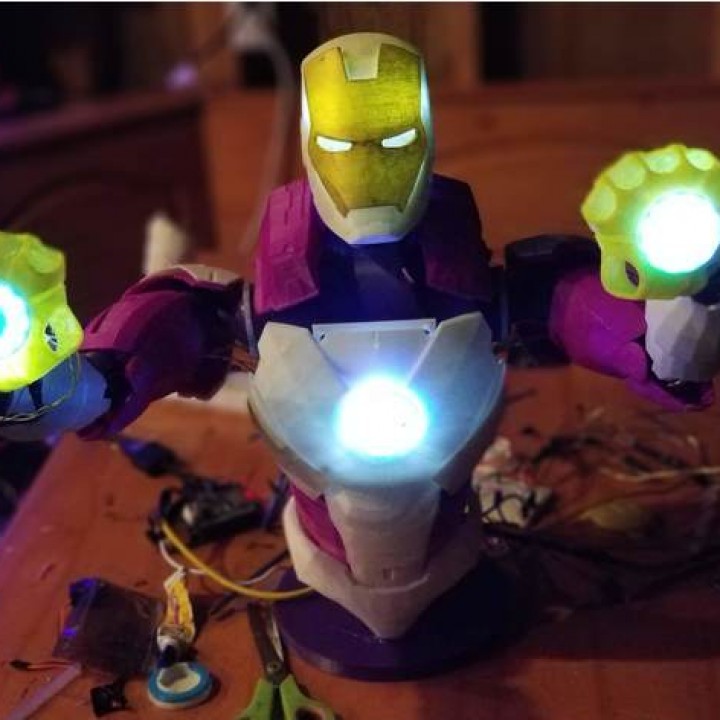
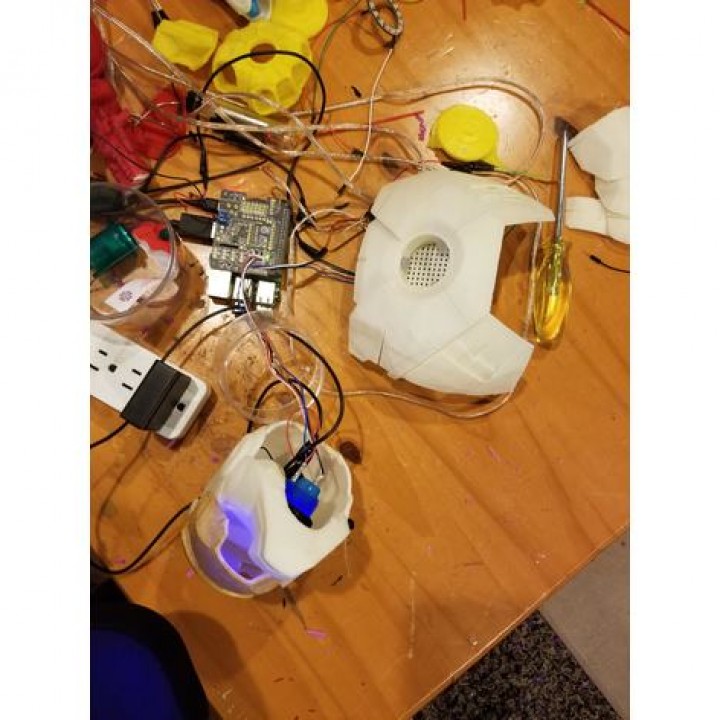
HERE is my 2nd design for the Adafruit AIY kit for Raspbery Pi 3 B. Took a few weeks to print mostly due to filament jams I was having....After switching to 100 percent infill for all the torso parts but the helmet, I was able to get it all printed. This build is about 18 inches tall with hands not raised above the head. I remxed Jace1969 awesome costume design, but I did use the helmet from Odino https://www.thingiverse.com/thing:90325 because I needed to be able to open the faceplate for access to the arcade button. I used the screw holes for the voice hat from Adabot Google AIY Voice Kit by Adafruit ( https://www.thingiverse.com/thing:2709085 ). I used the speaker mount from dfoles design Meeseeks Box - Google AIY Voice for the Pi Zero W (https://www.thingiverse.com/thing:2329814). The ball joints were made using ball joint by chicuco (https://www.thingiverse.com/thing:196372). This build uses 2 neopixel 12 rings for the hands and 1 neopixel 16 ring for the Arc reactor. They were added after the fact so they dont exactly fit but they work fine, I used hot glue to keep them in place. I used 7 milky white 10mm LEDs , 2 in the helmet, 3 in the reactor, and 1 for each palm....The LEDS and Neopixels are controlled and powered by an Arduino uno. I plan on putting the white LEDs on the AIY kit soon so they can be voice activated, but as for now they are always on(EDIT: I got the voice activation working, see below ). Some of the files may be redundant, just pick what suits your printer....Also some need to be mirrored. You can figure out what you need easily. If anything is missing please let me know because I have it, I was printing and designing on the fly, so I tried to include what I ended up using. Good luck and happy printing.
https://www.youtube.com/watch?v=ei4zIvvzDWk
https://youtu.be/C2rvD73zJ7k
IMPORTANT TIP:
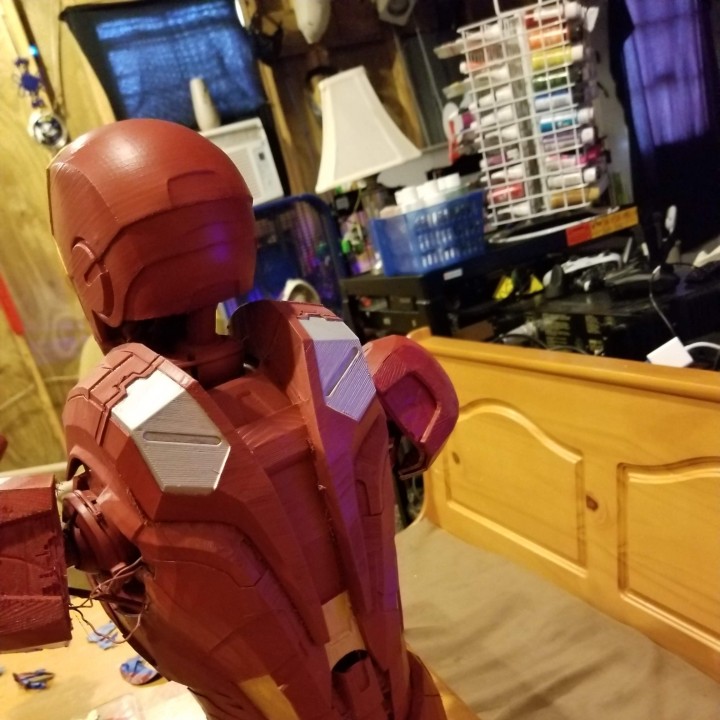
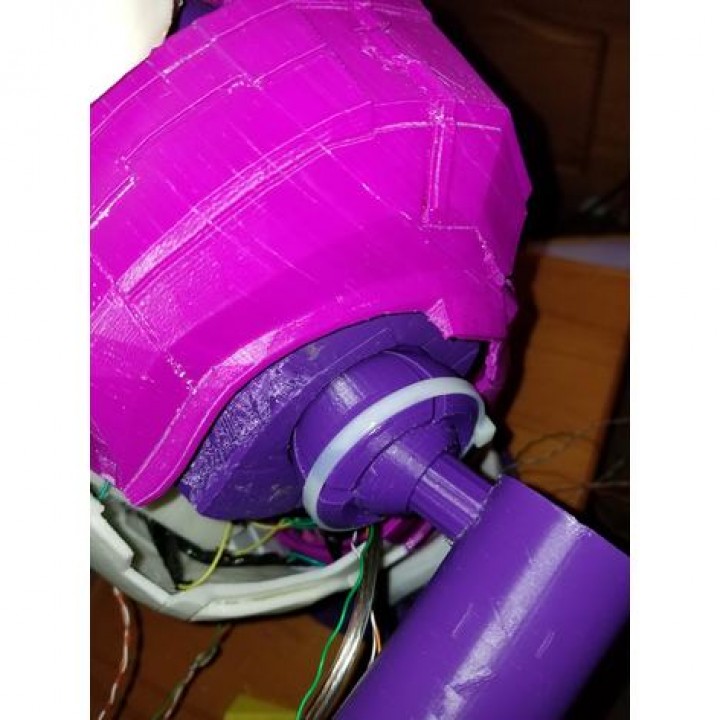
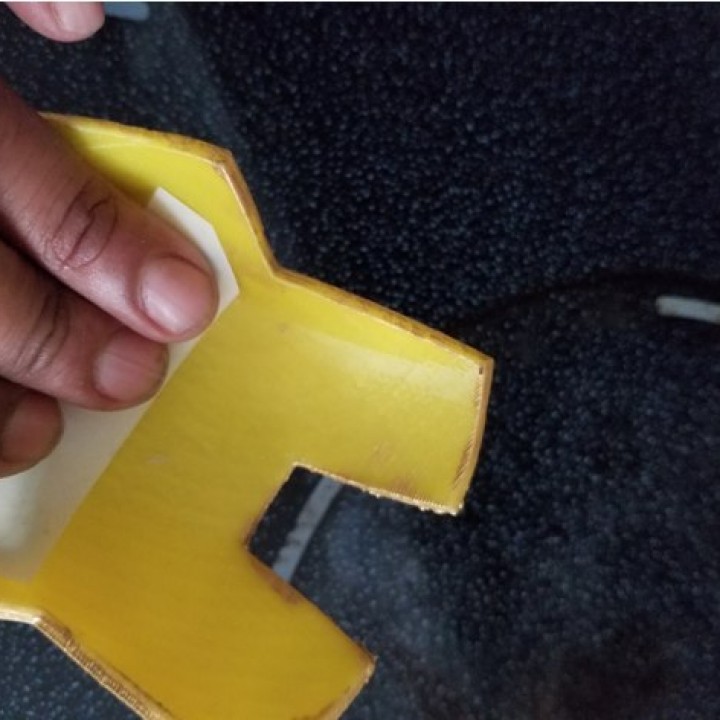
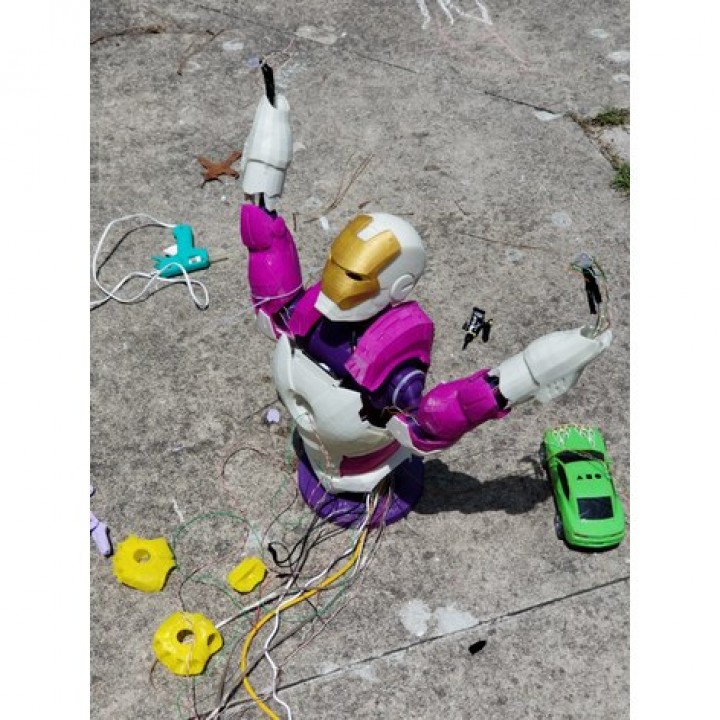
I added cable ties (zip ties) to the ball joints after assembly of robot but I recommend doing it before putting the robot together. I glued one end of the zip tie (the female end) then once it was dry and sturdy, I inserted male end, tightened as much as possible (with ball joint assembled), then glued the whole zip tie to maintain tension on the ball of the joint so the arms can hold their pose. If you dont do this, the arms will just fall to the side. Pictures included. I would even recommend more than one zip tie on each shoulder joint since it will be holding most of the weight of the arms.


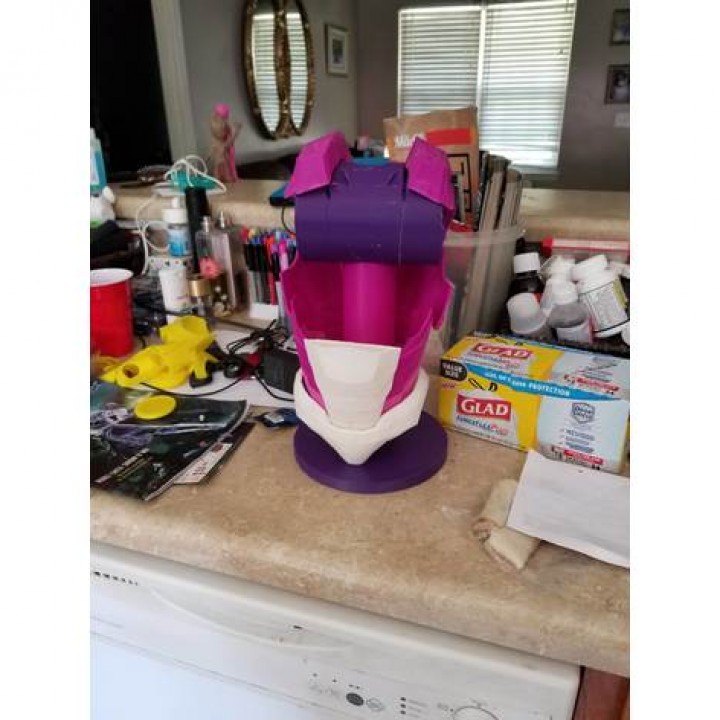
Helmet should be fine printed at less infill but the body pieces should be printed @ 100%. I had a better success rate that way. Also the back piece took almost 60 hours by itself, as the only way I had to position it on the print bed made for a crap ton off support inside but left the outside surface smooth. If I wouldve known it was going to take that long, i wouldve printed it face down and just put more effort into finishing. Also when printing Base top, there was a weird spot on top where there were a few levels of nothing but support, then printed another surface....This is not needed and will fall off when support is removed. It was at around 97% when this happened to me. I let it keep going, then removed it as it was a thin layer. Wear gloves if you superglue parts, its no fun and will mess up your hands.
UPDATE 8/2/2018
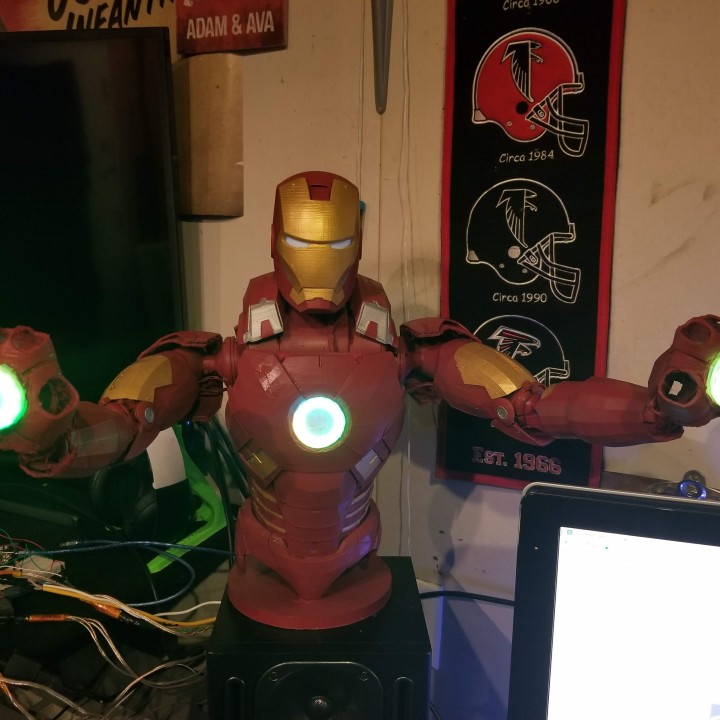
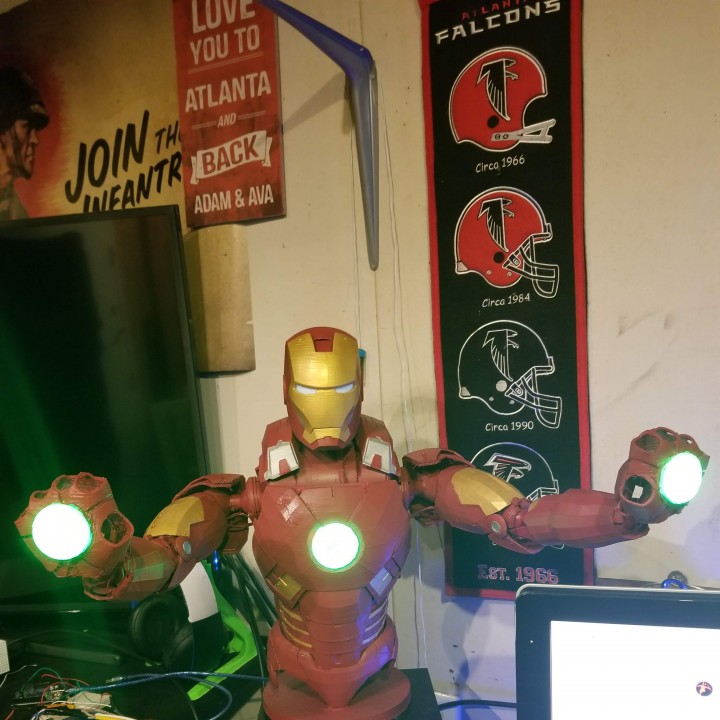
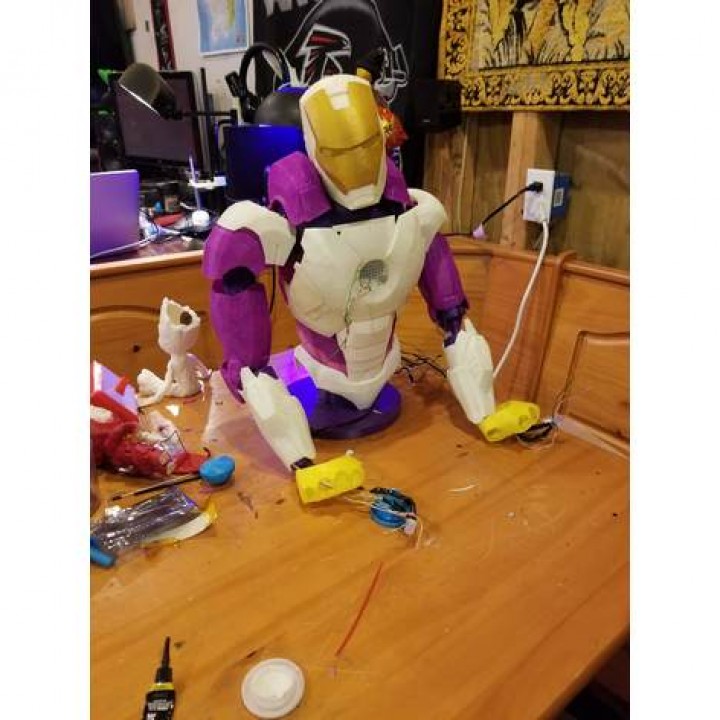
Added another cable tie to each shoulder joint (for a total of 2 on each shoulder) and also put a cable tie on each elbow joint. Used super glue to attach one end of tie to the joint, then after it dried, pulled it as tight as possible and glued the other end down to maintain the tension on the ball of the ball joint. Once this was done, the arms were able to hold their position very good, no matter the pose. After doing this I taped off the robot and spray painted it with Colonial Red paint and primer I got from Walmart. Used Acrylic gold and silver after it dried, then hit with 2 clear gloss coats. Painted Pics added.
| Date published | 04/07/2018 |
| Technology | FDM |
| Complexity | Difficult |