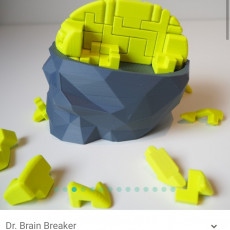
Dr. Brain Breaker
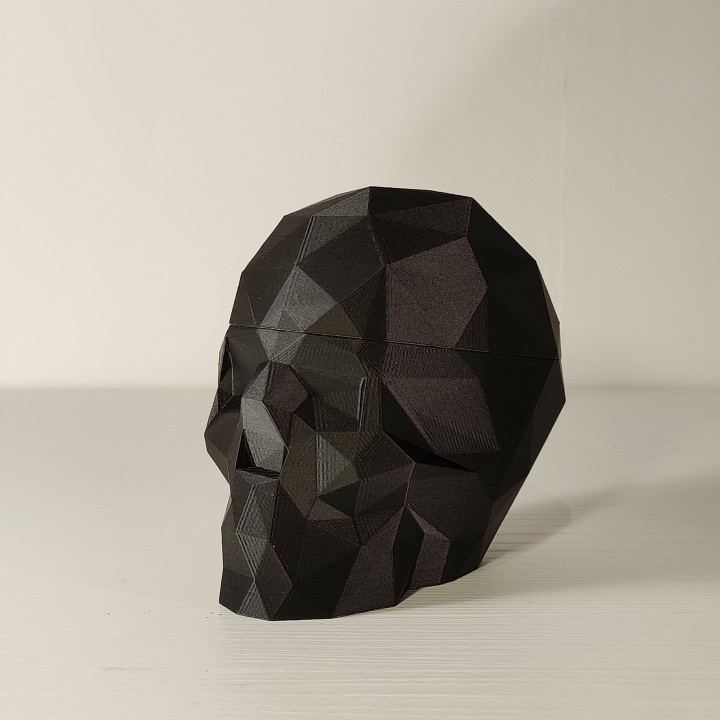
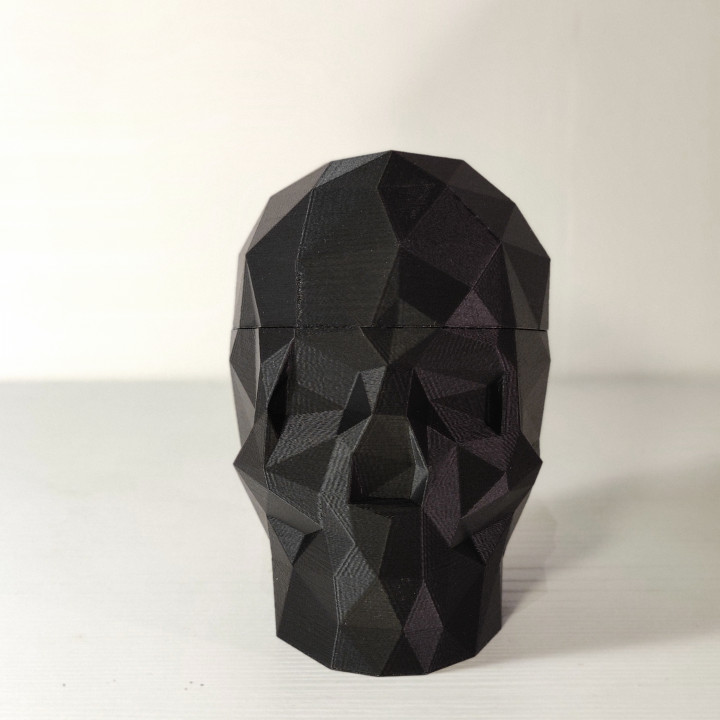


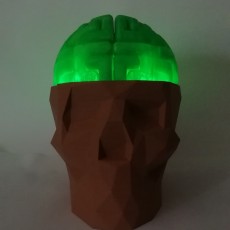
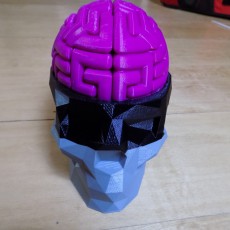
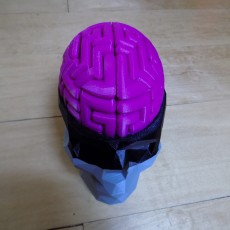
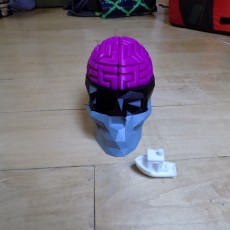
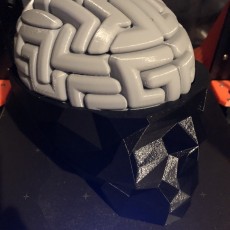
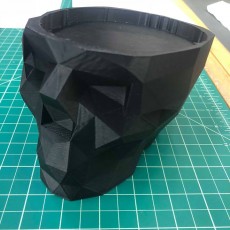

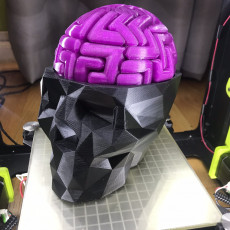


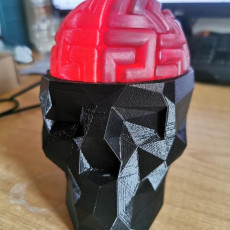
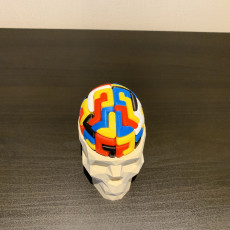


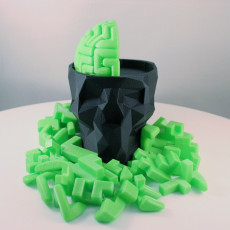
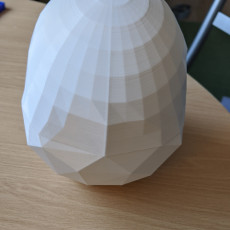
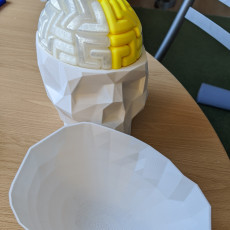
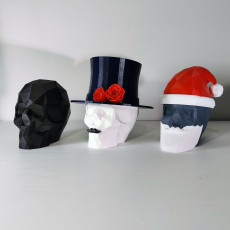

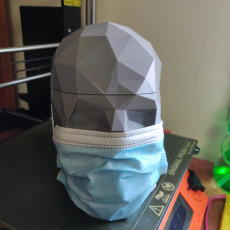


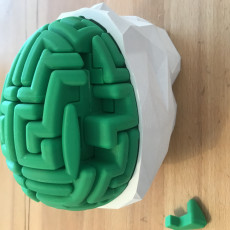


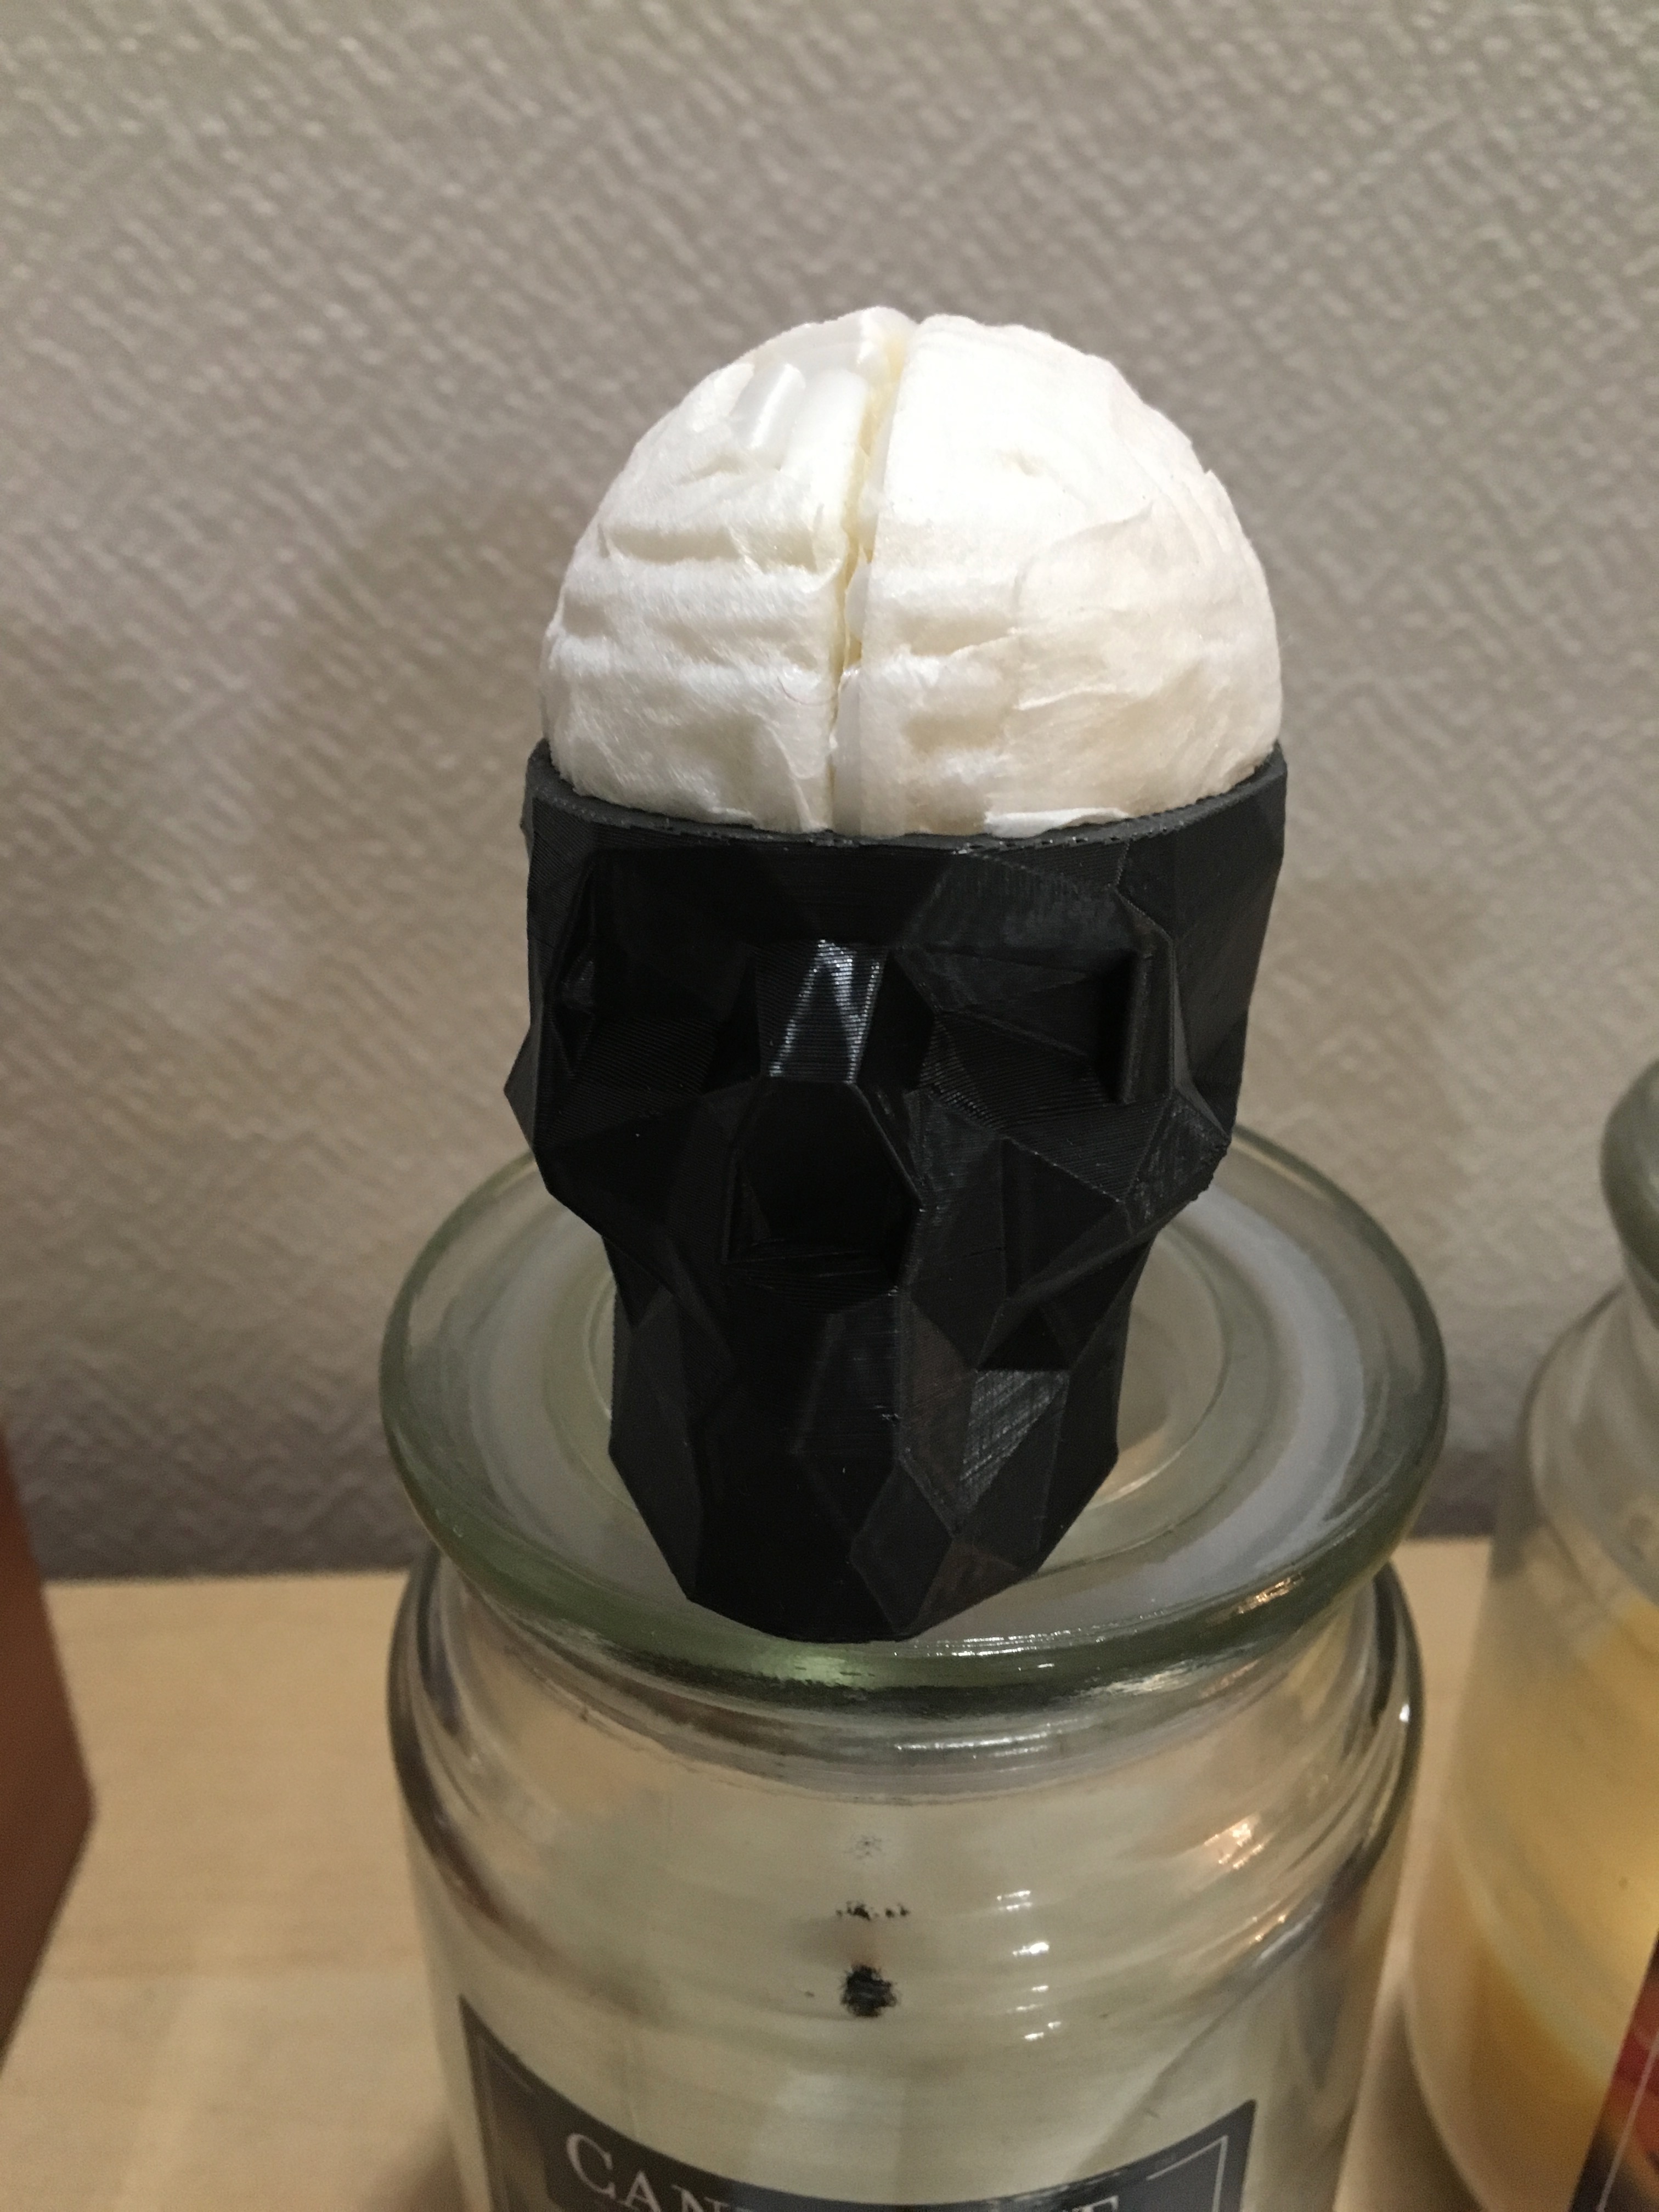
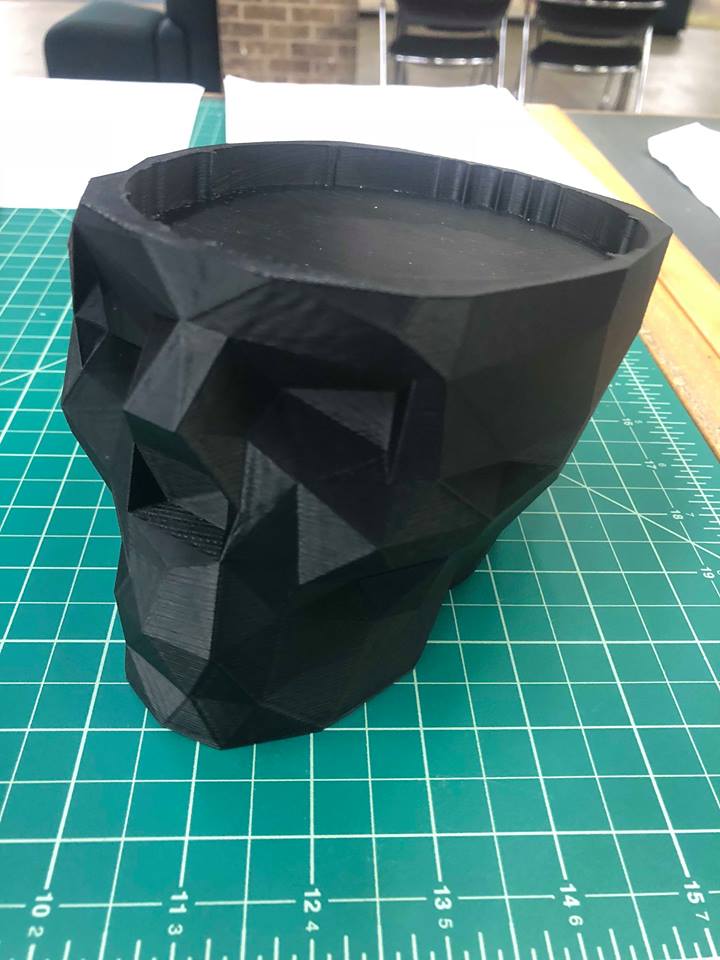
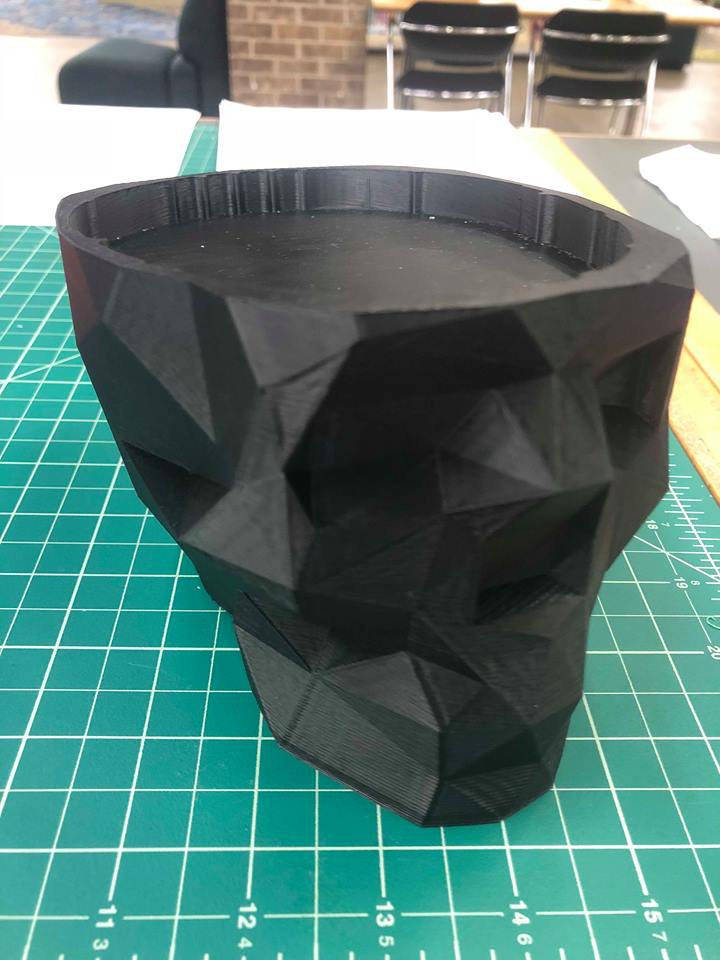
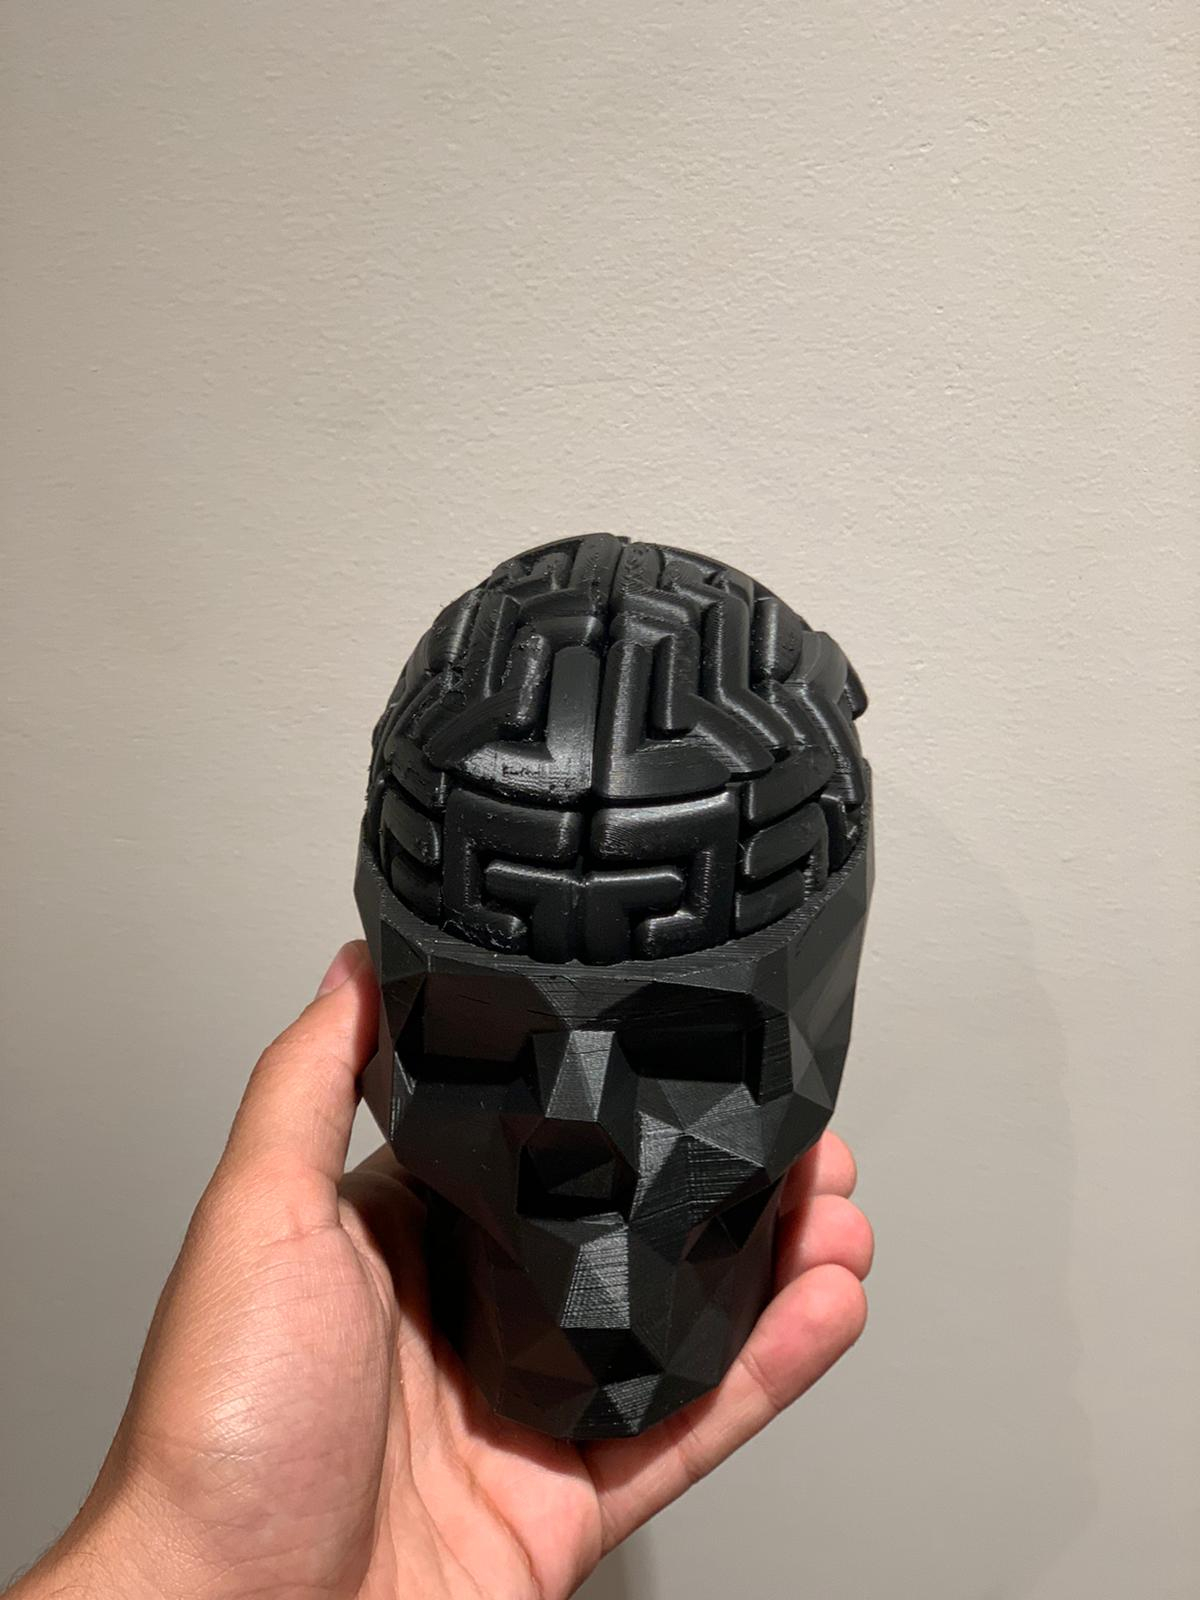
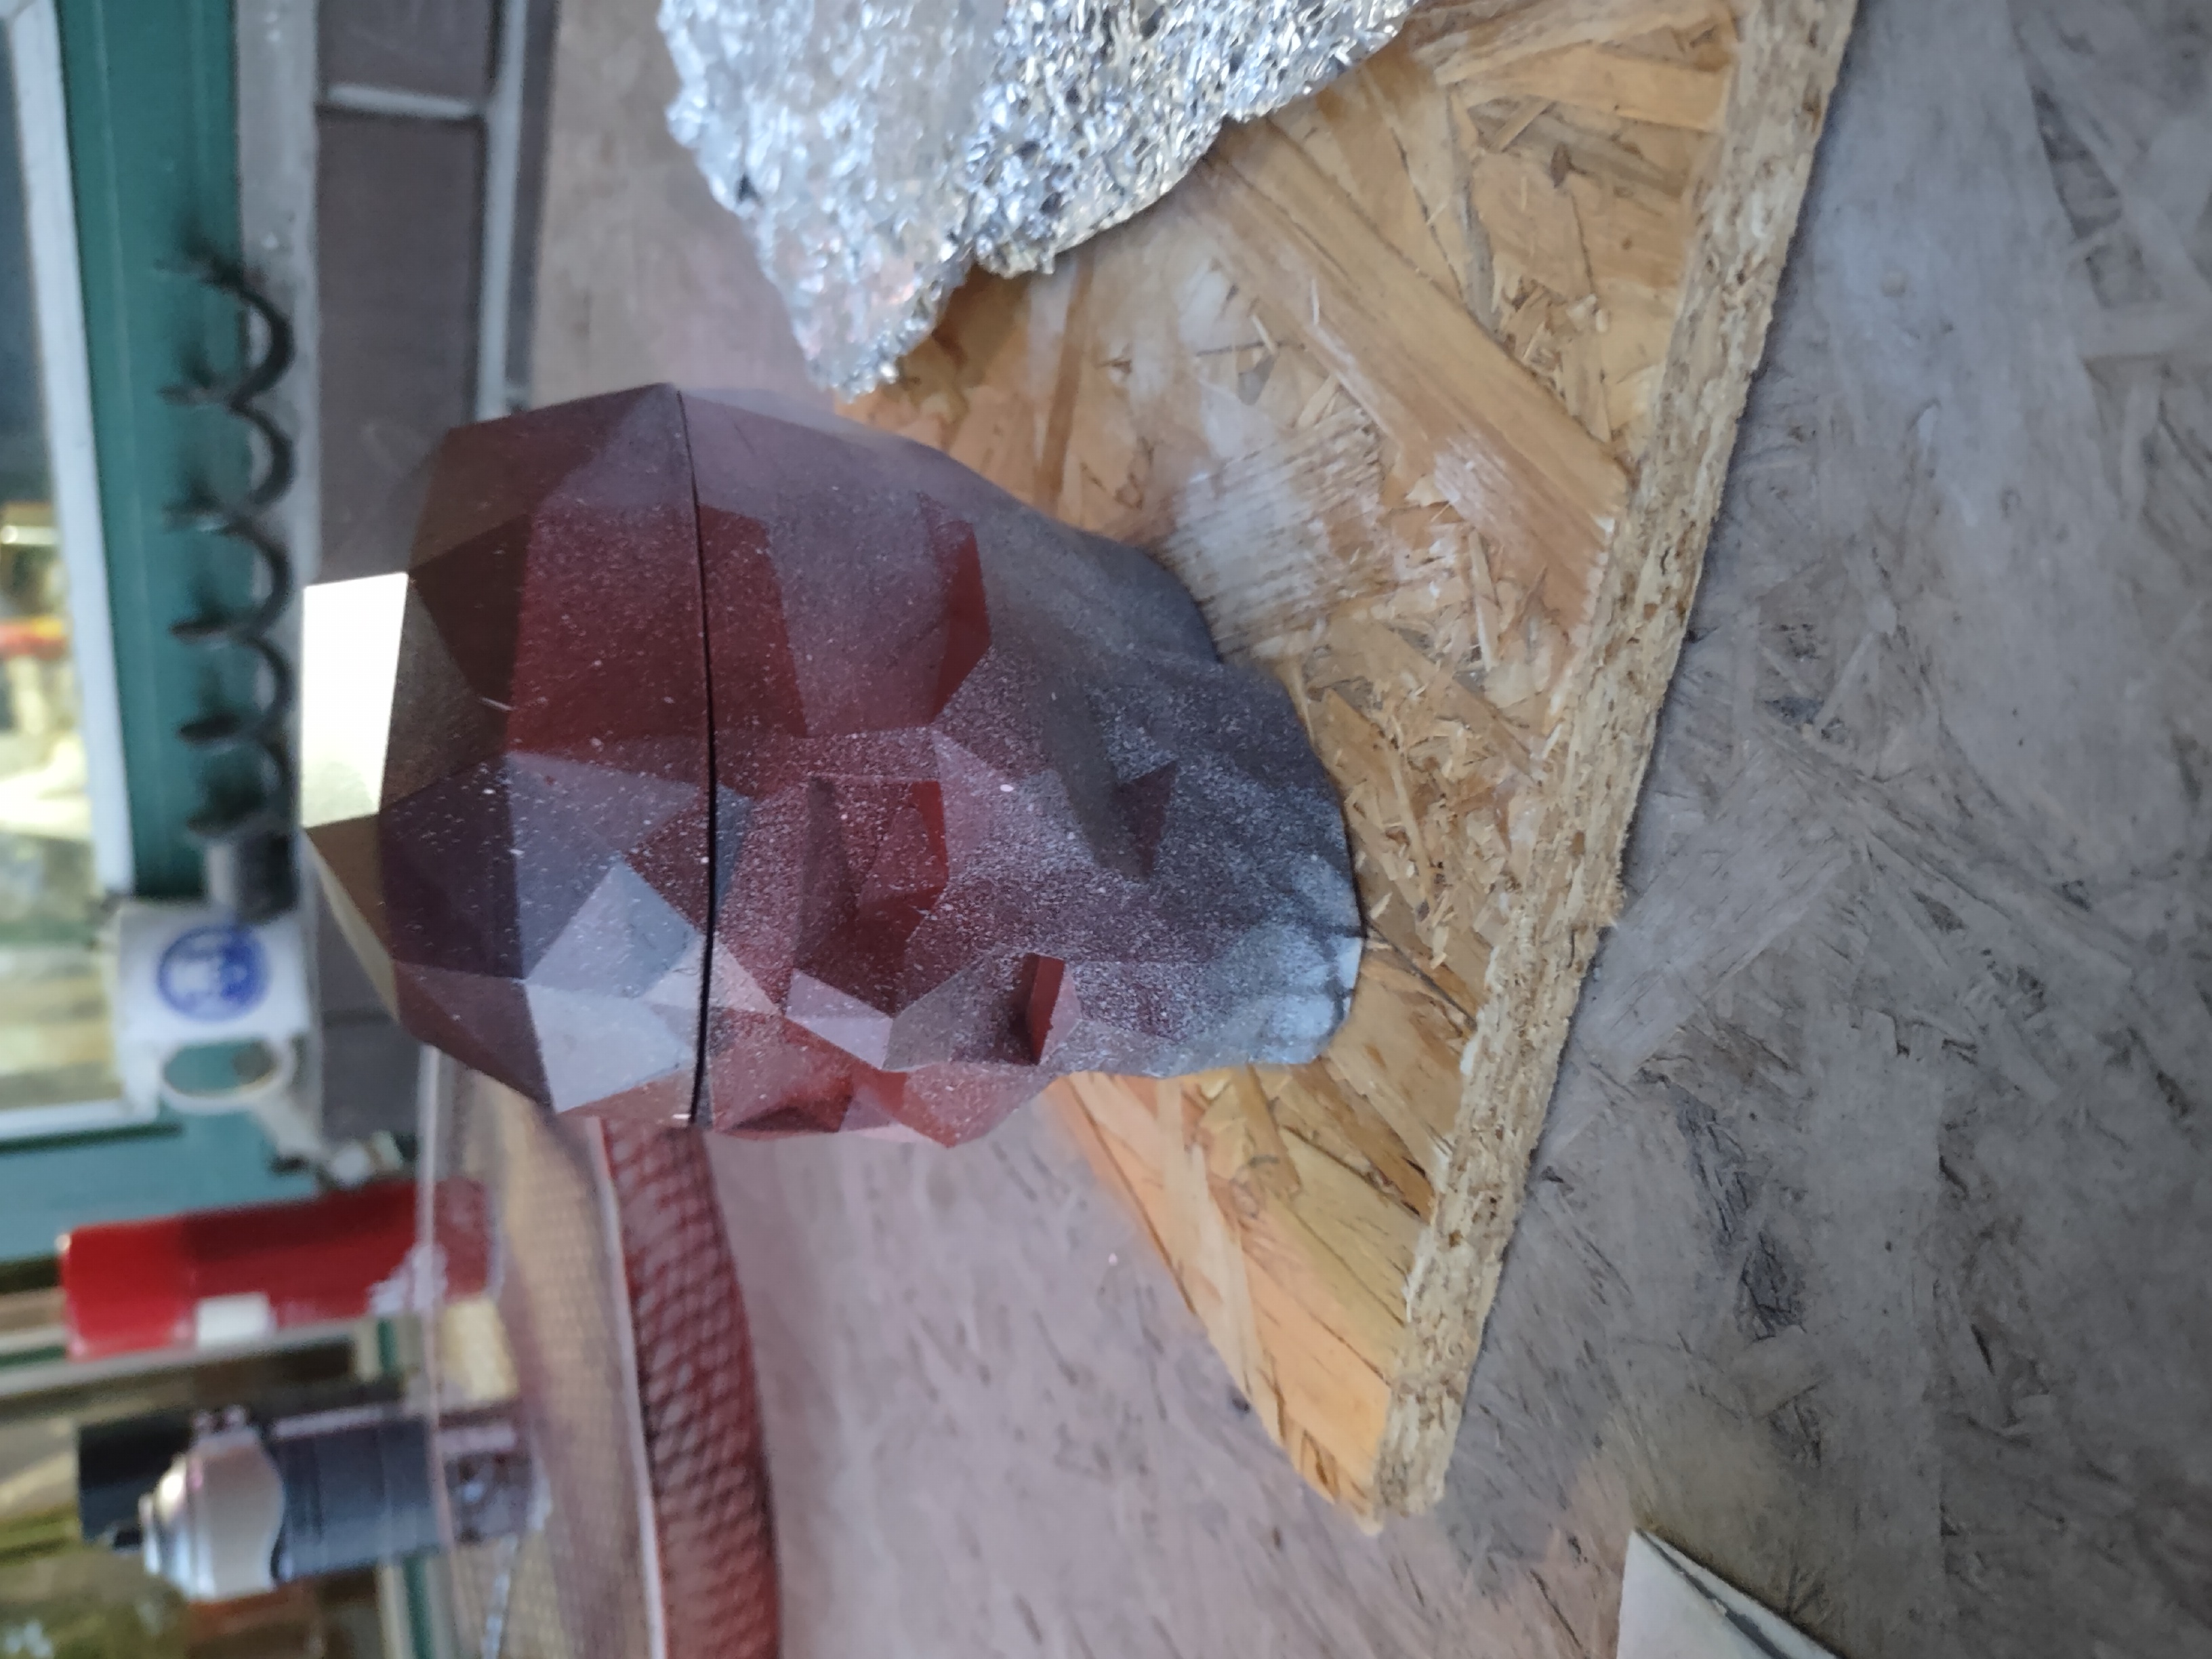
!! UPDATE !! - Dr. Brain has found the top of his skull! 💀
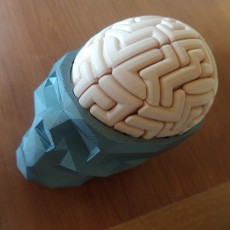
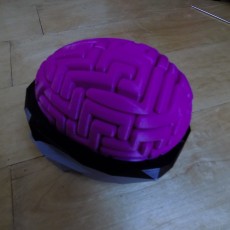
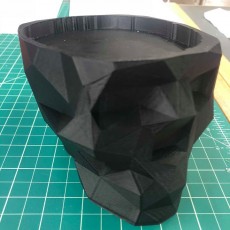
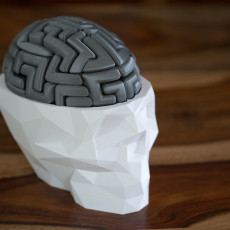
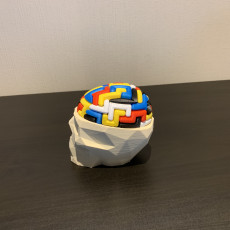
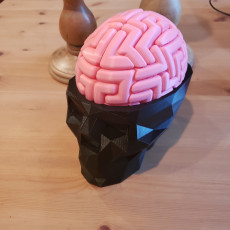
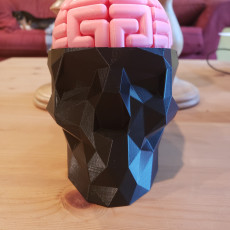
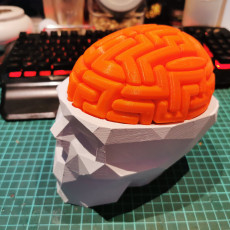
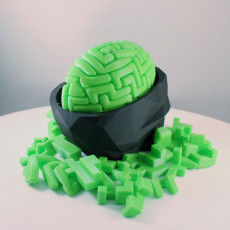
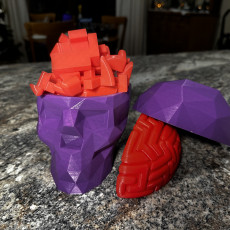
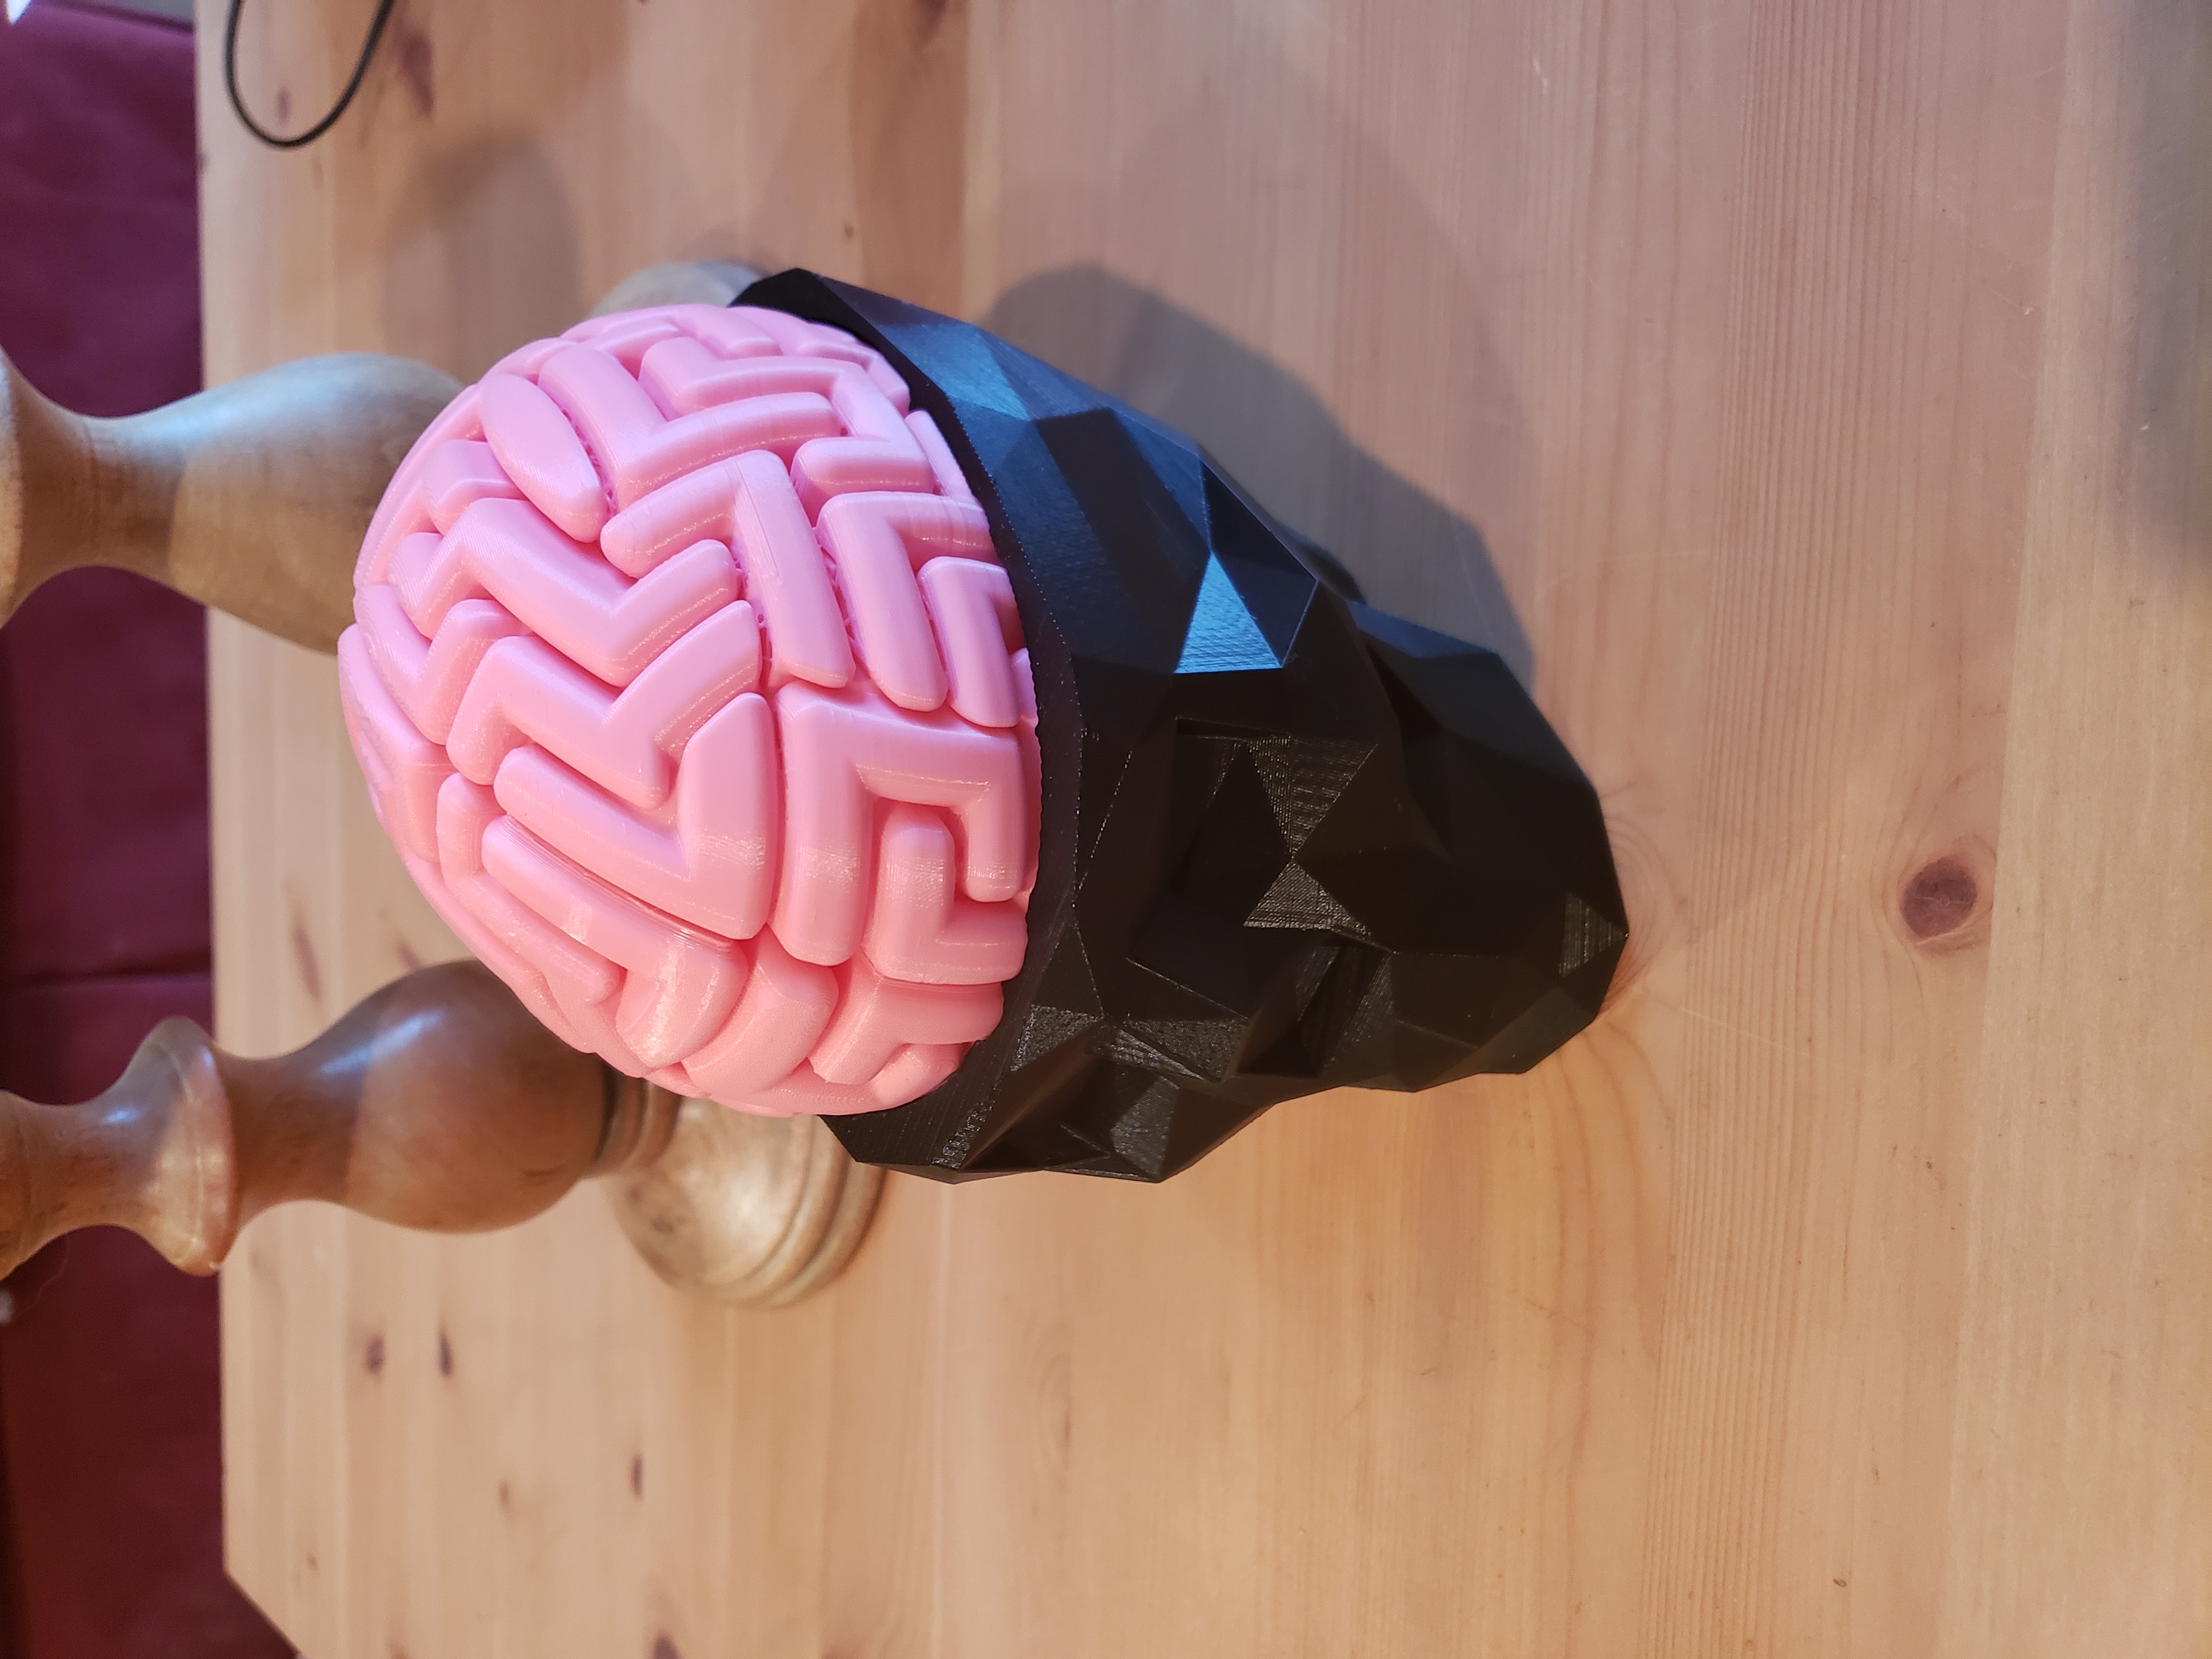
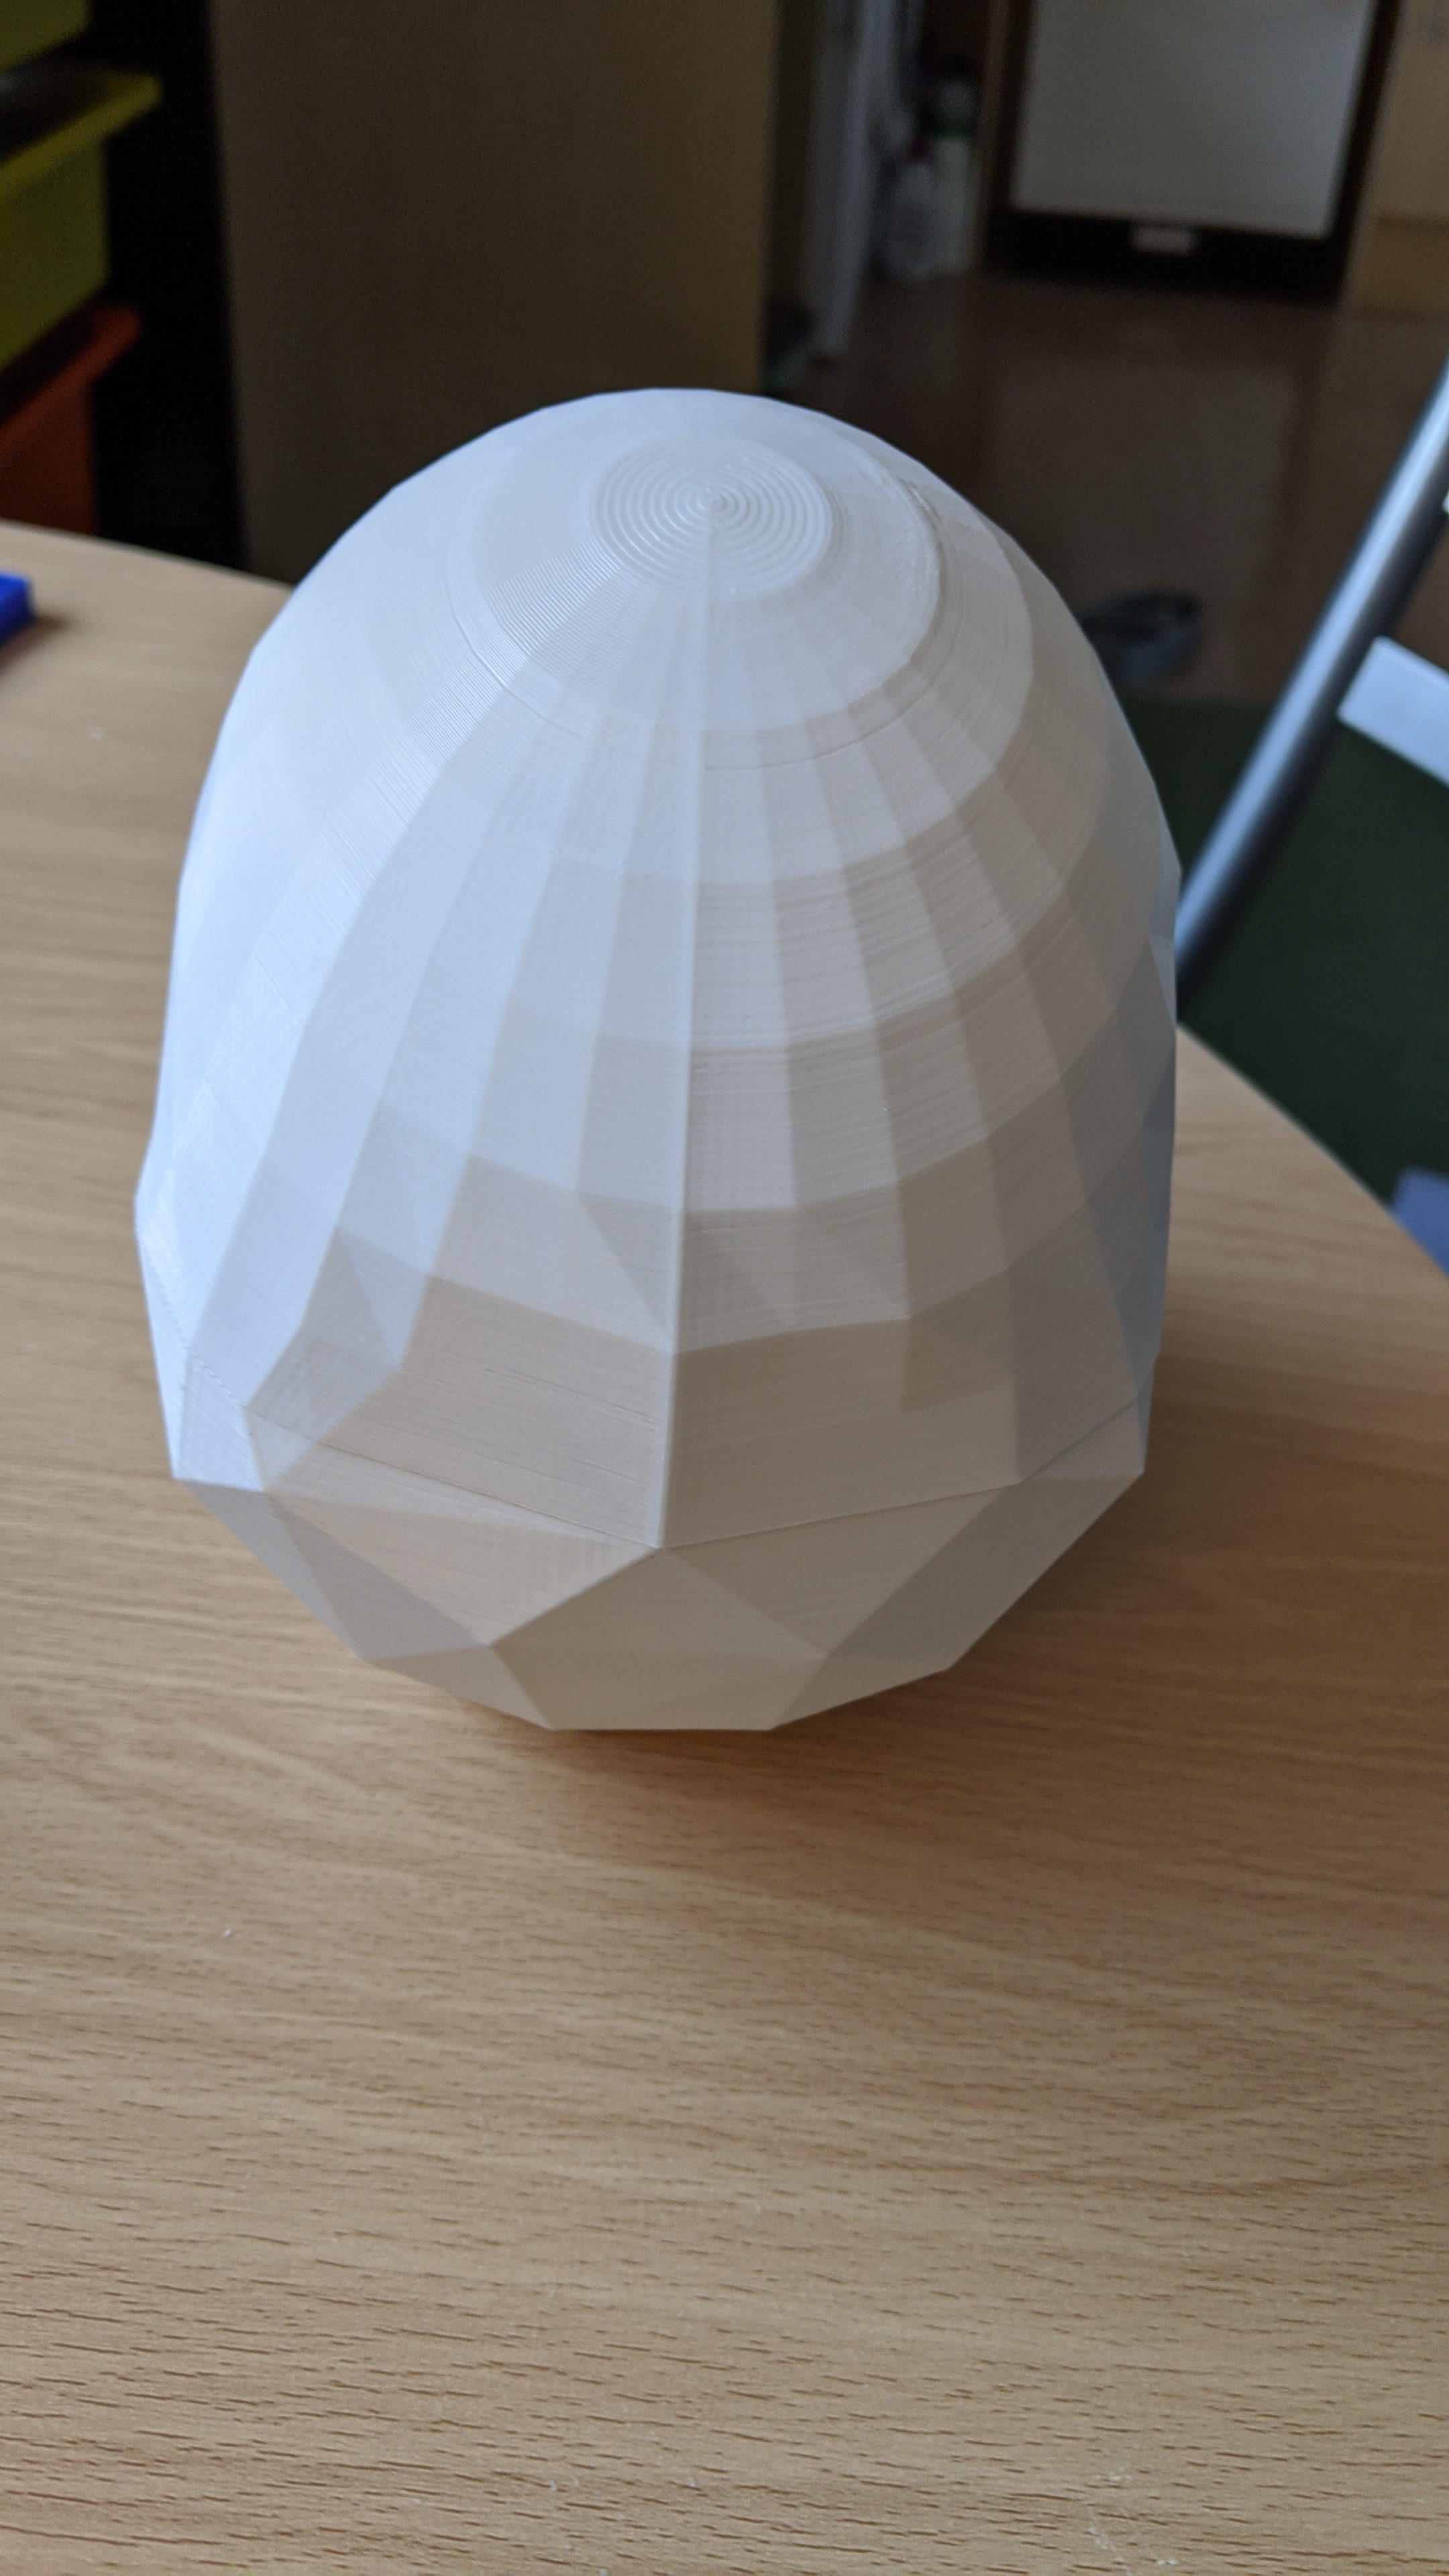
I finally made a well-fitting top for the skull and made a small adjustment on the skull so the puzzle fits a bit better.
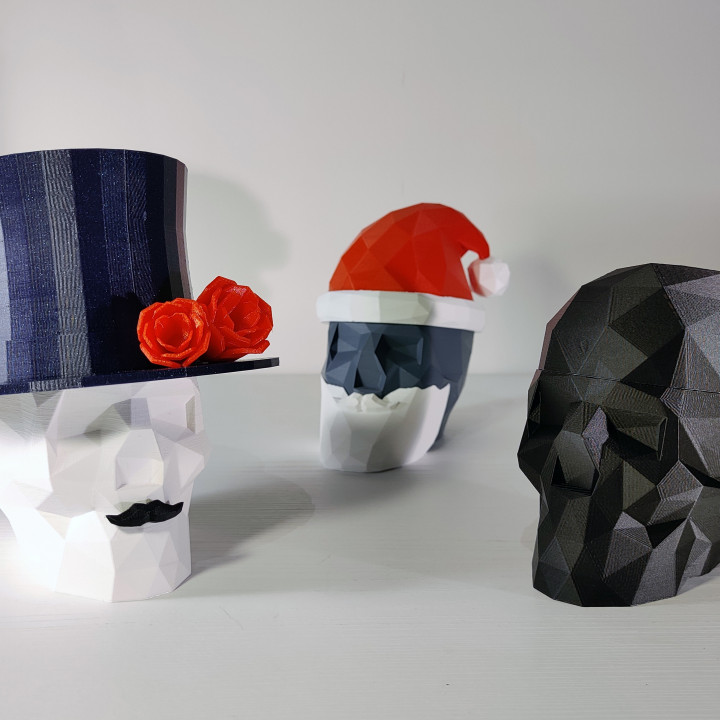
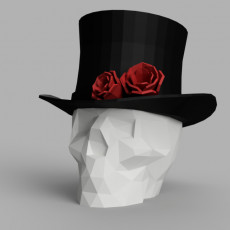
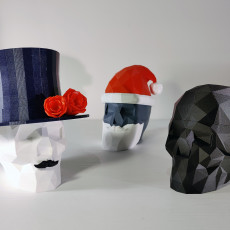
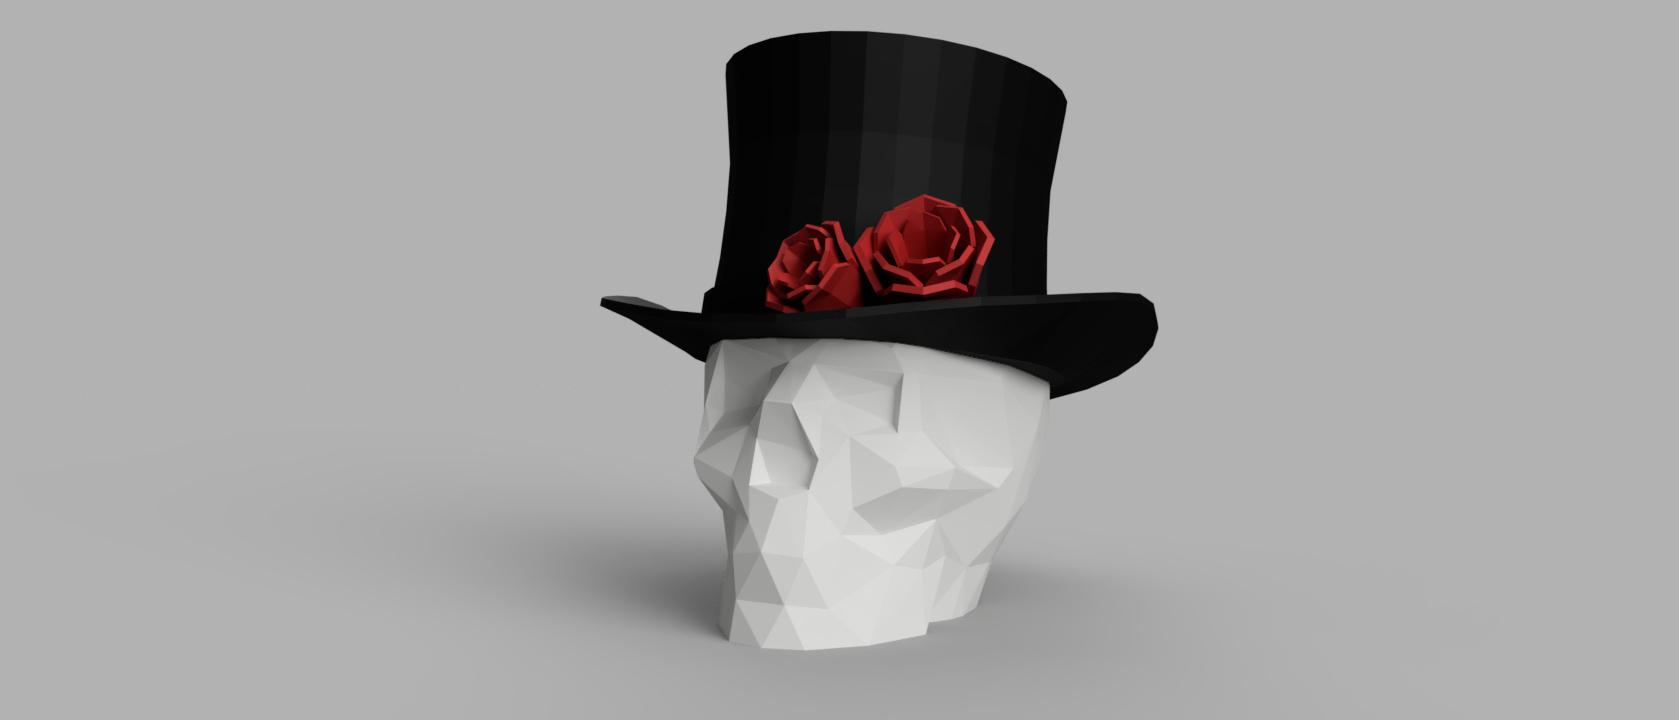
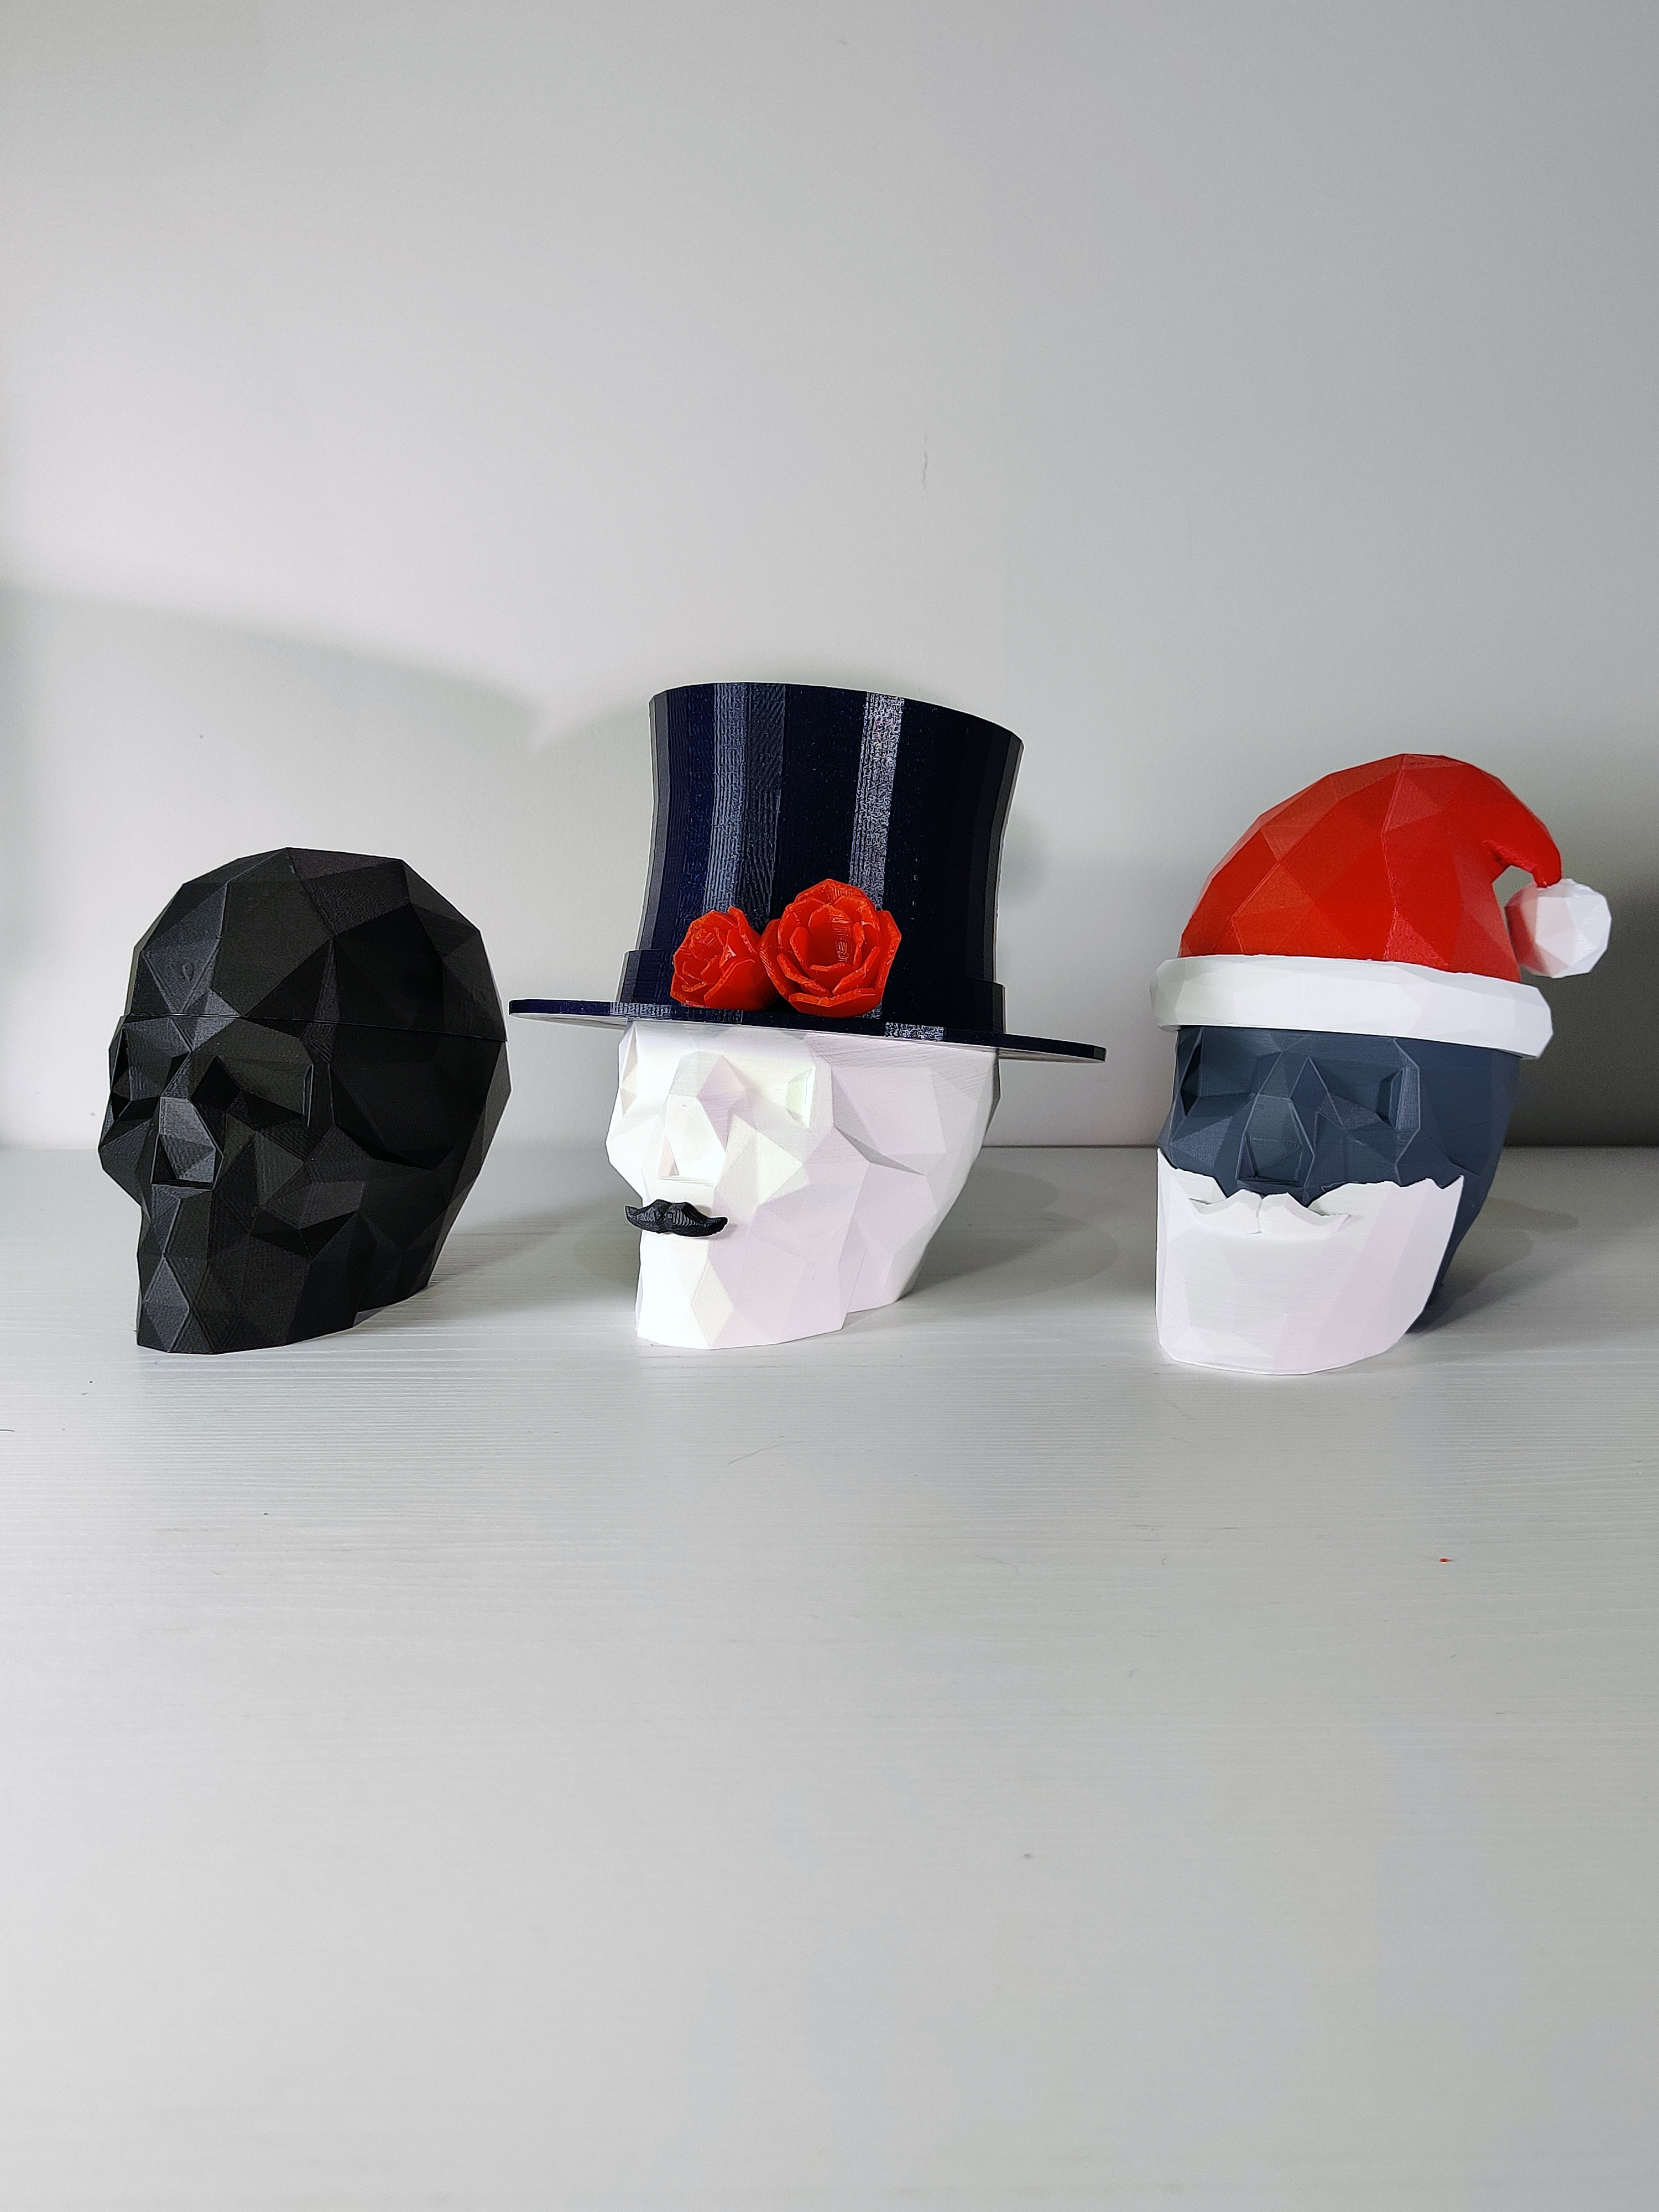
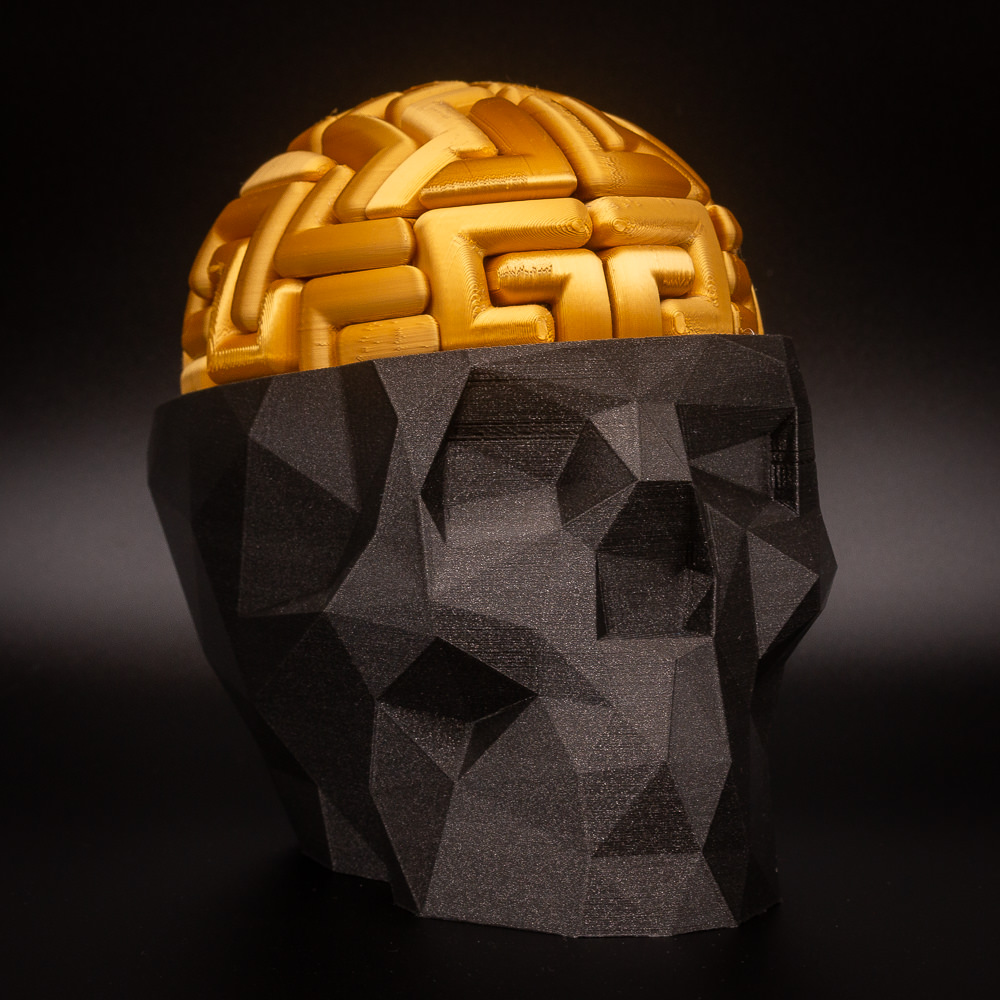
Also check out Dr. Fancy Brains and Santa Brains for some other great accessories. 🎩
💀- 💀- 💀
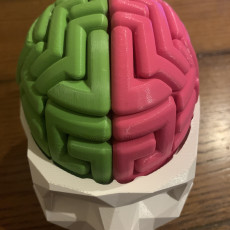
Use your own brains to put the brains back together.
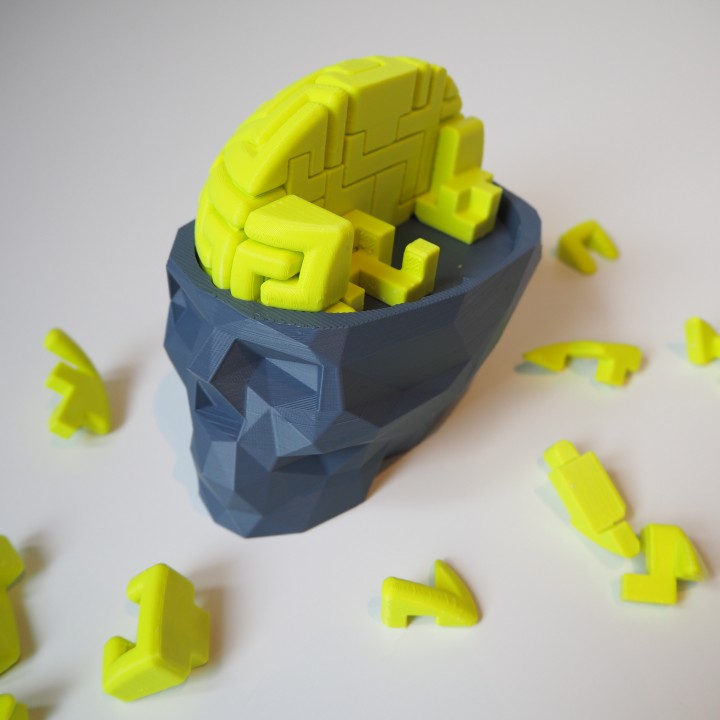
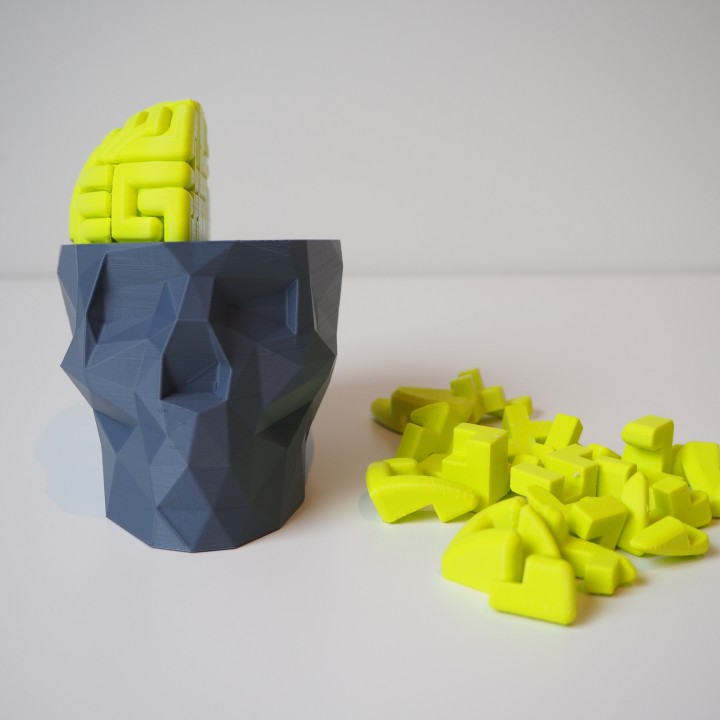
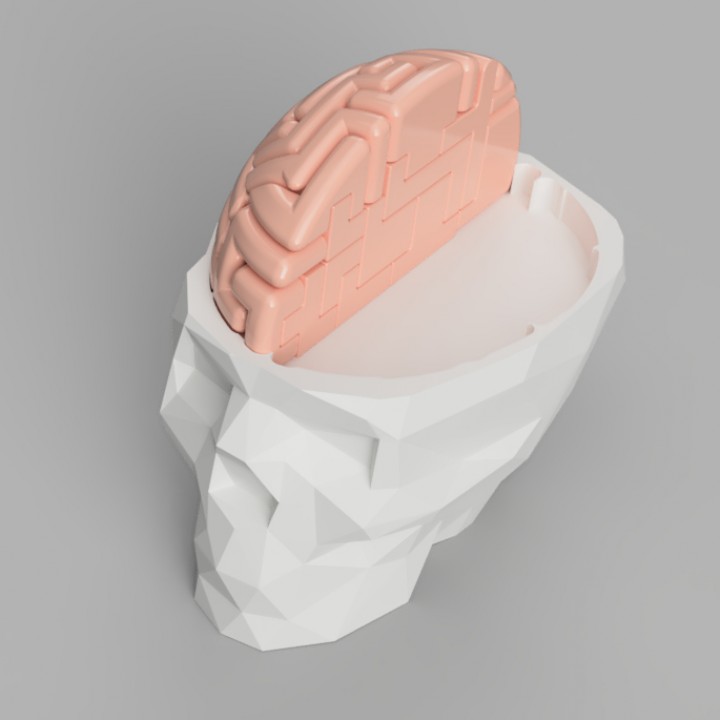
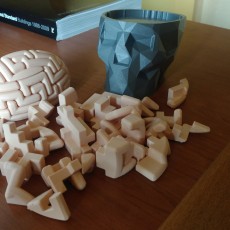
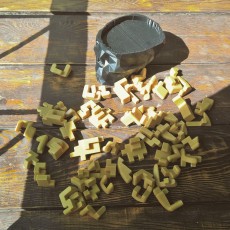
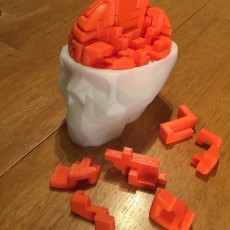
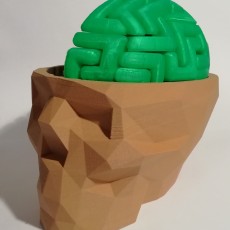
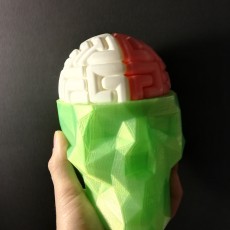
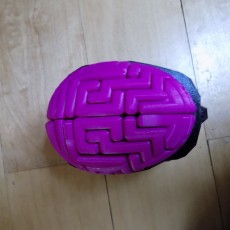
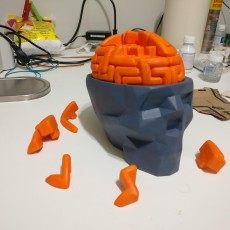
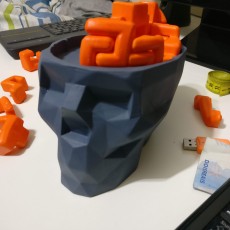
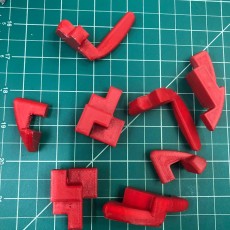
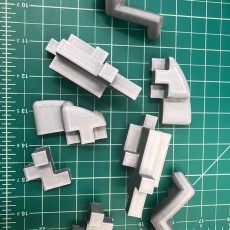
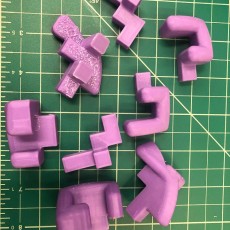
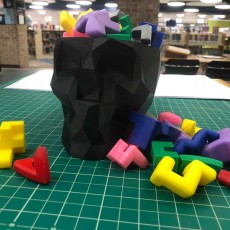
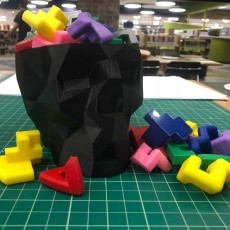
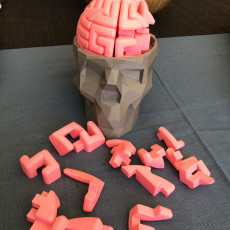
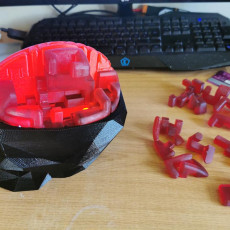
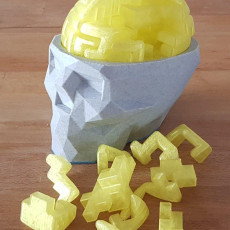
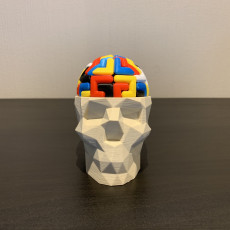
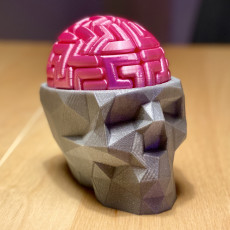
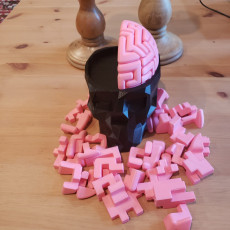
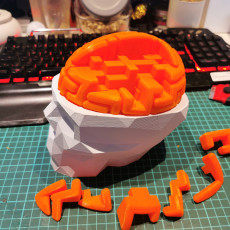
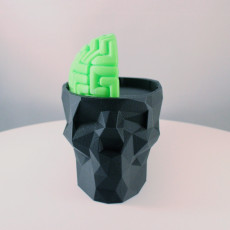
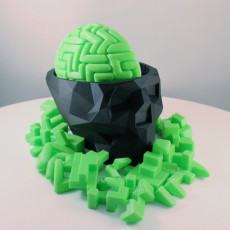
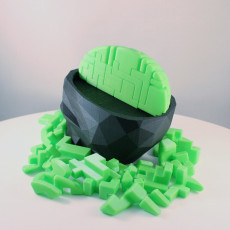
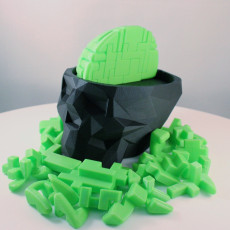
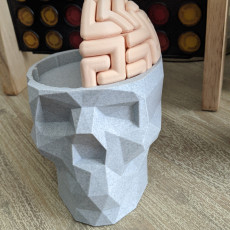
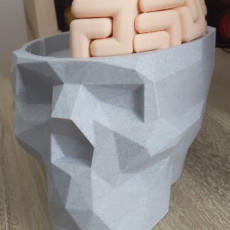
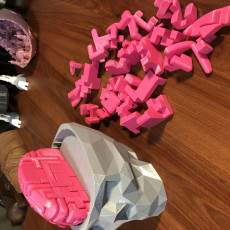
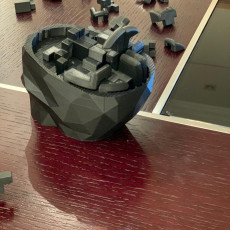
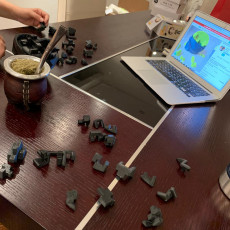
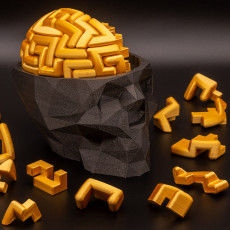
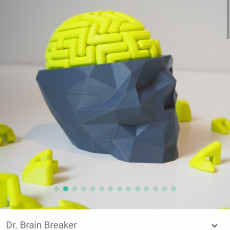
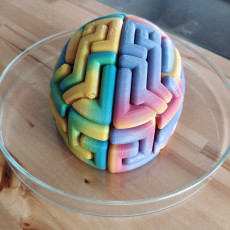
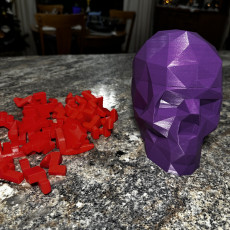
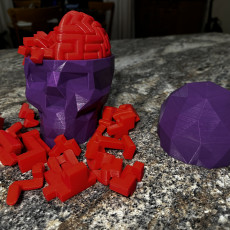
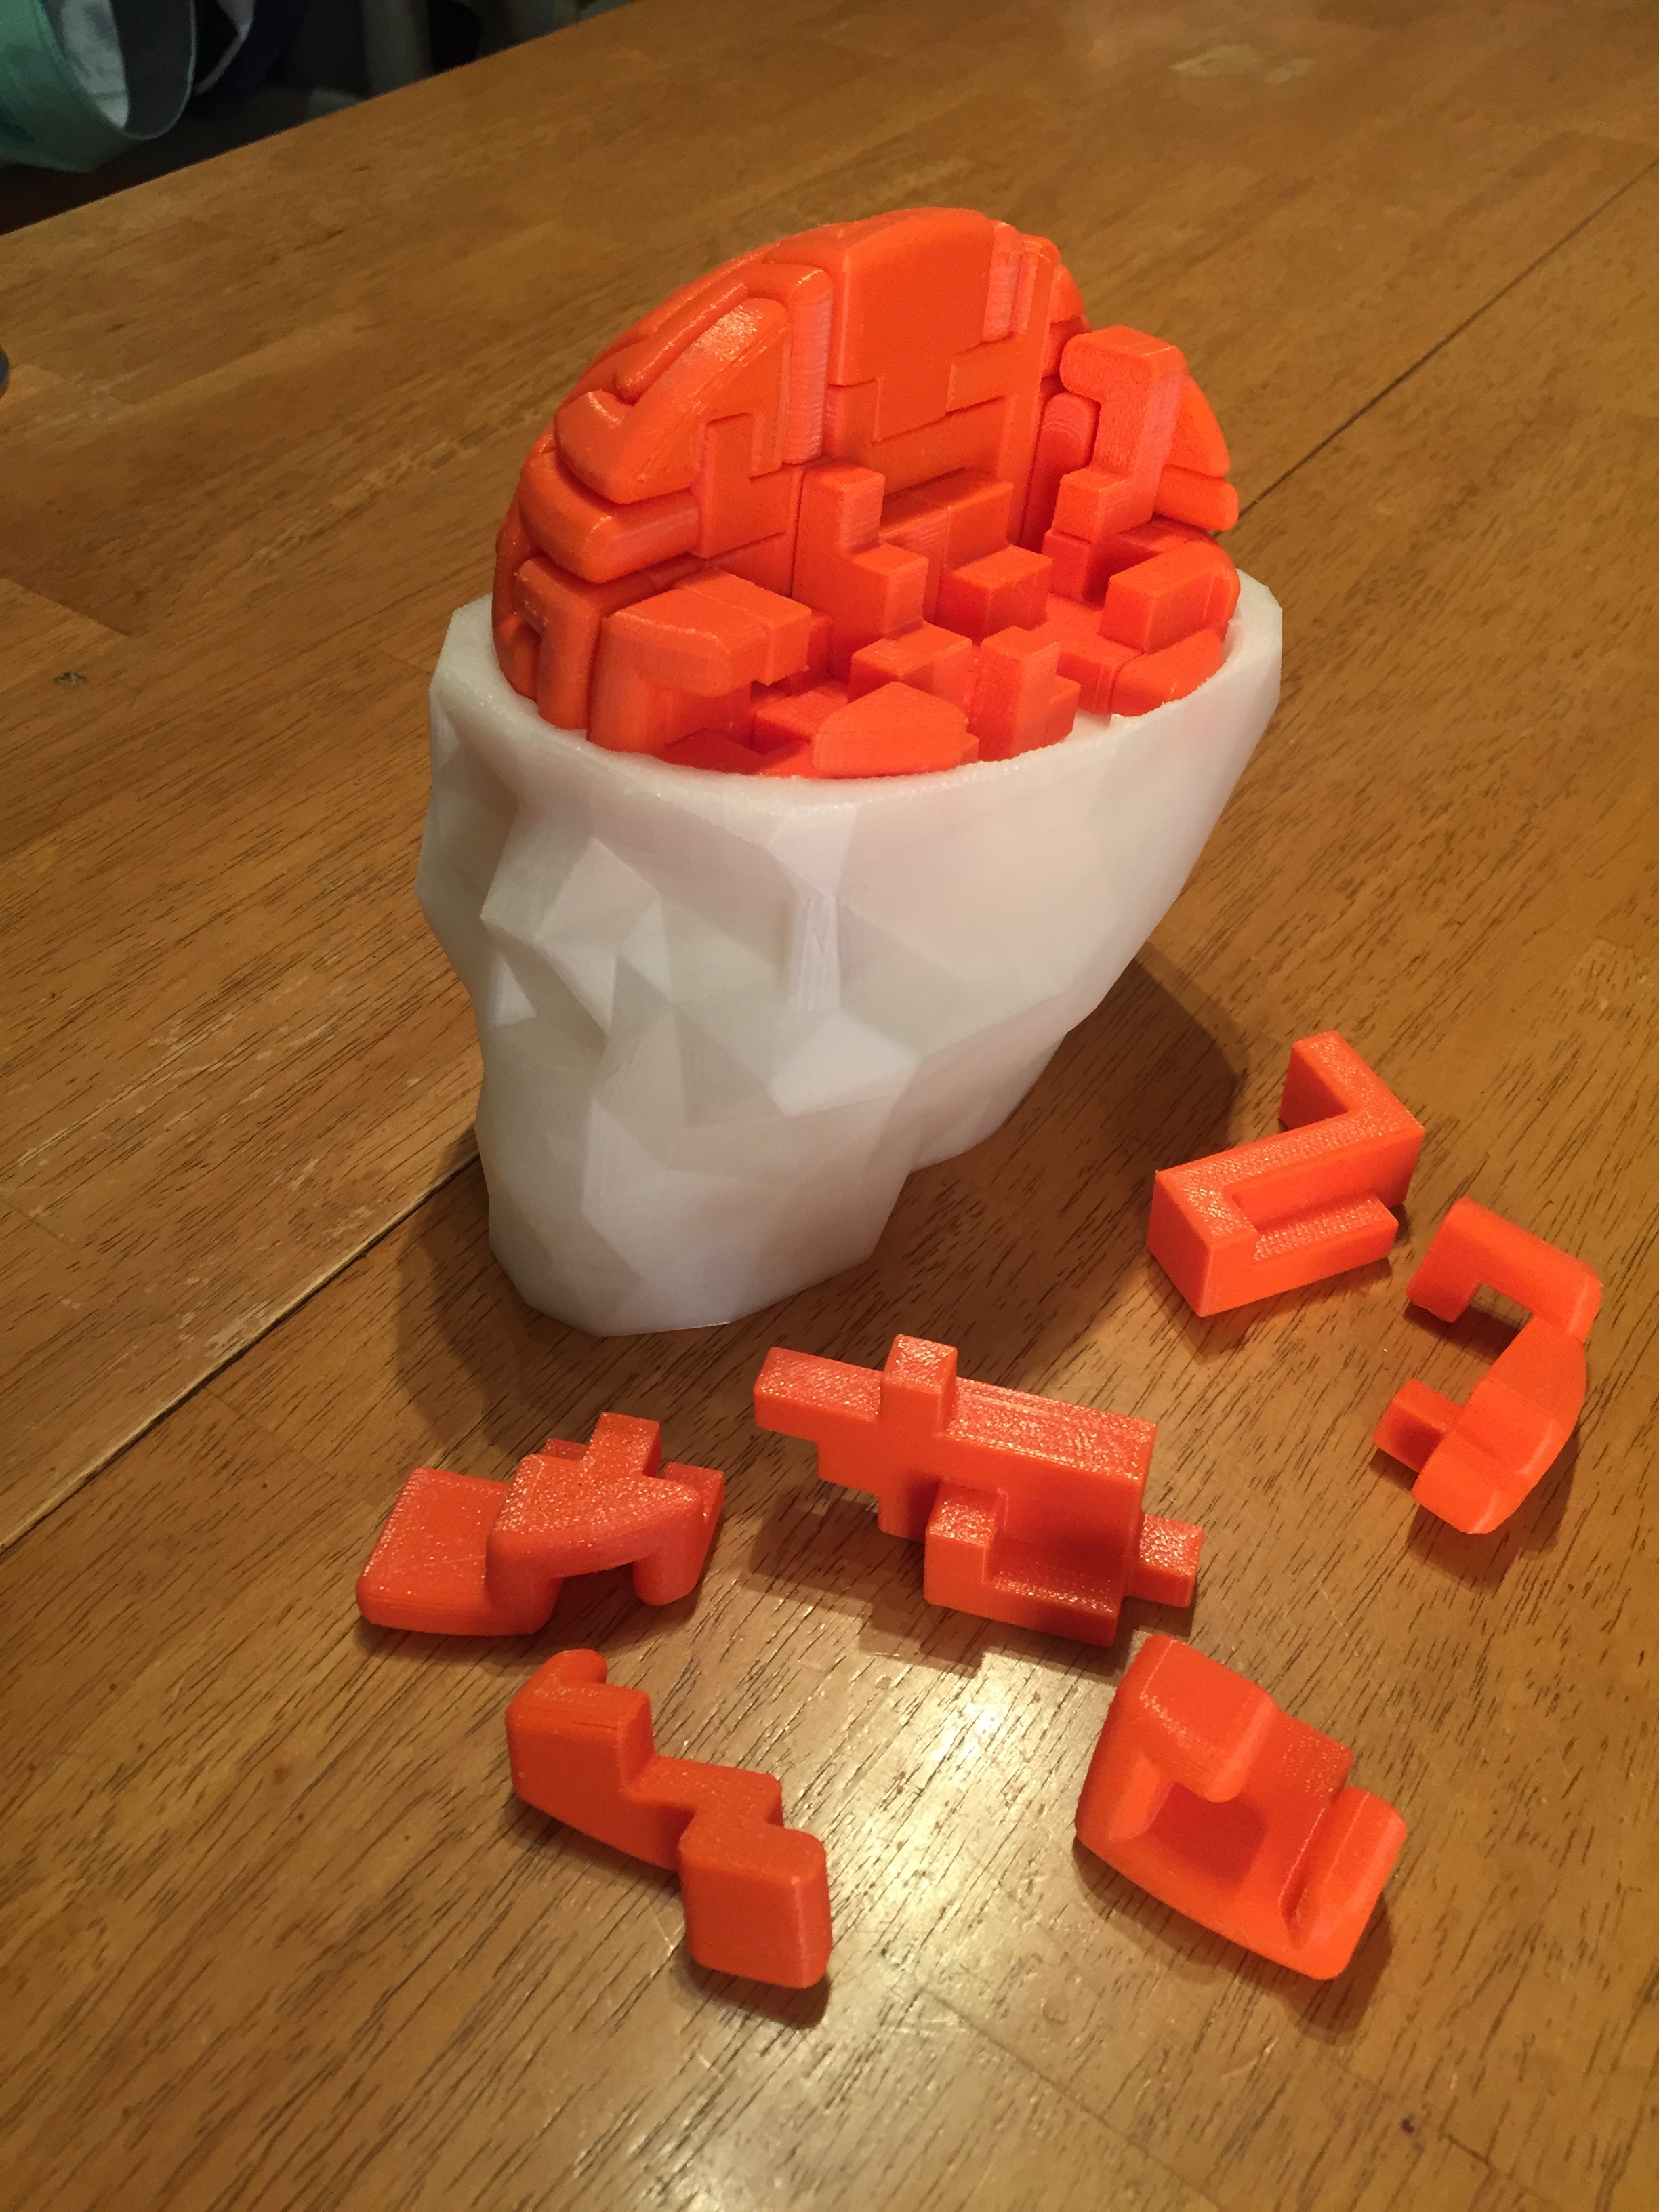
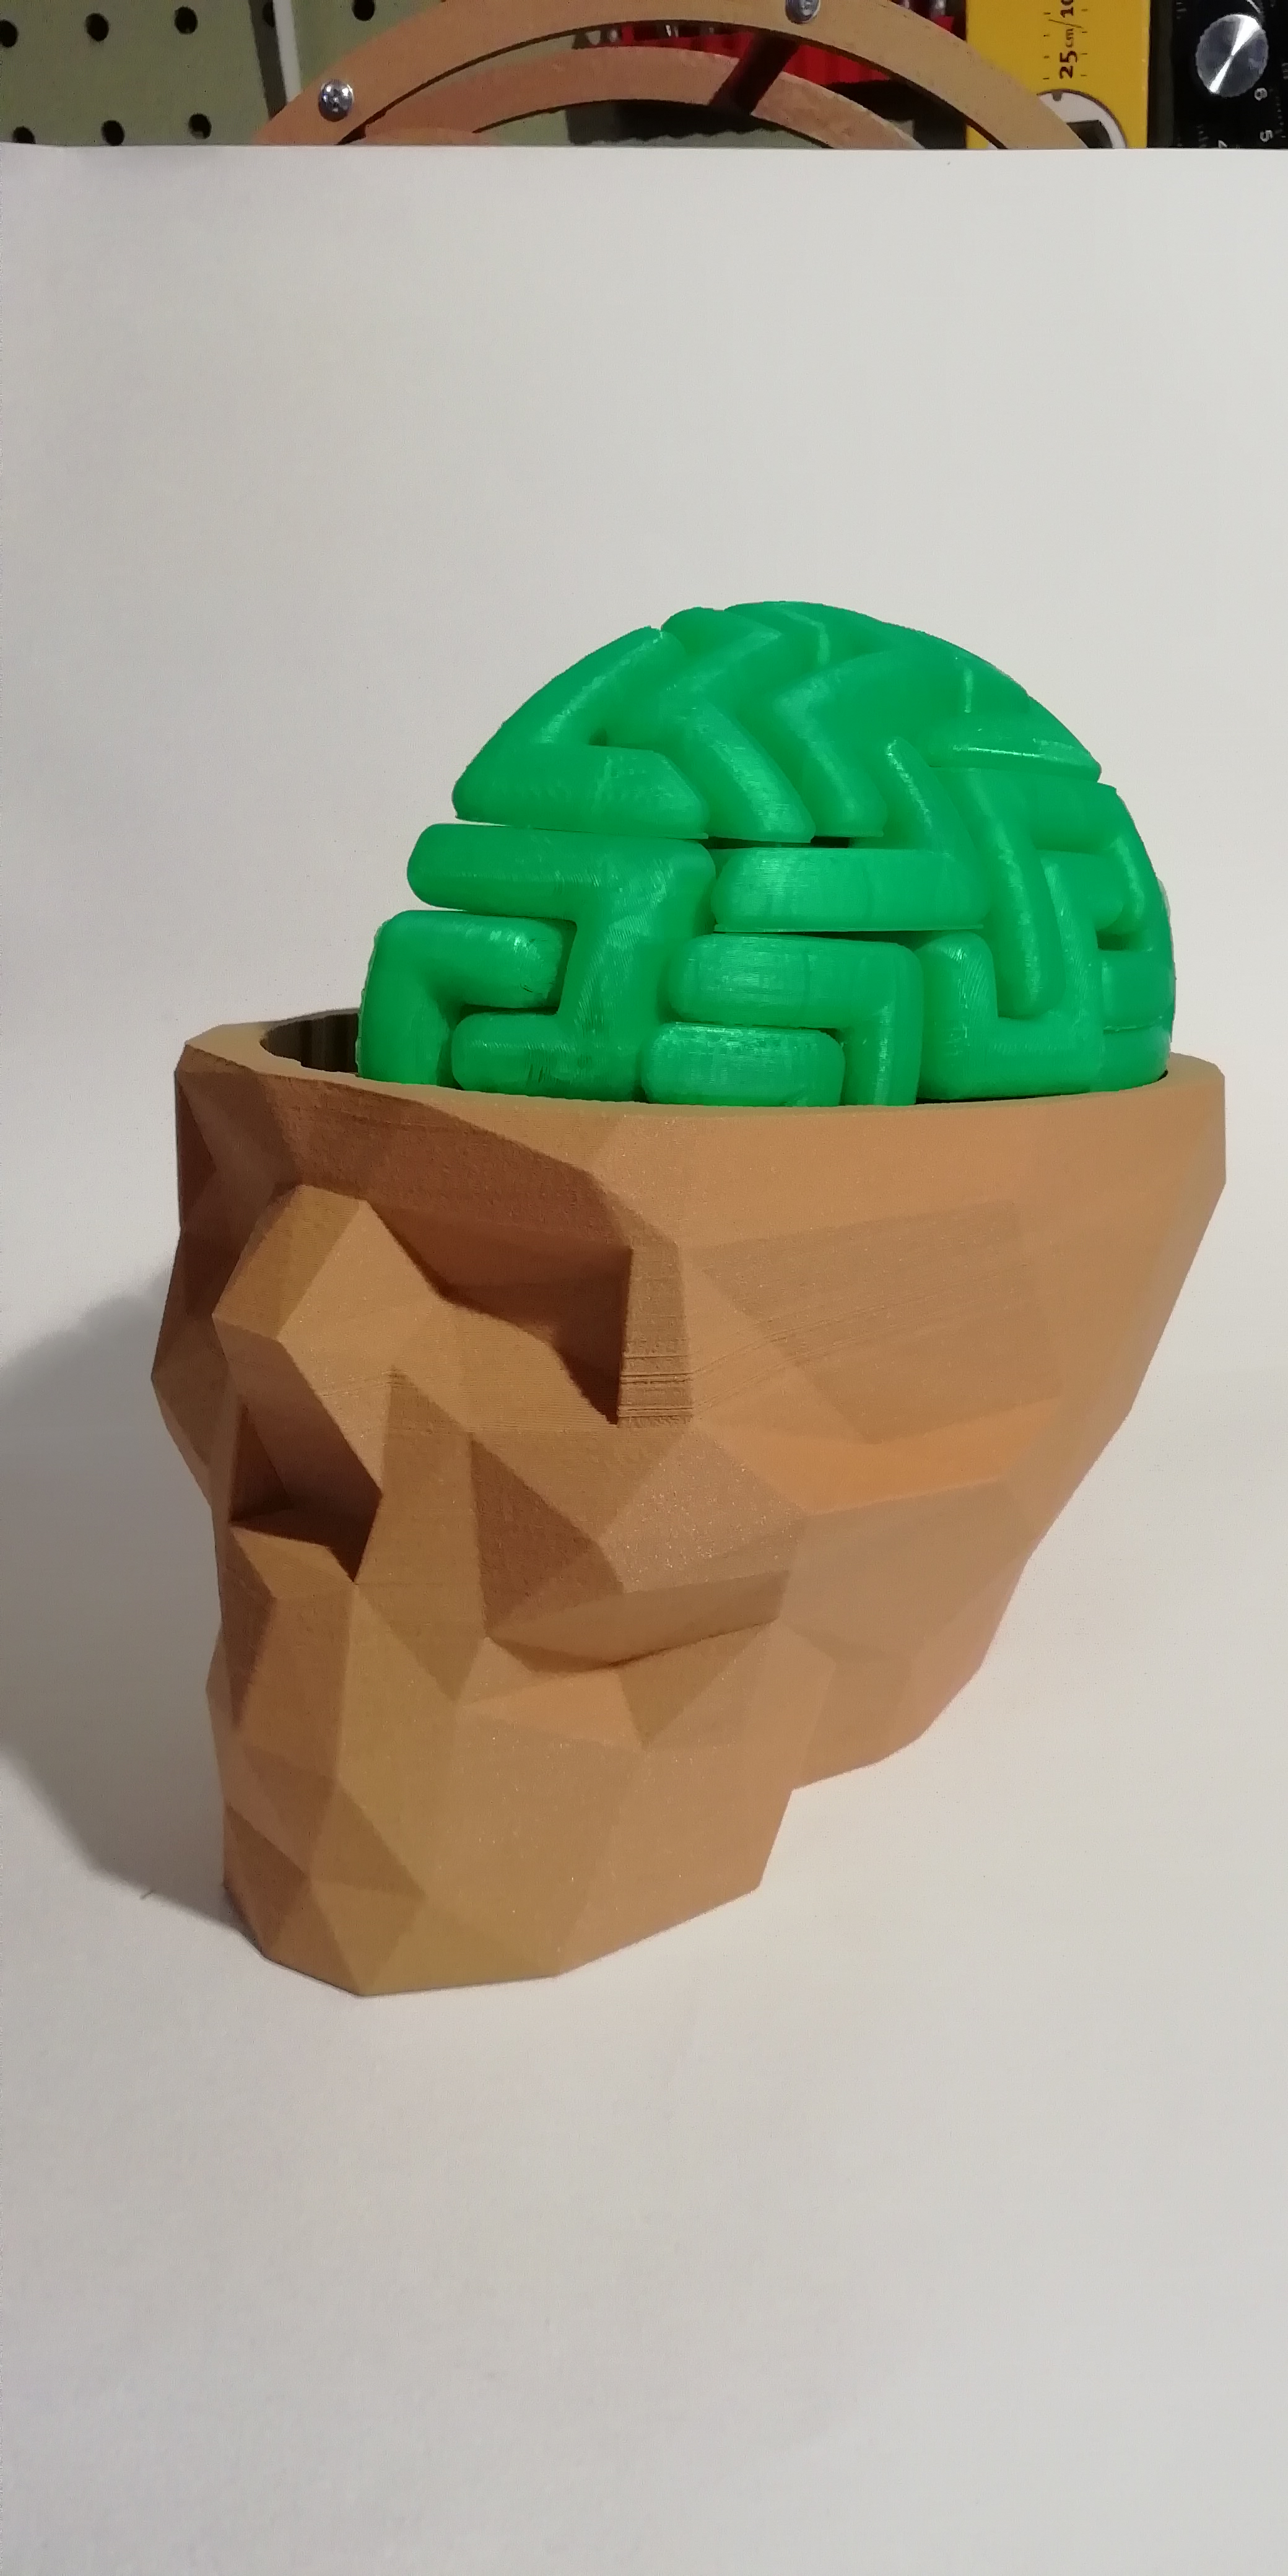
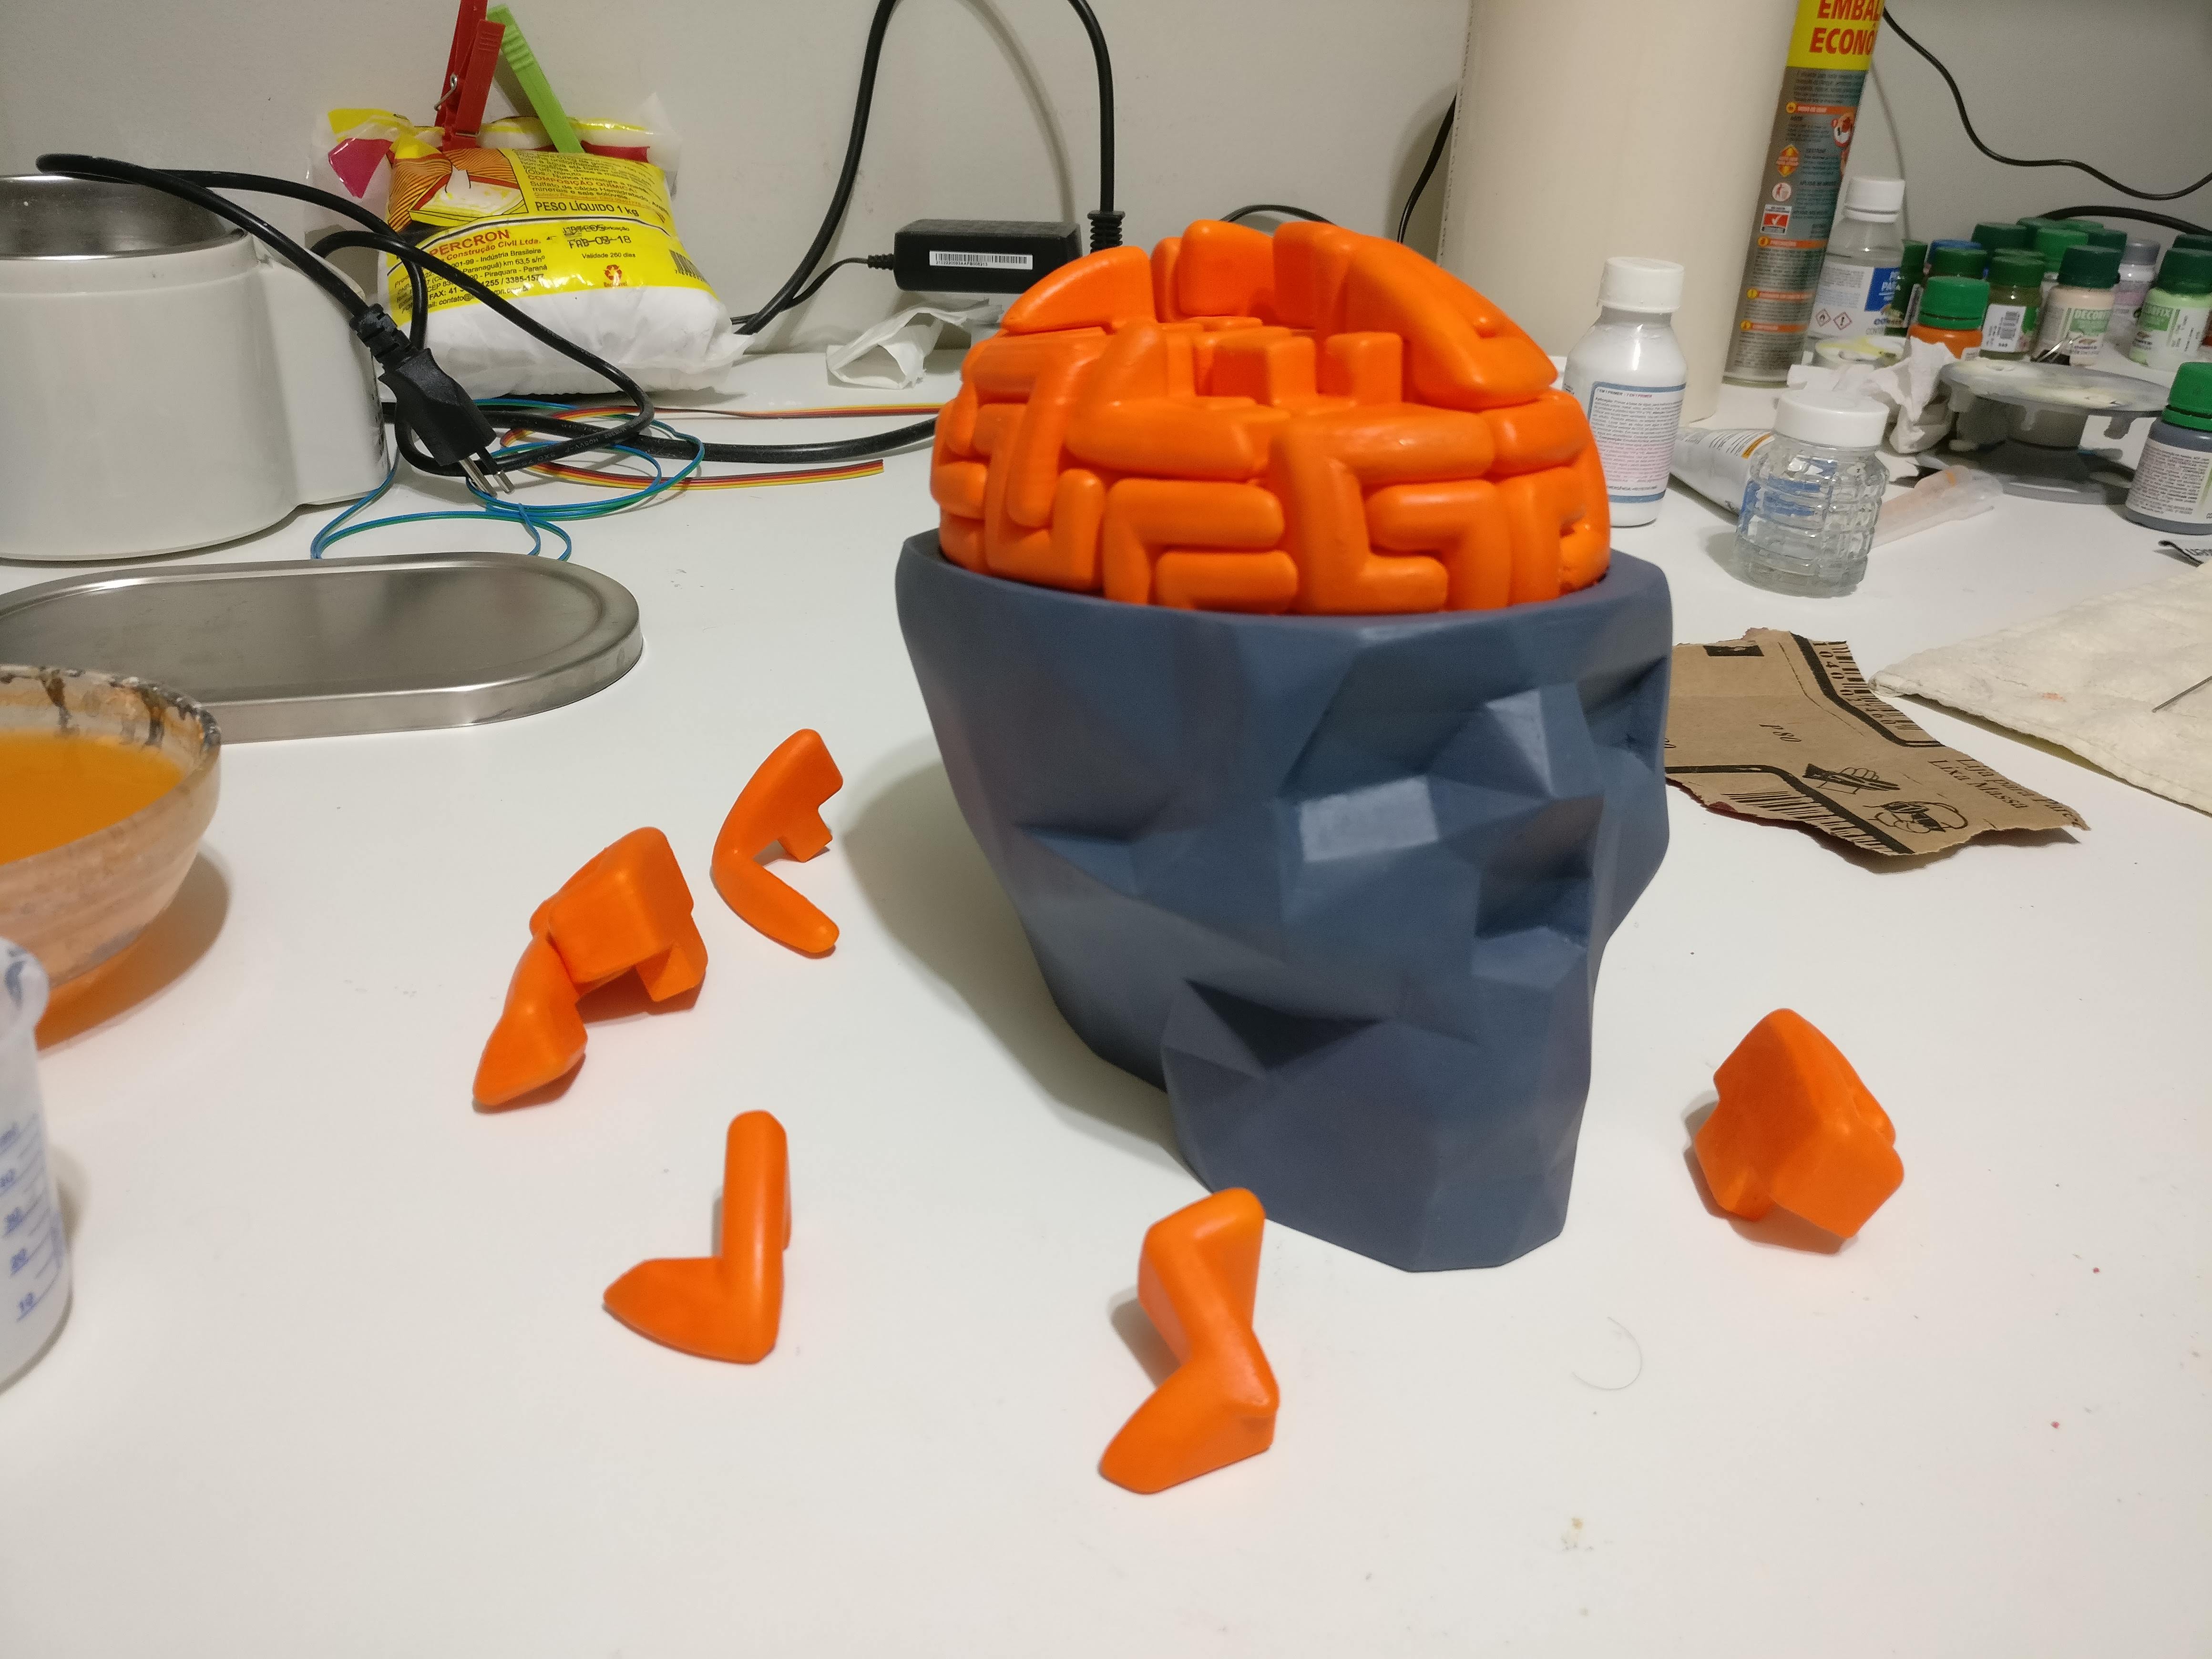
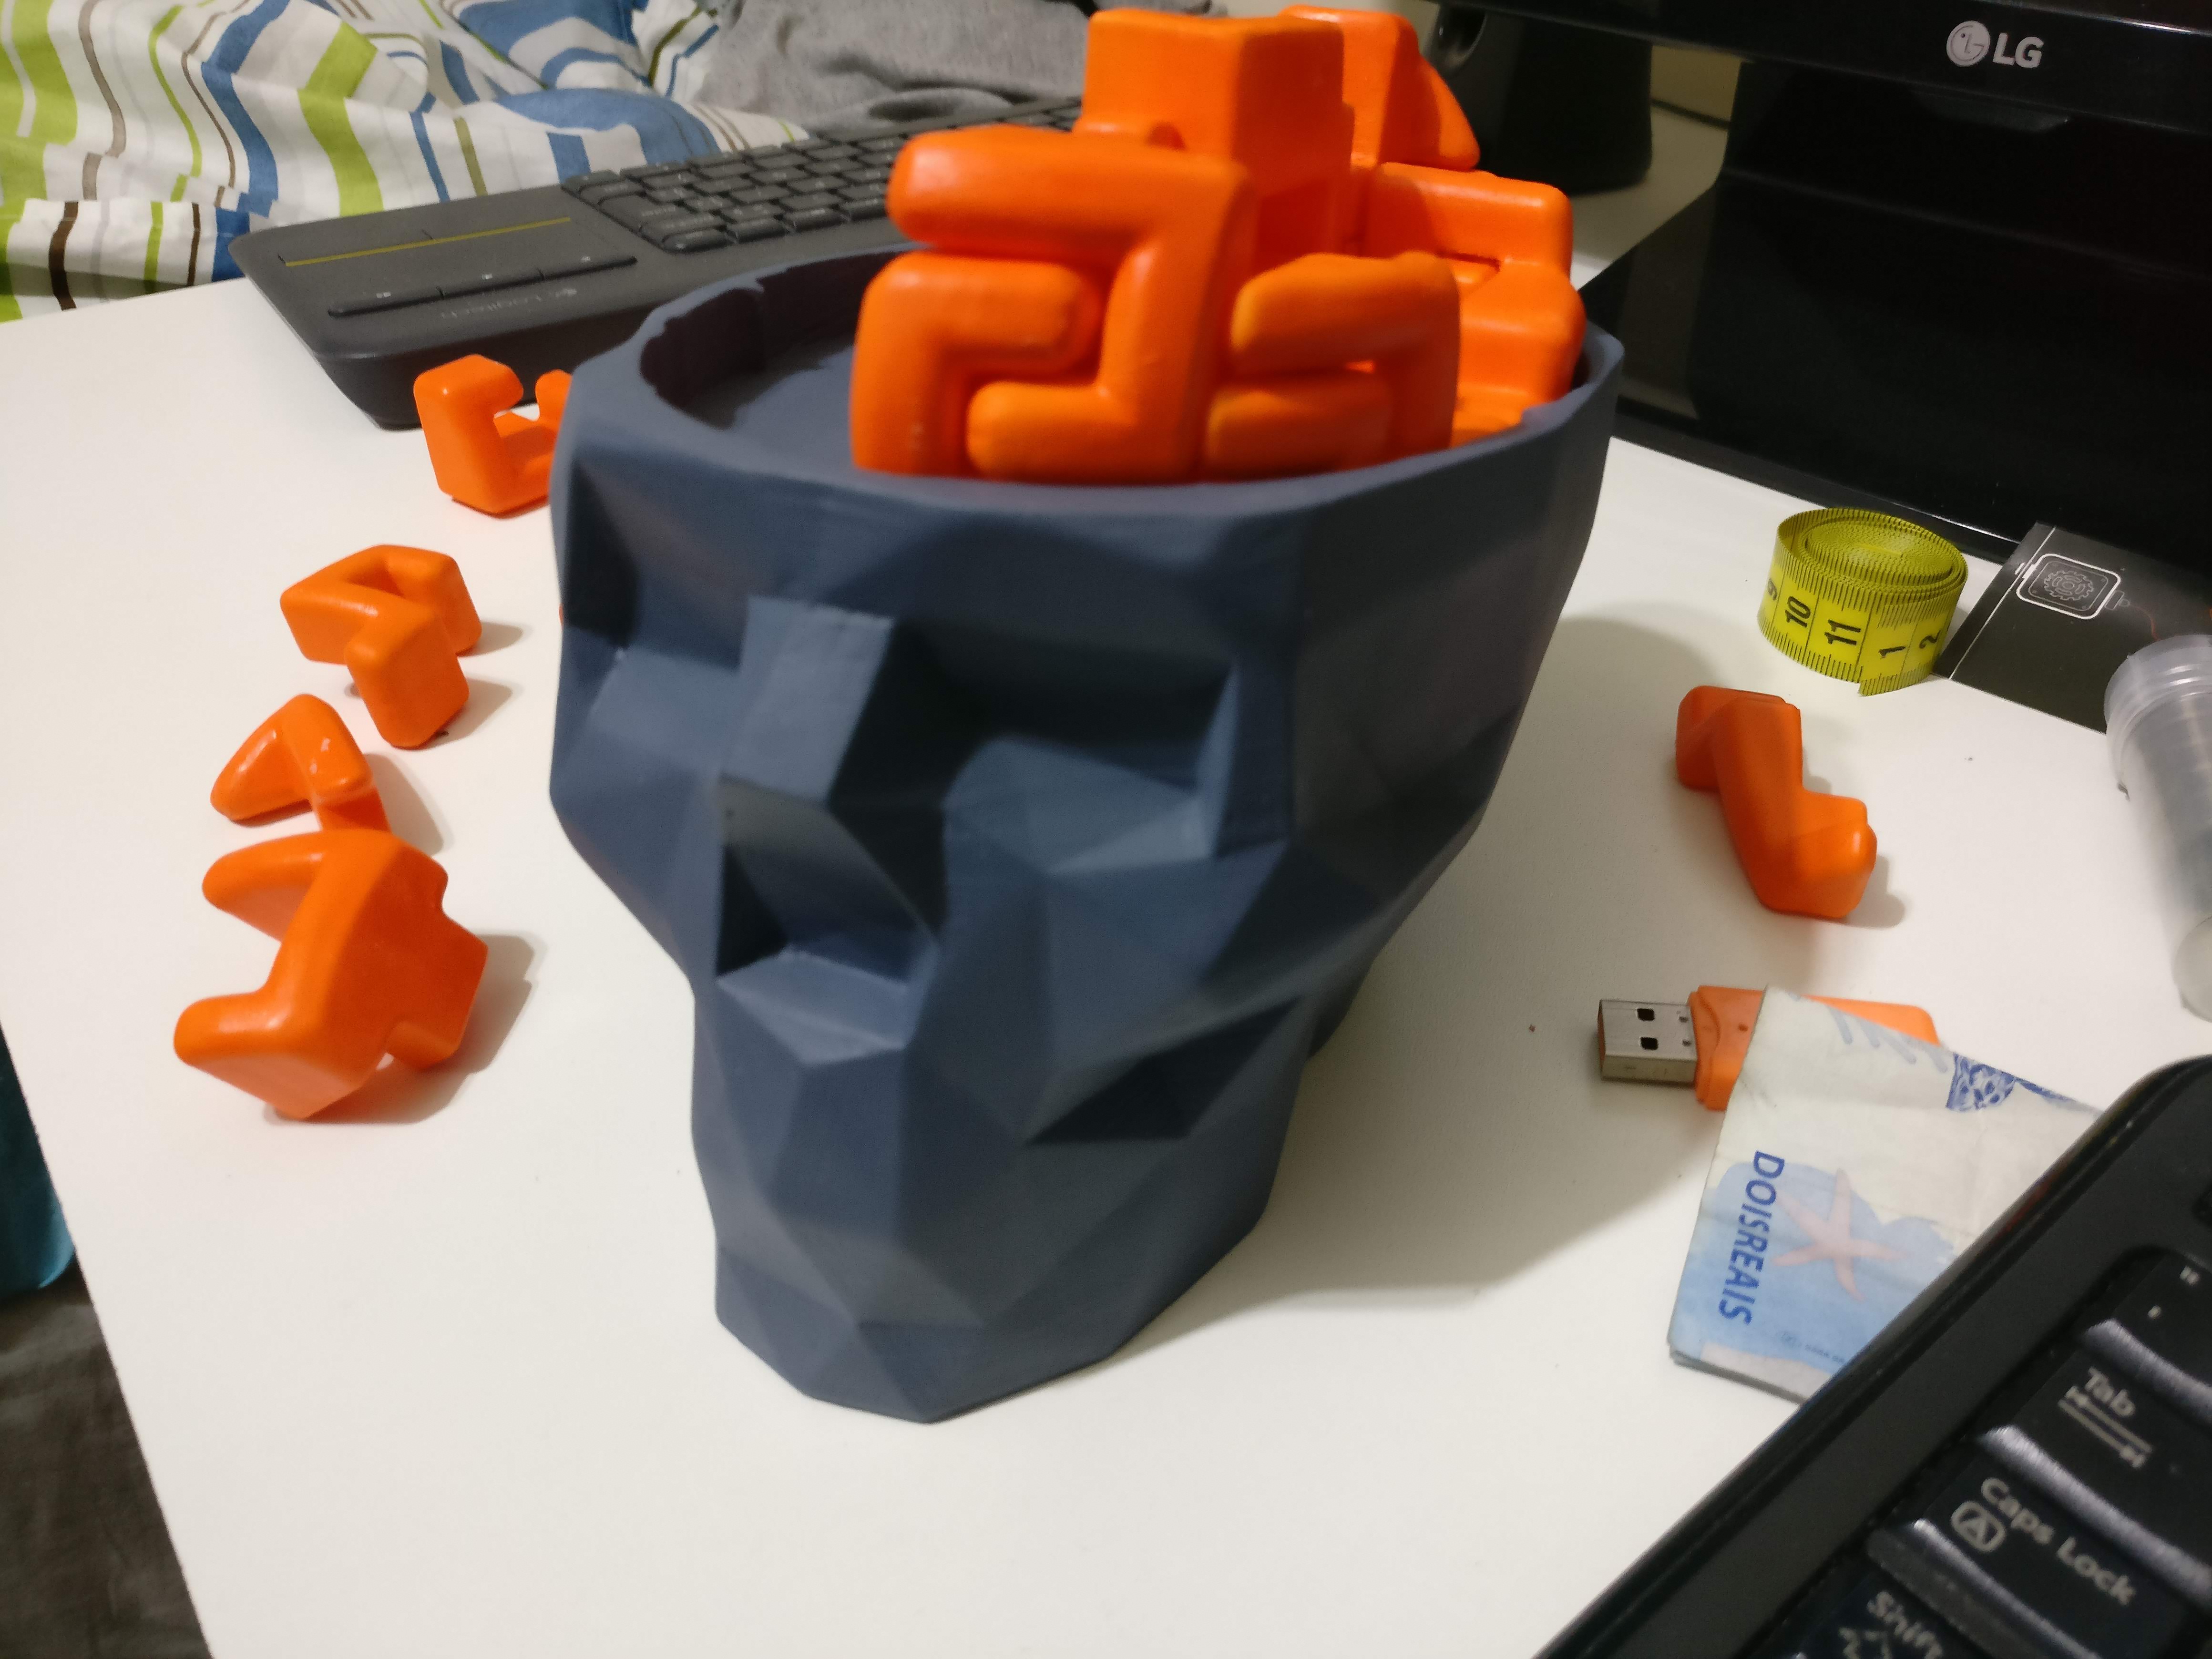
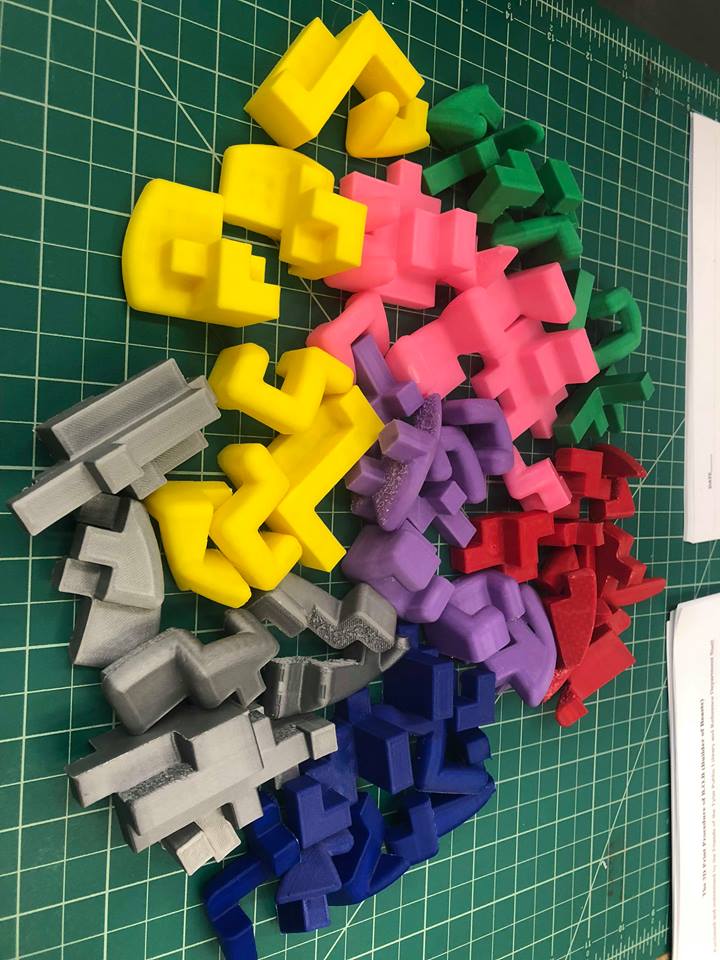
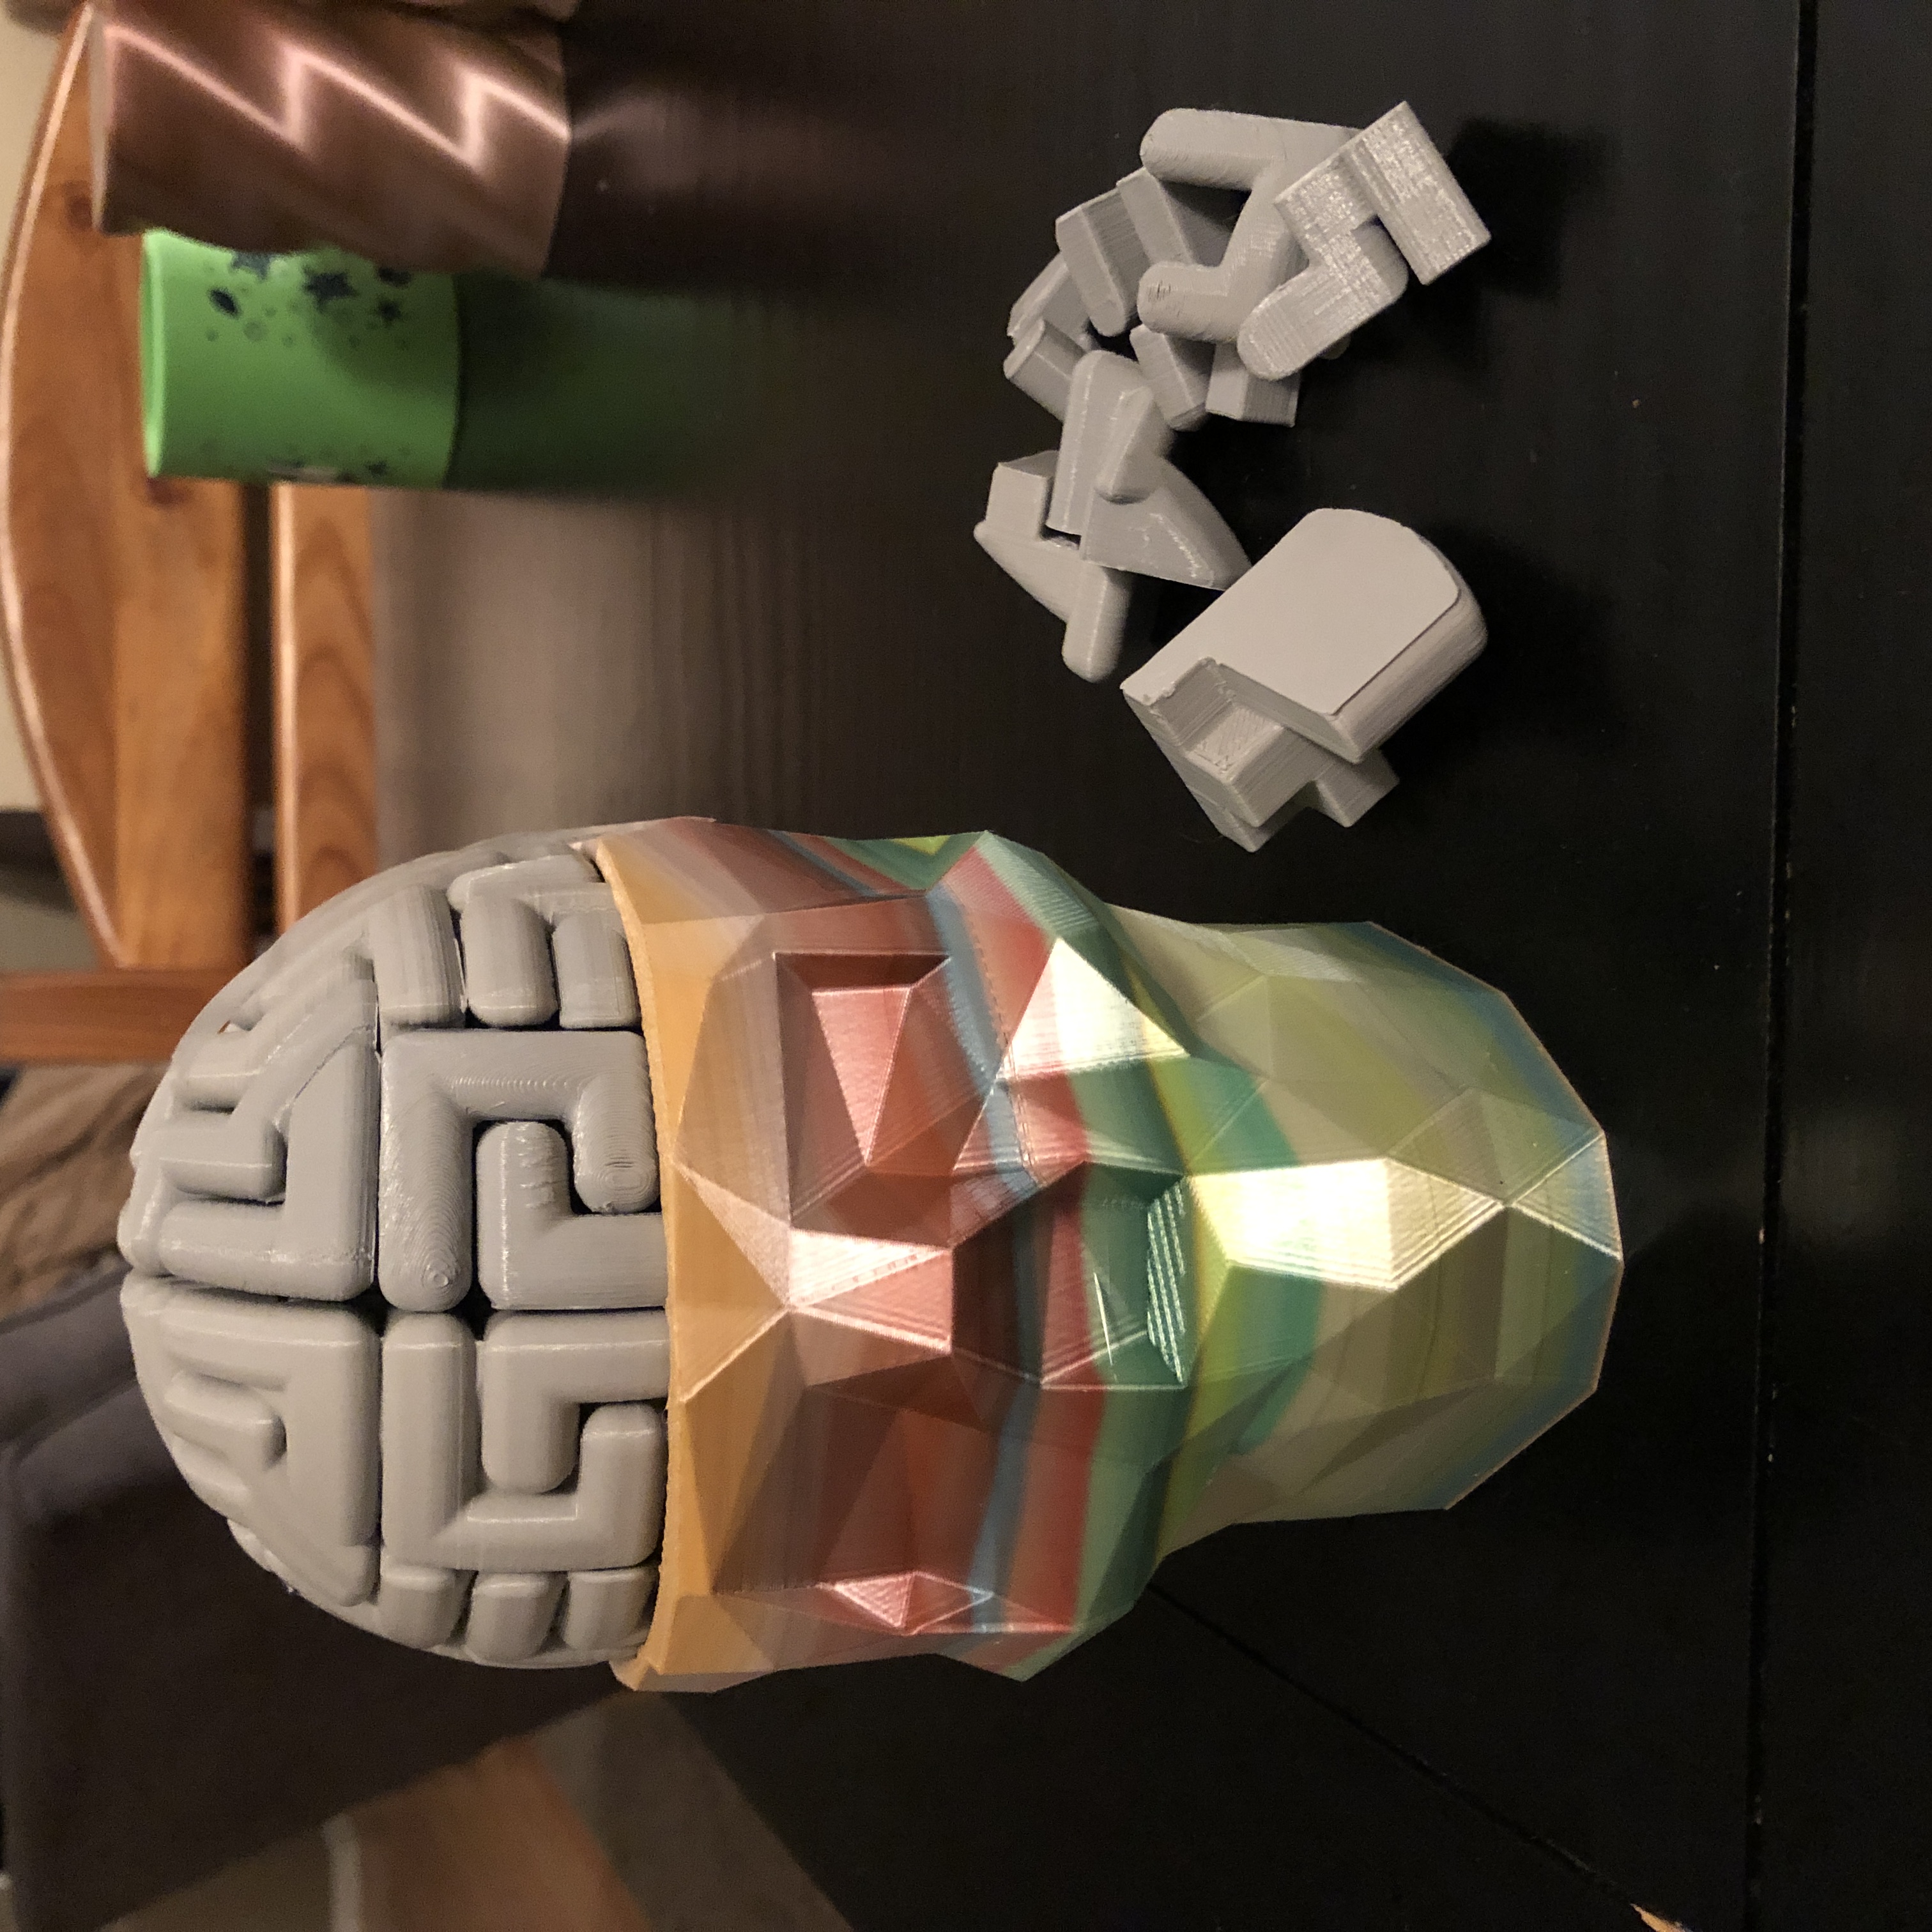
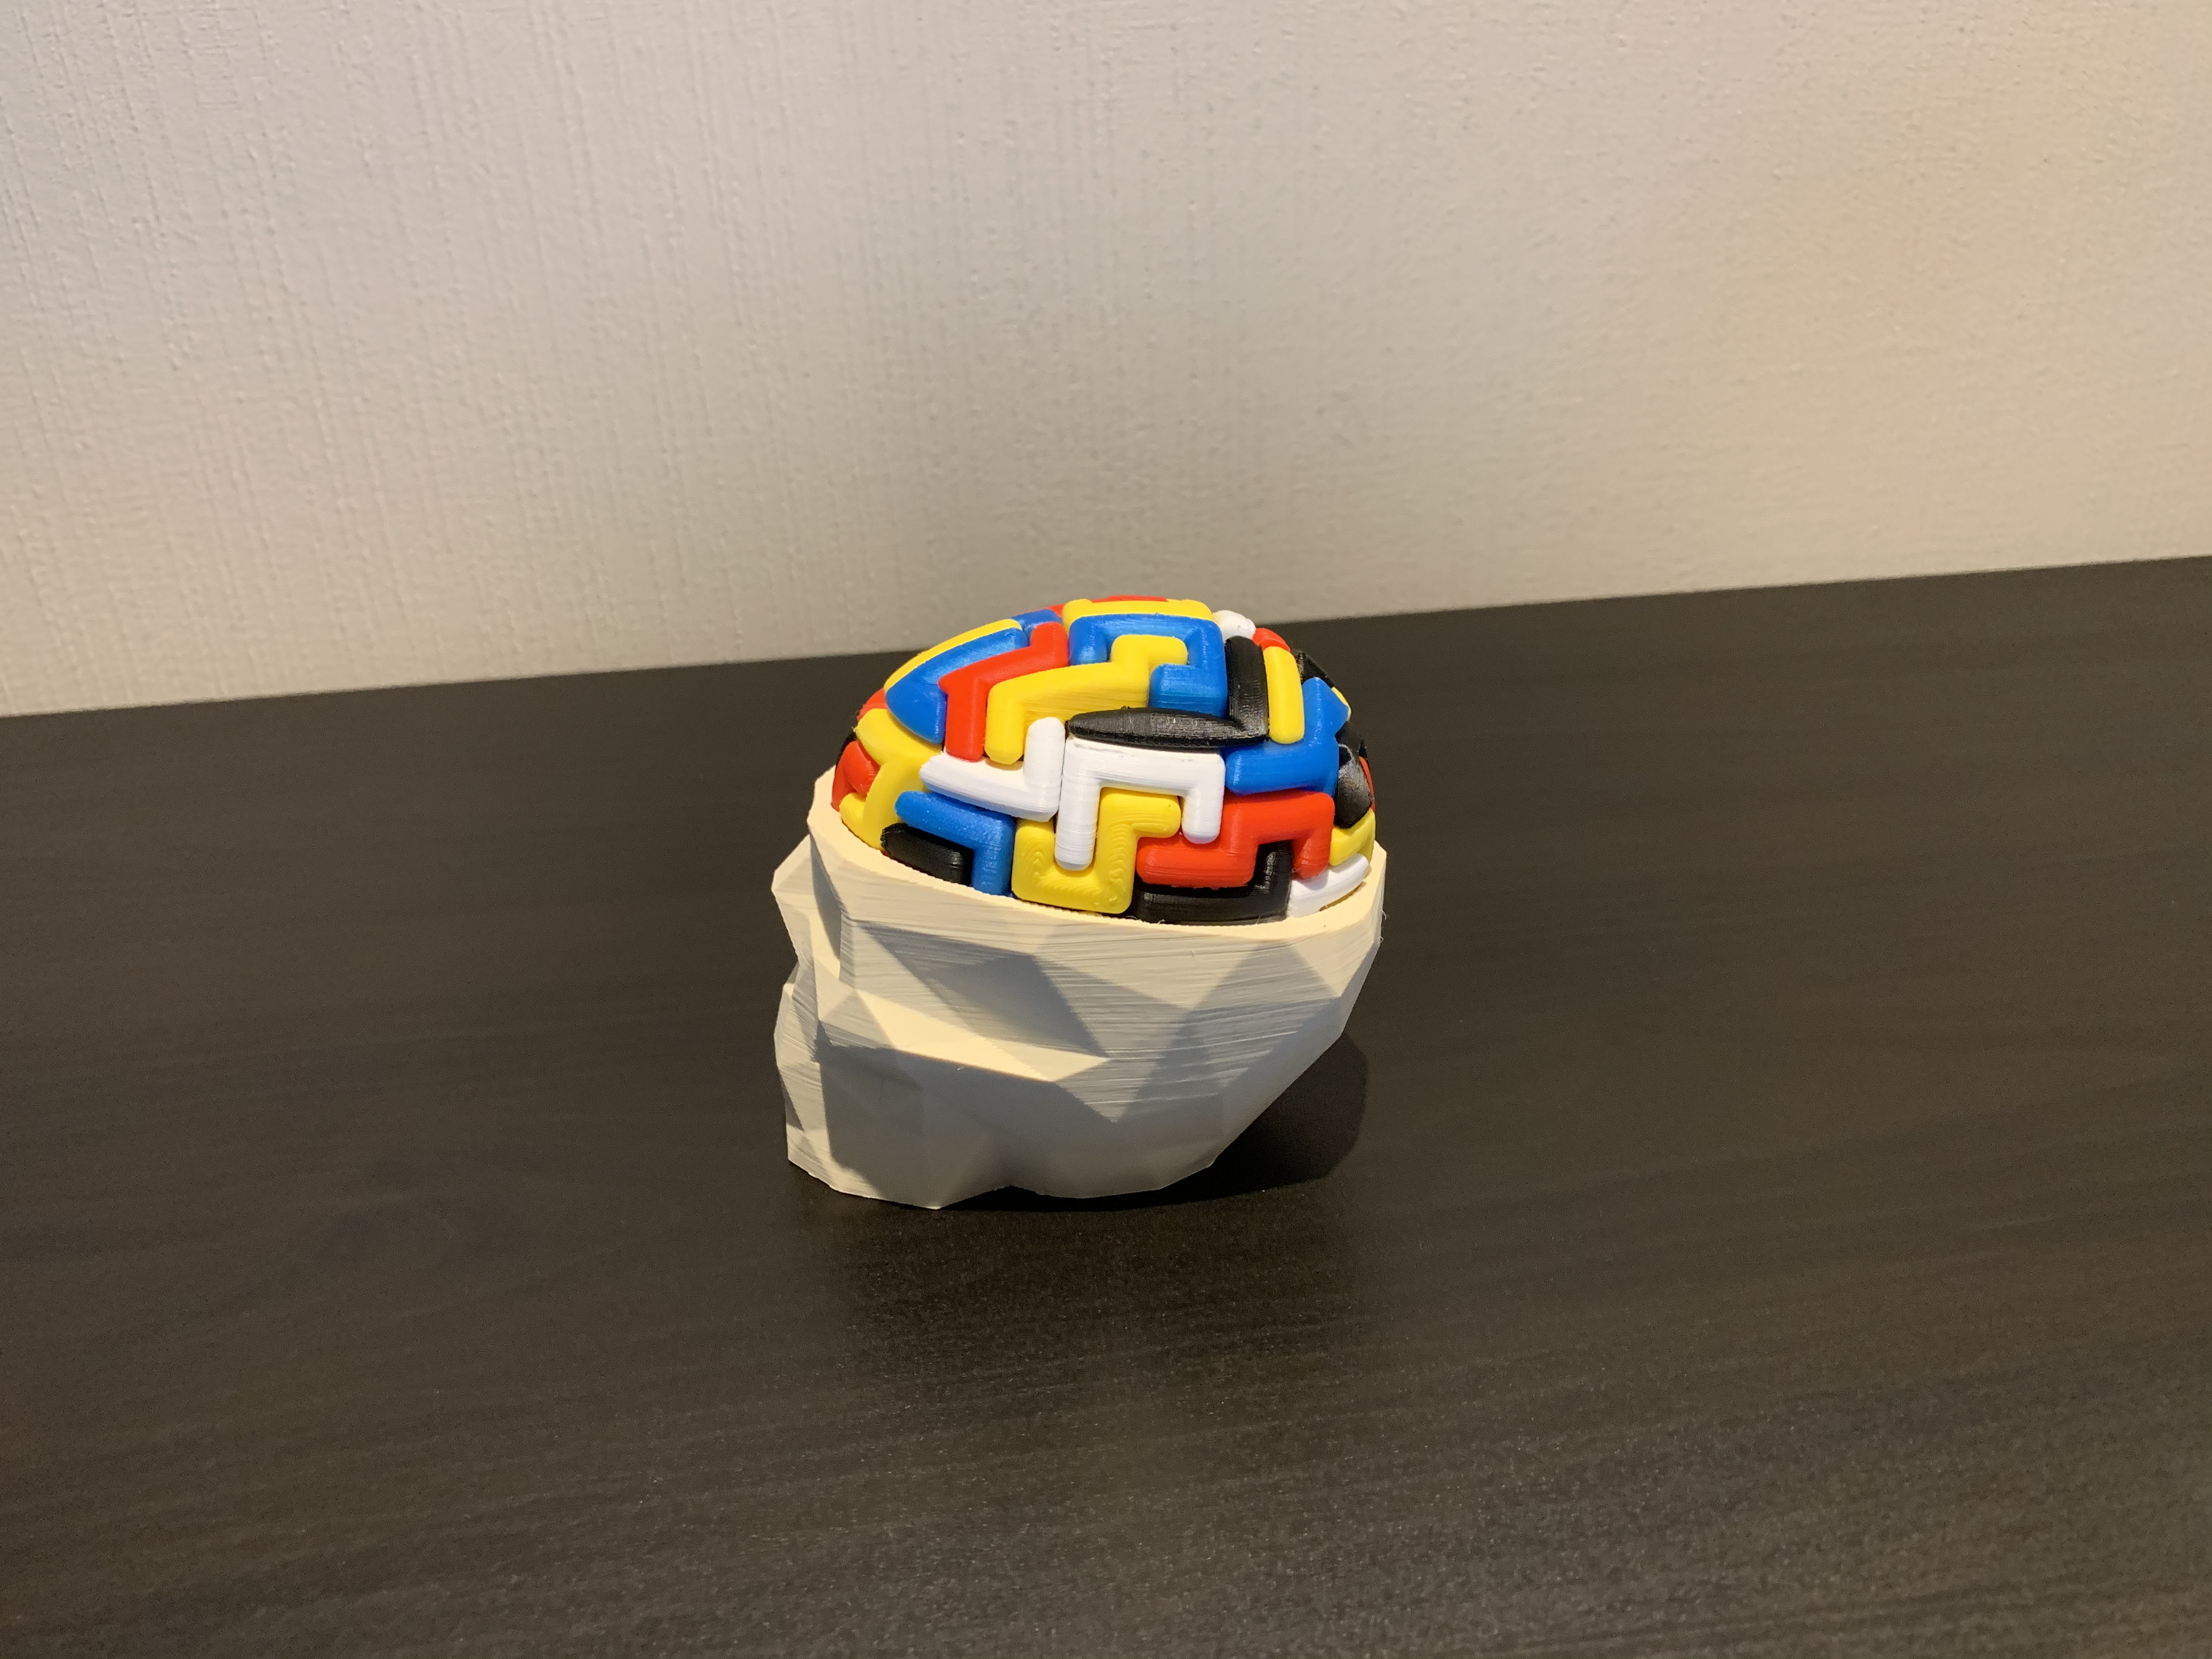
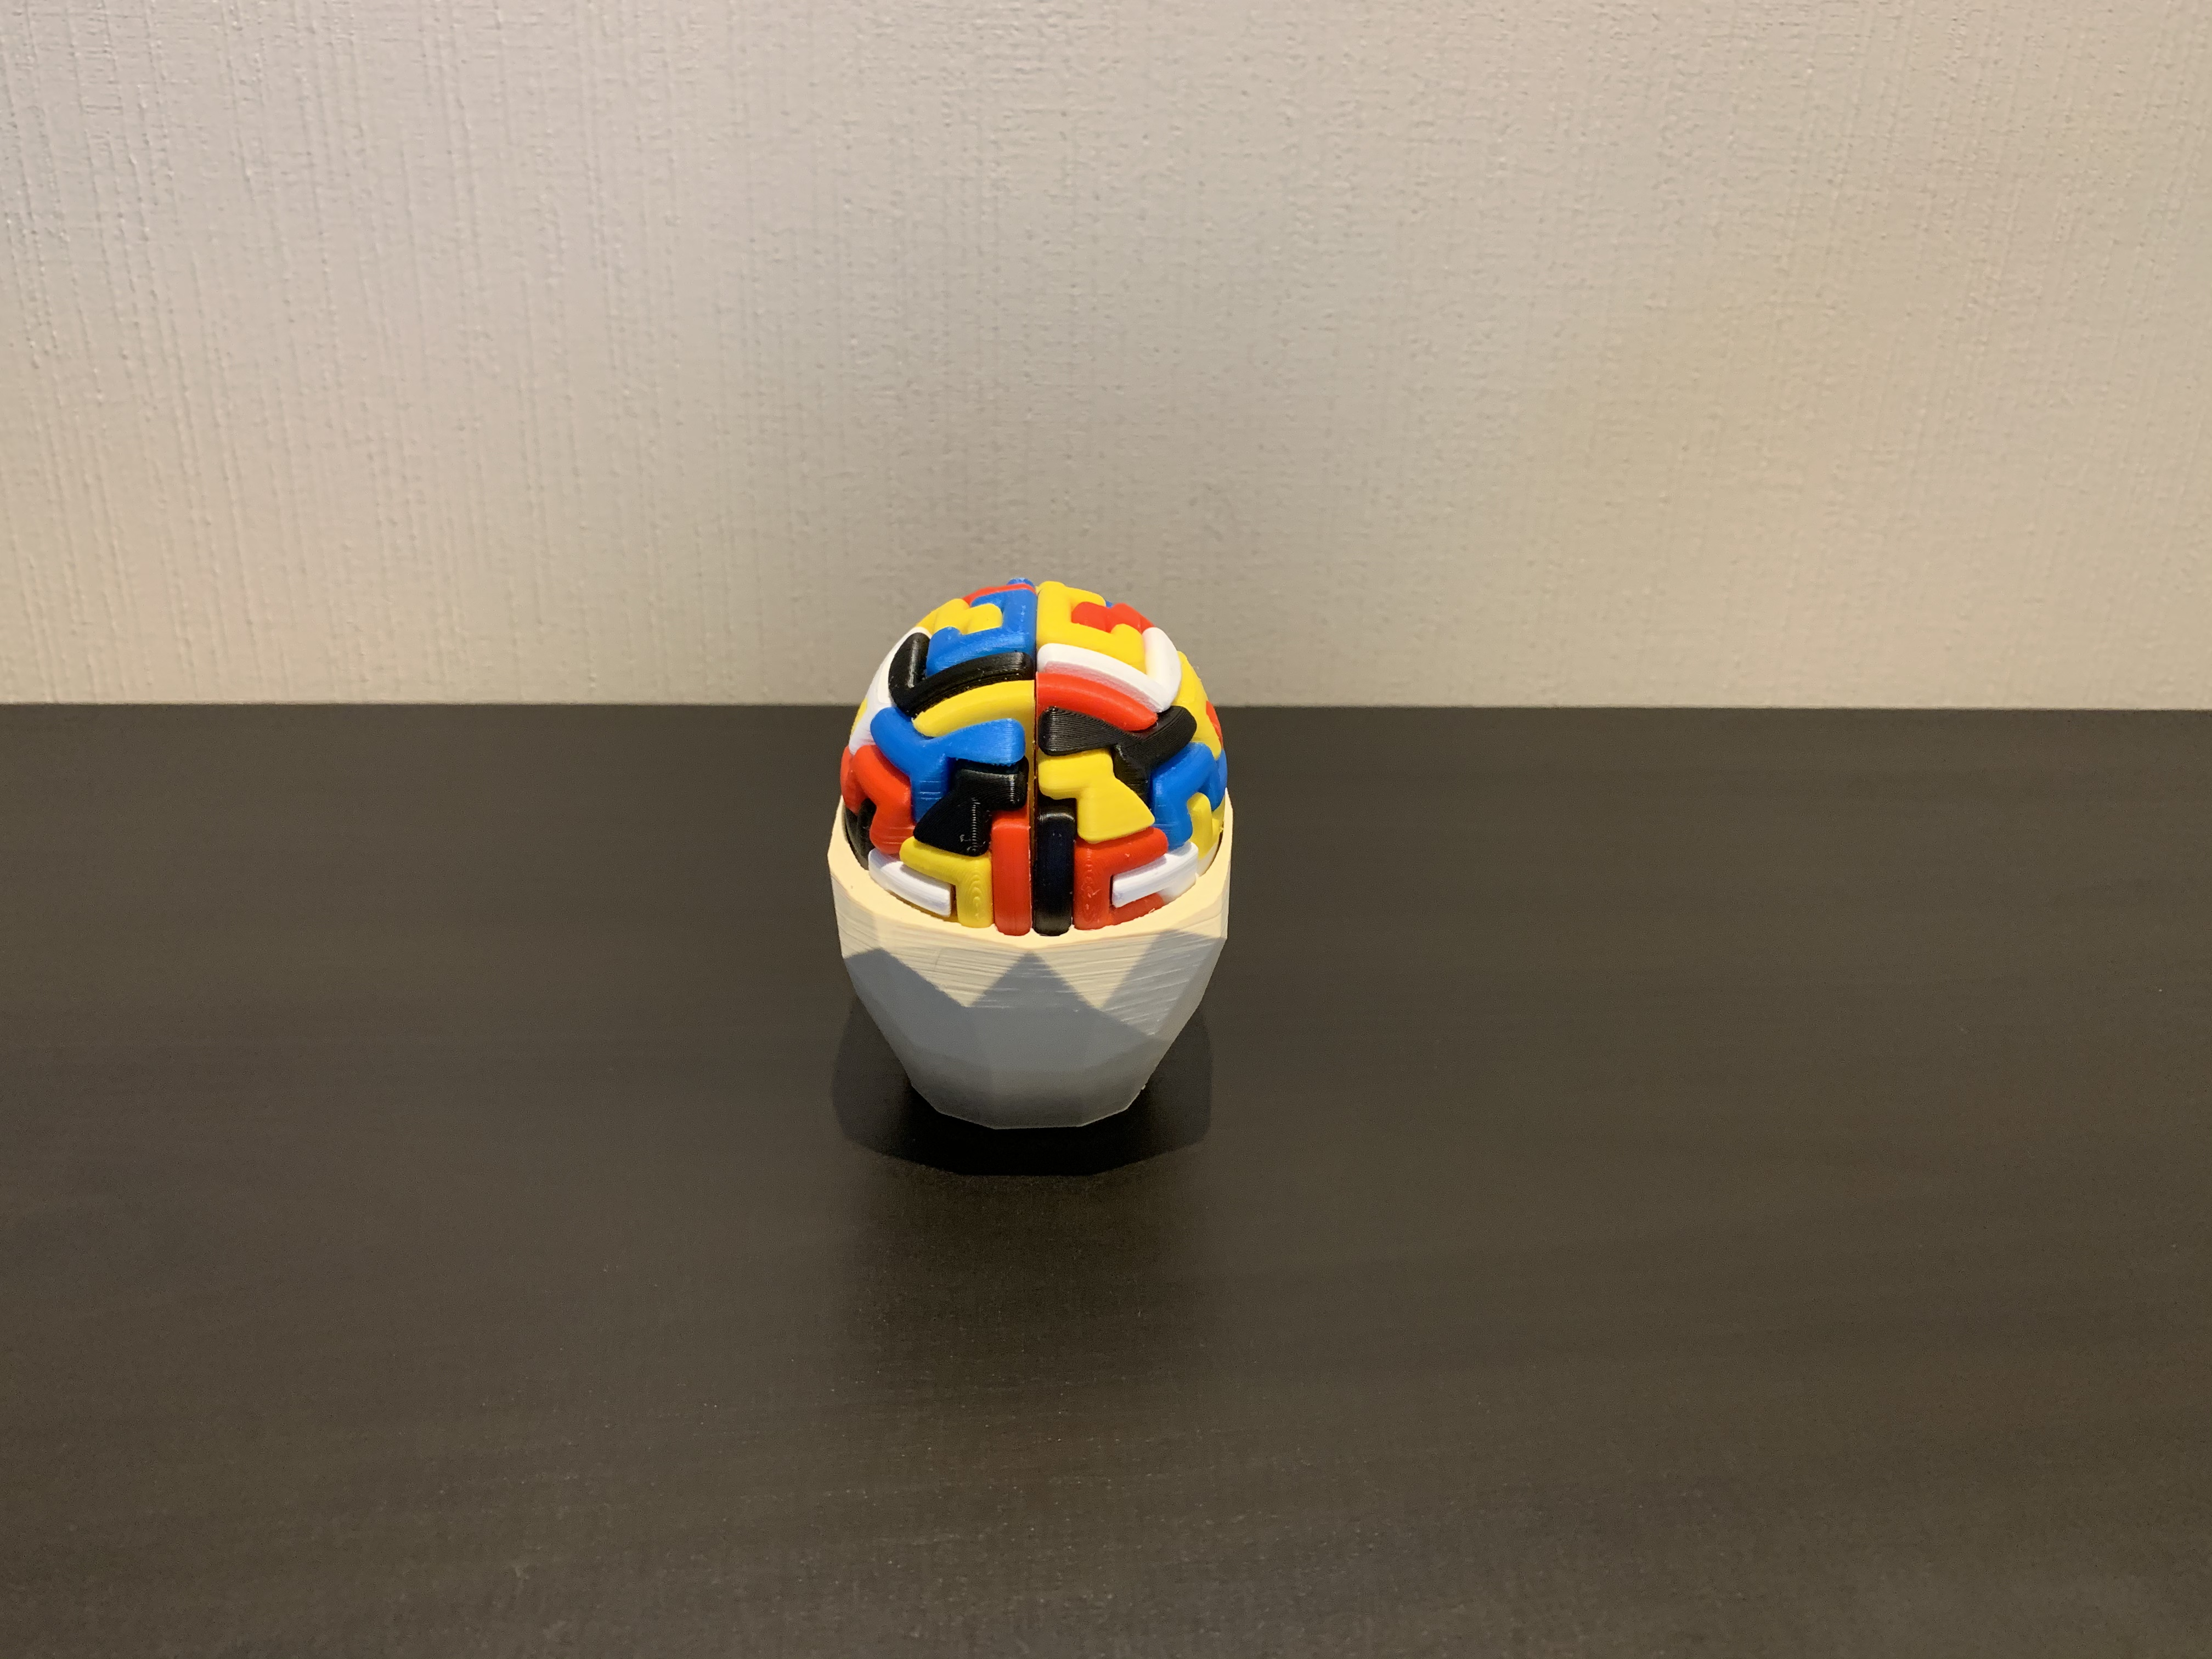
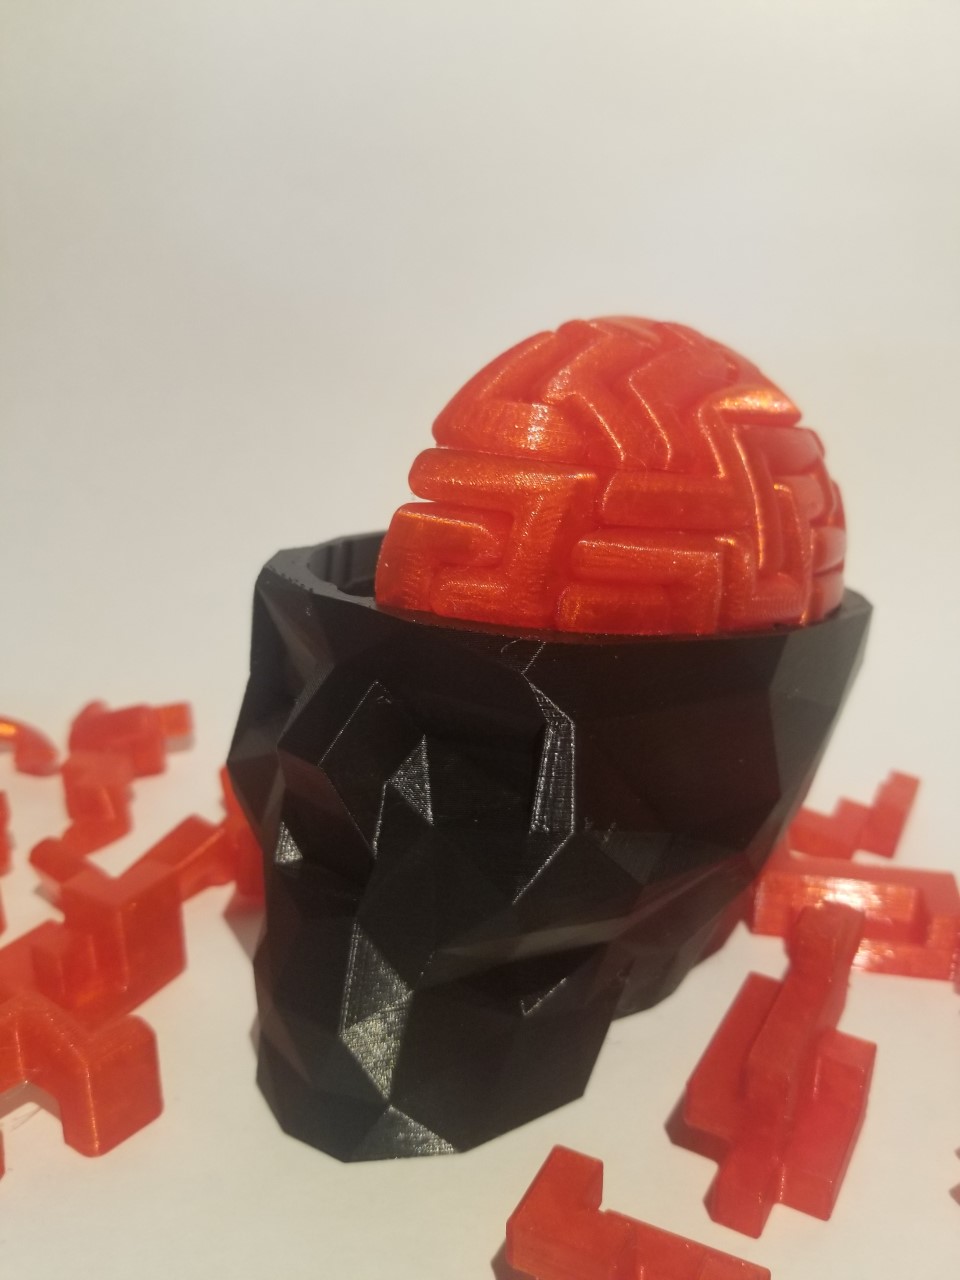
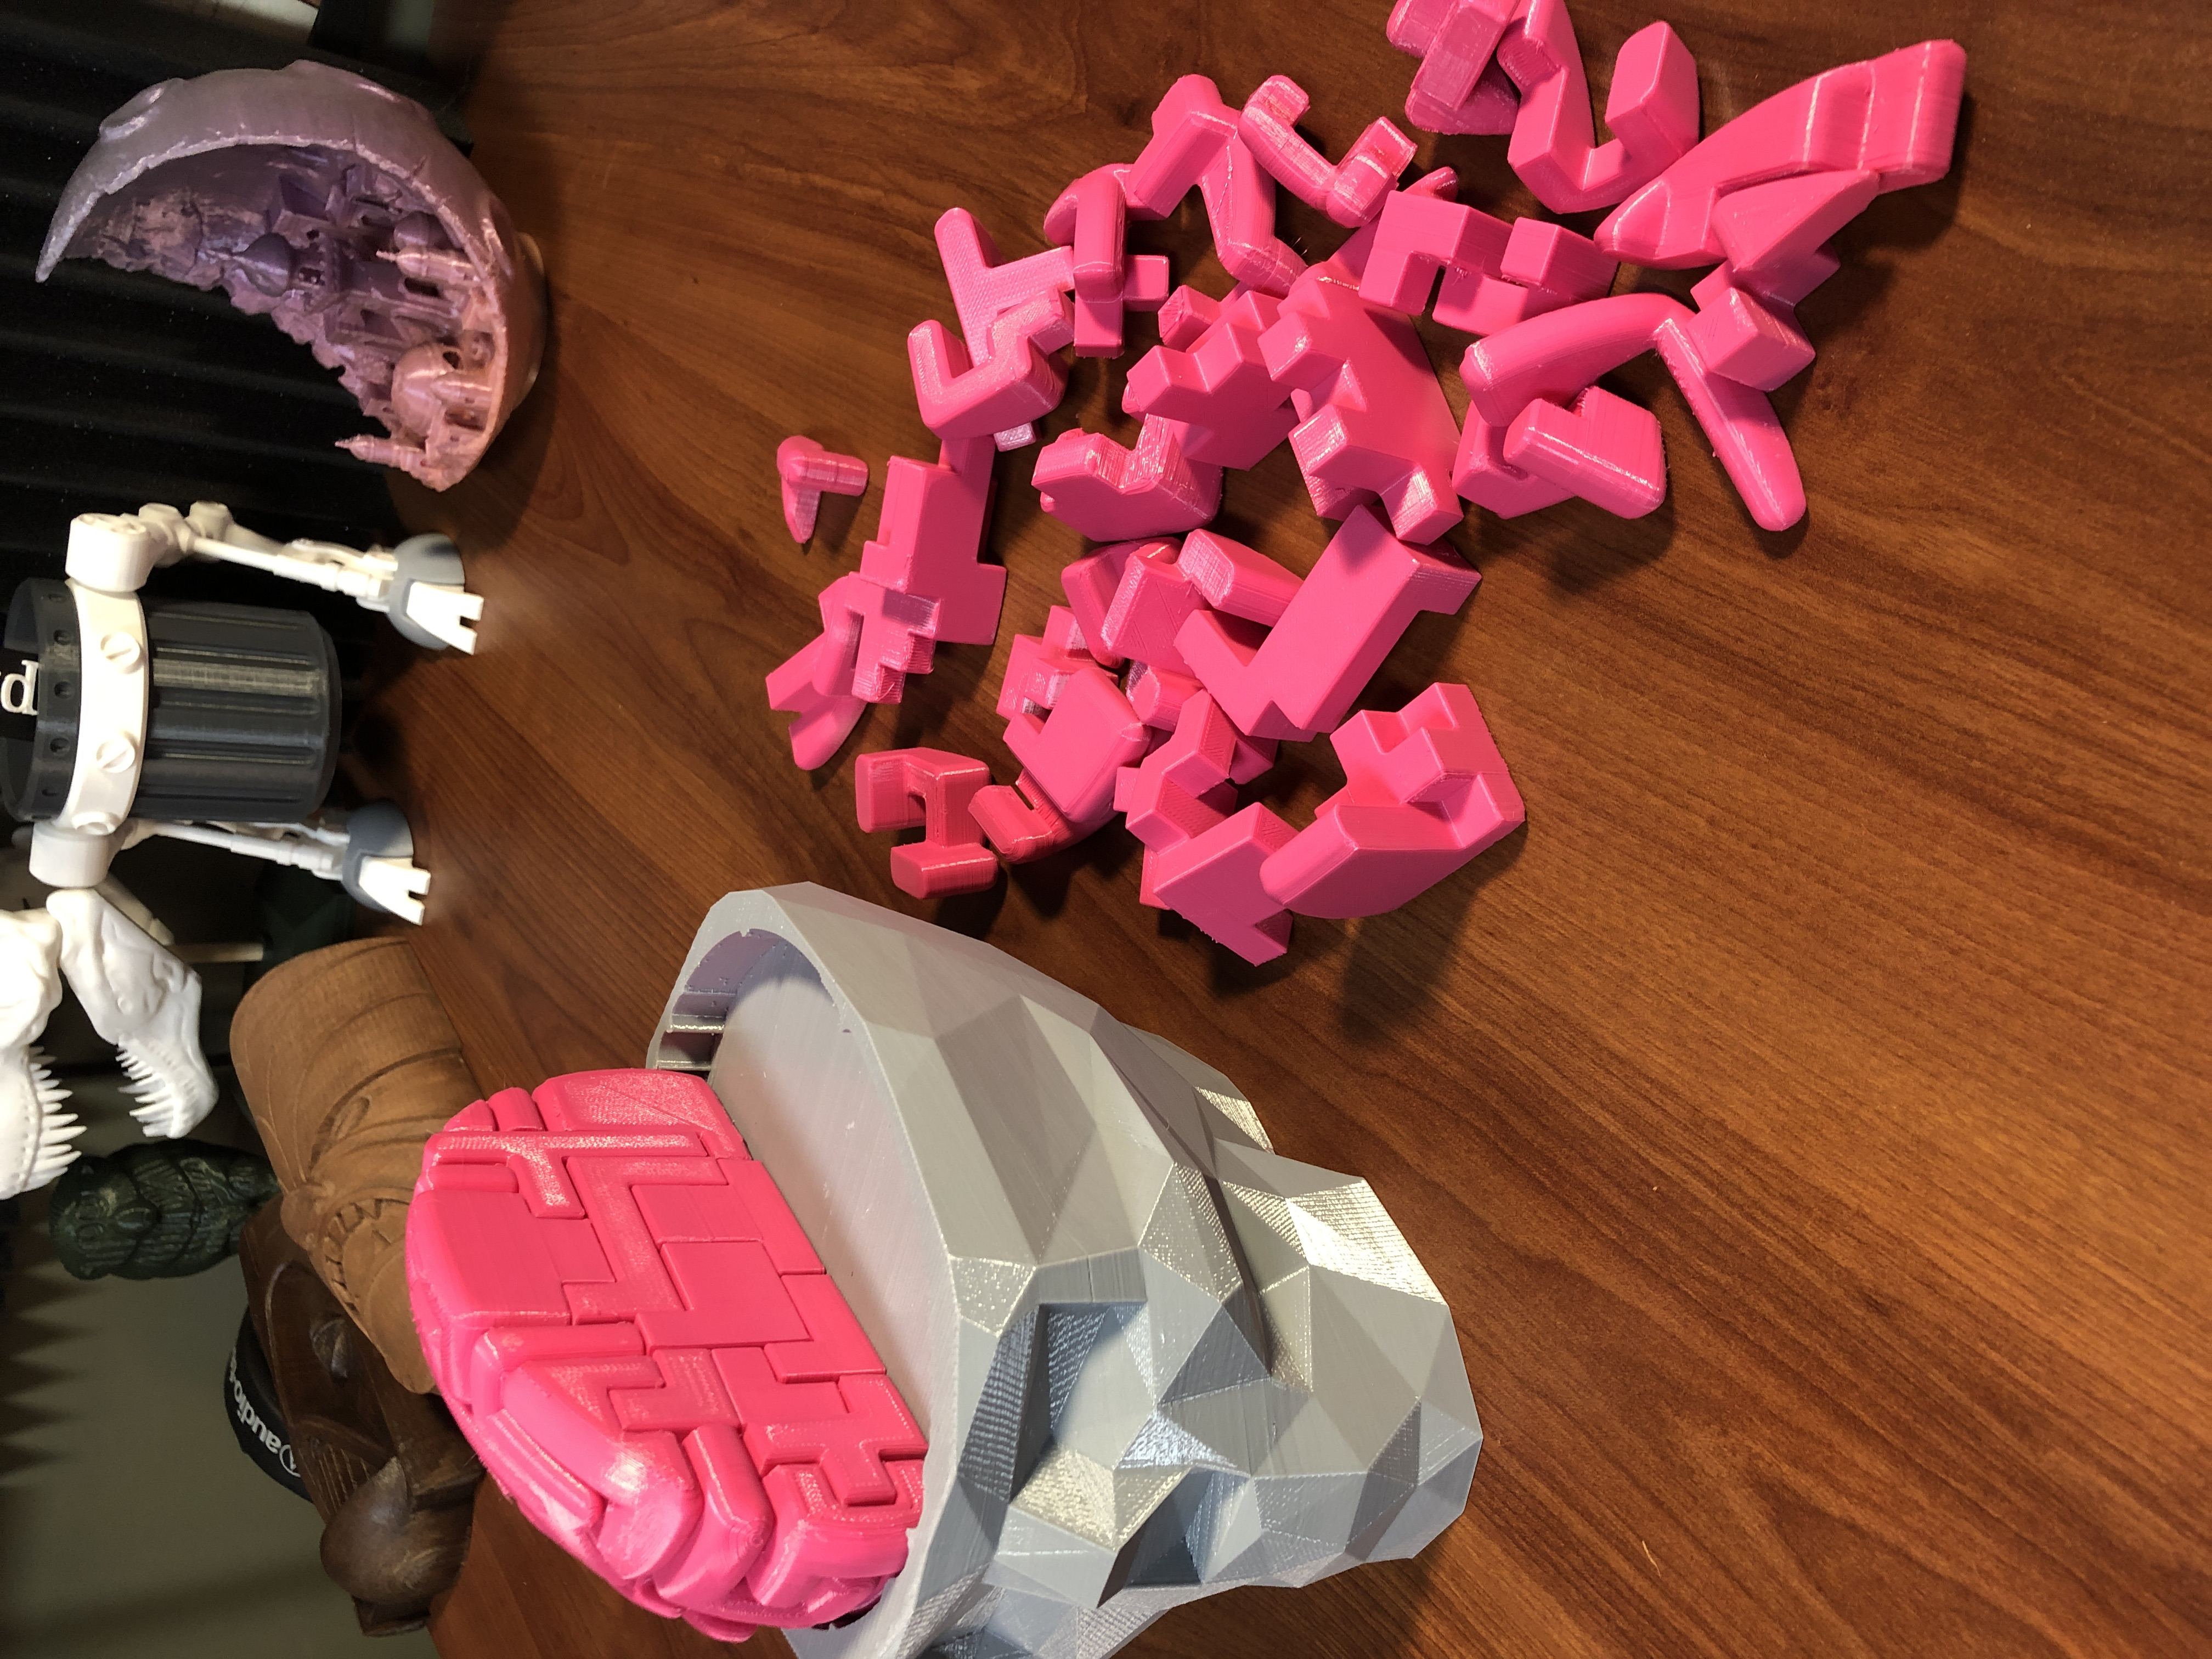
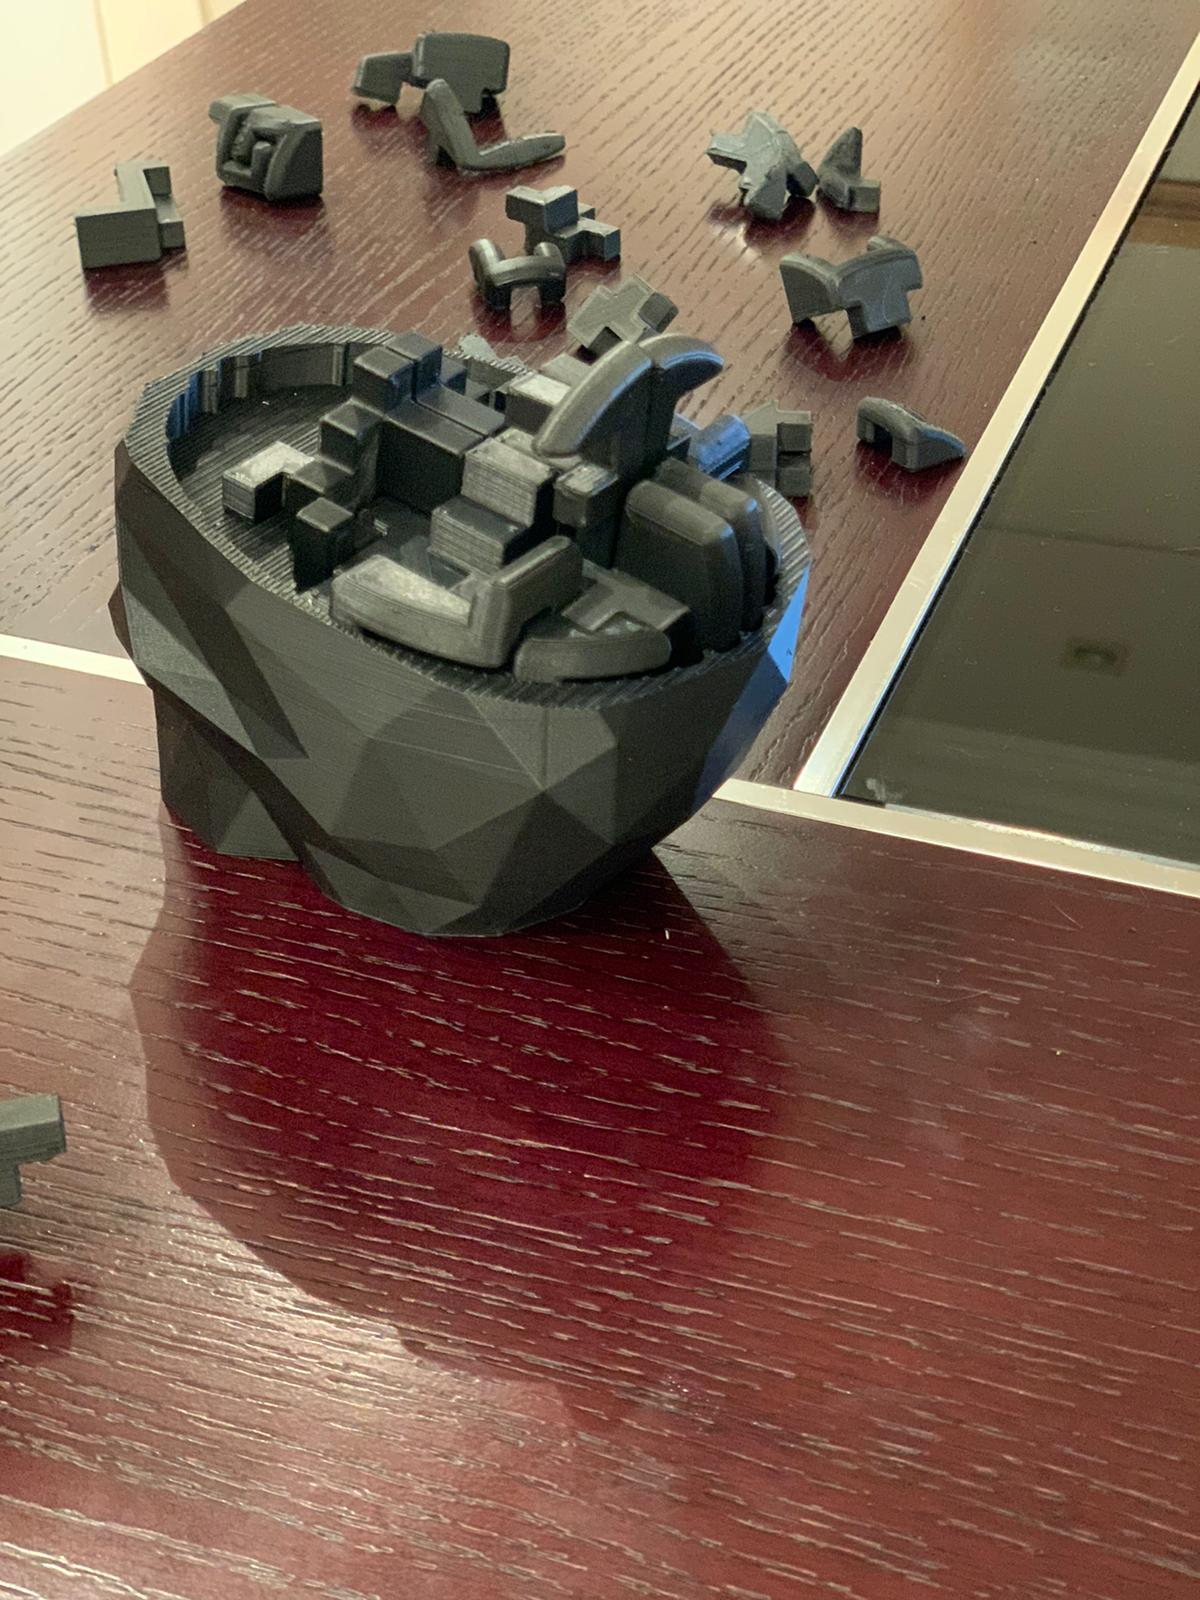
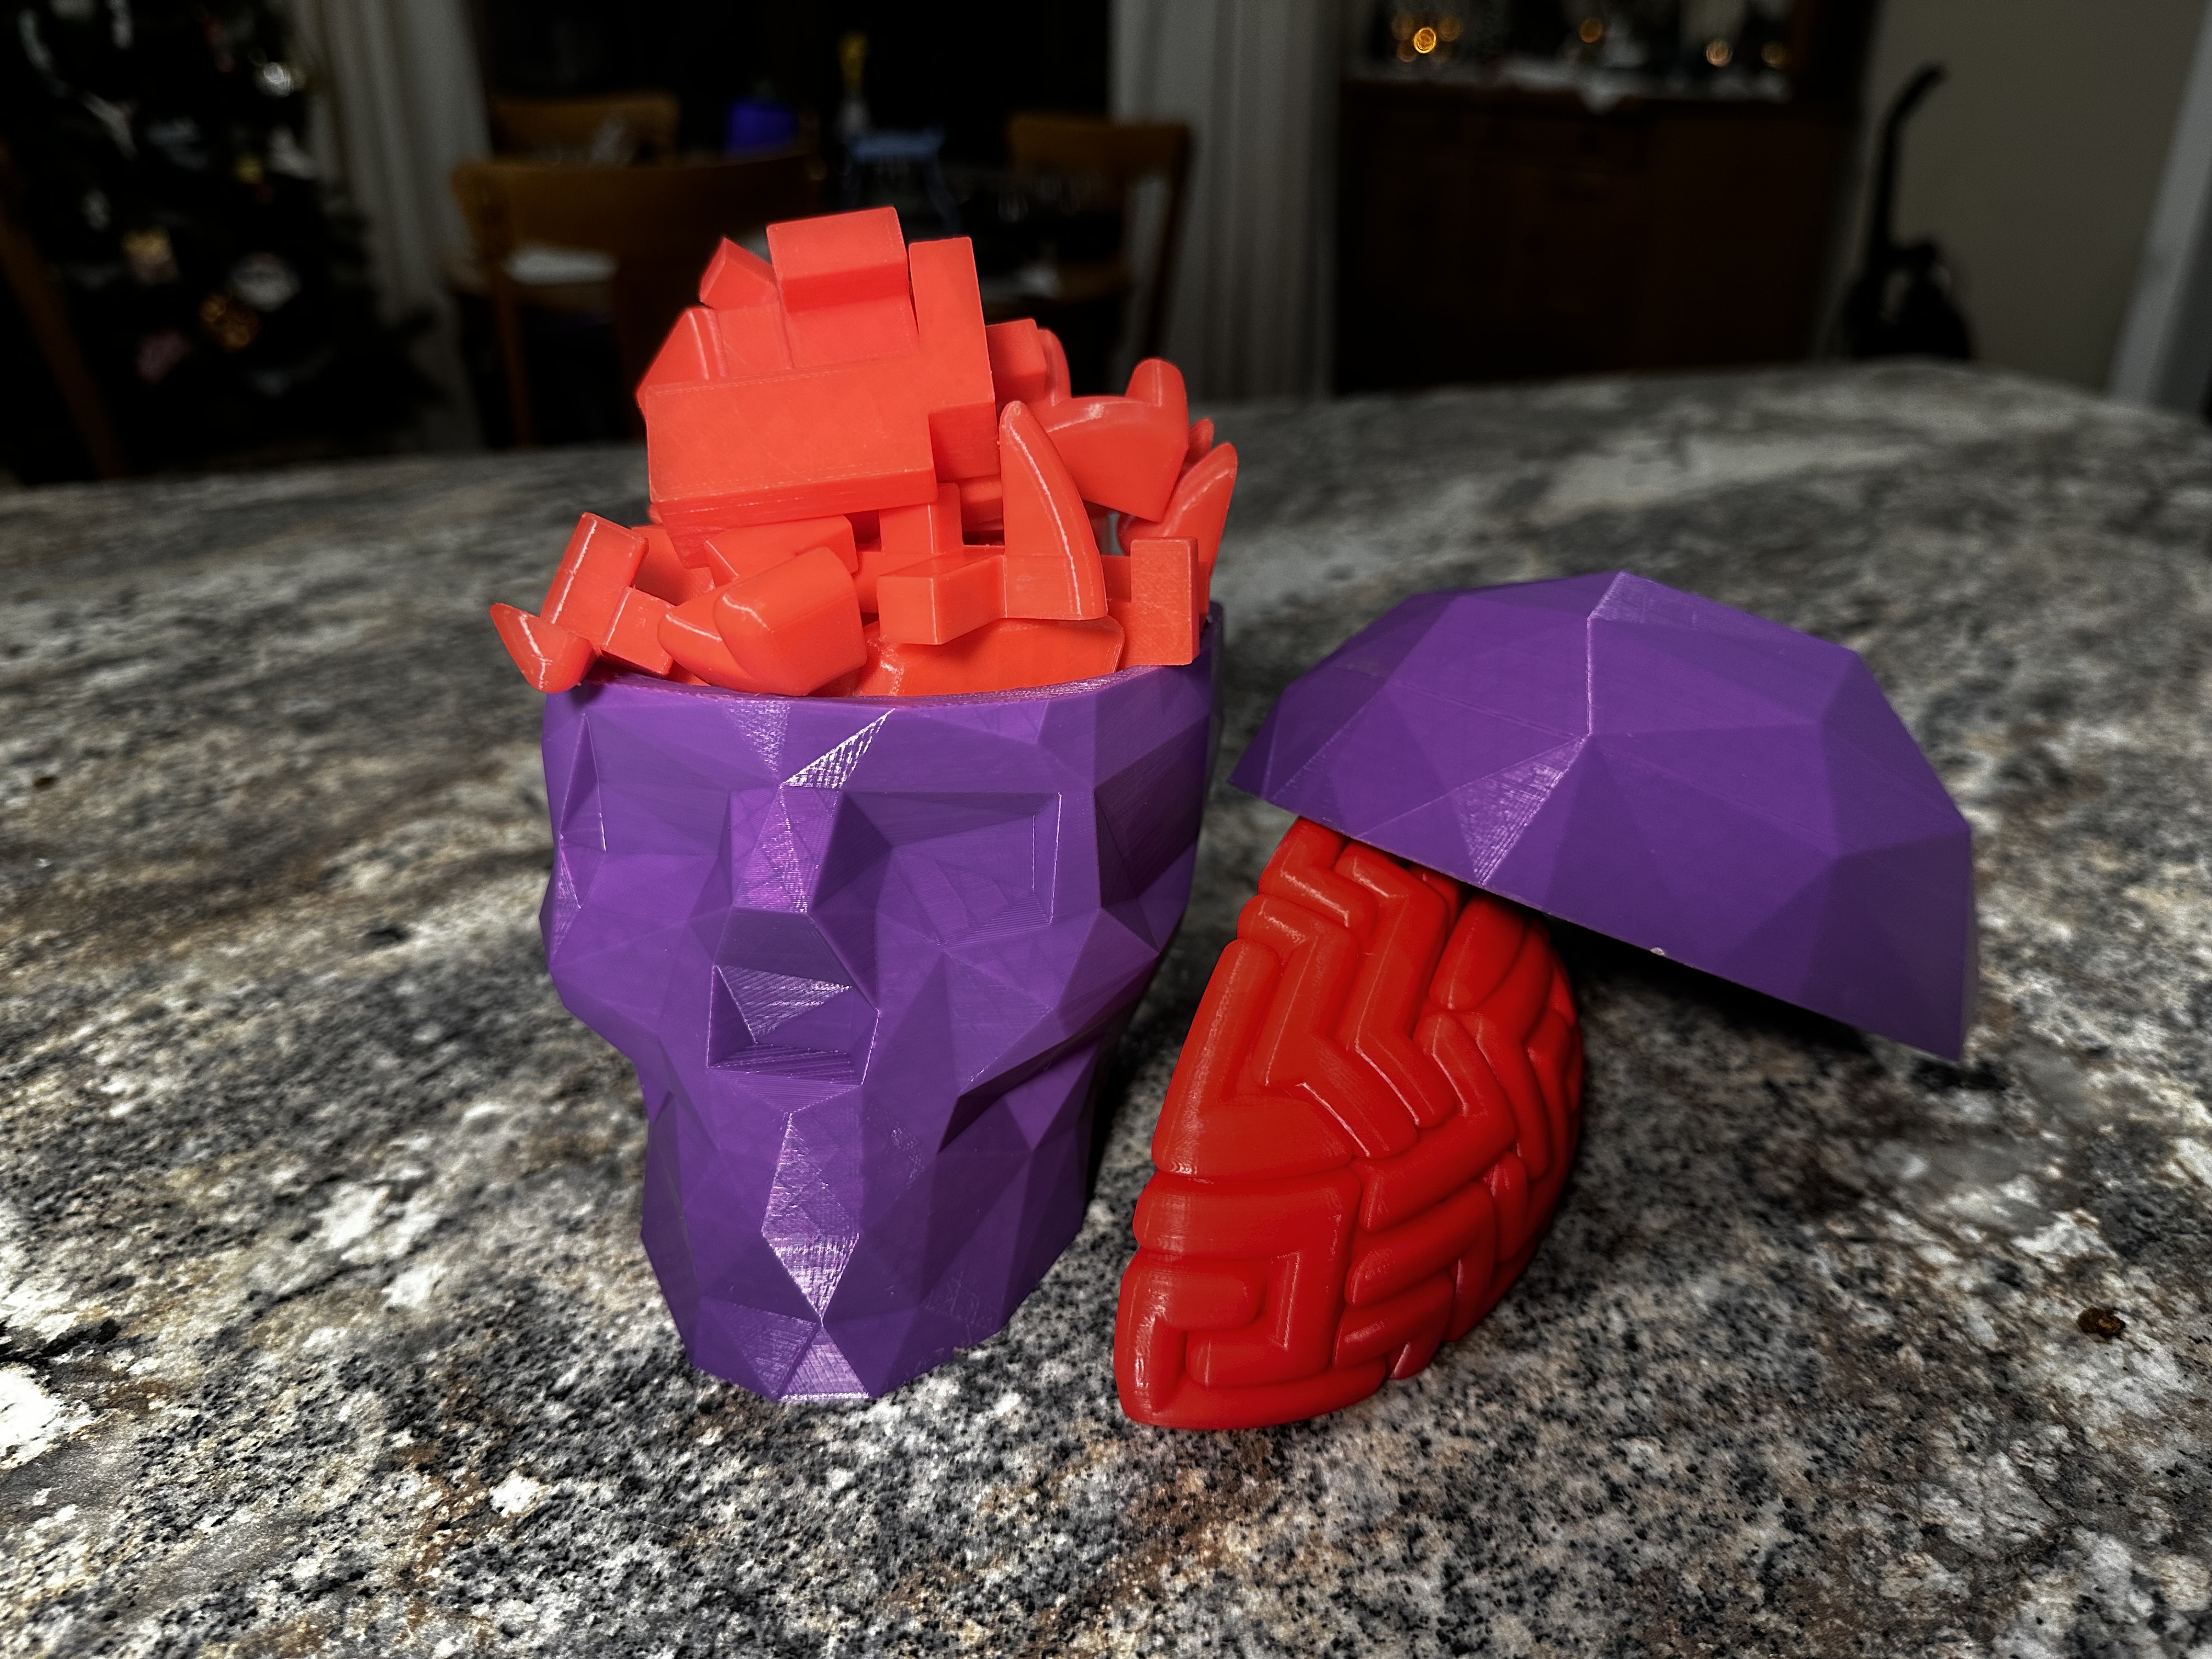
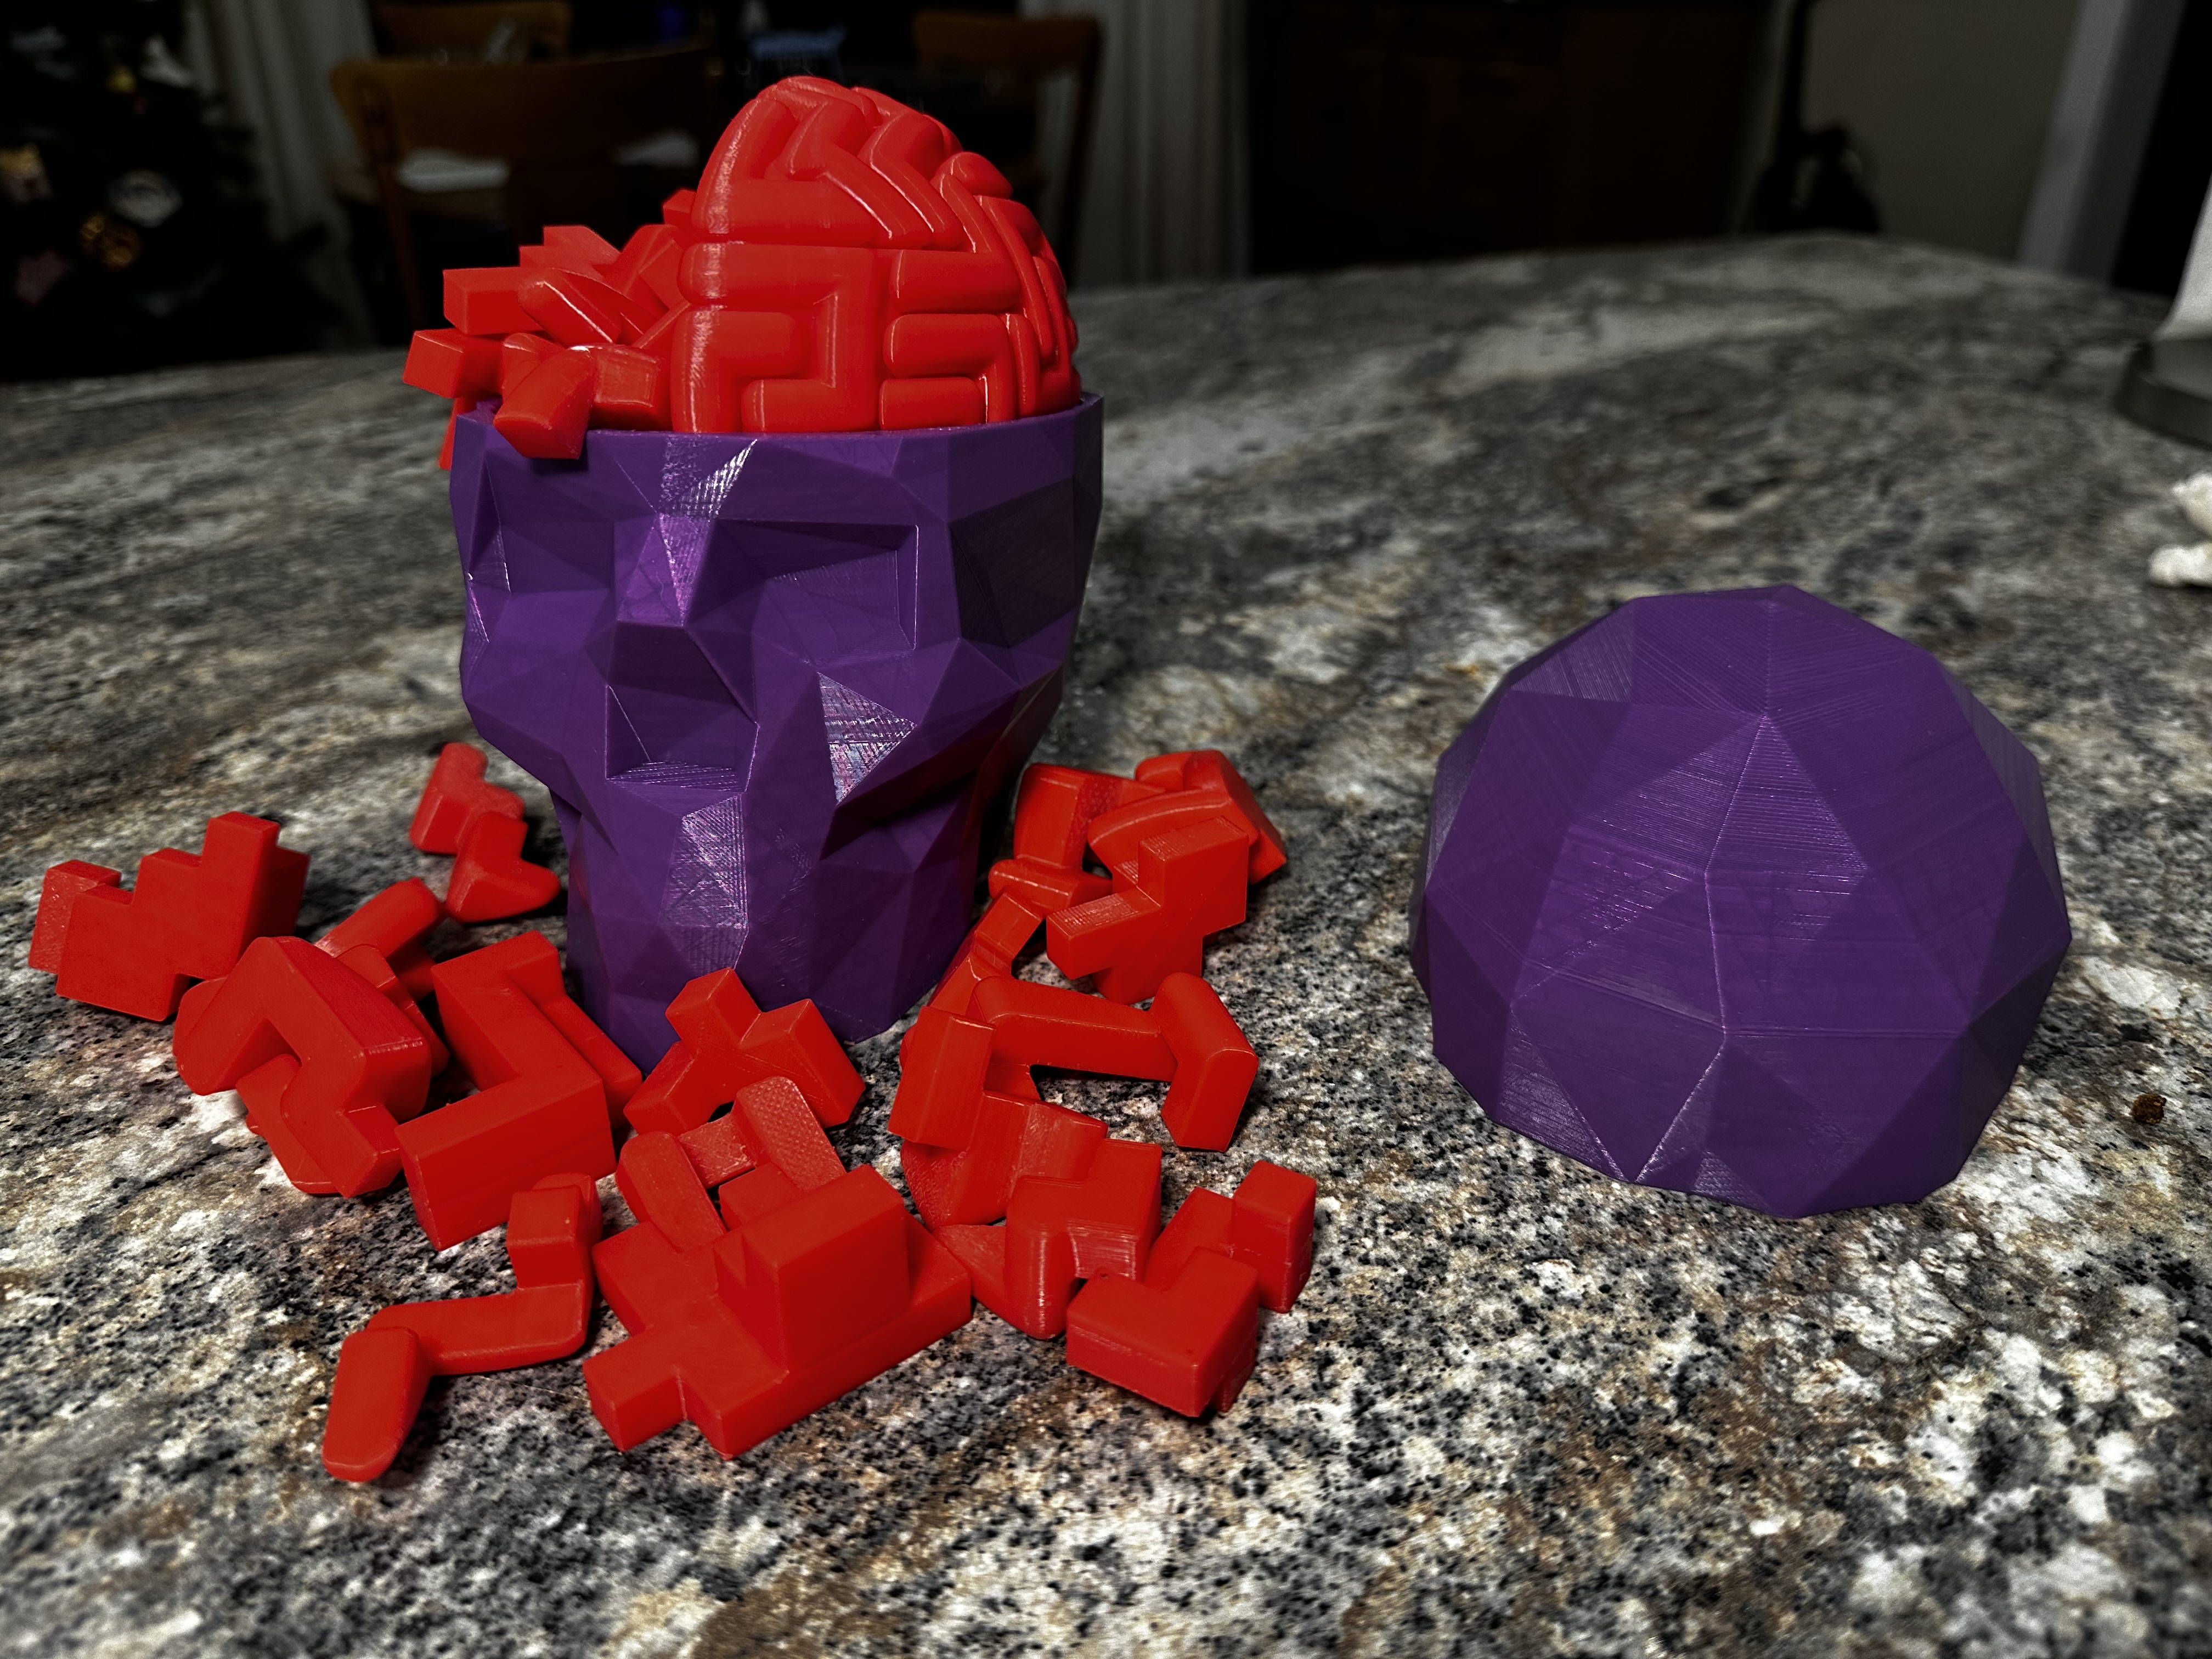
During an experiment Dr. Brain Breaker made a terrible mistake! An explosion splattered his brain into 56 pieces. It’s up to you to pick up the parts of his brain and put it back together. Only then will you know if you are as smart as him. ;)
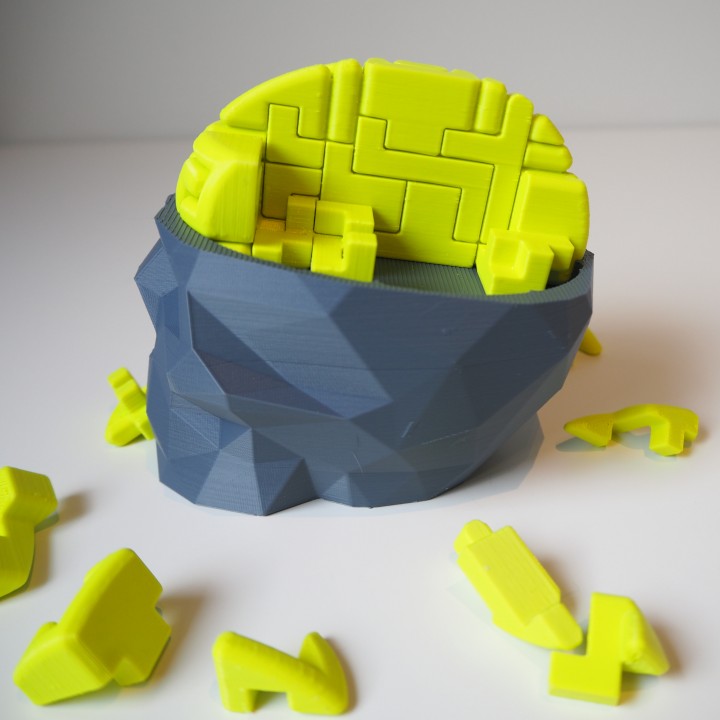
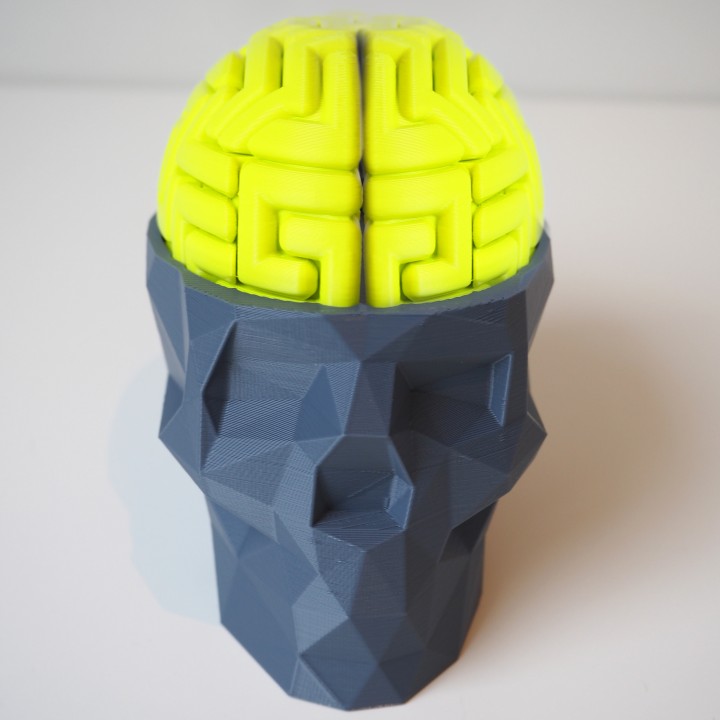
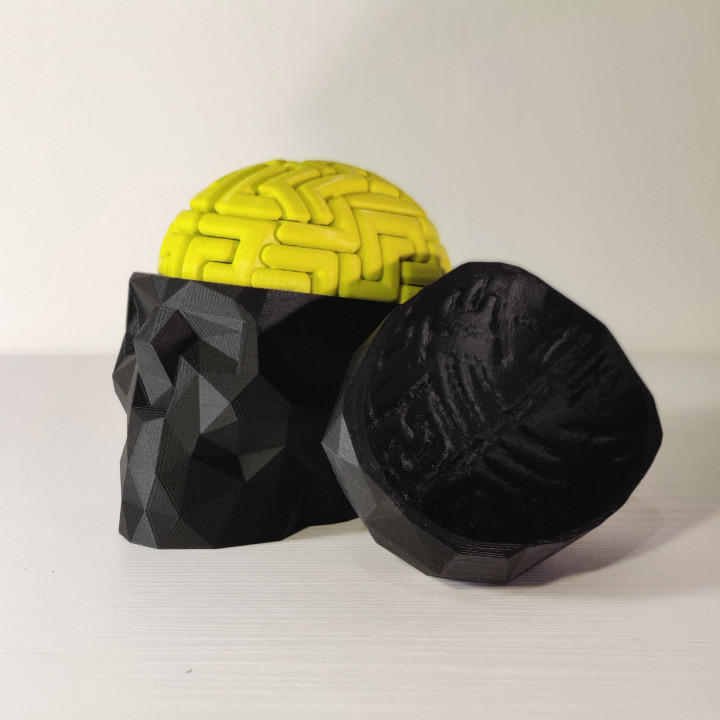
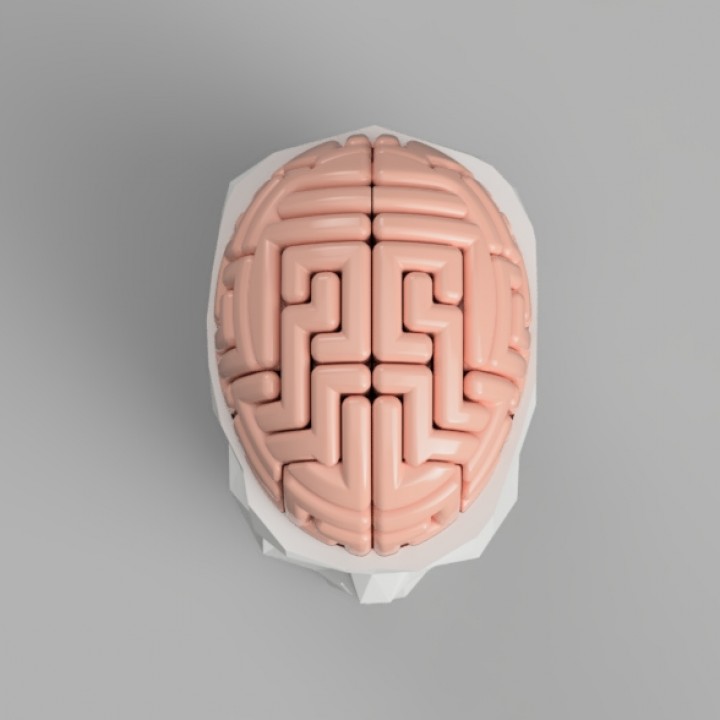
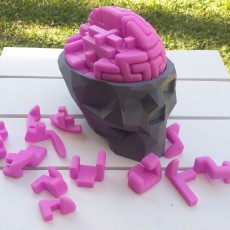
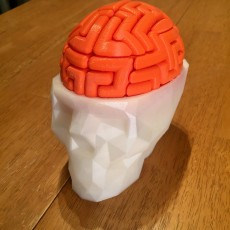
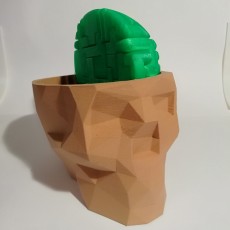
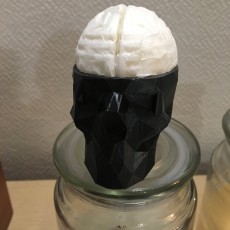
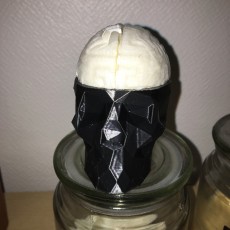
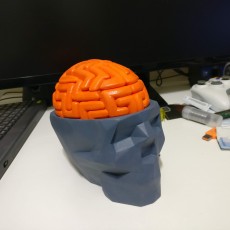
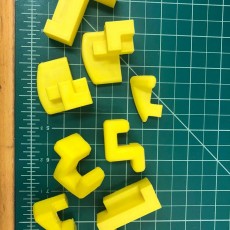
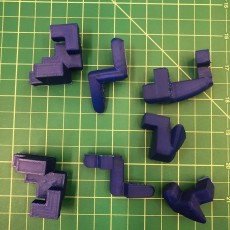
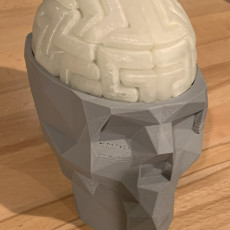
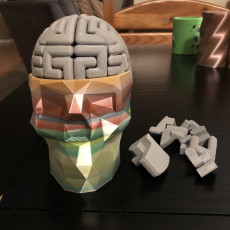
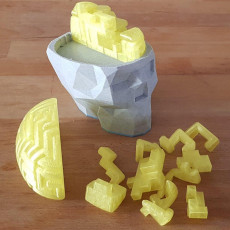
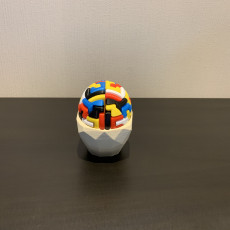
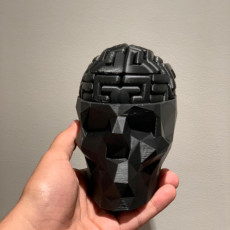
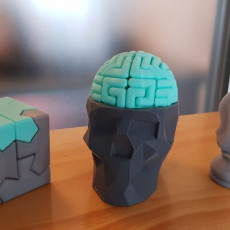
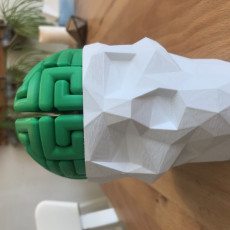
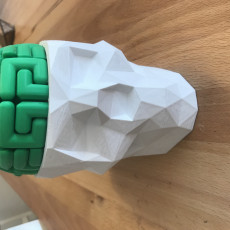
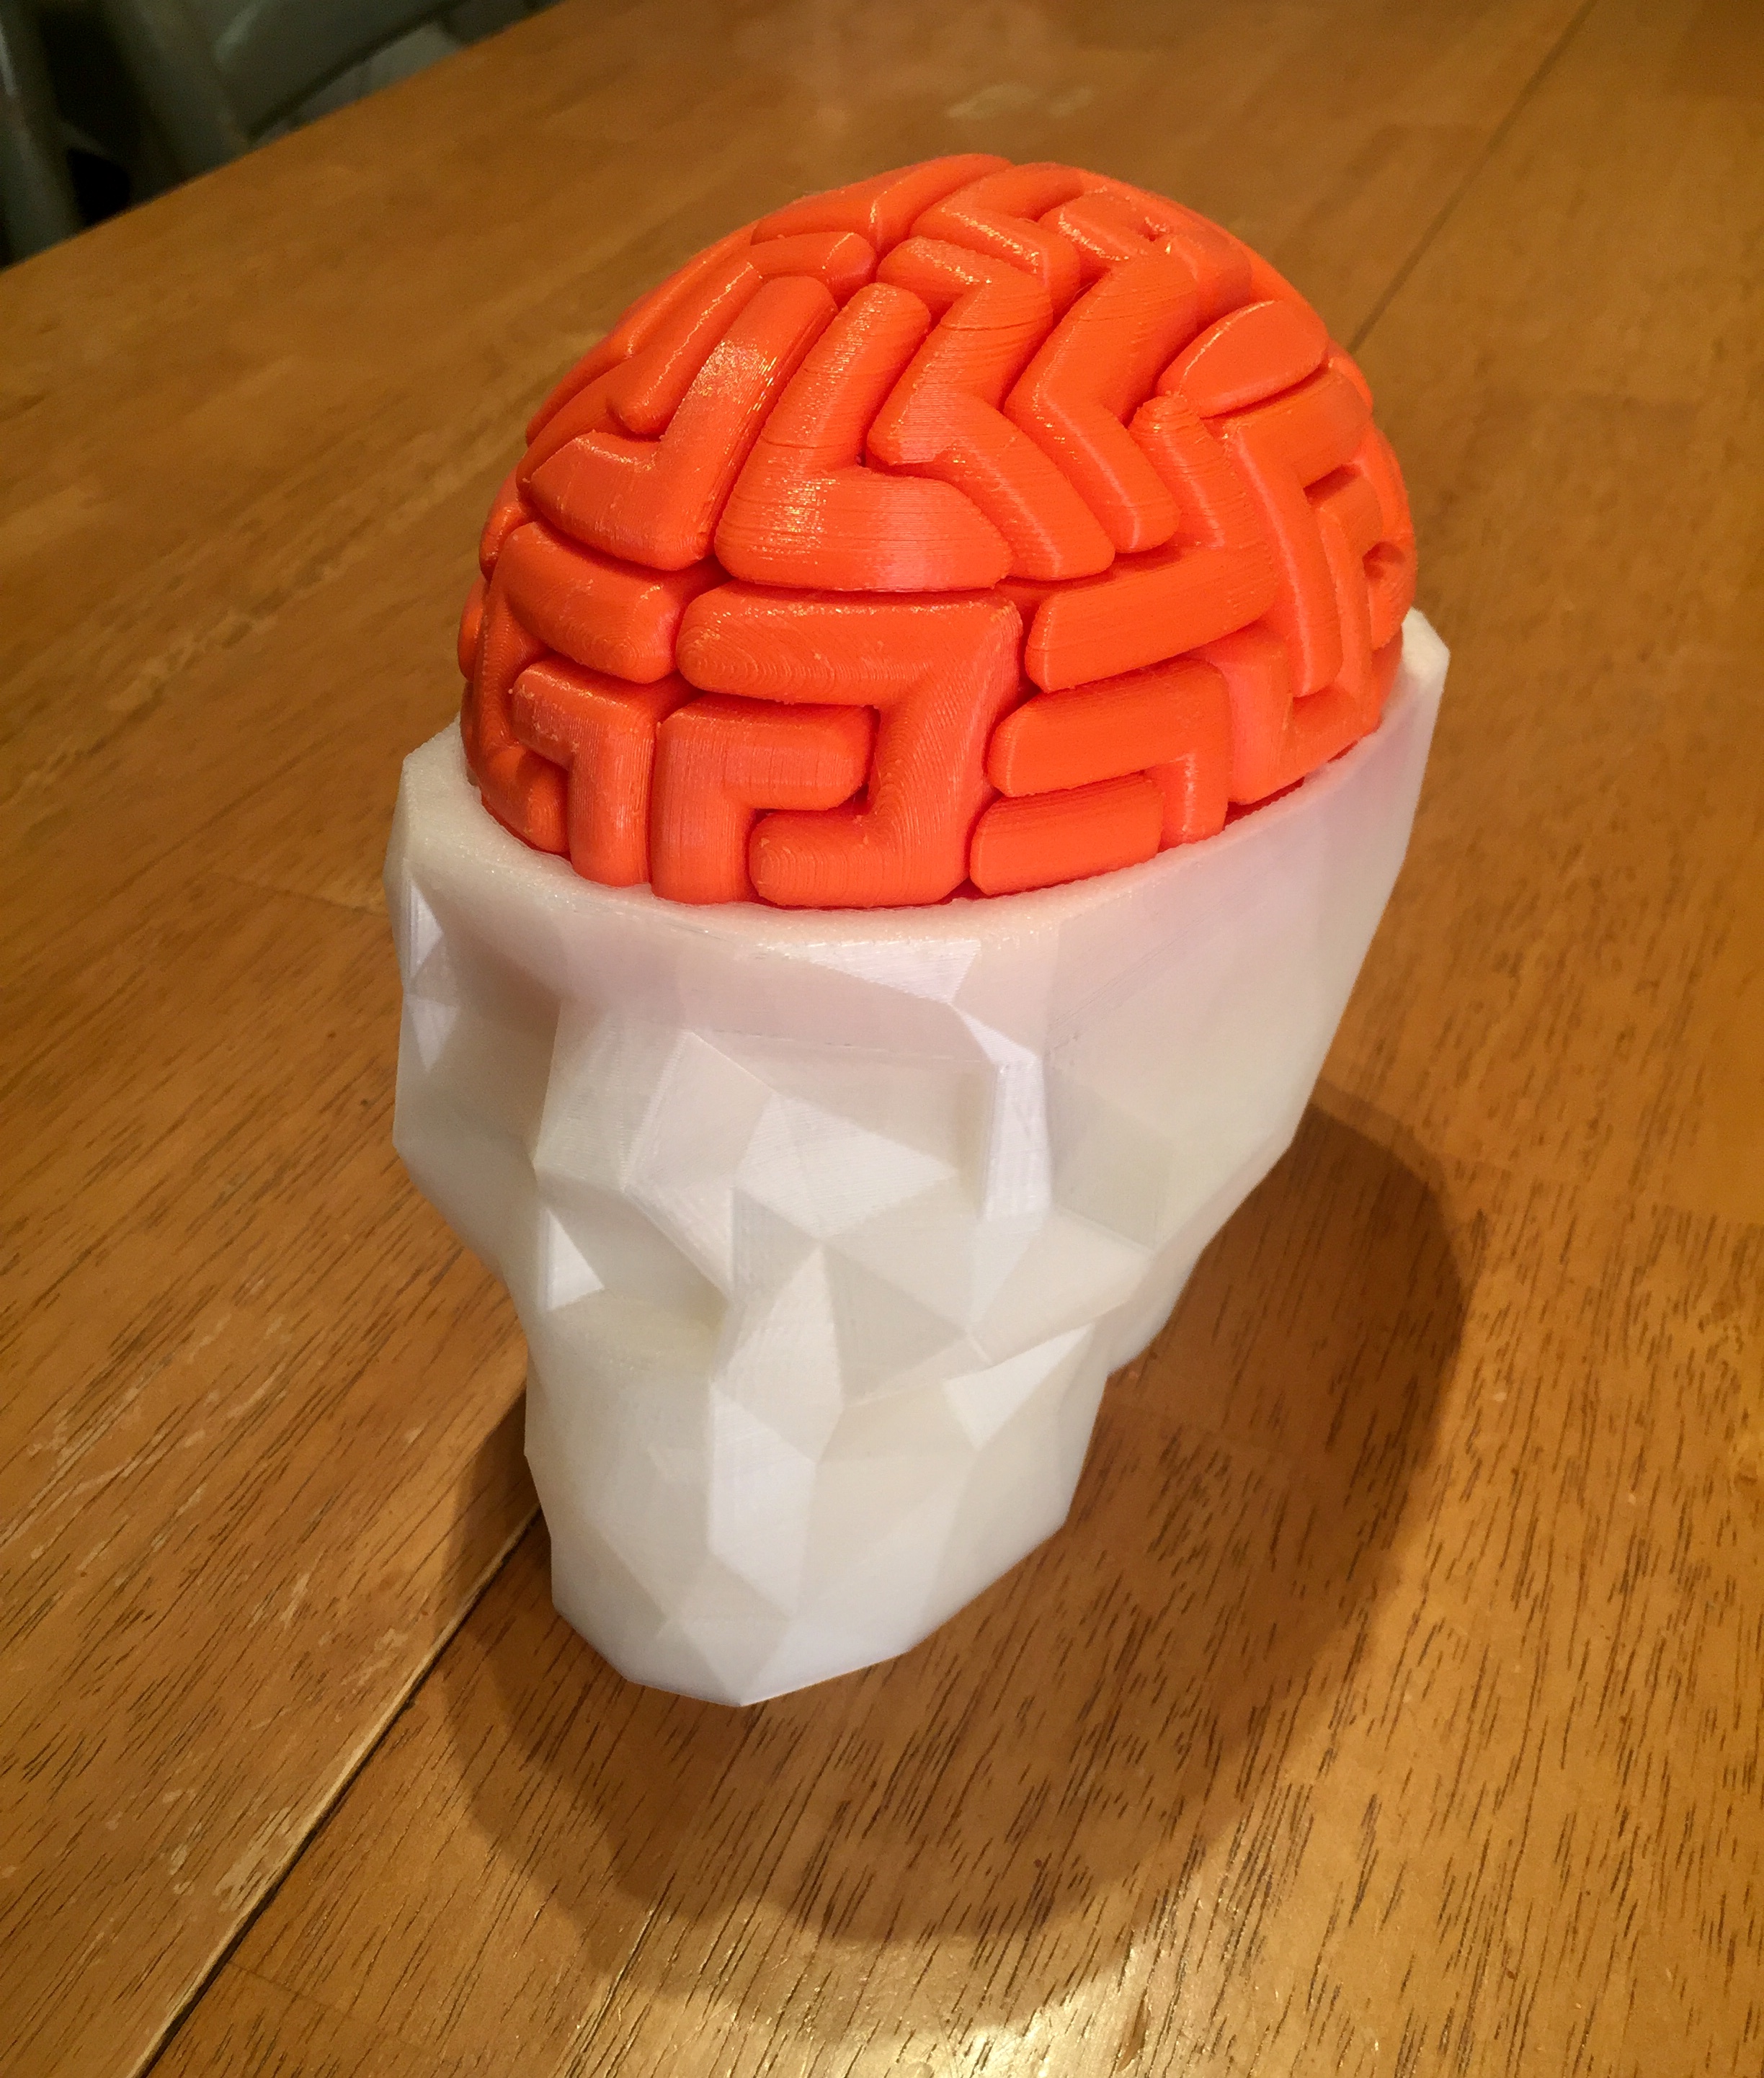
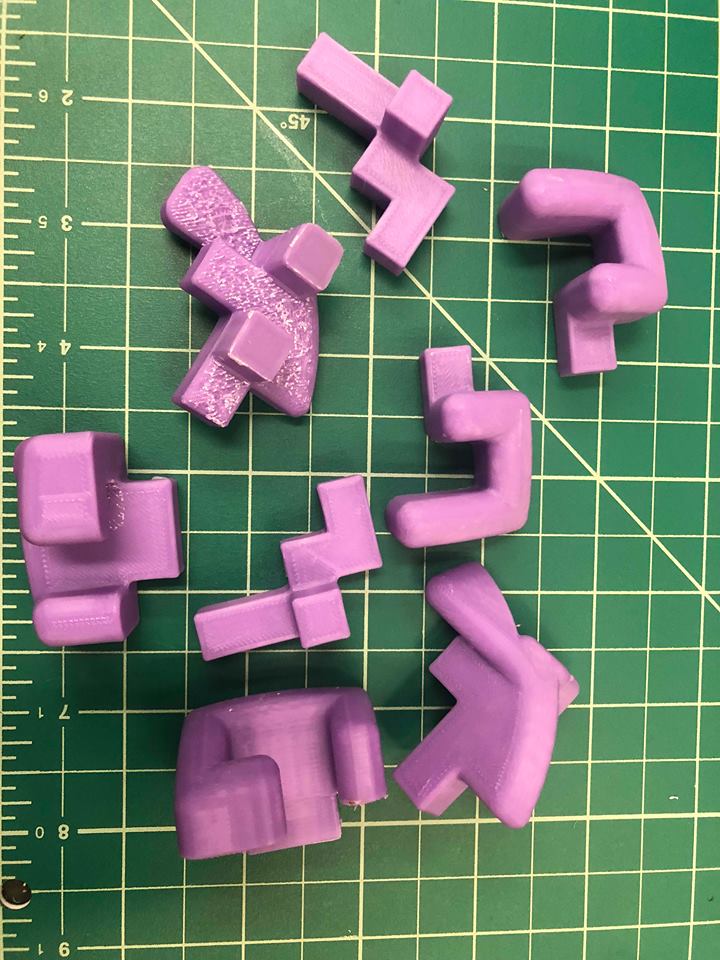
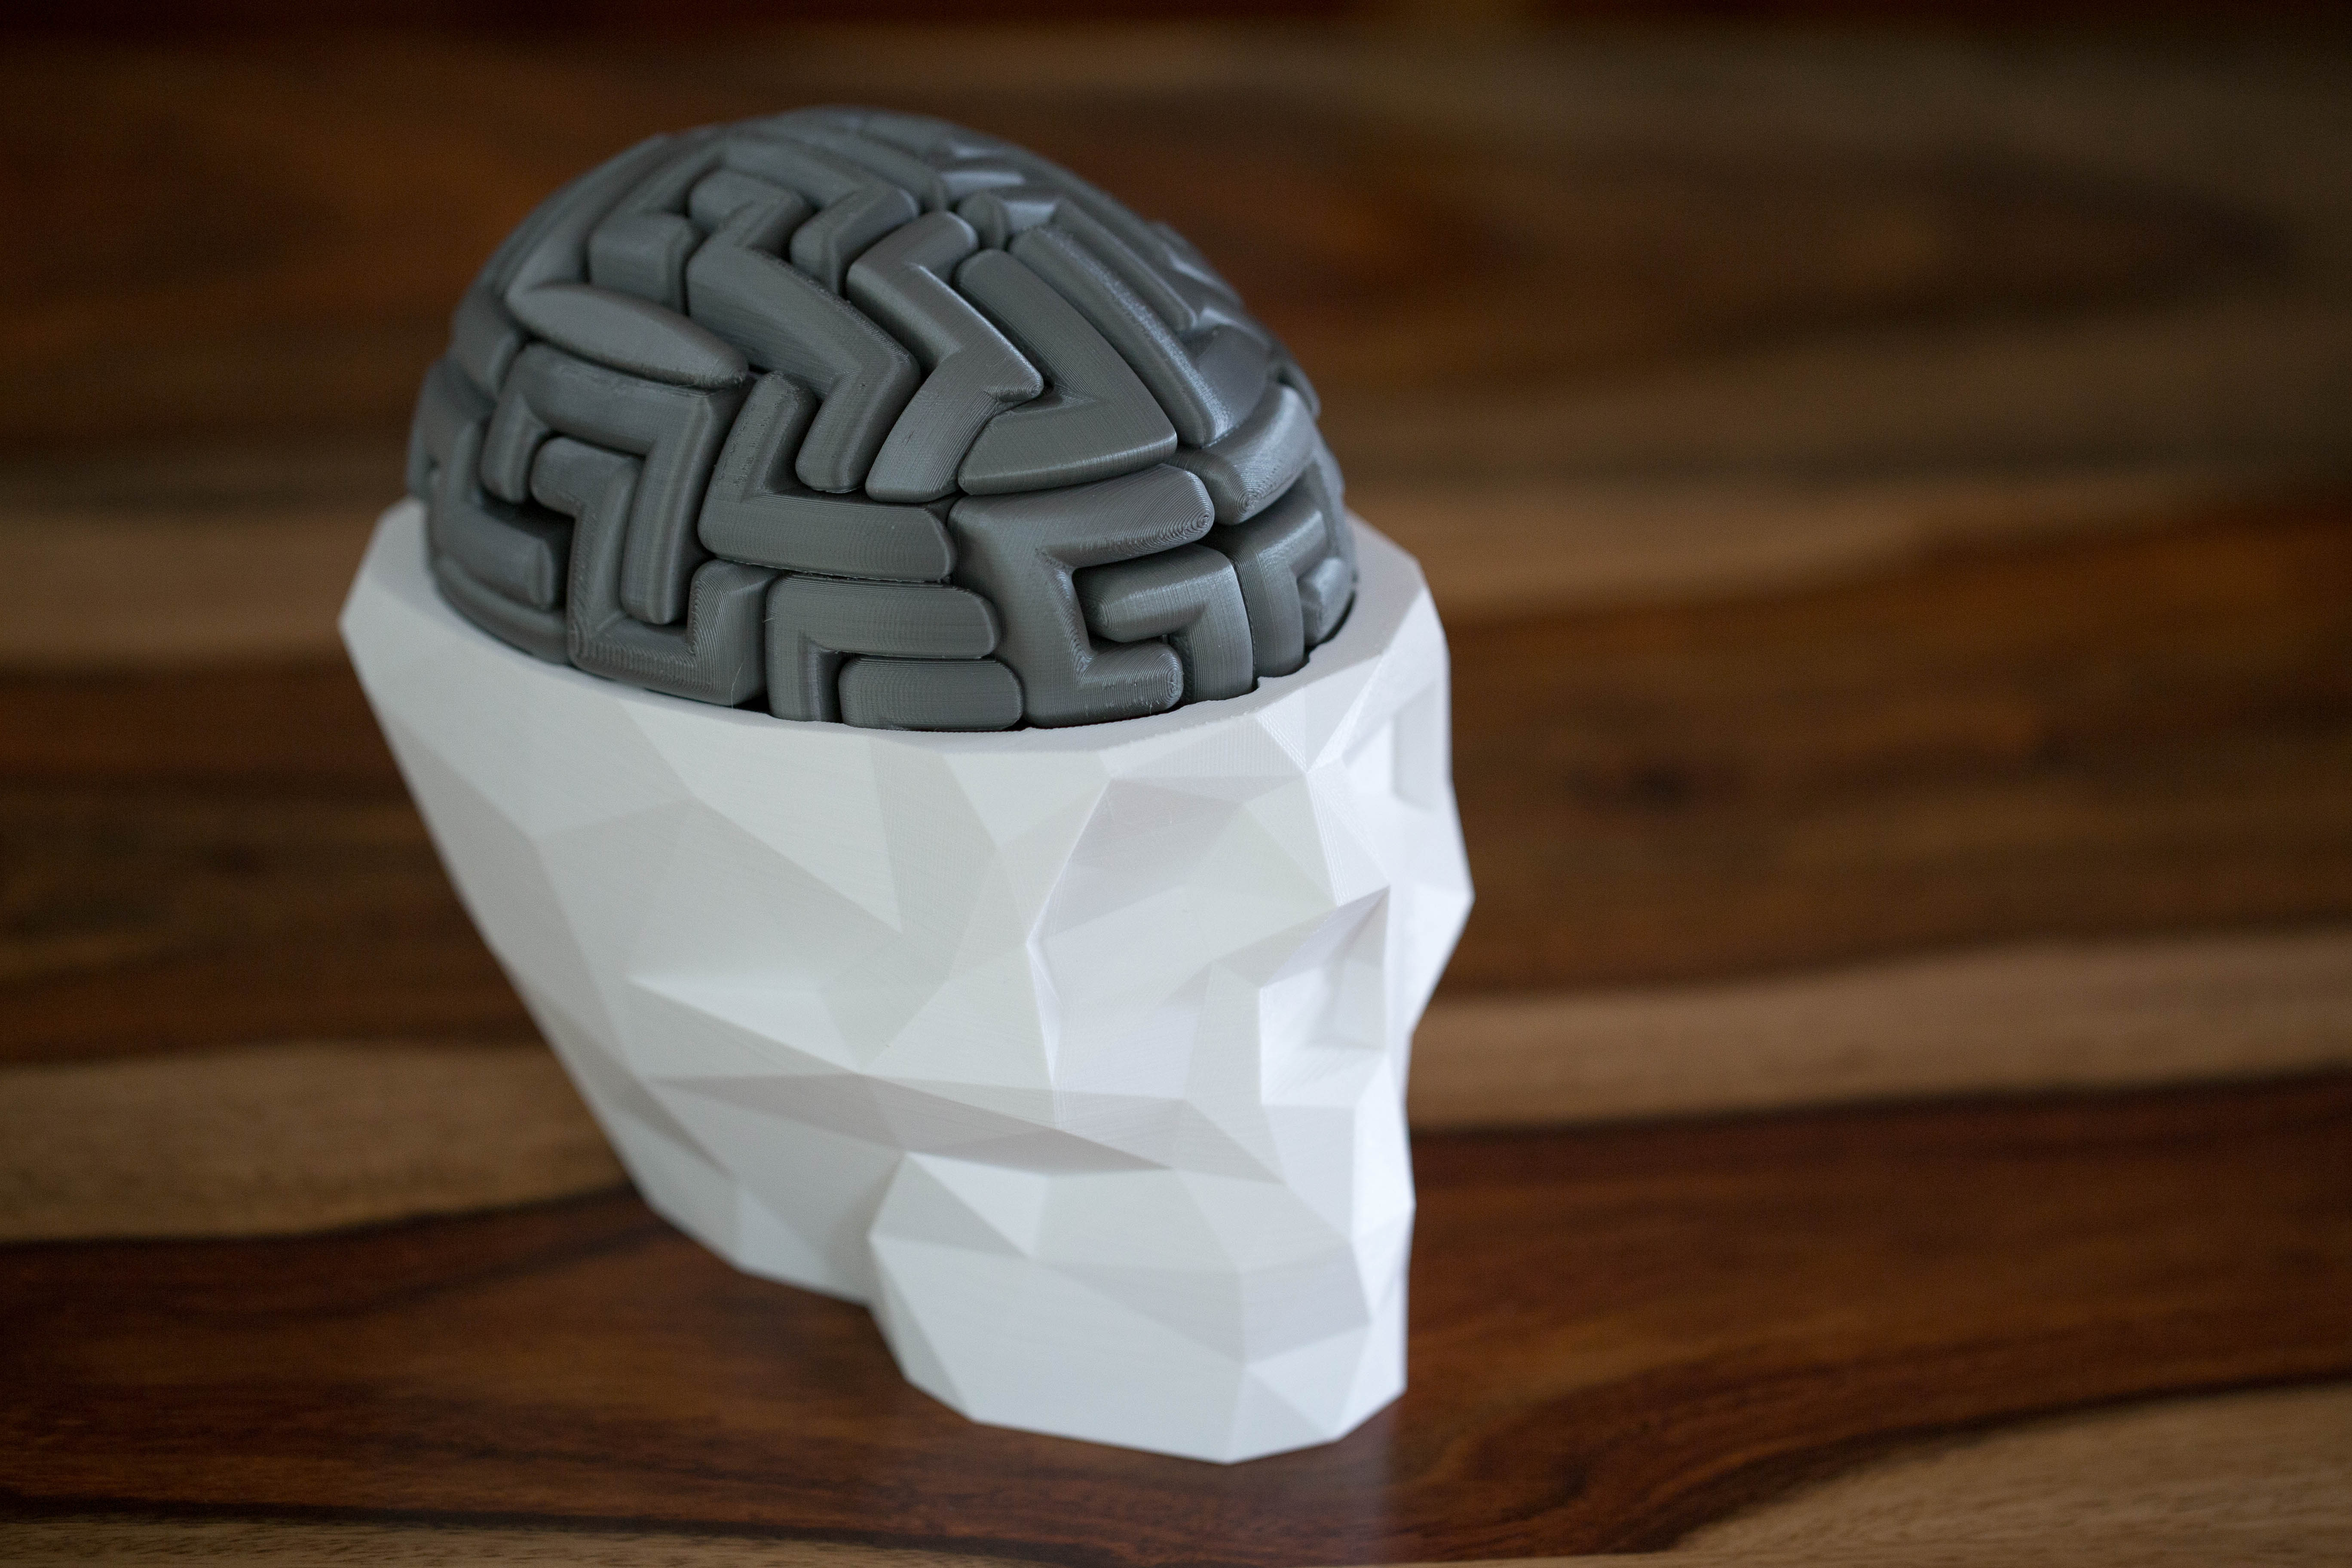
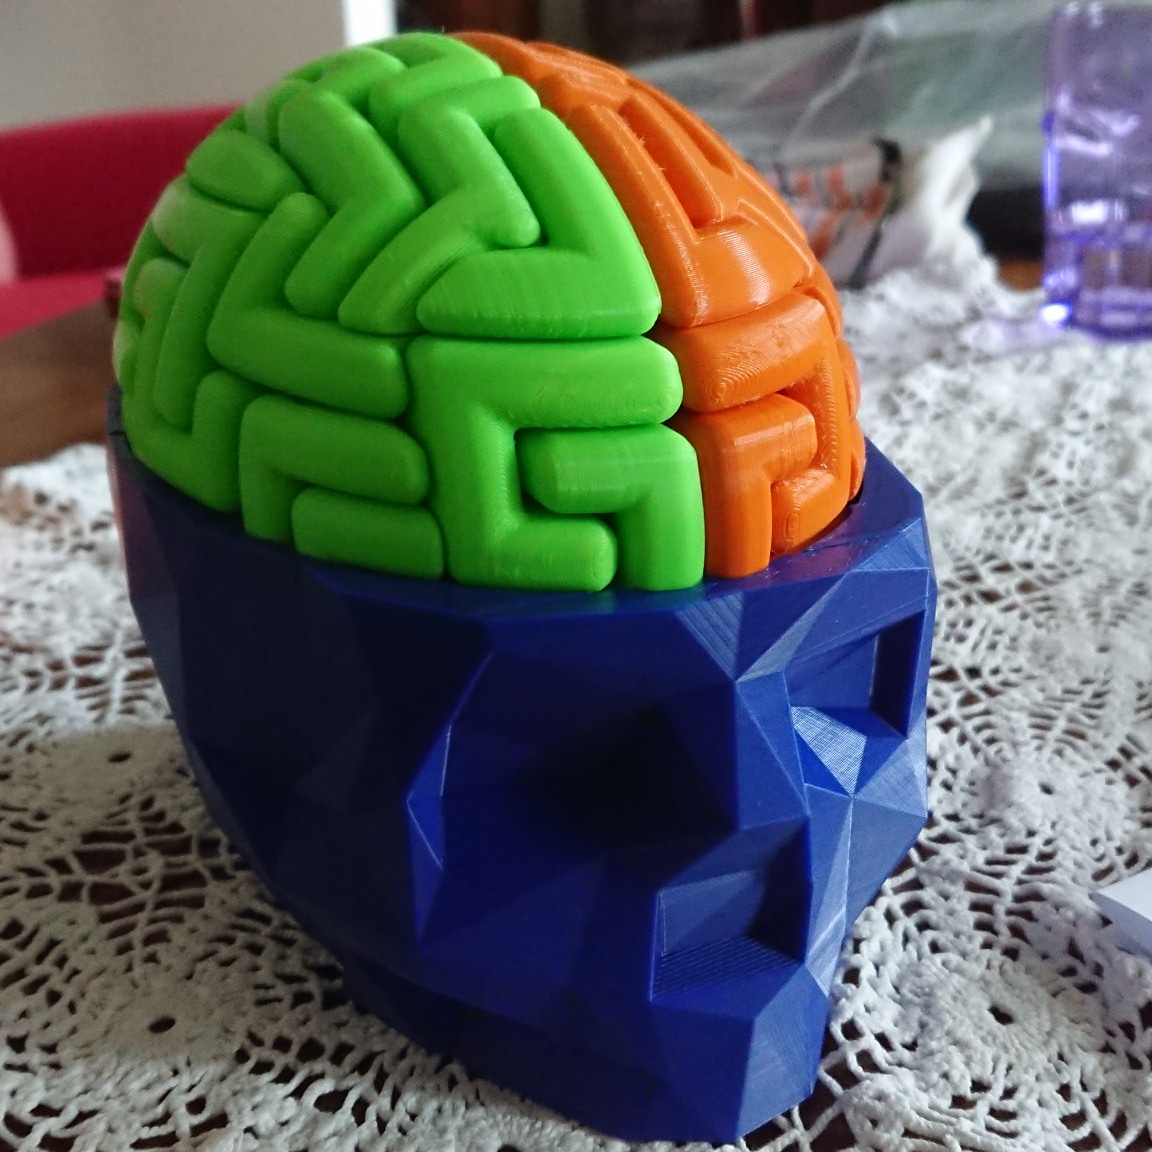
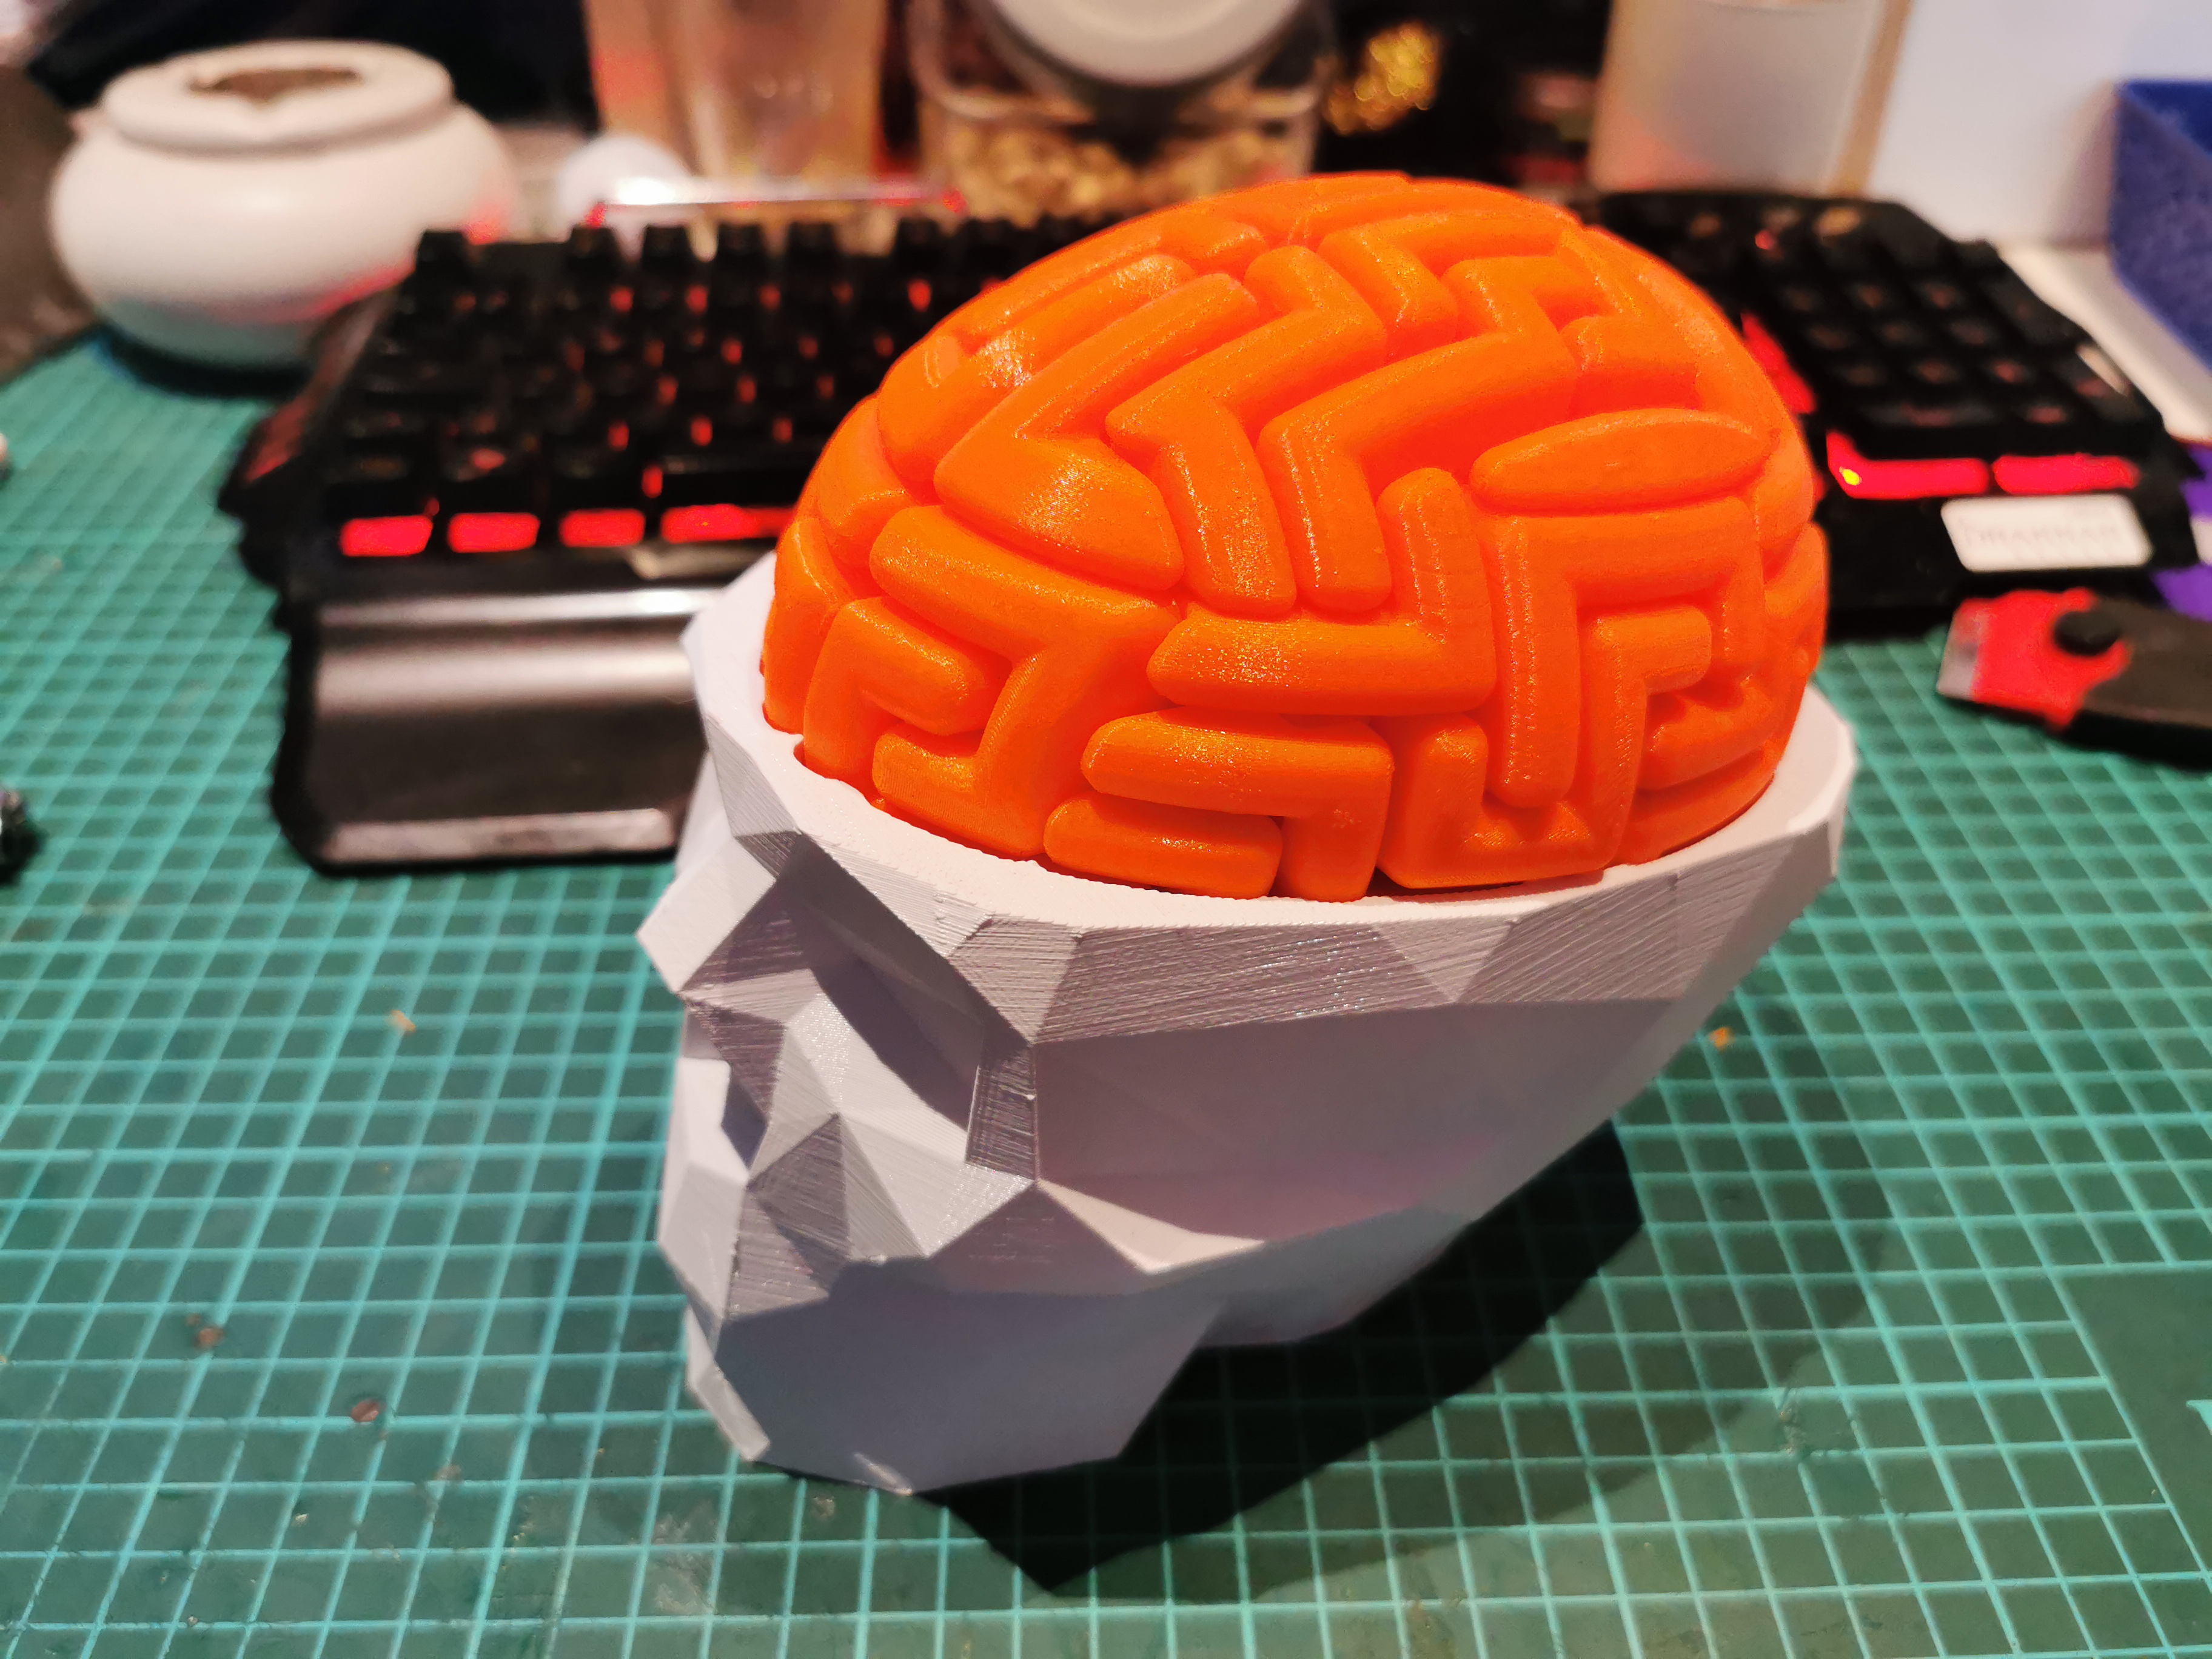
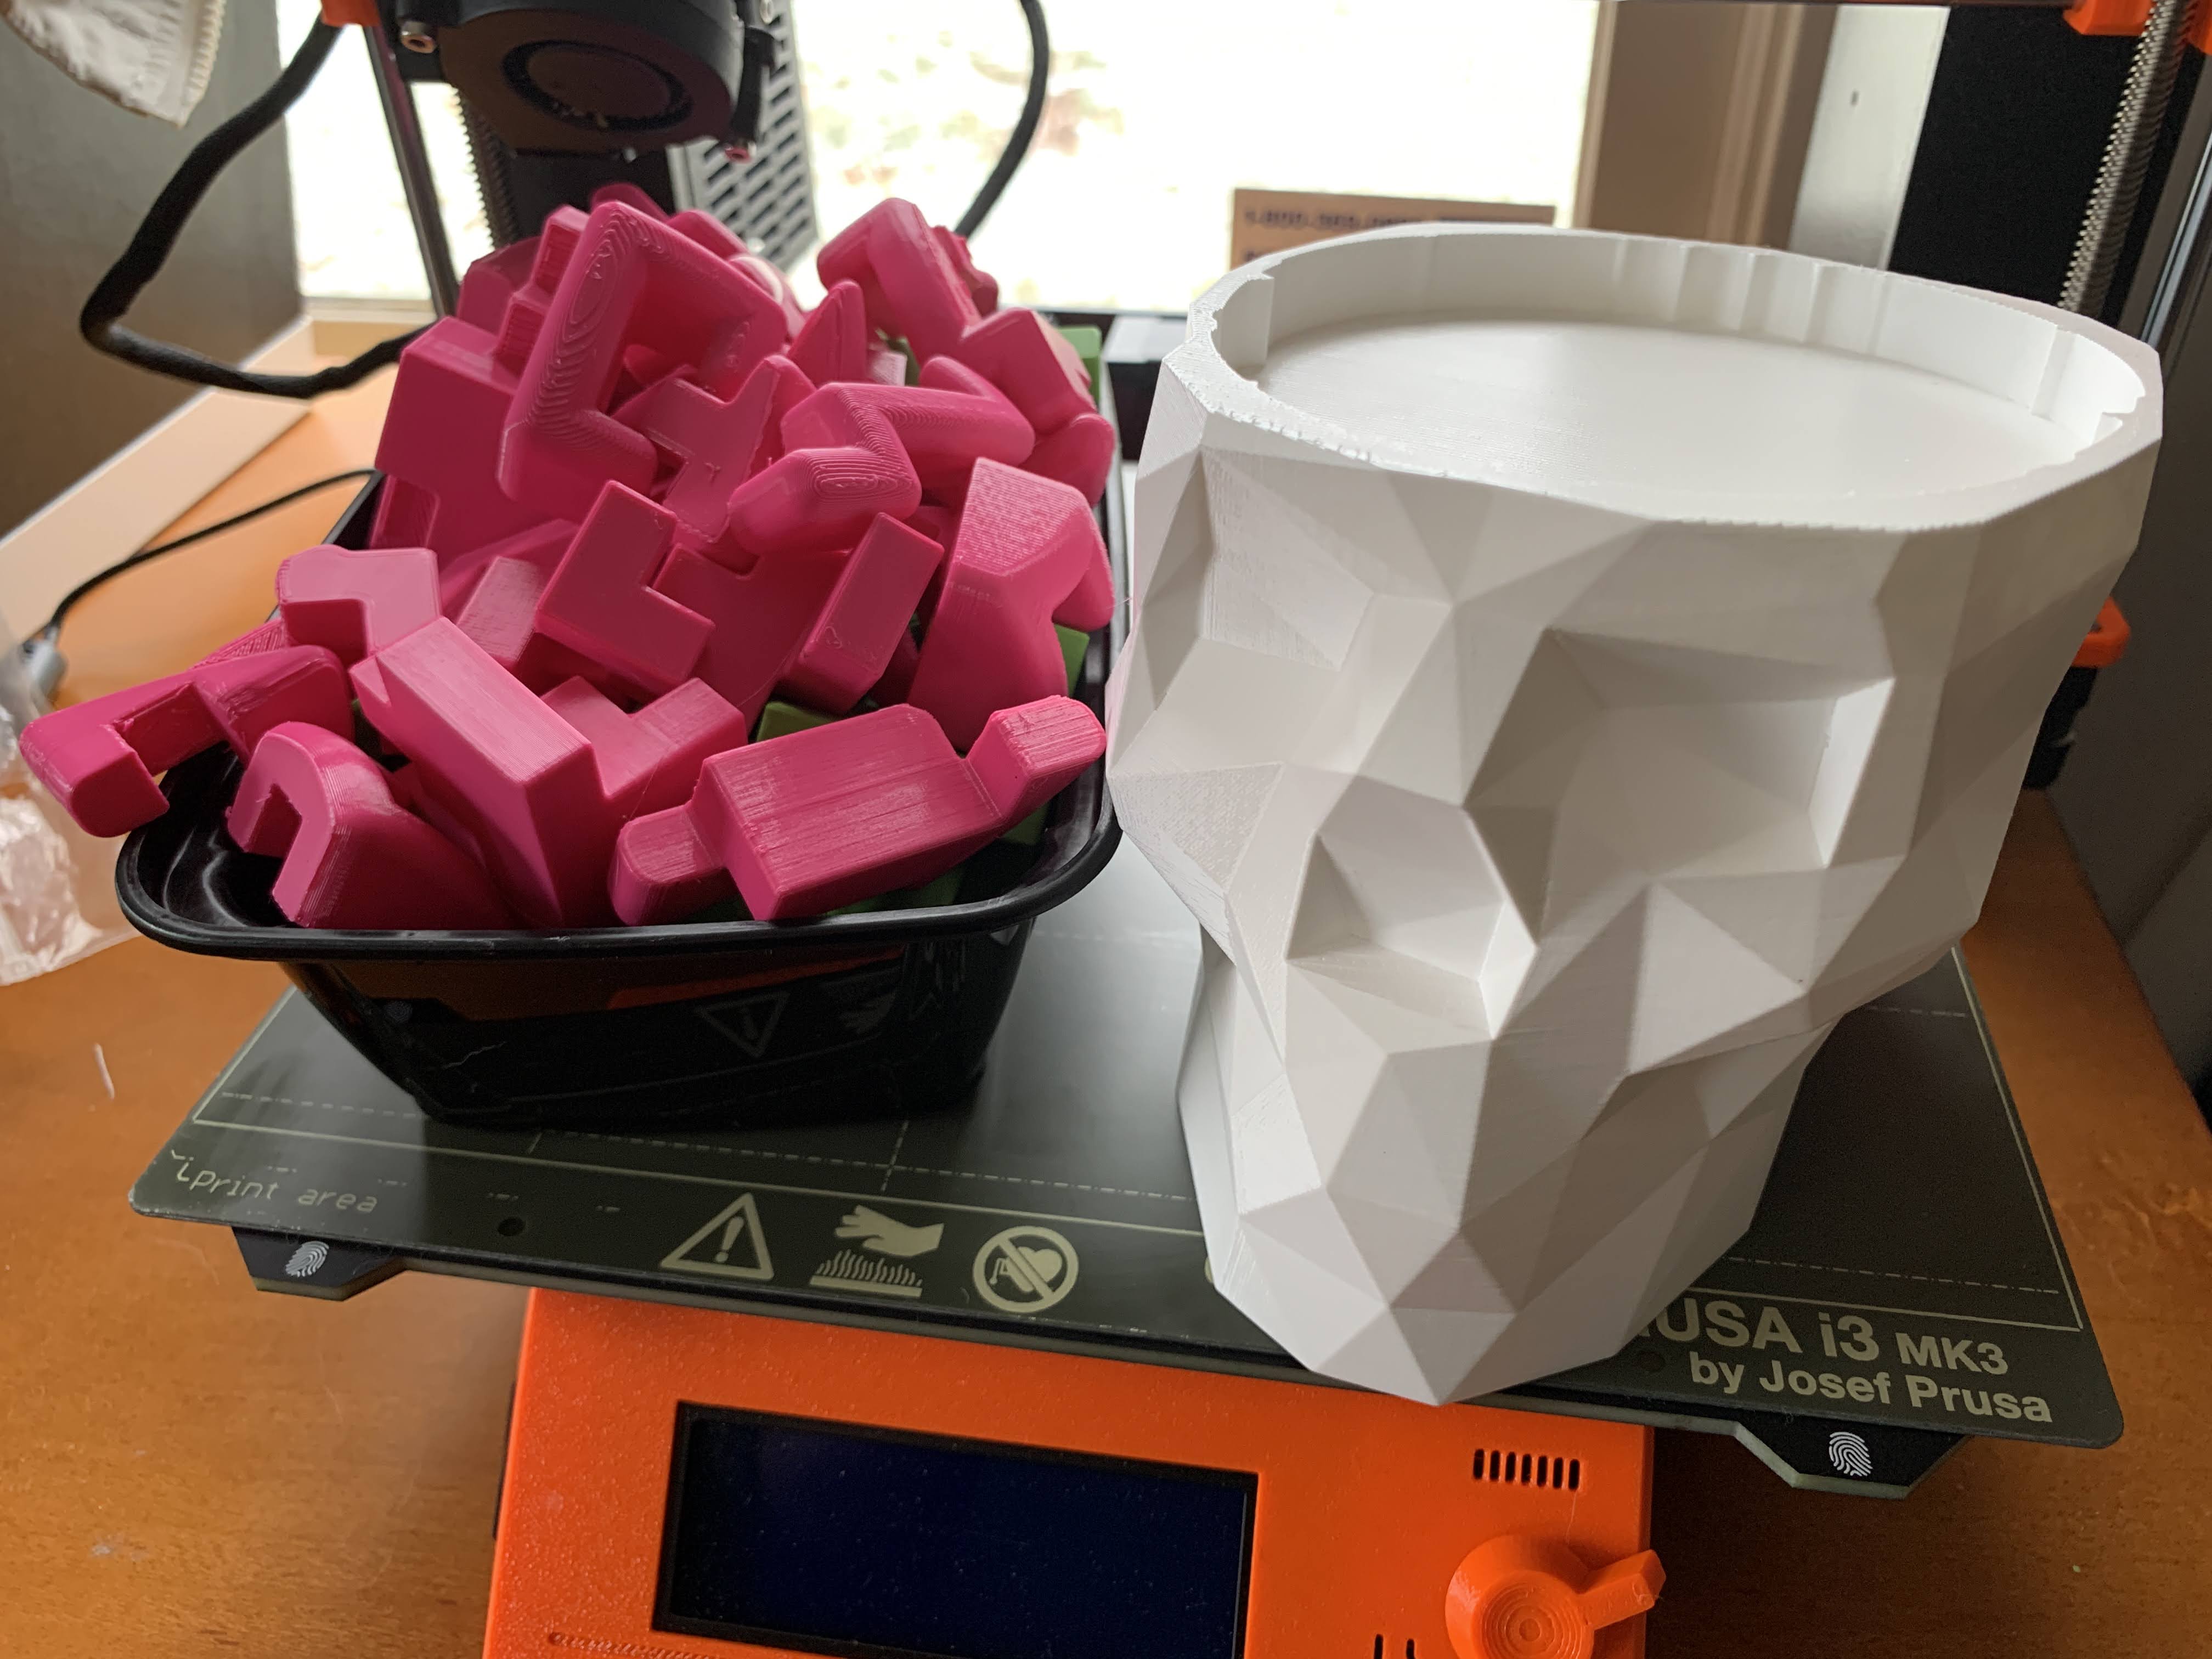
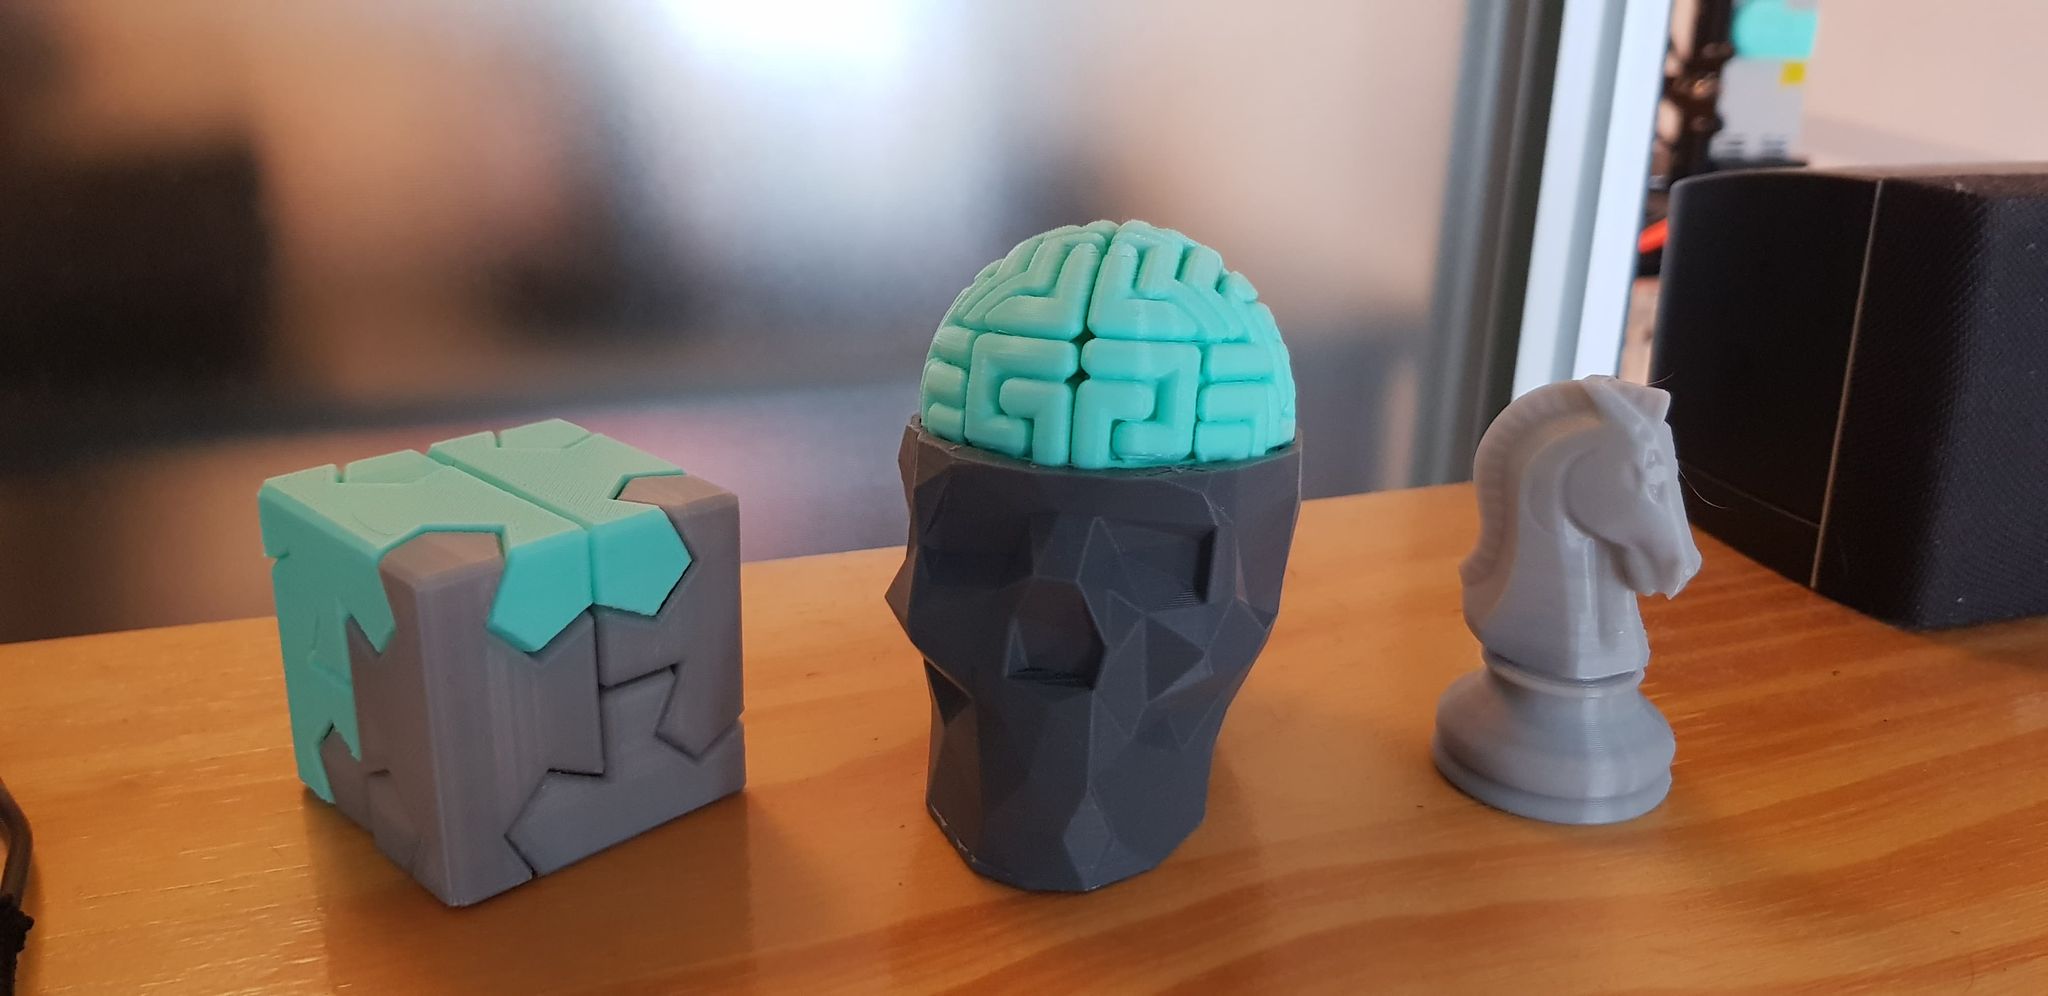
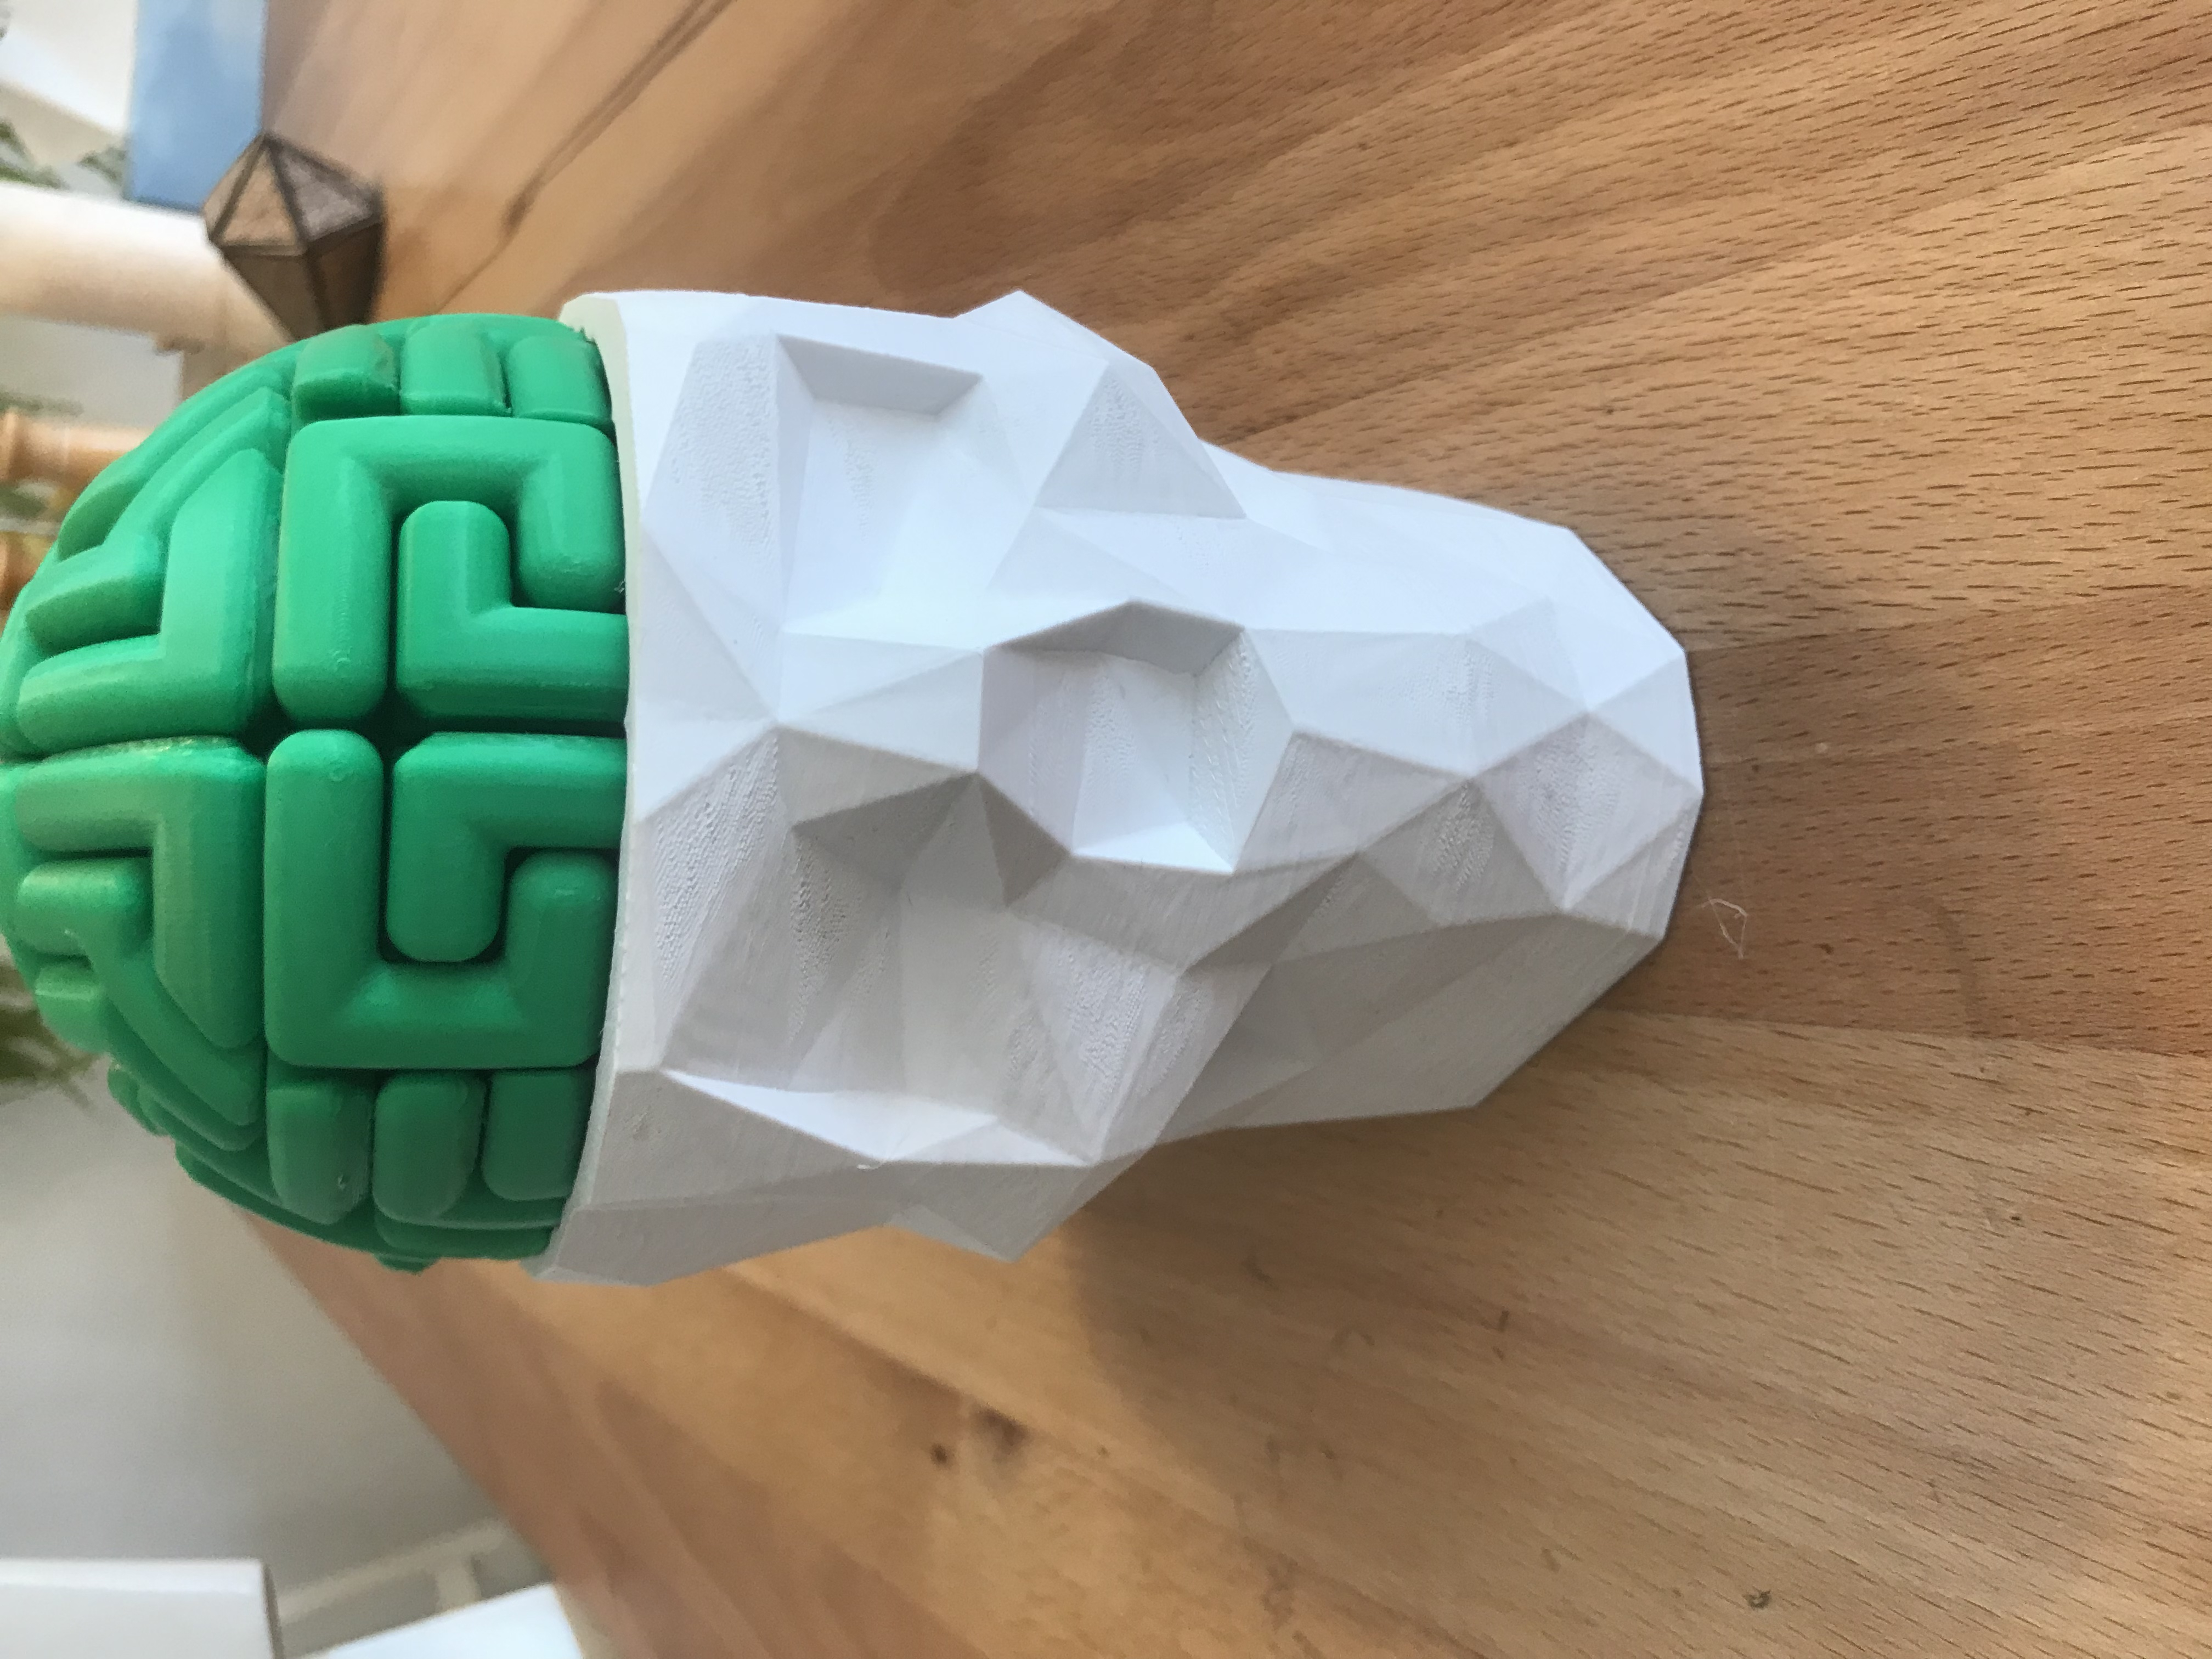
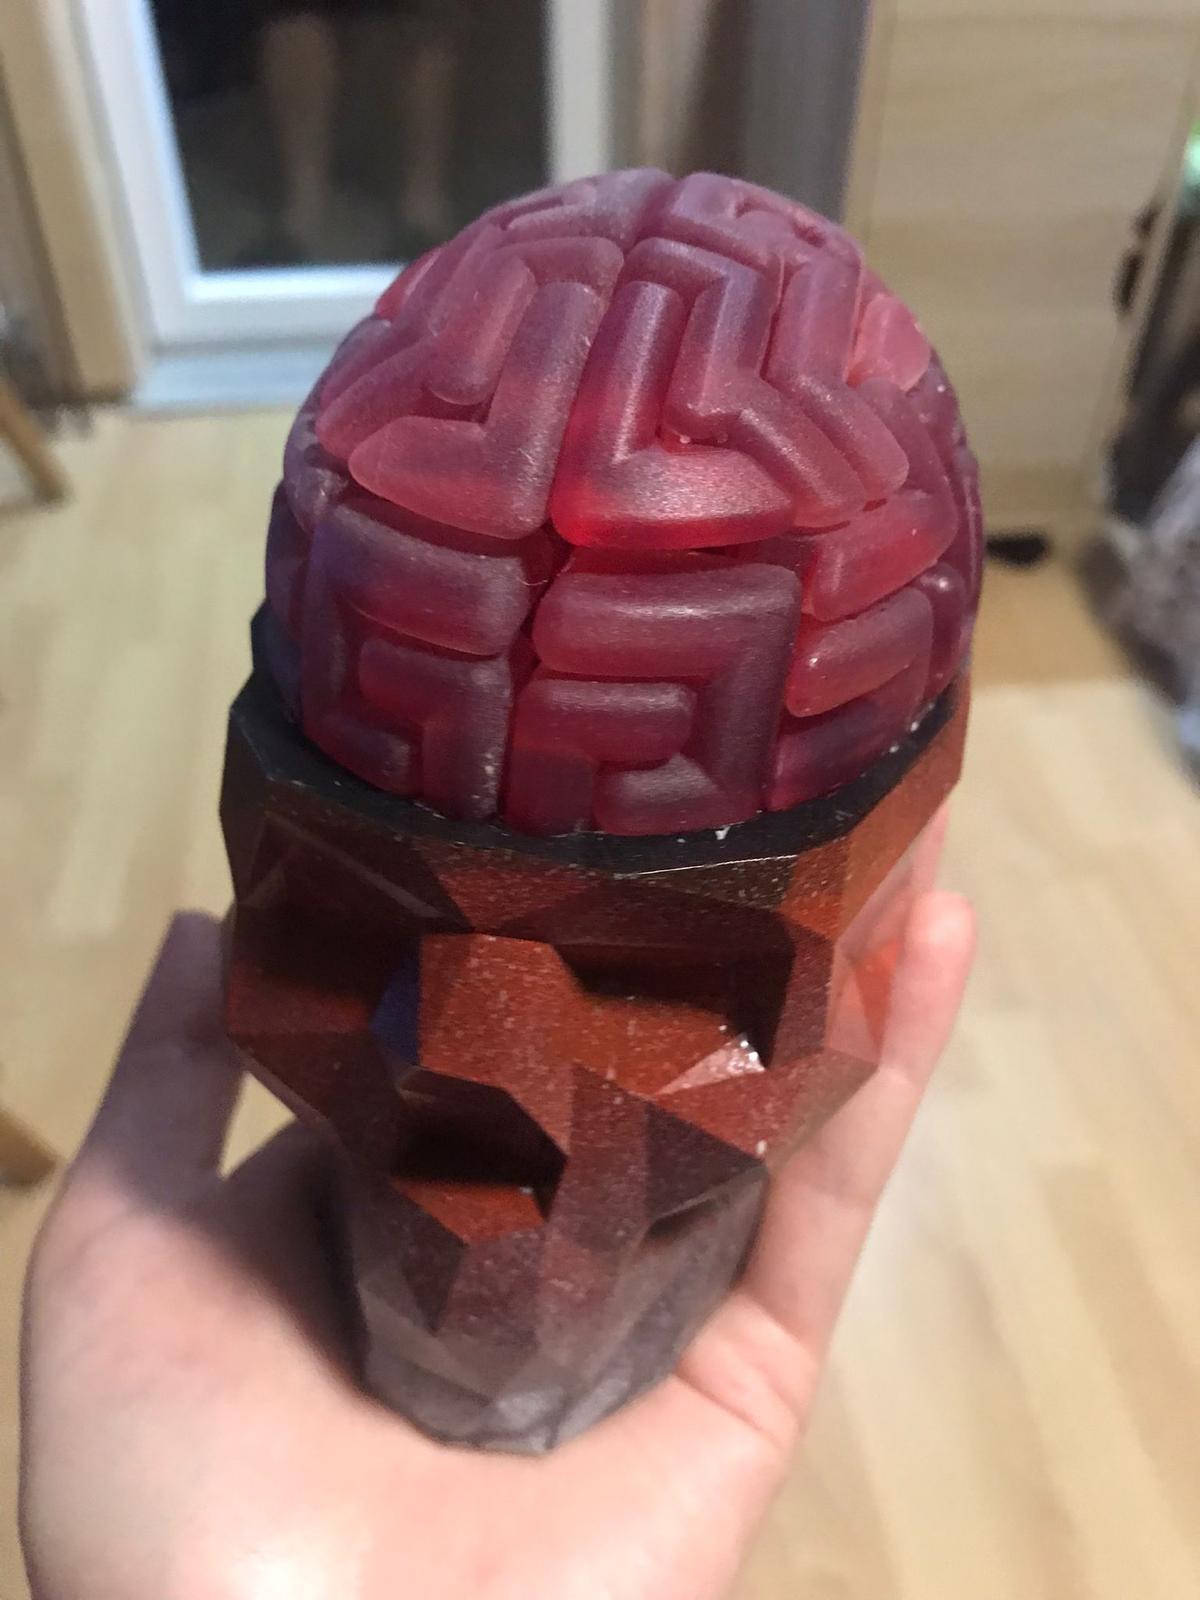
This puzzle consist of one skull and both the left and right side of his broken brain. Each side of his brain consist out of 28 pieces.
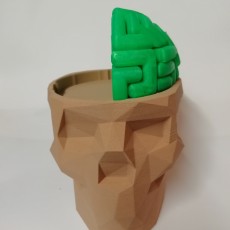
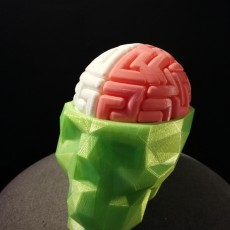
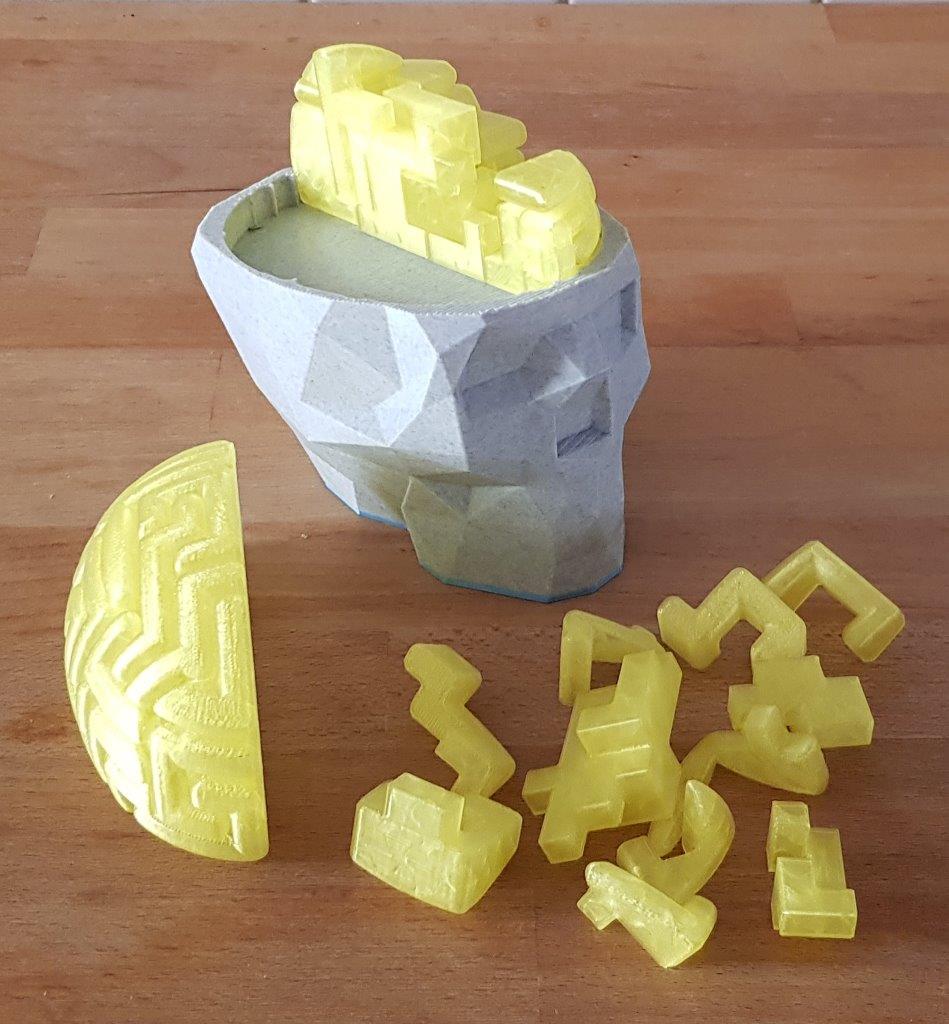
I also included 2 files of merged brain parts for the left and right side of the brain. This gives you the possibility to make the puzzle as difficult as you want. Are you a beginner? Then I suggest you print one side of the brain as a merged piece and use that side as guidance when you build the other side of his brain with the individual pieces. Don’t think it will become a no-brainer because there are hidden pieces in the center of the brain!
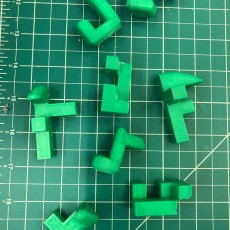
Do you have the mind of a real puzzle master? Then I suggest you print the complete brain in individual pieces.
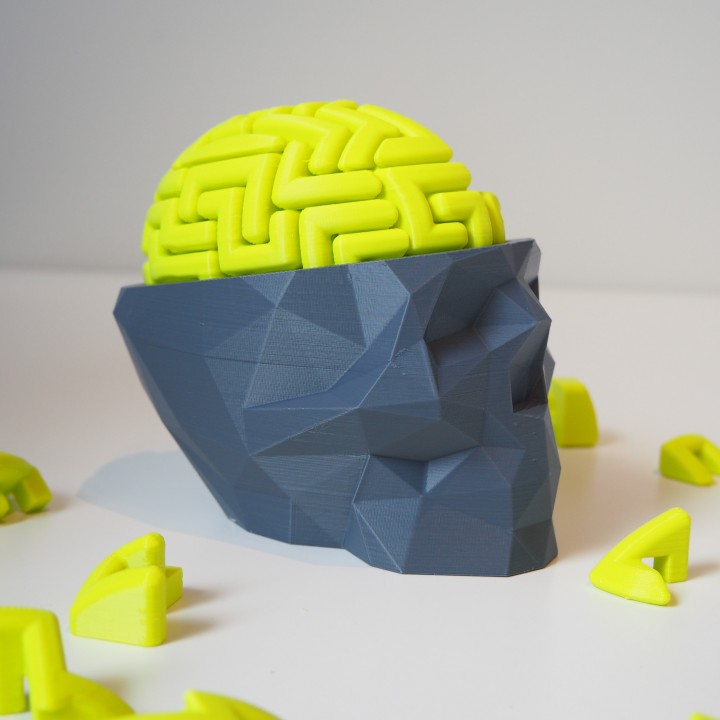
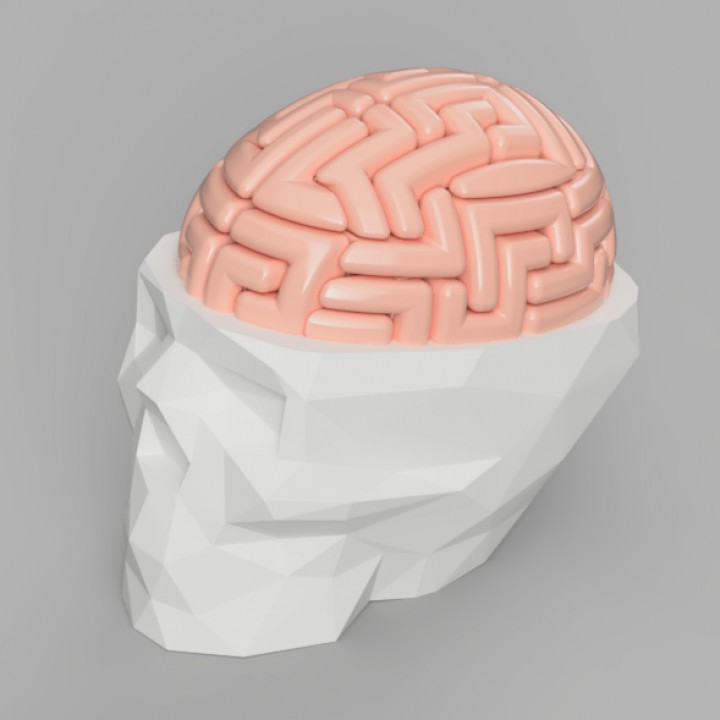
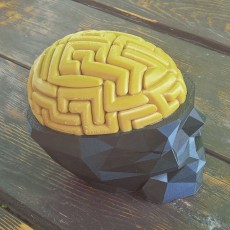
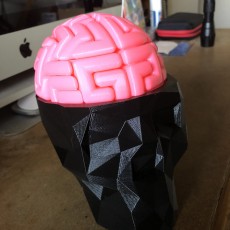
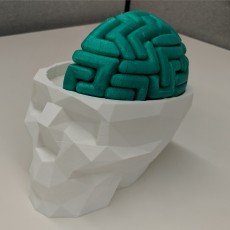
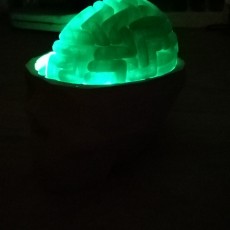
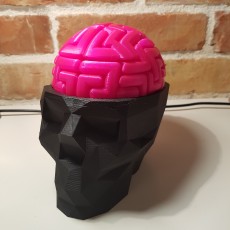
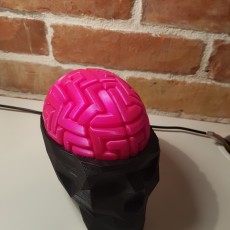
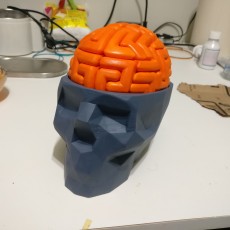
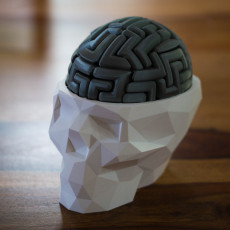
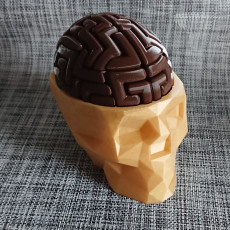
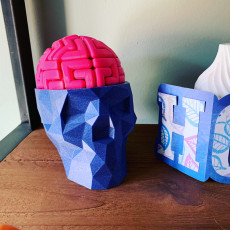
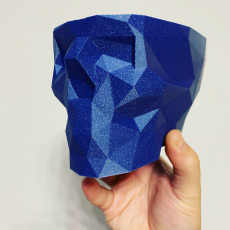
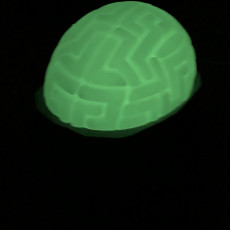
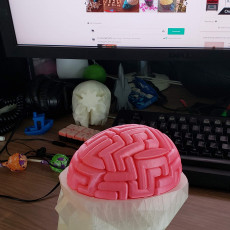
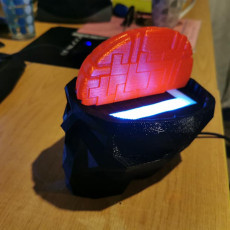
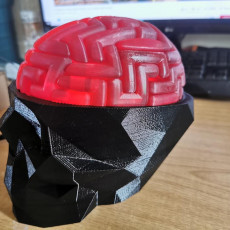
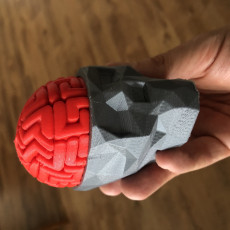
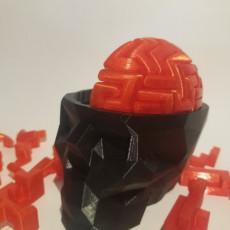
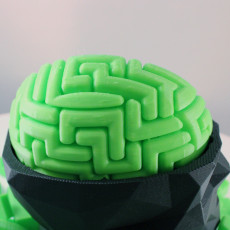
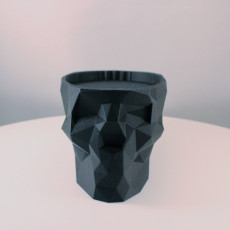
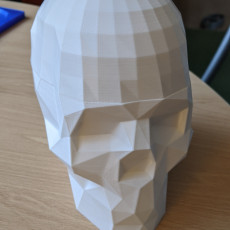
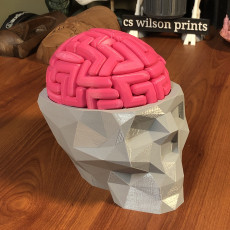
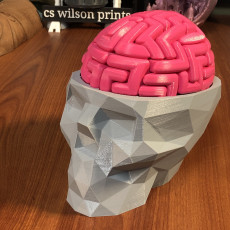
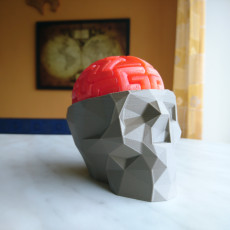
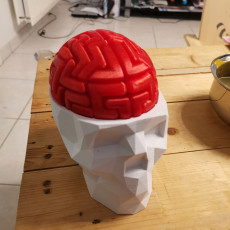
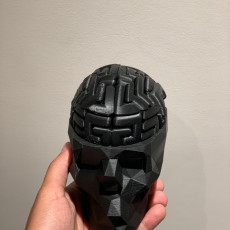
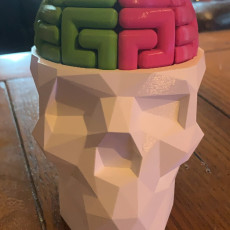
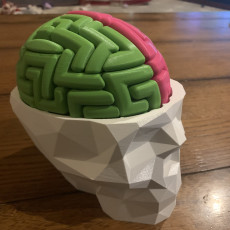
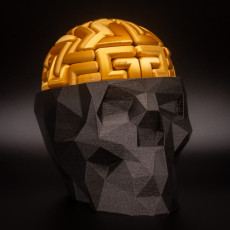
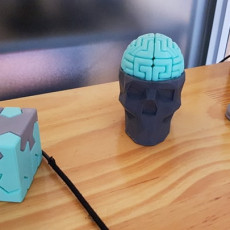
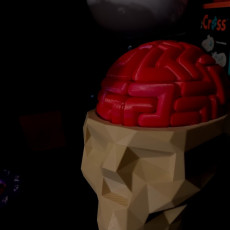
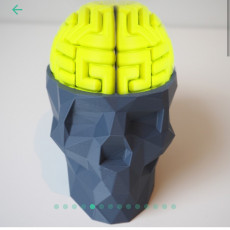
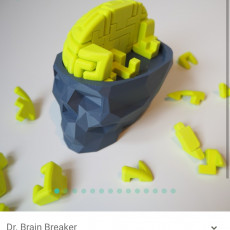
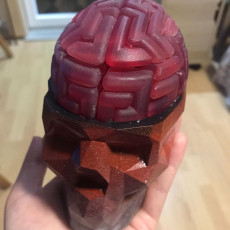
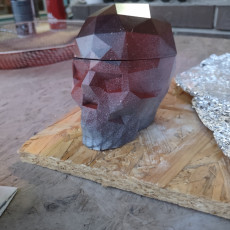
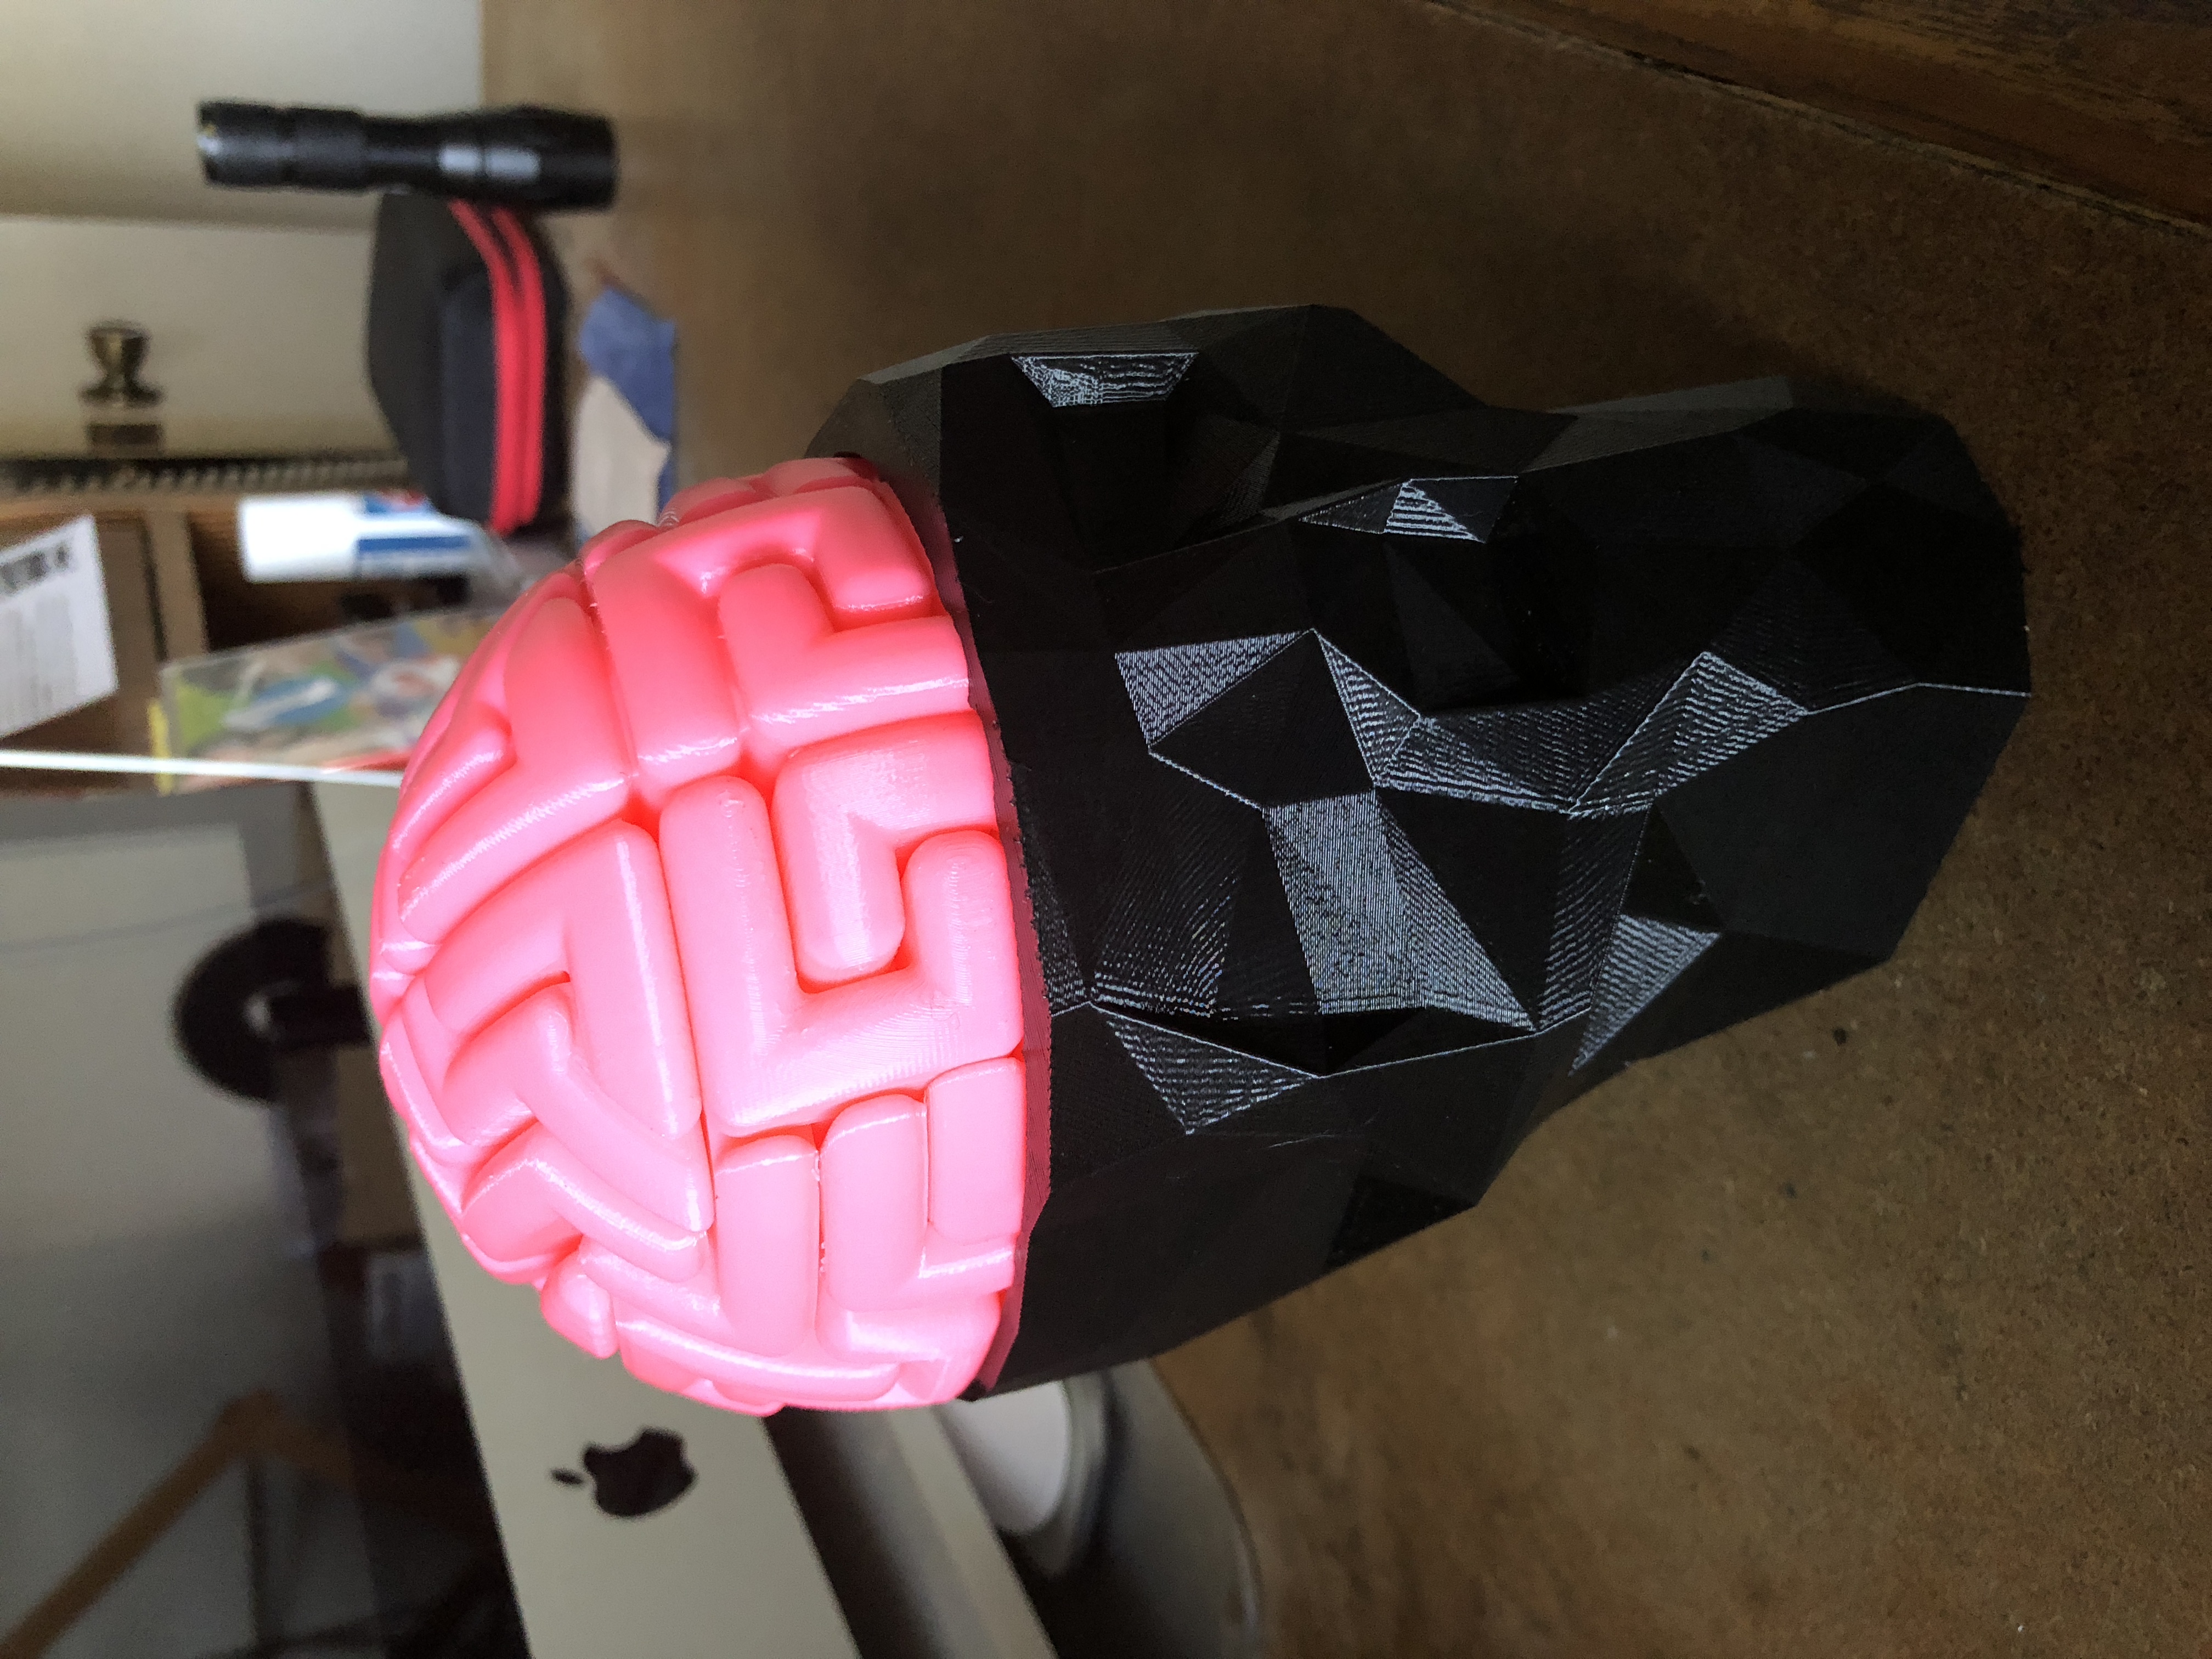
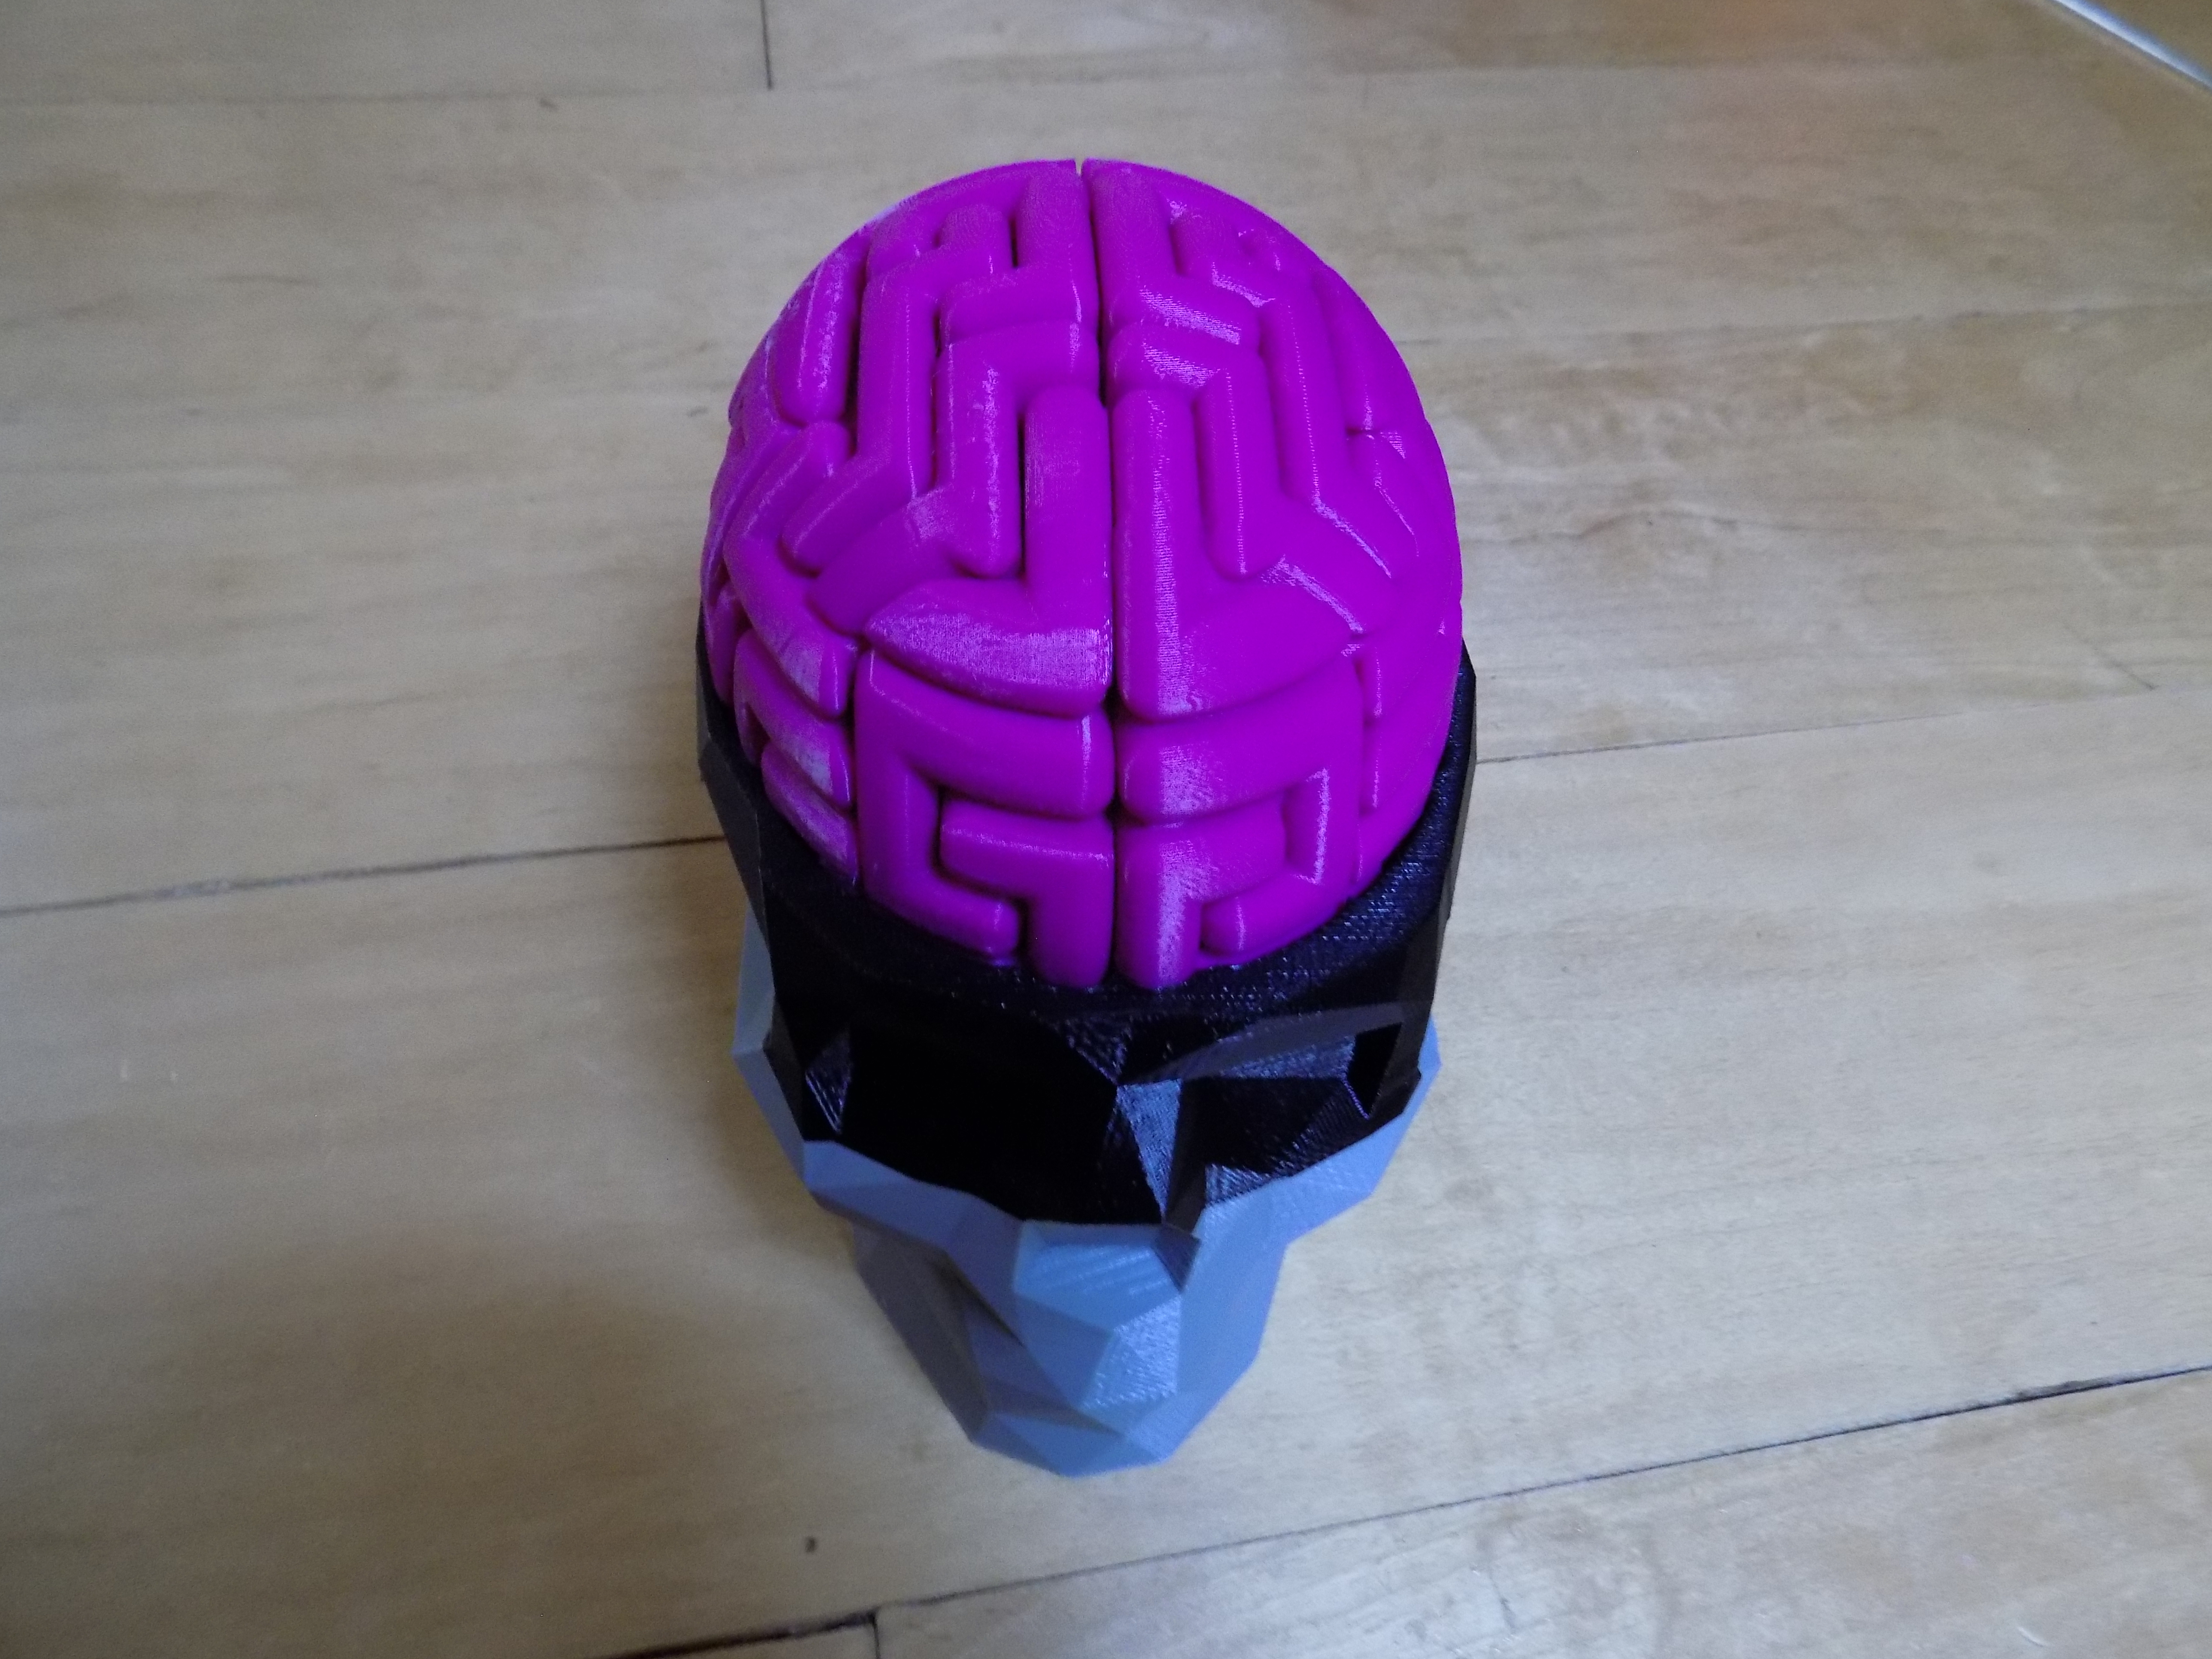
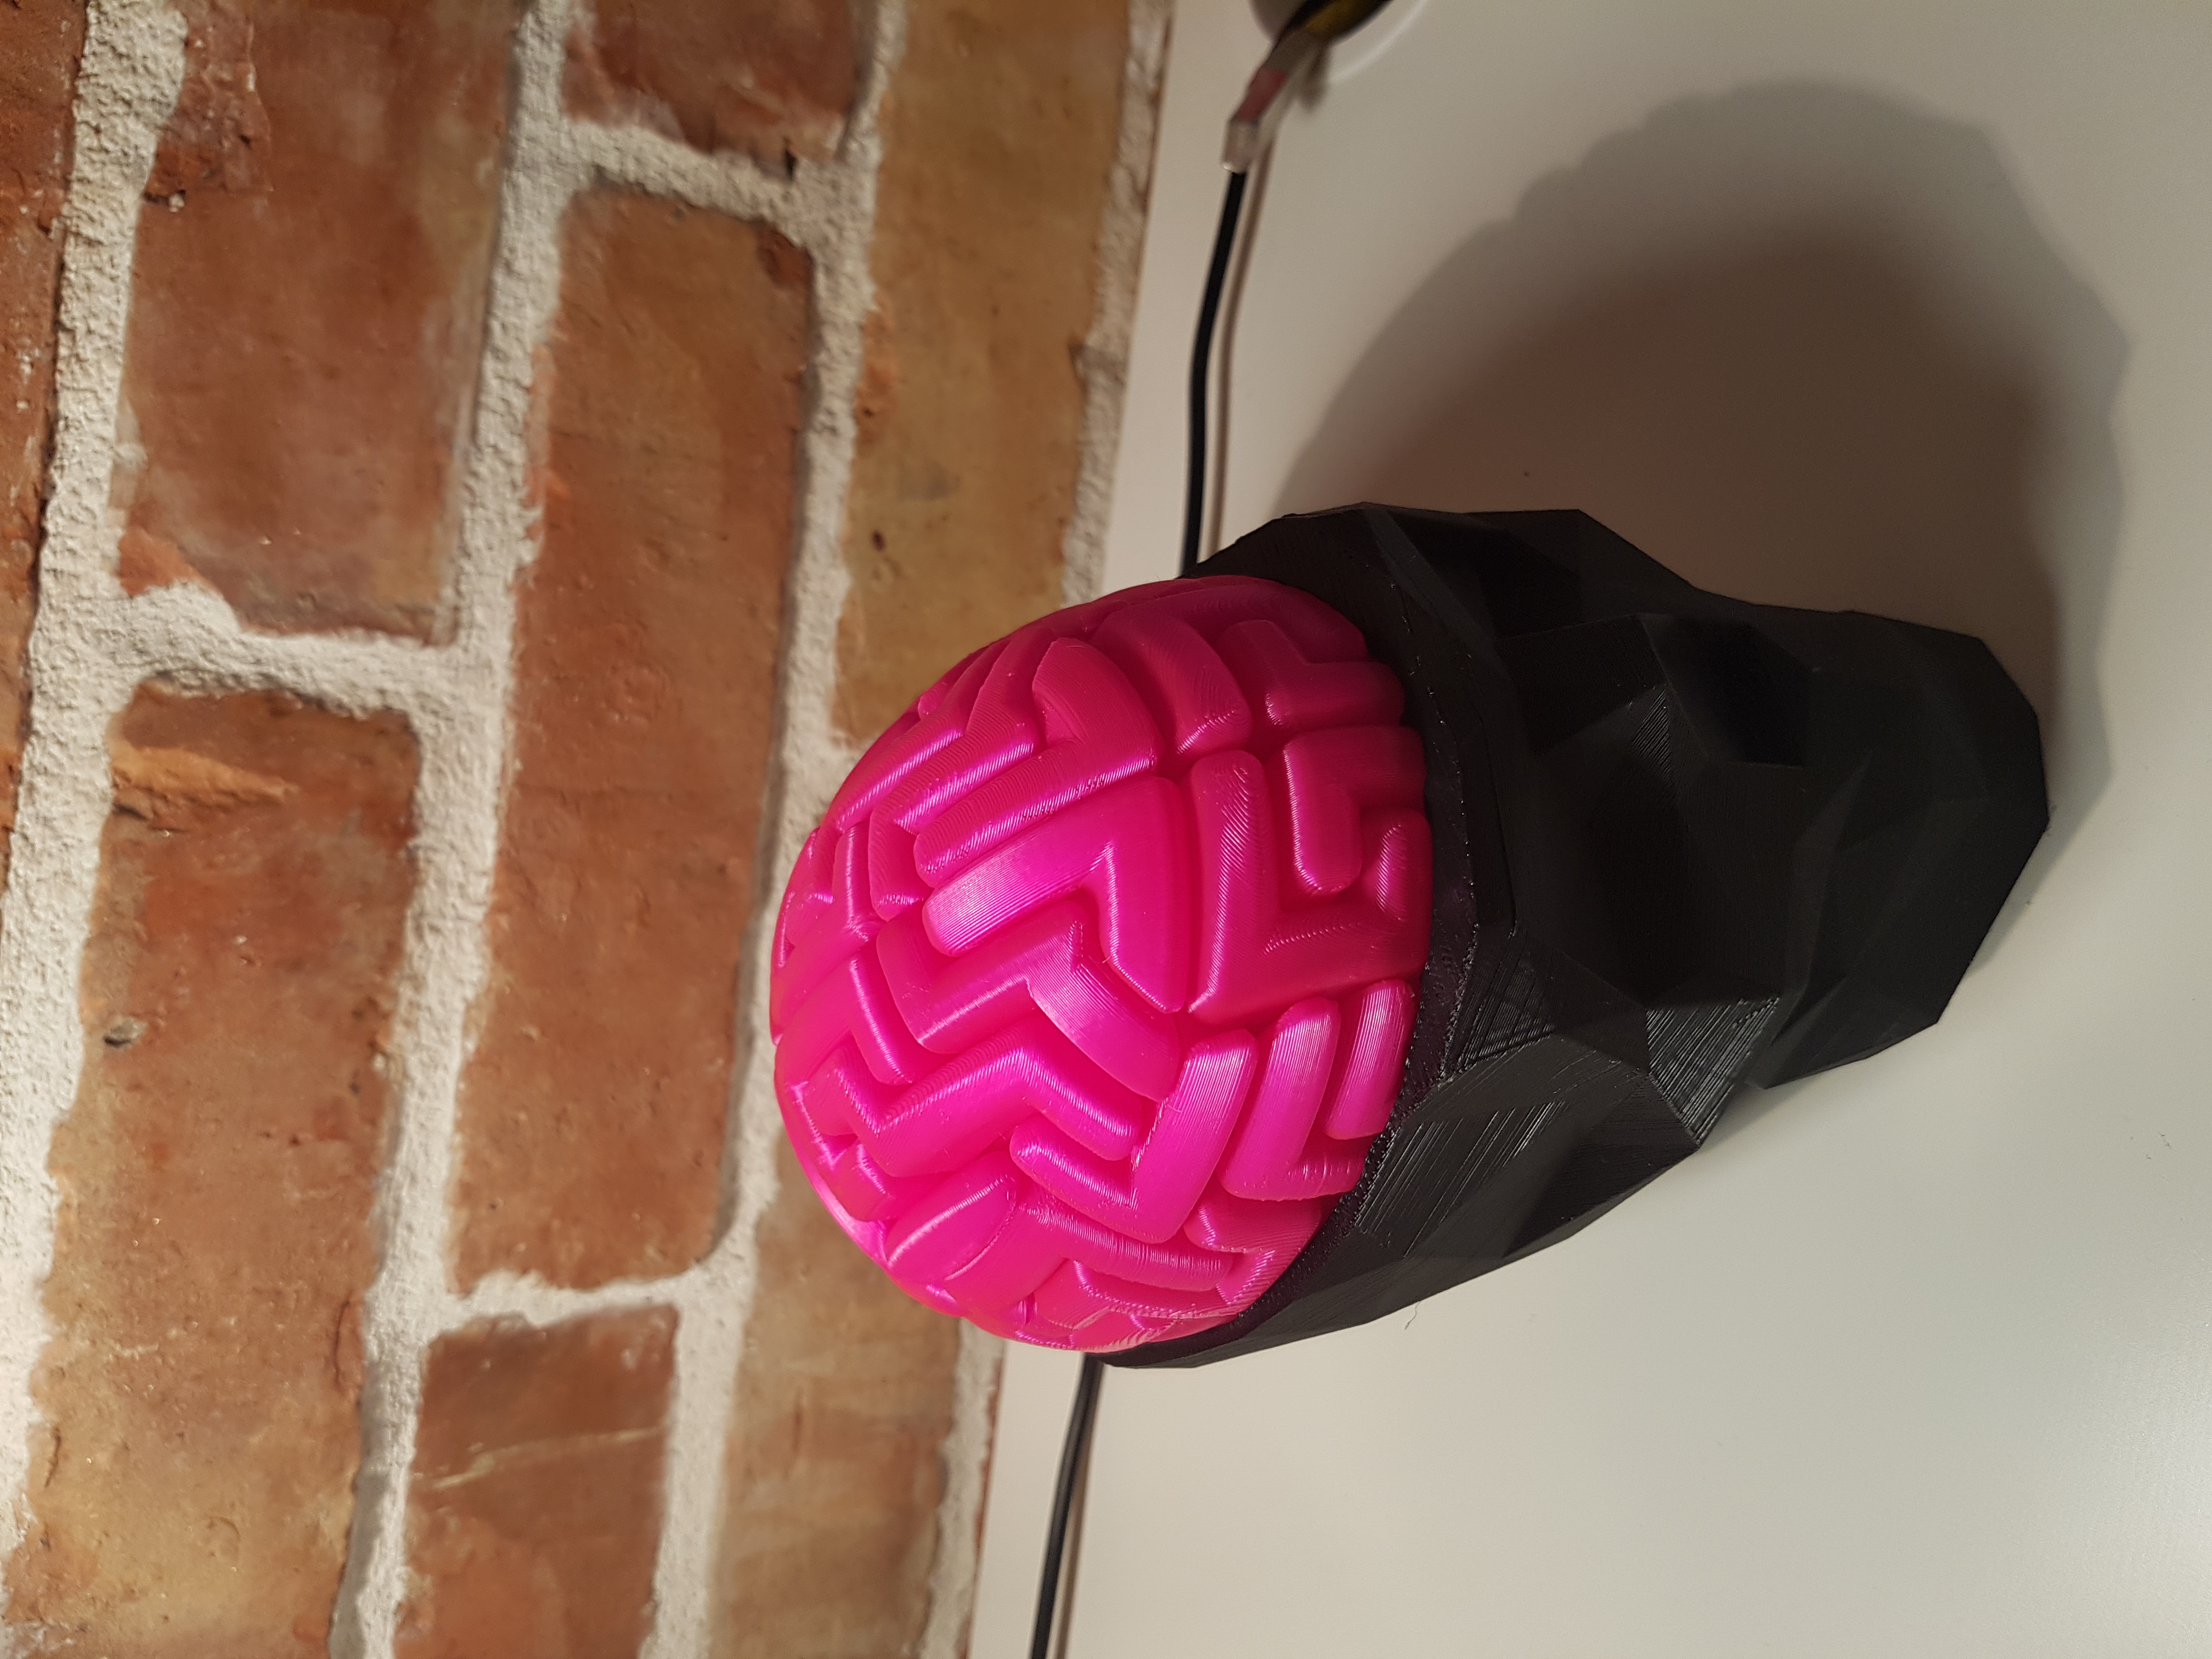
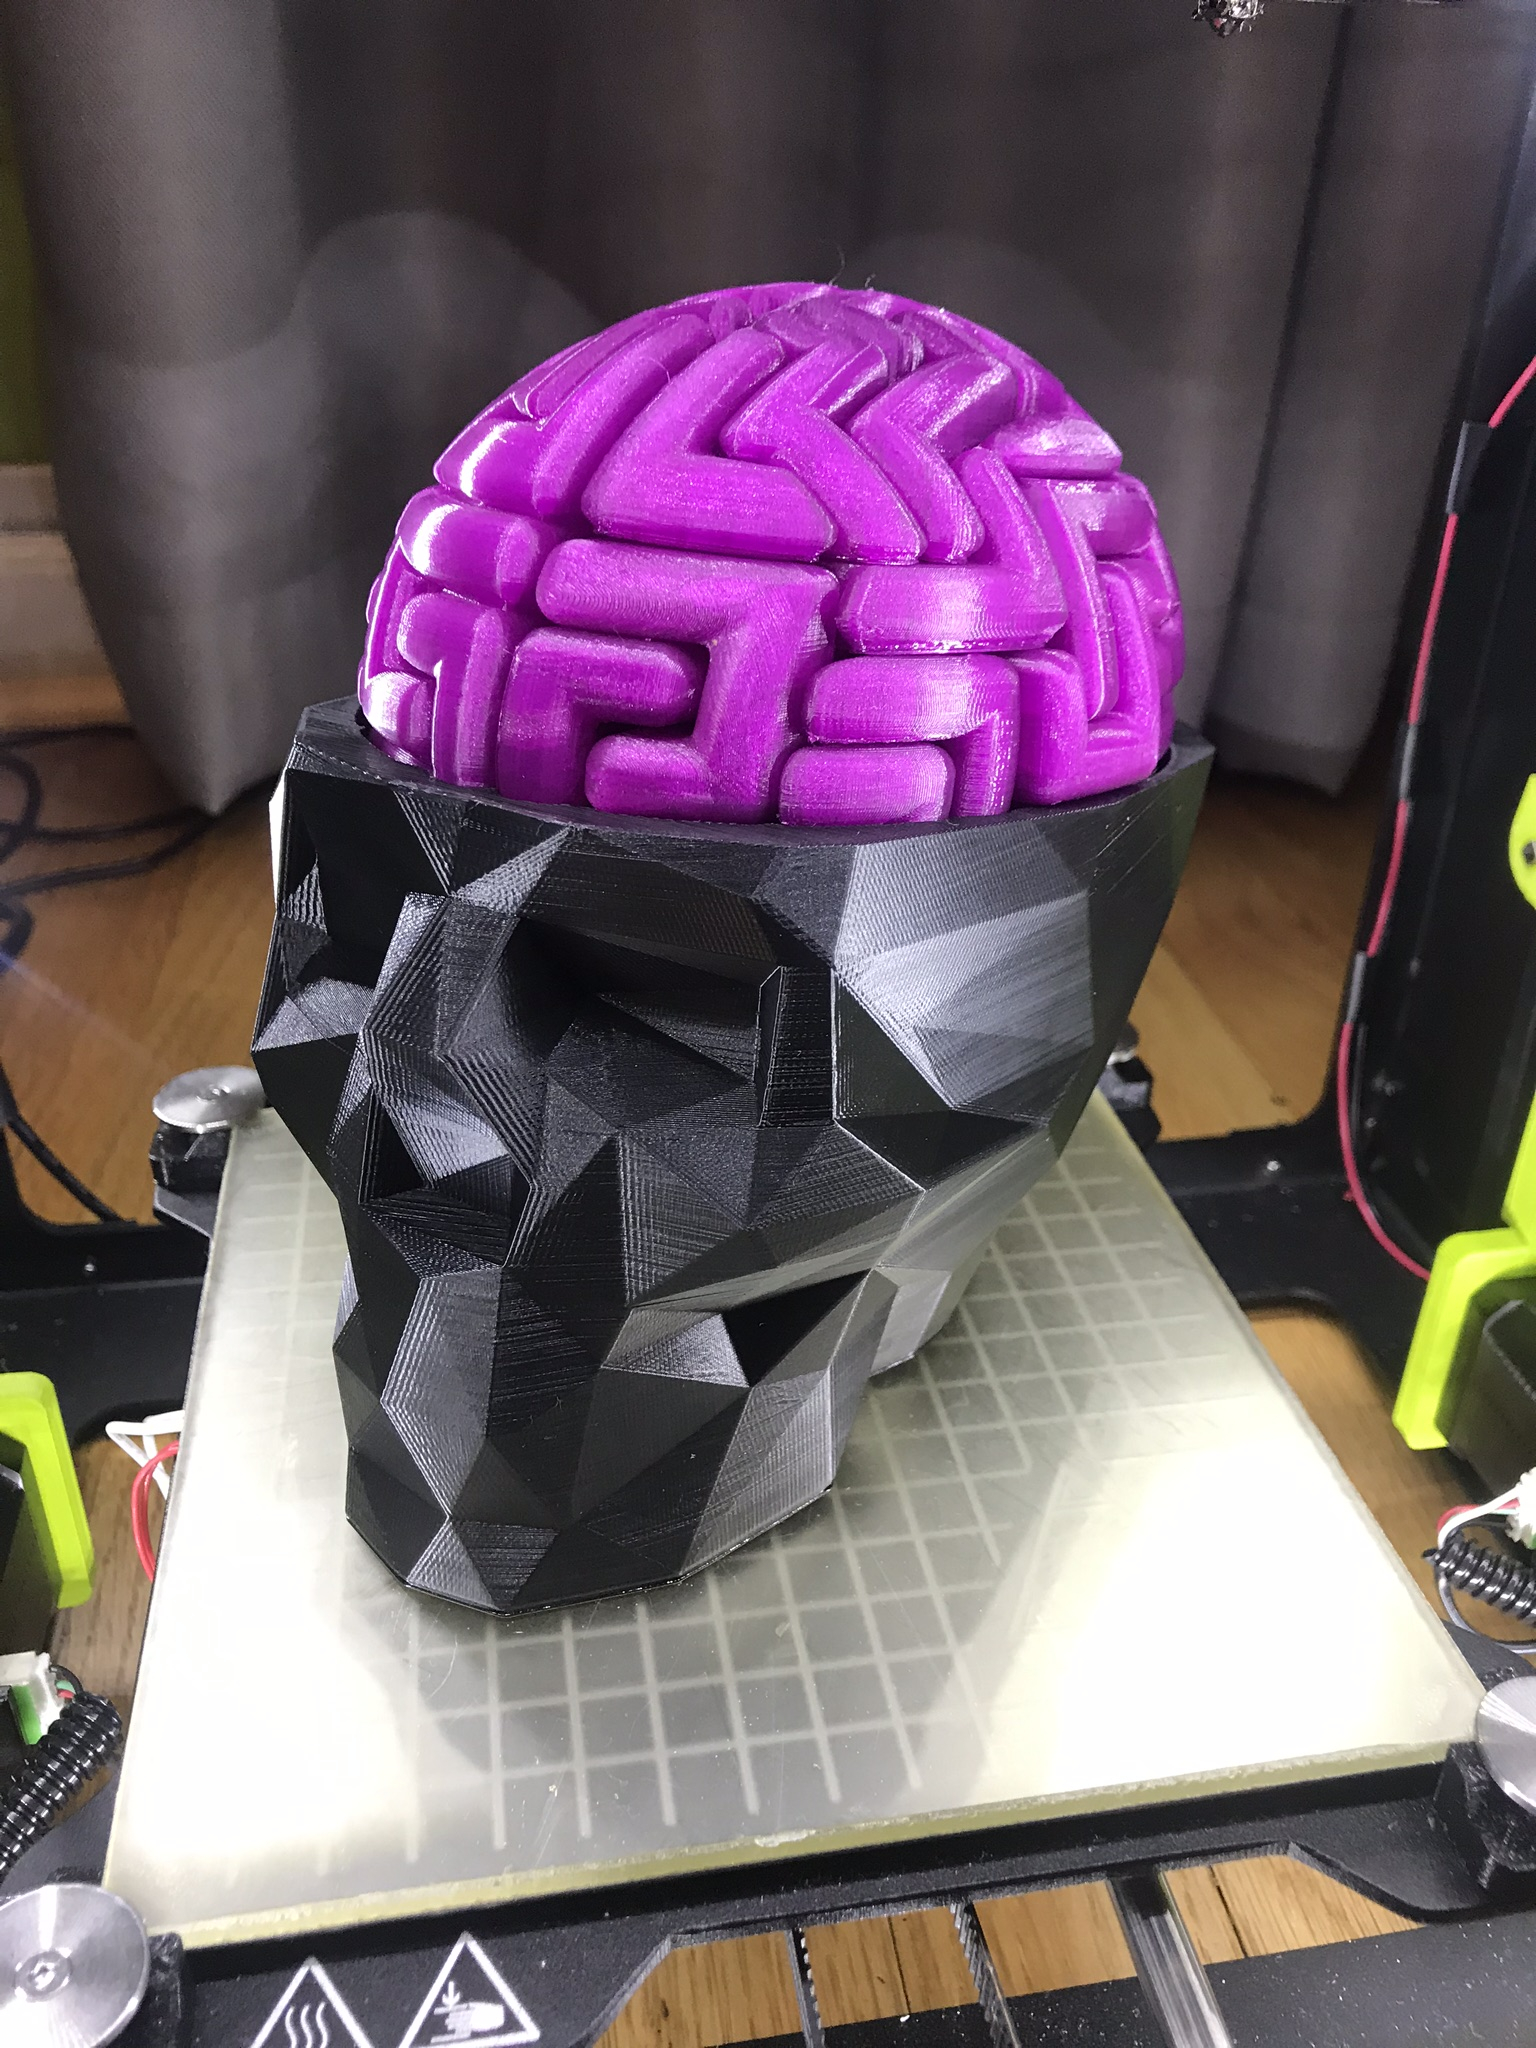
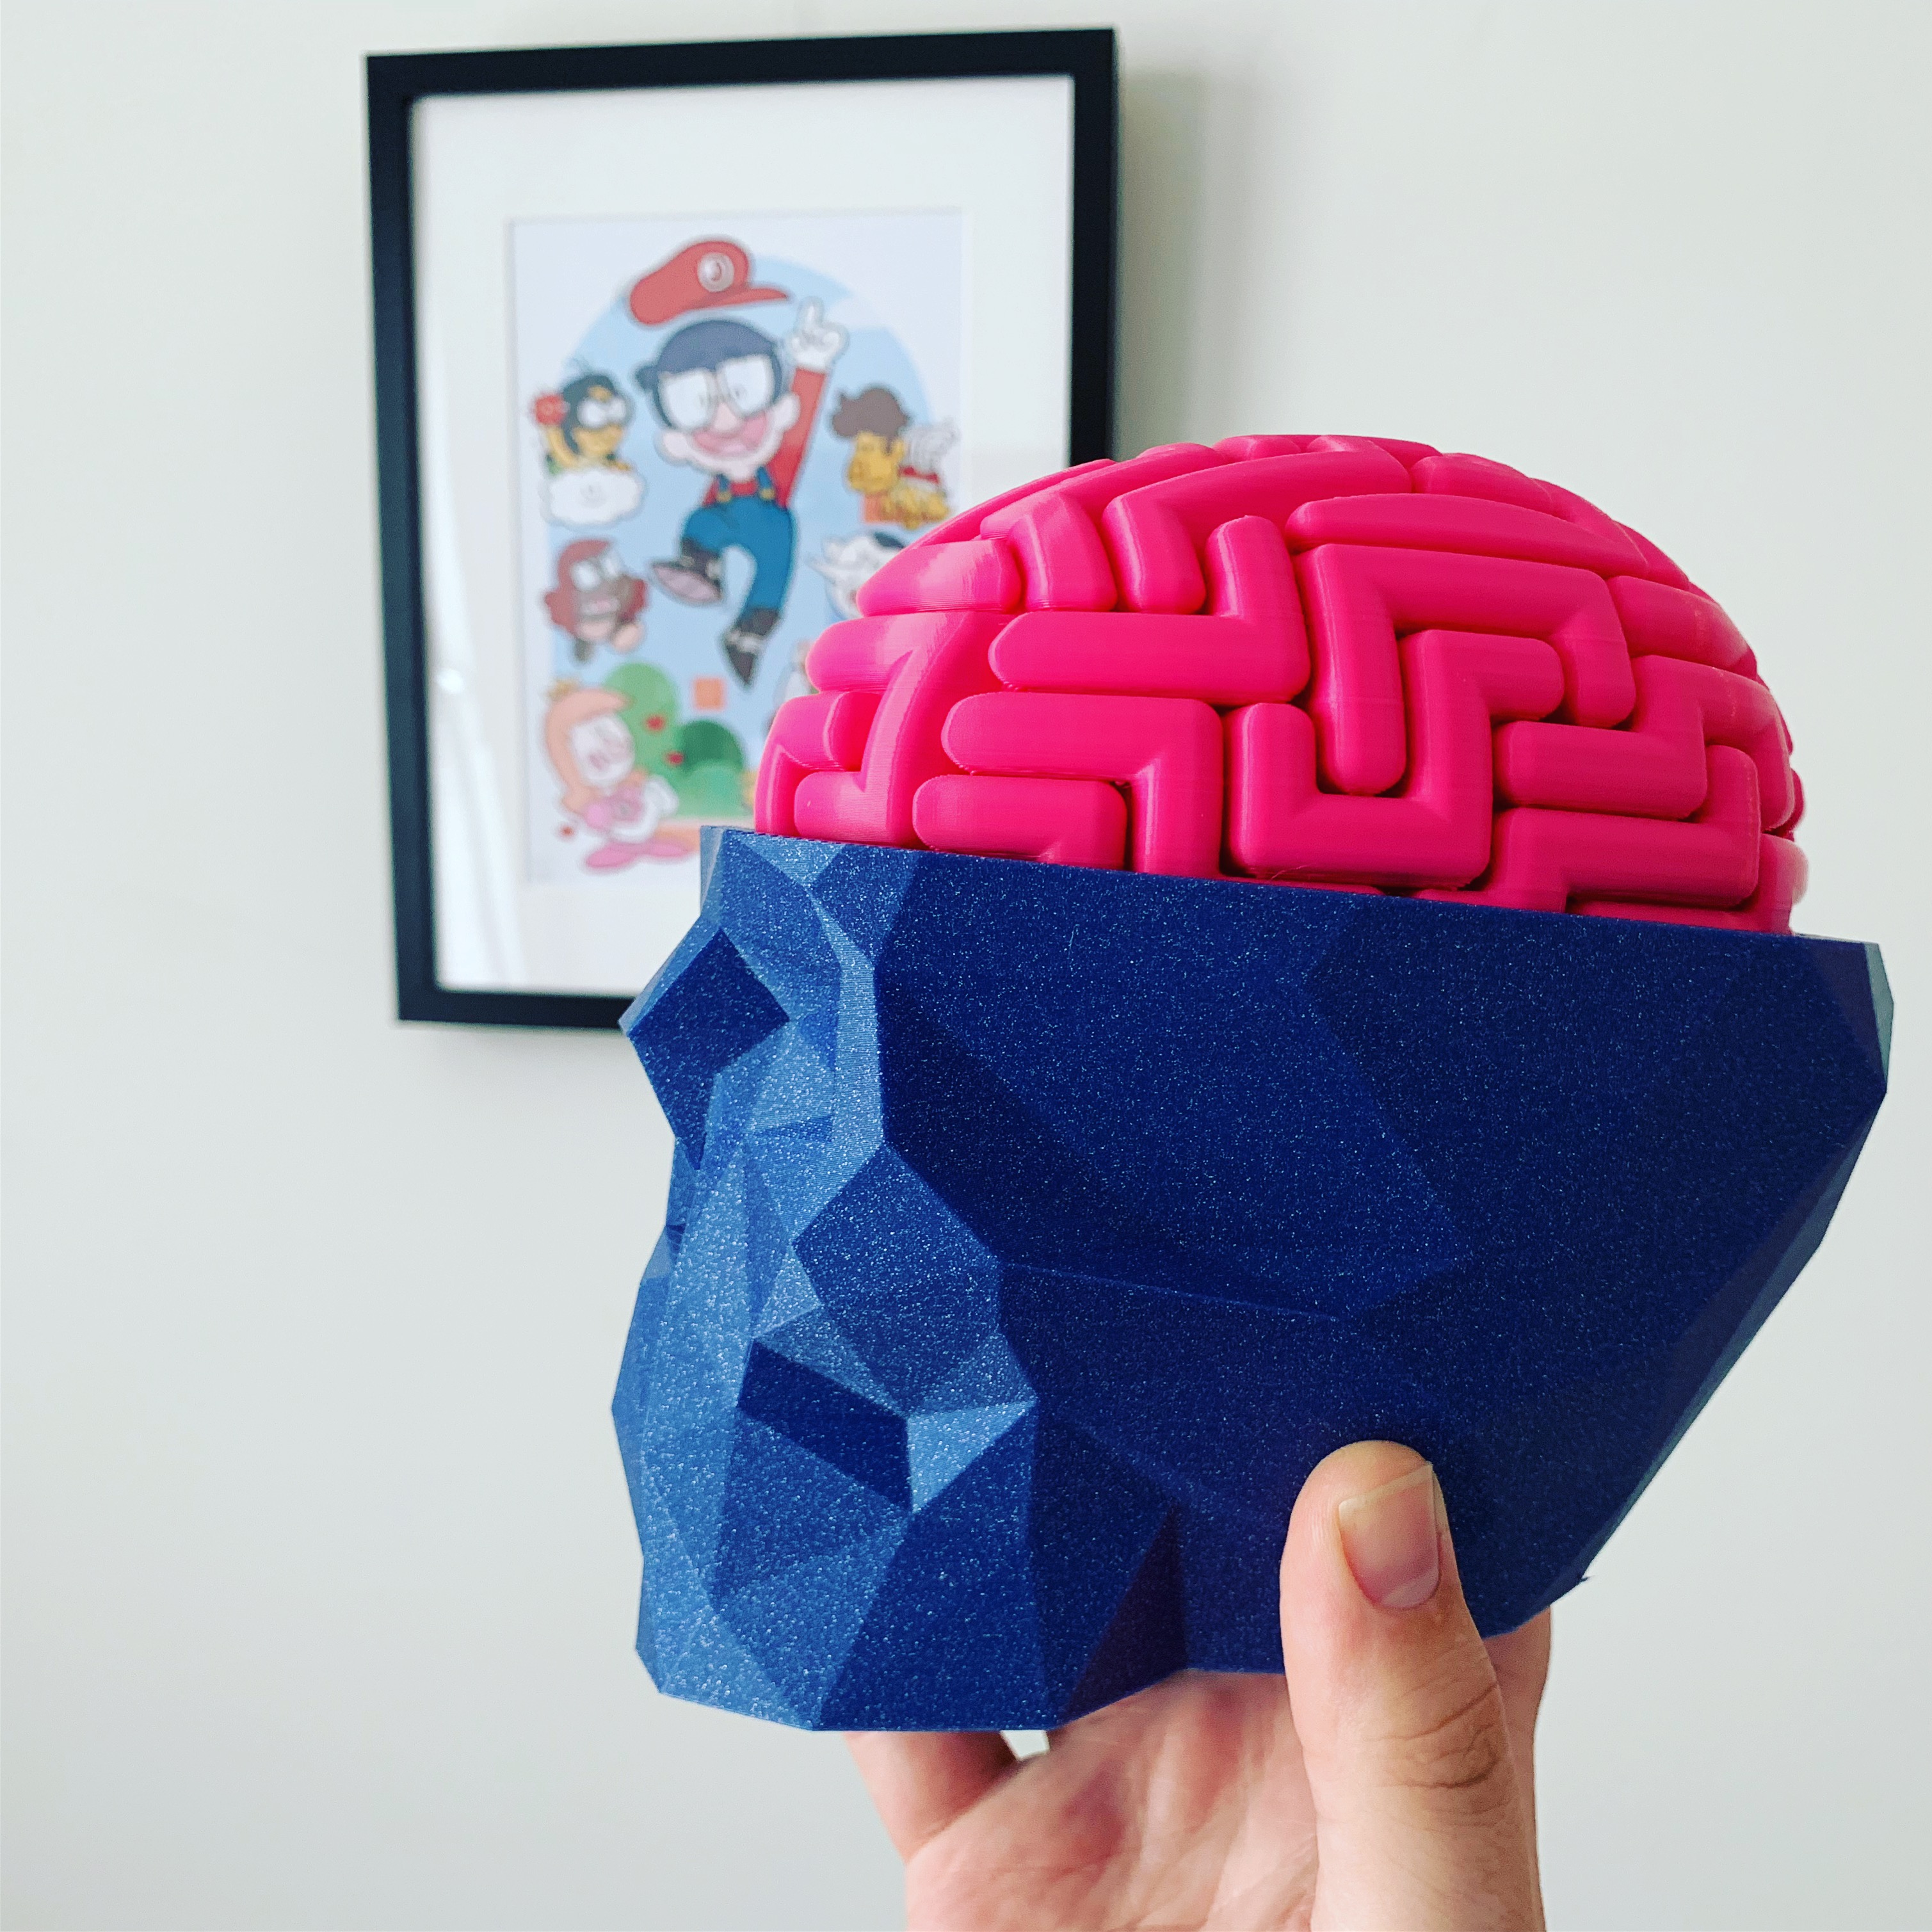
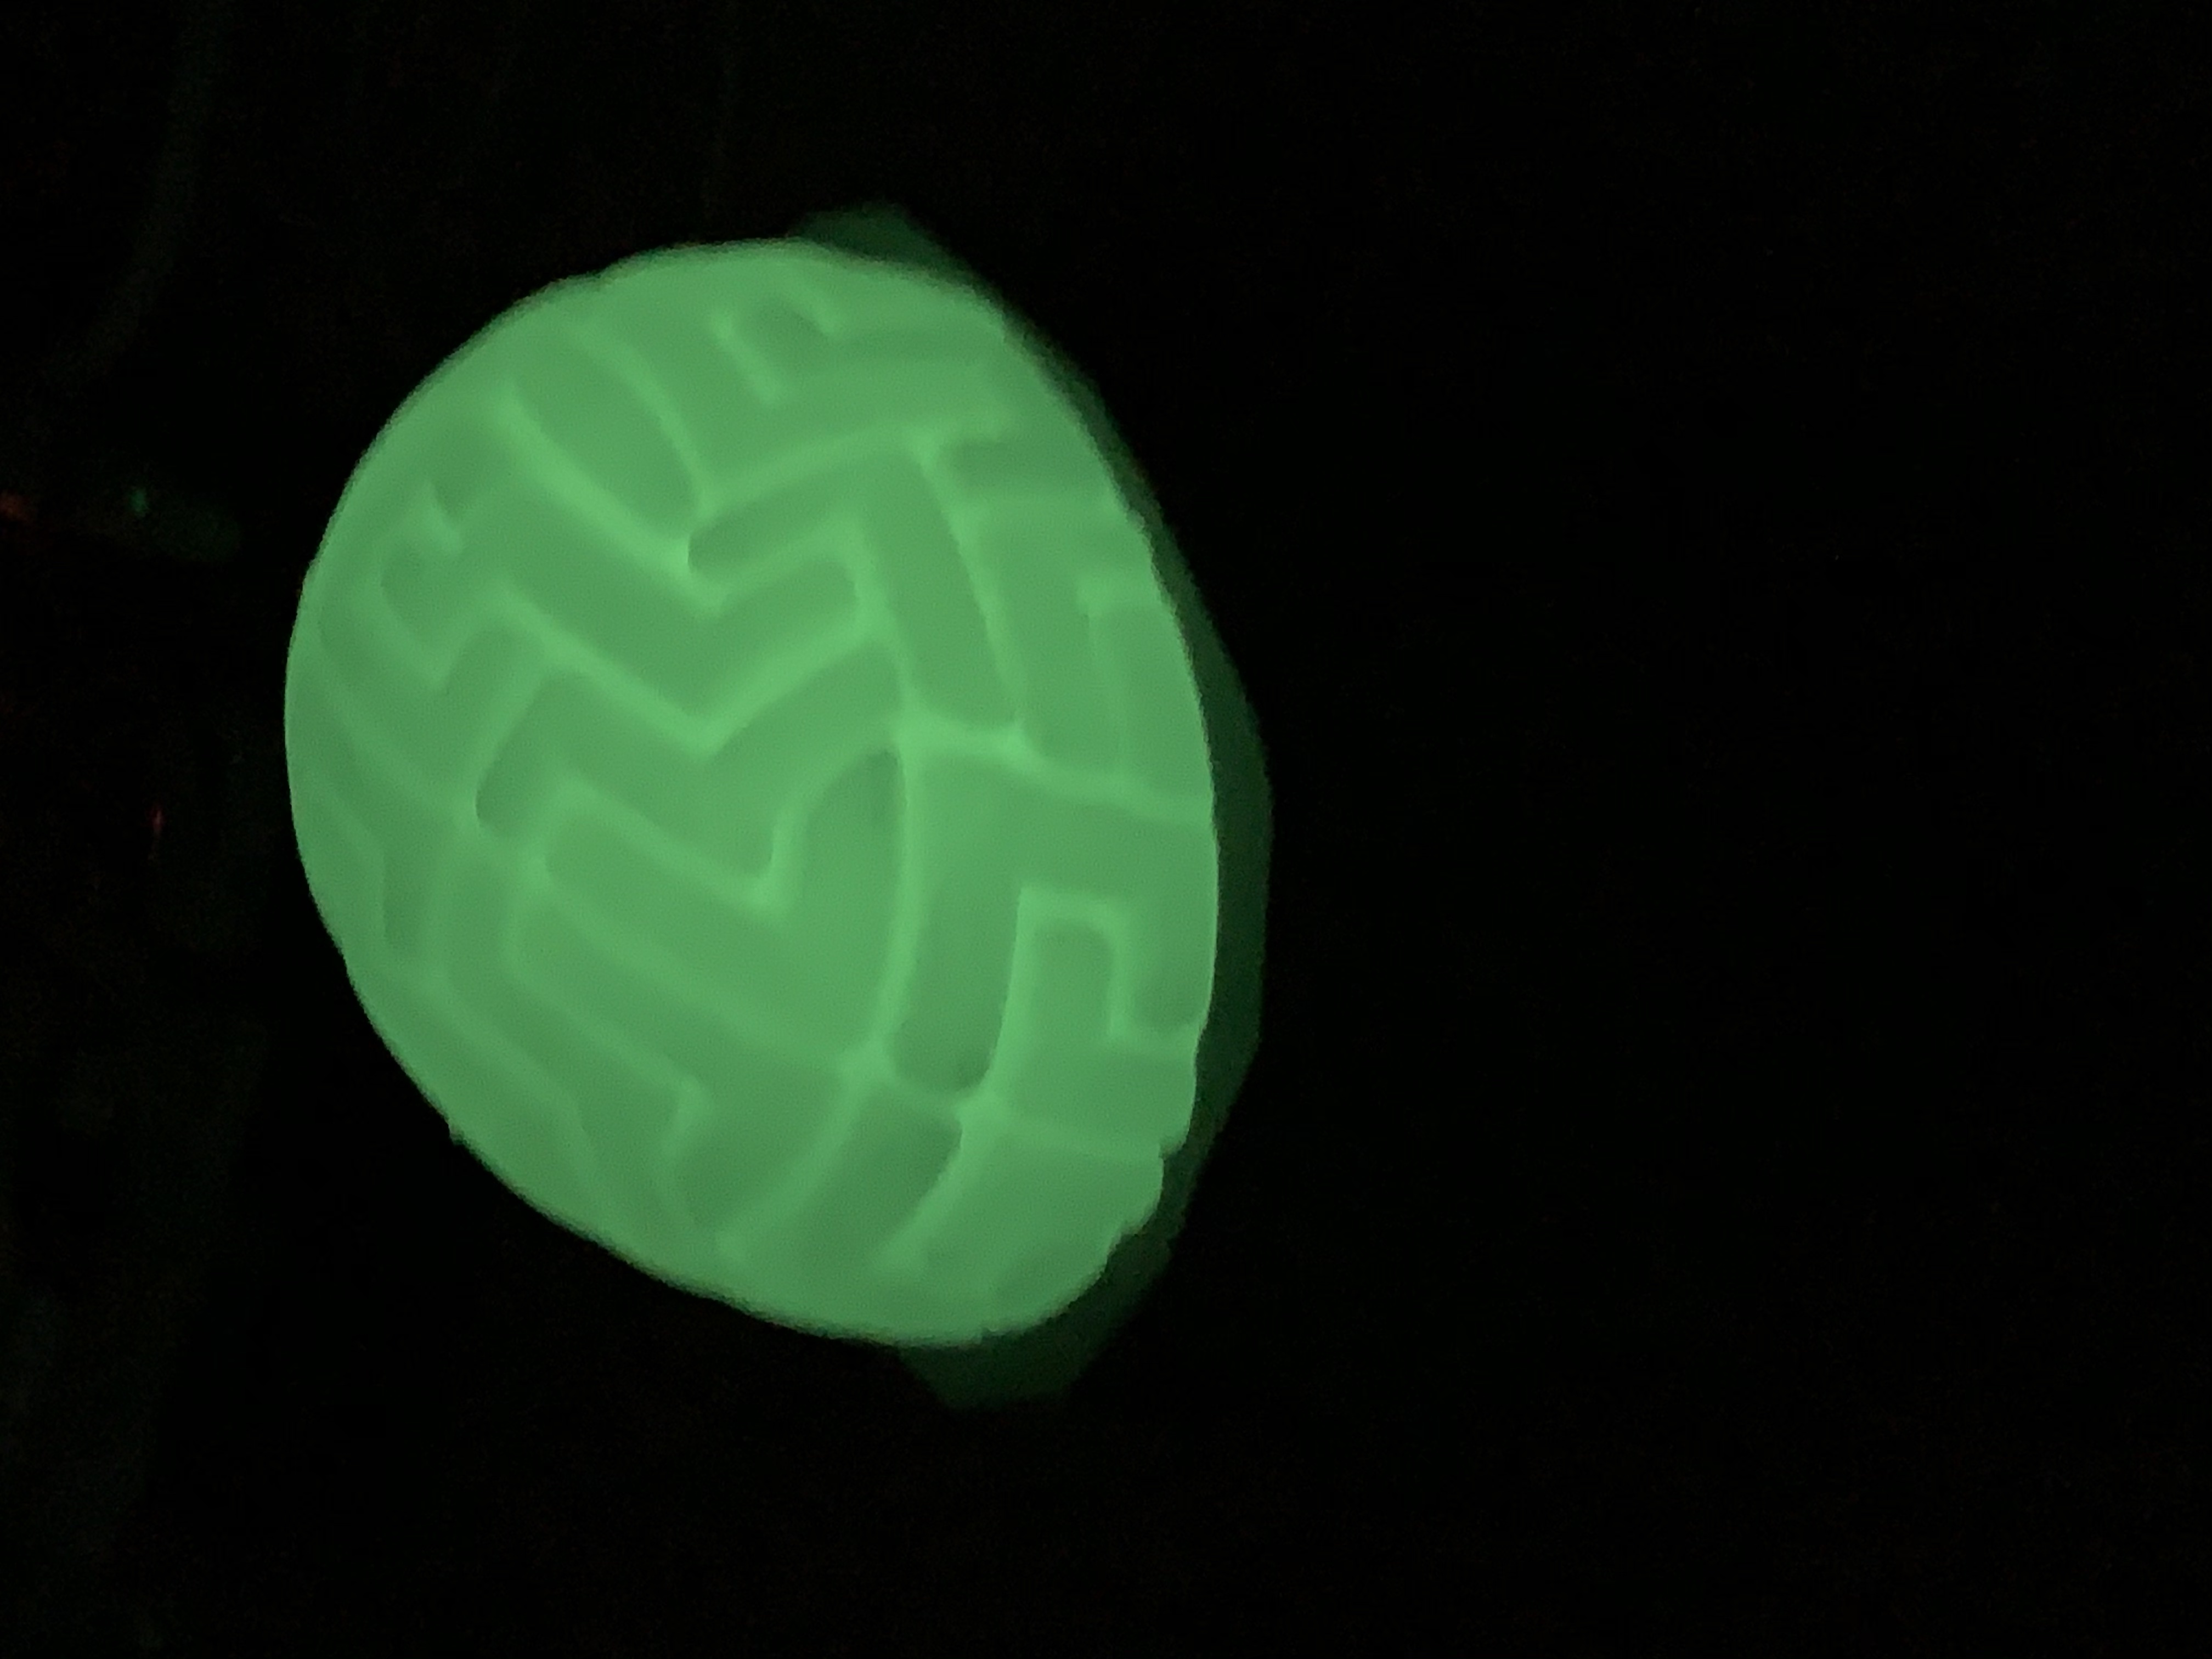
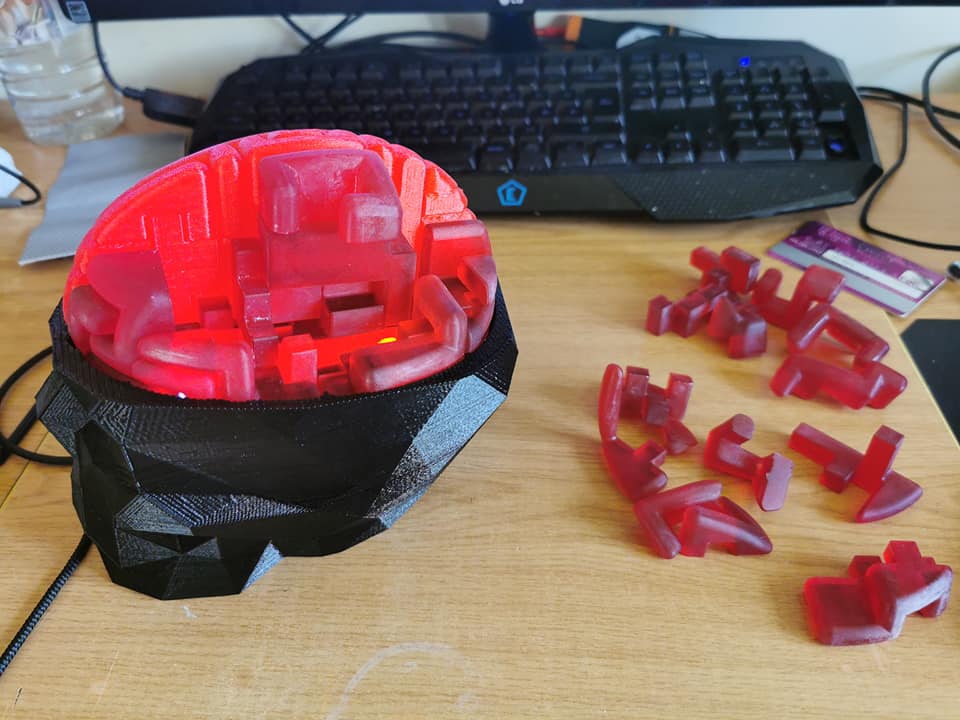
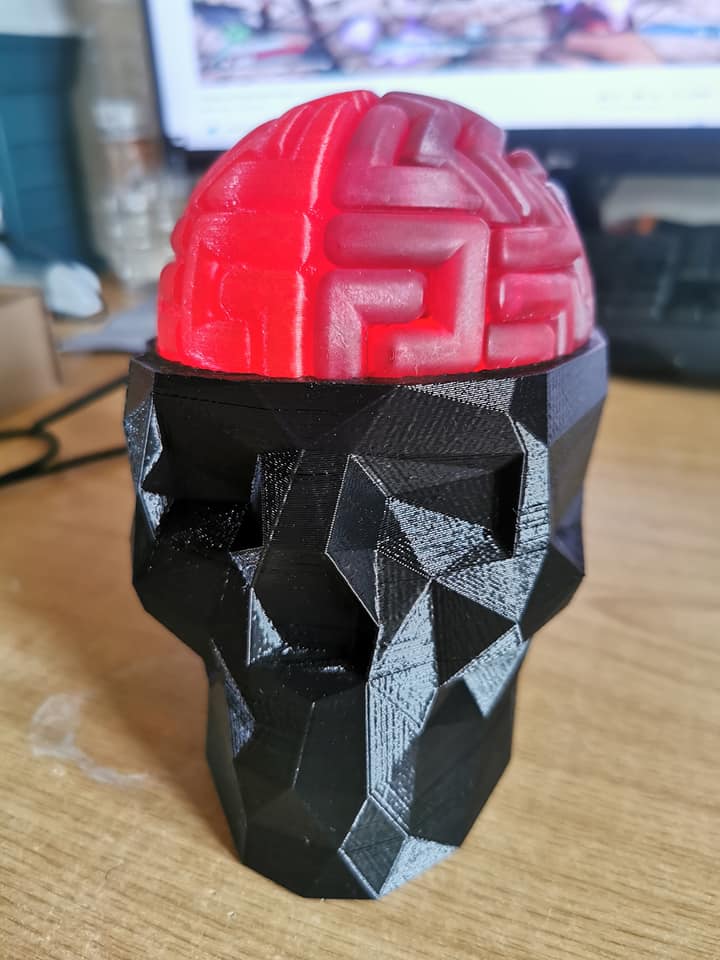
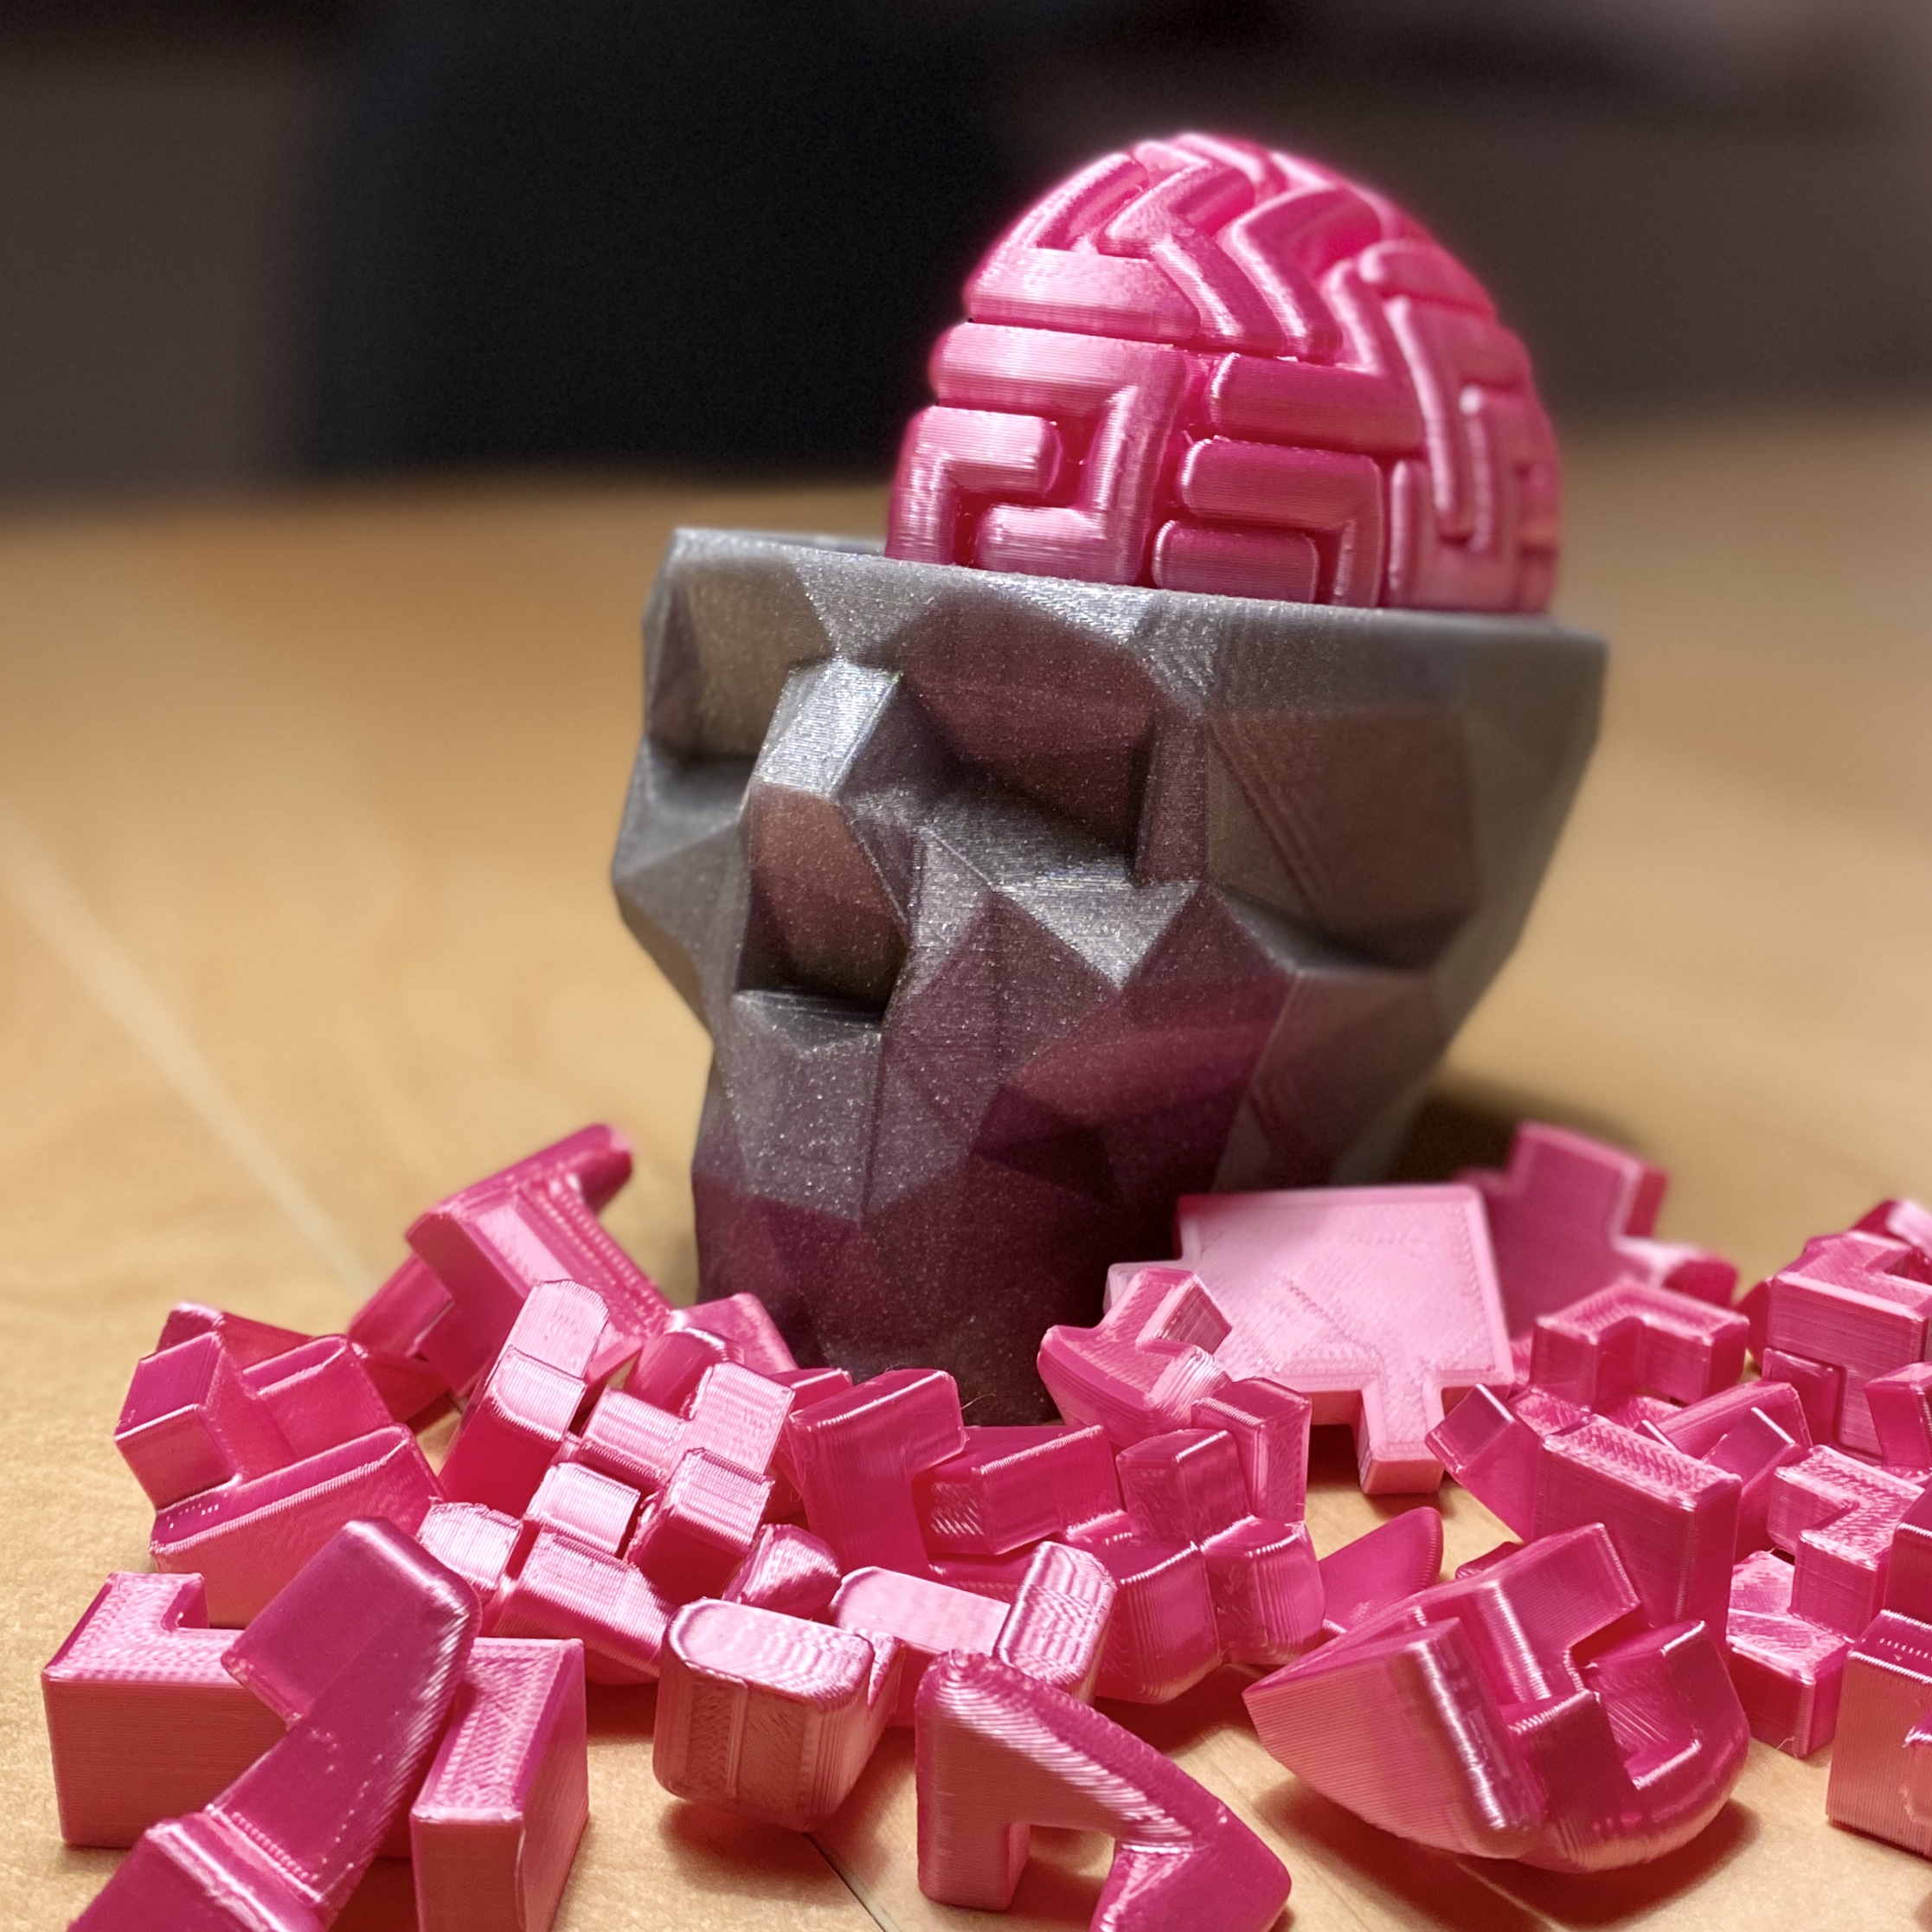
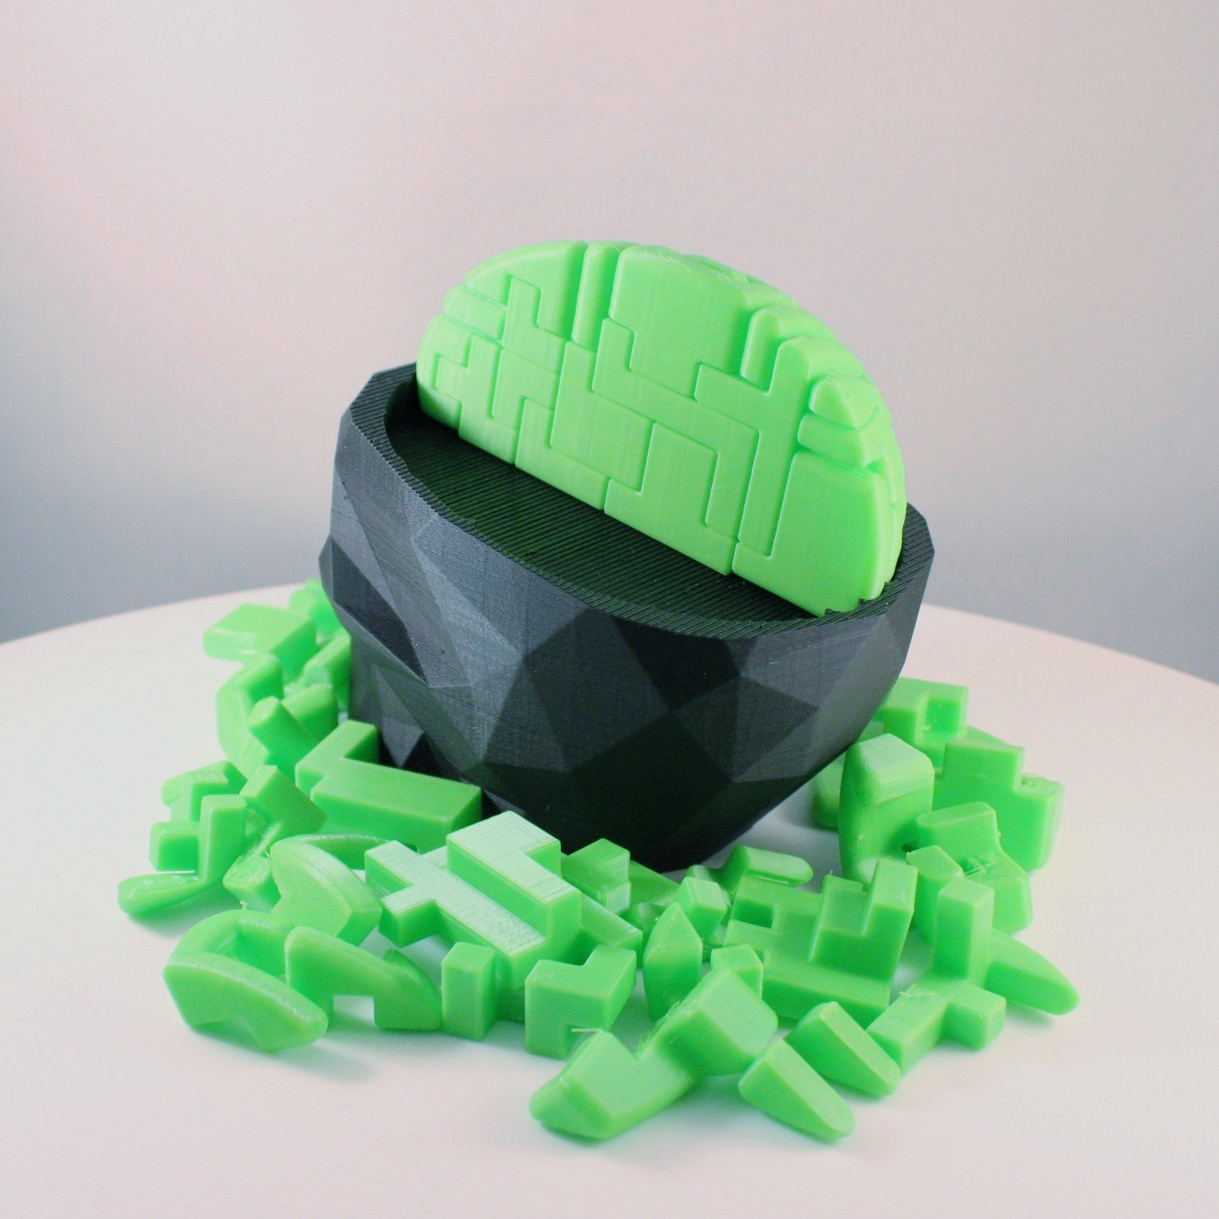
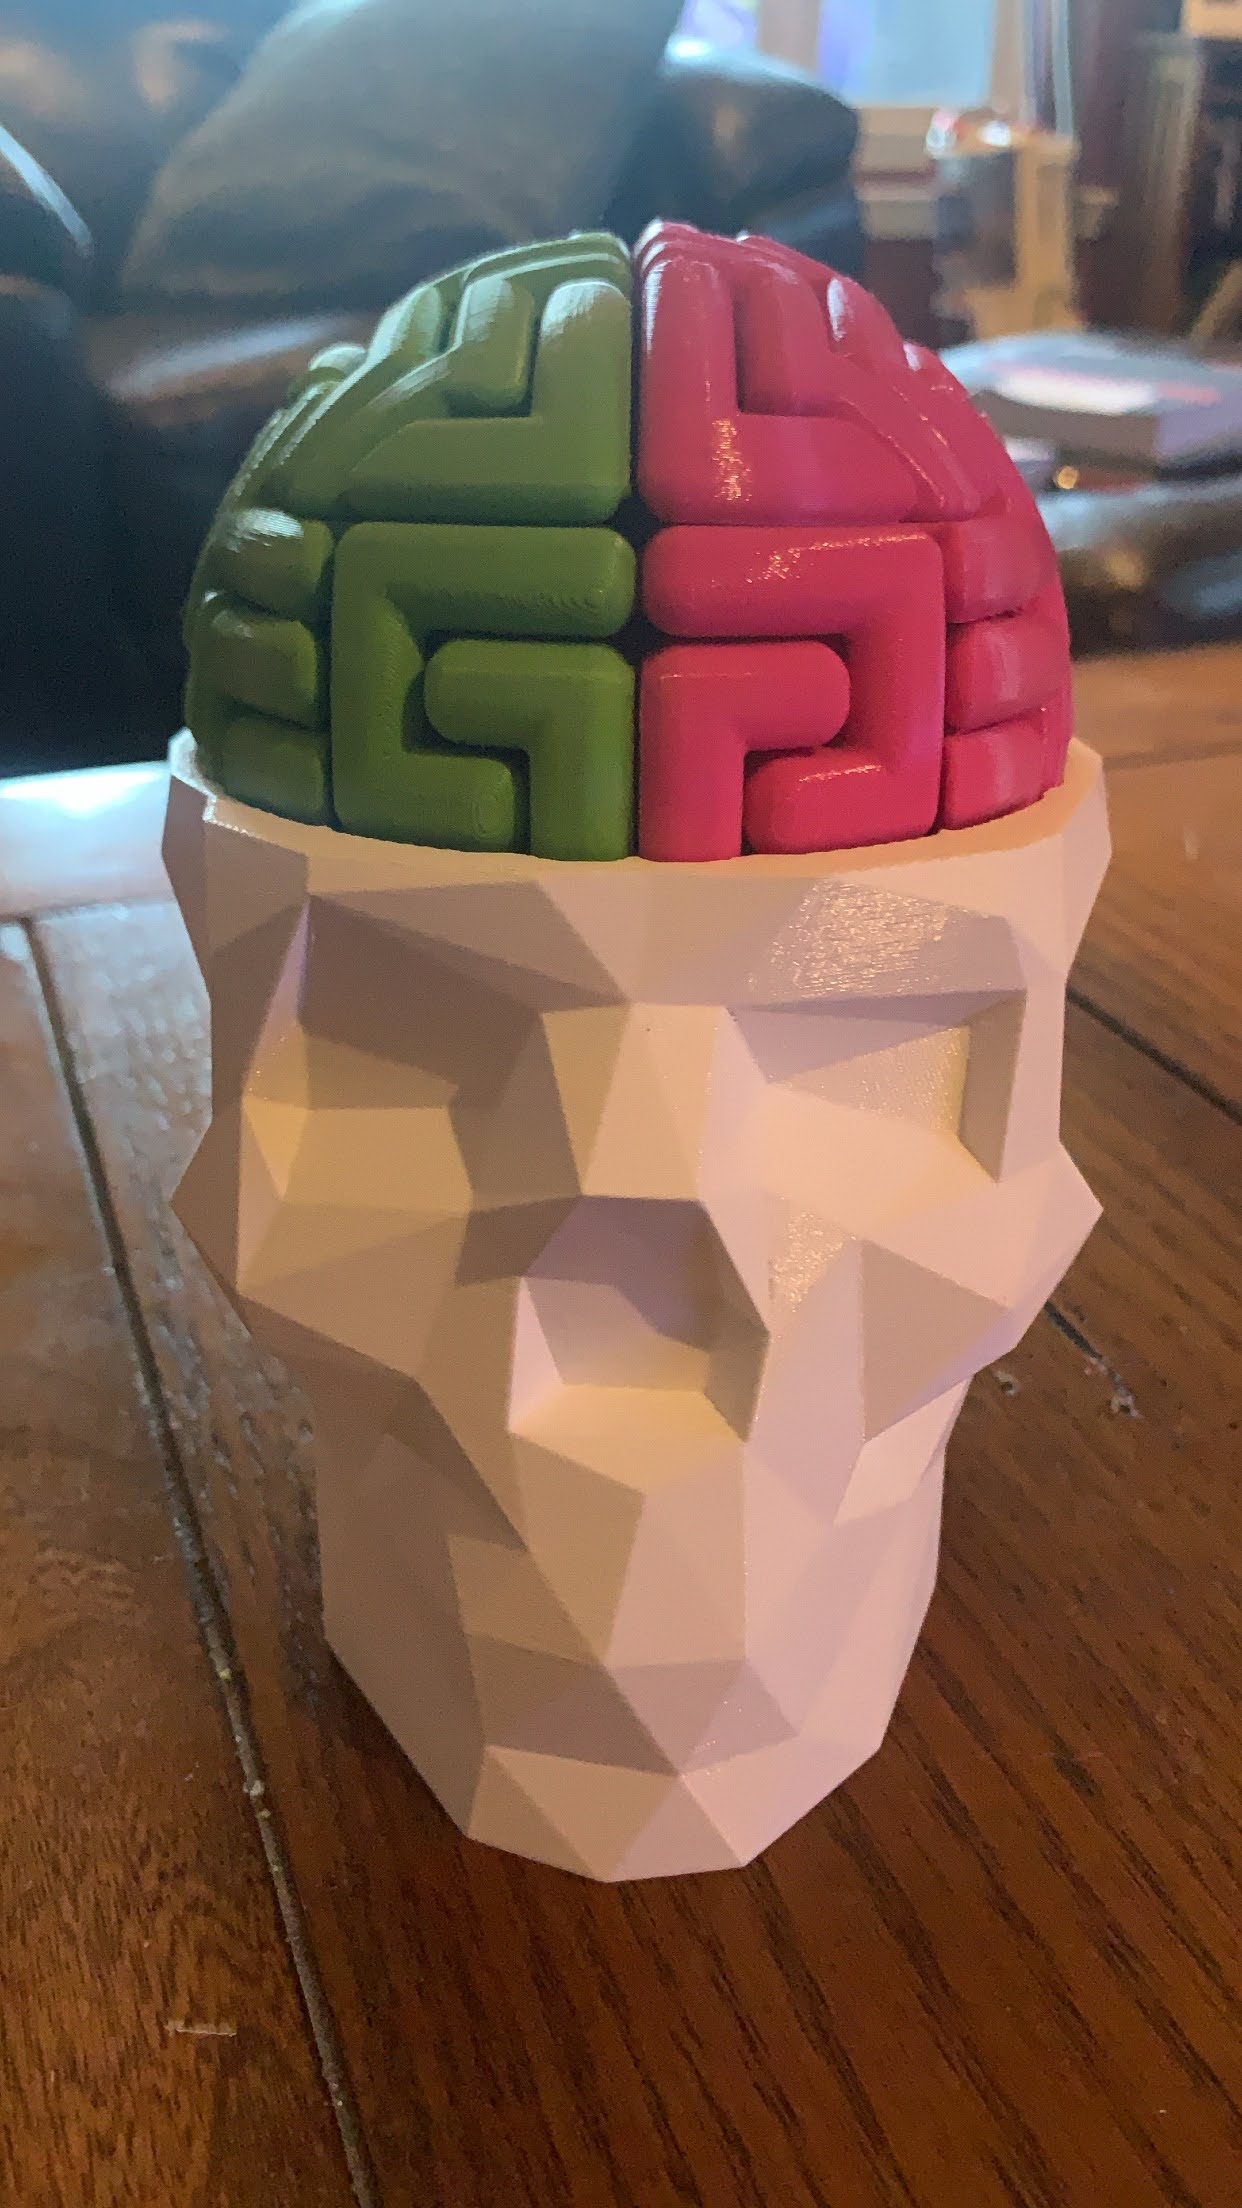
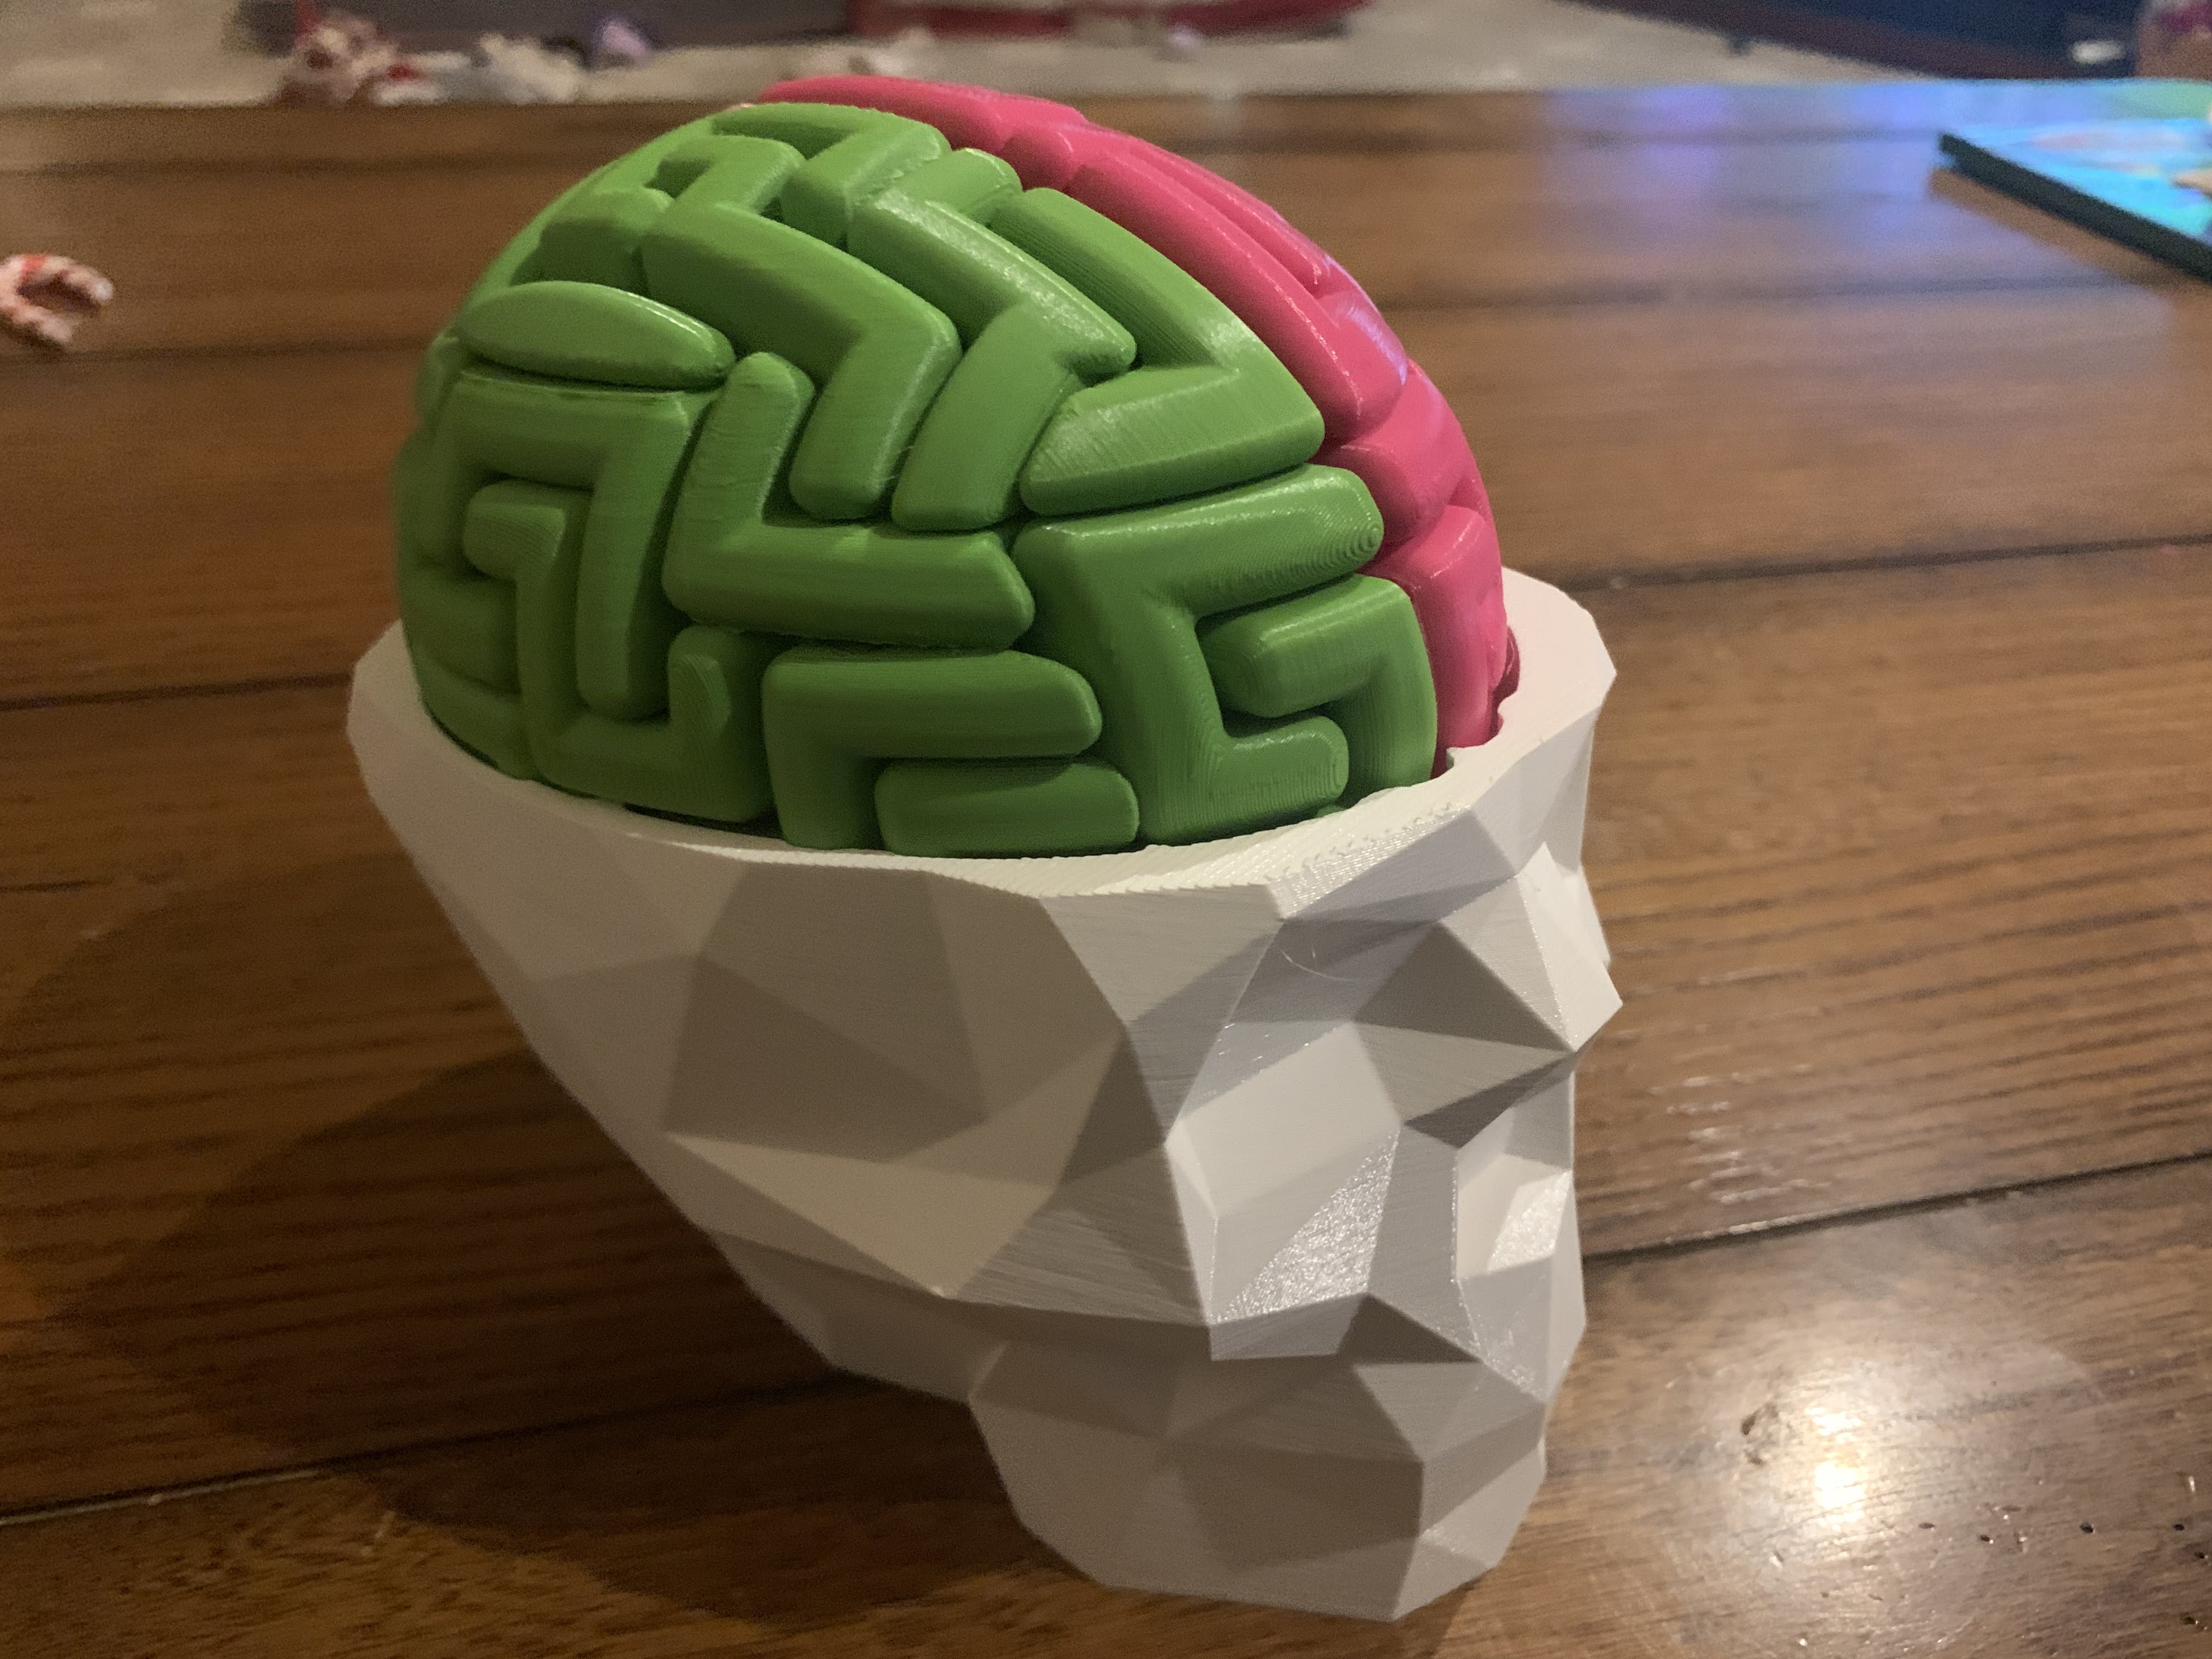
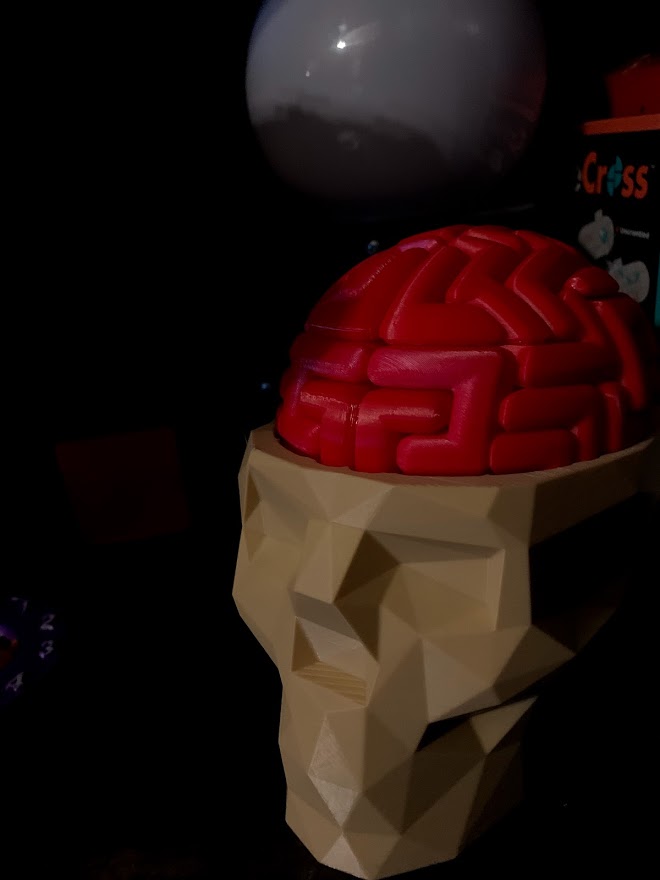
I really like the contrast between the fantastic minimal low poly skull of Steve Dakh and the swirly brains that make up the puzzle. You can see in my renders that I used white for the skull and a bright pink for the brains. But for my printed model I went for a radioactive zombie! The fluorescent green brains works great with the blue grey skull. But hey, be creative and experiment with other colours and materials.
Enjoy the puzzle and put your brains to work!
Good luck!


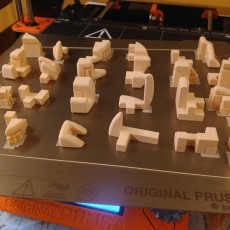
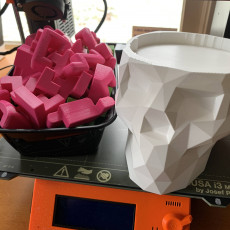
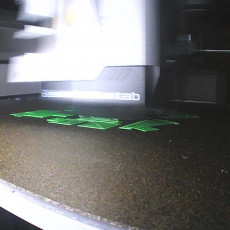
I printed dr Brain Breaker on my Prusa i3 MKS2 and used fluorescent green PLA and blue grey PLA of Colorfabb.
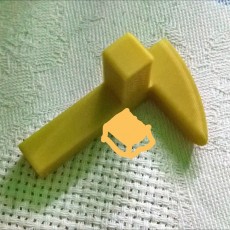
I suggest you print the different parts of the brain with support material. Rotate and play around with the pieces to get the optimal placement for your printer. (You might need to define the face of the individual models that need to lay on the print bed.) -> Fixed on 28/07/2018
| Date published | 19/06/2018 |
| Technology | FDM |


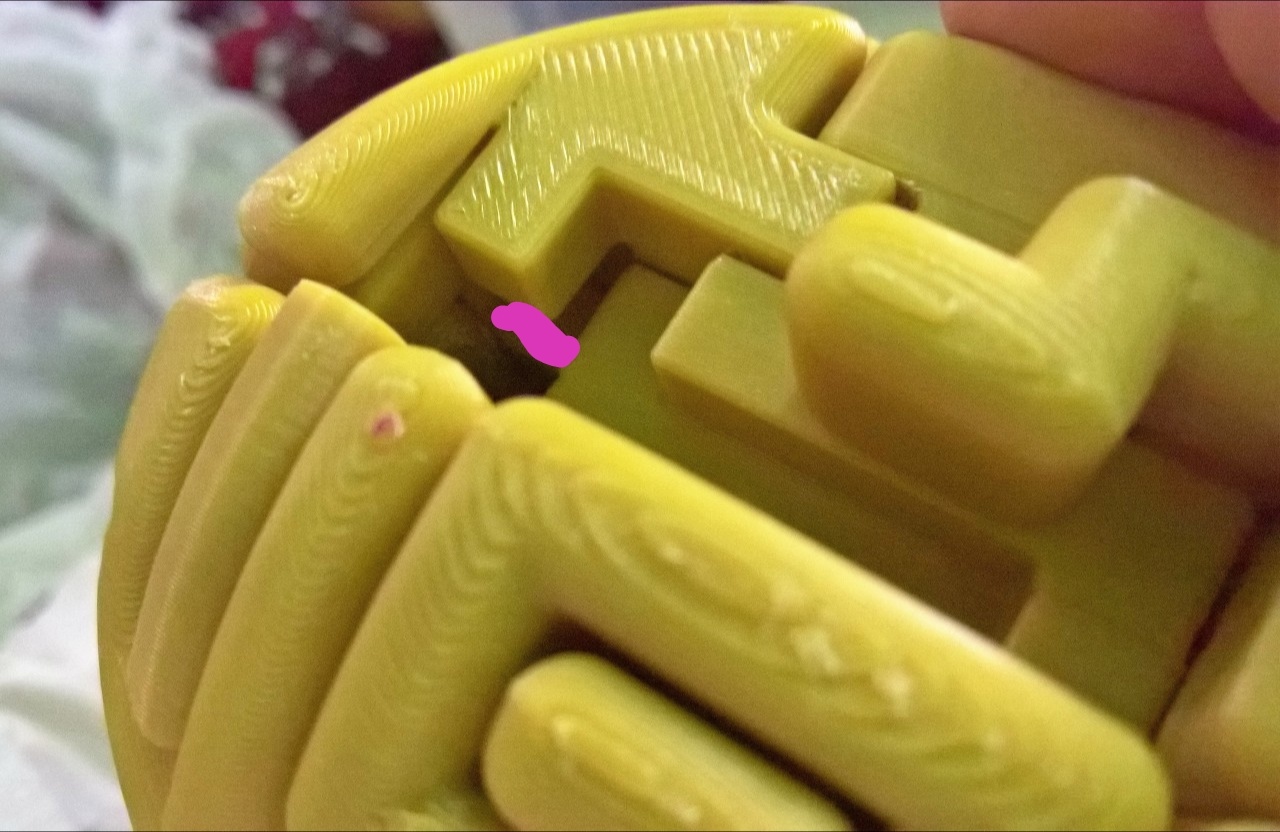


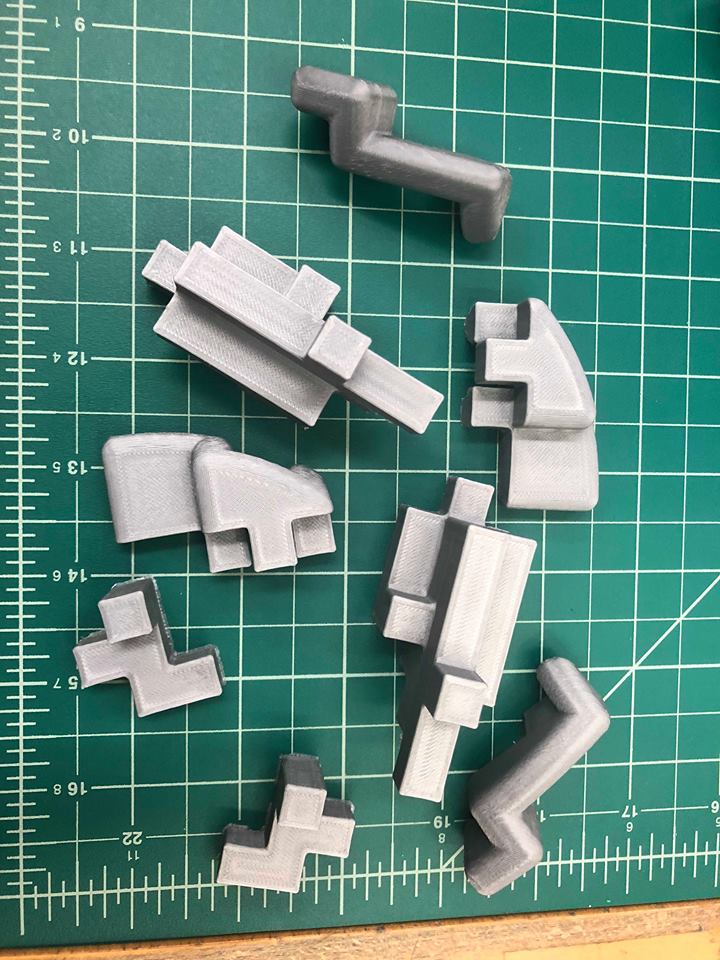


Lovely! Pieces are rotated by 10°. Correct the angle in your slicer for easier prints.