Telescopic Light Sword with micro:bit Control


Telescopic Light Sword with micro:bit Control
Published 2015-10-07T16:38:32+00:00
Light Sword Tutorial
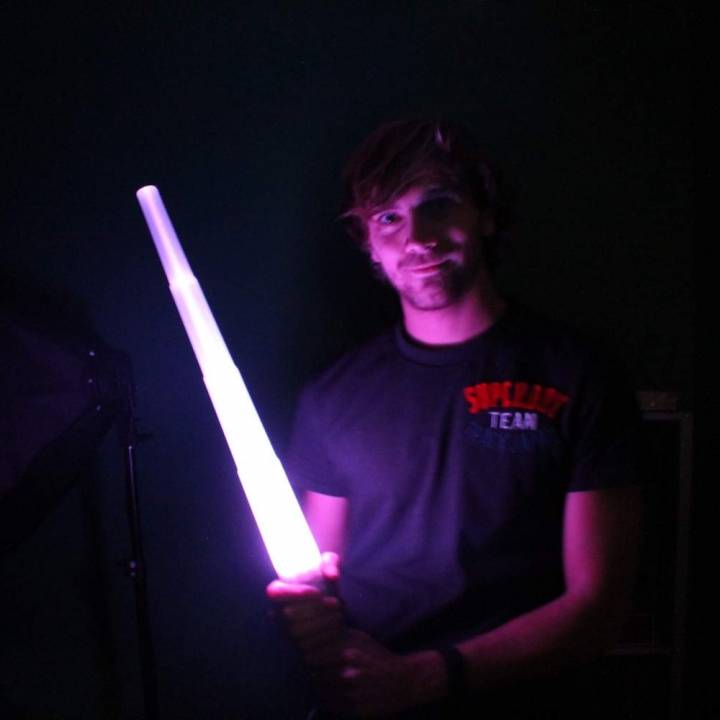
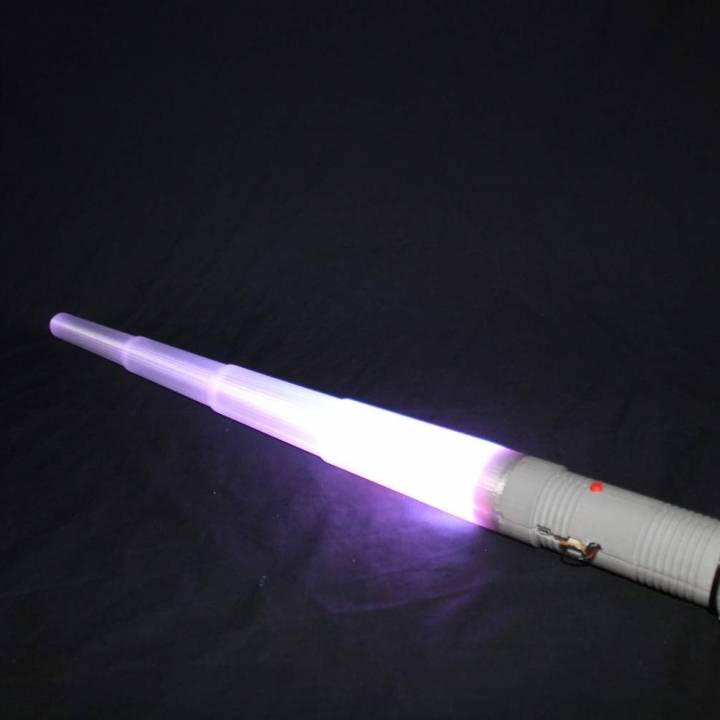
This tutorial will show you how to make your own Light Sword! You will learn how to use LEDs, particularly RGB LEDs, and transistors as well! You also will have to solder, using a breadboard (not the kind you cut bread on!).
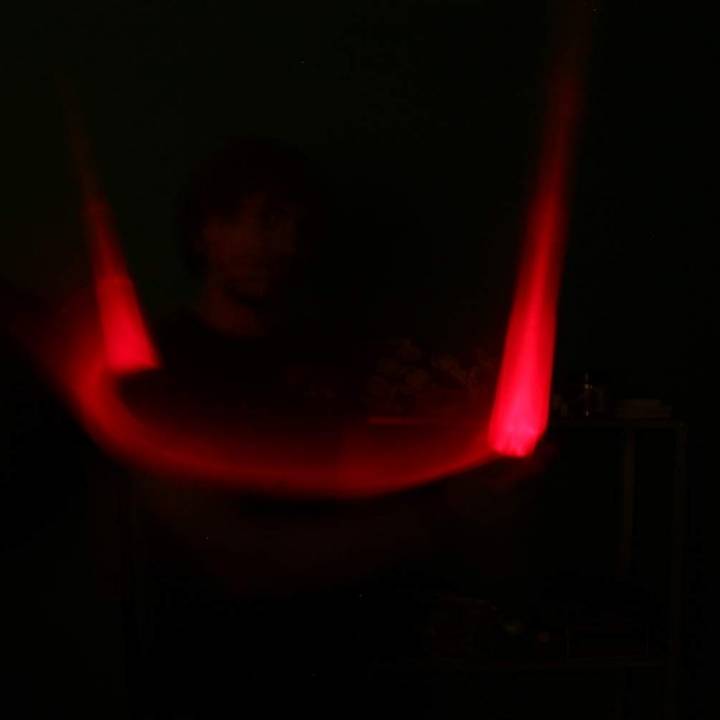
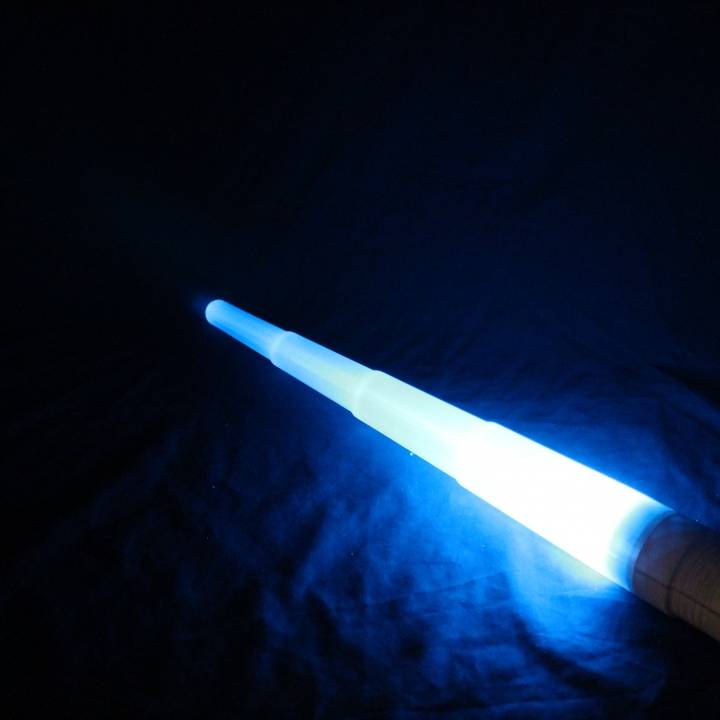
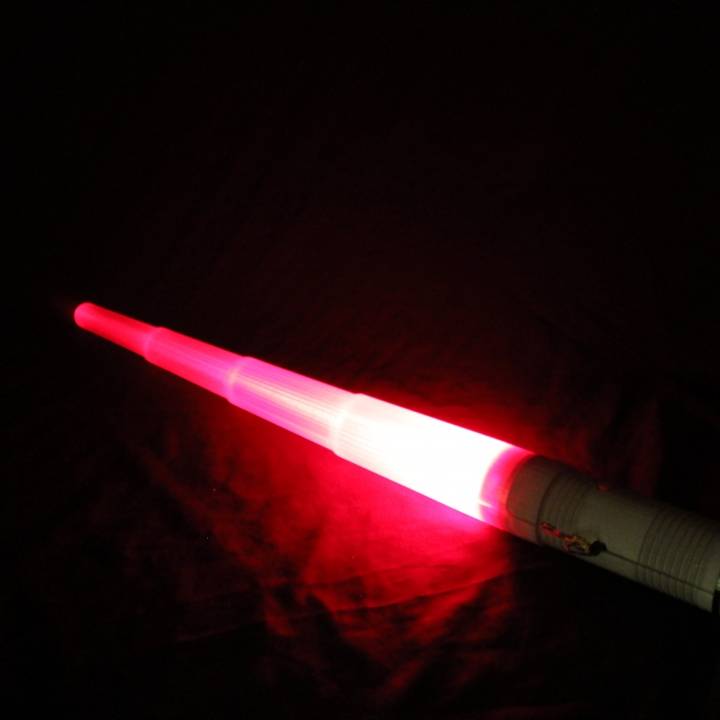
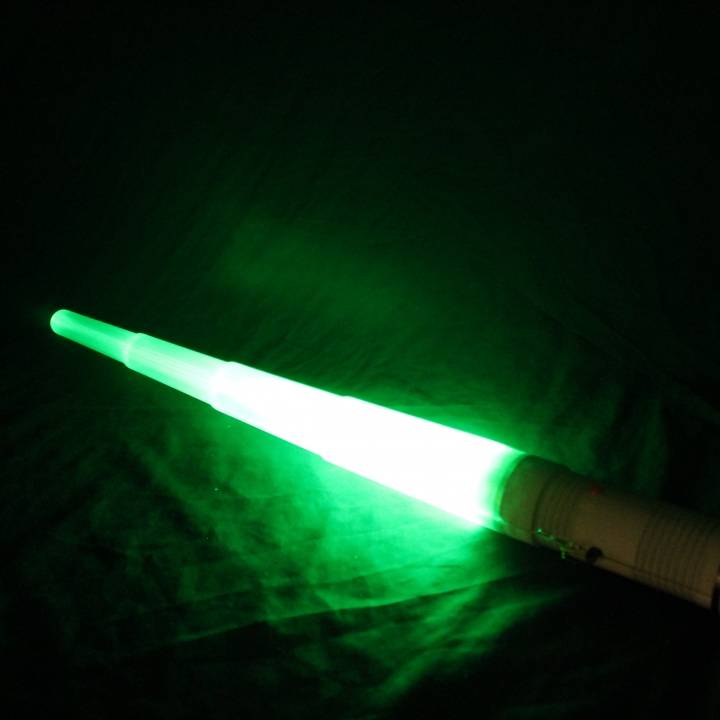
Programming the light sword gives you many possibilities, you can choose the colour you want, choose the action of the button and the movement as well! I made a small code that change the brightness when you’re moving the light sword, use this to inspire you to do others things! Enjoy this project!
Things you will need:
• A 3D printer
• 1 micro:bit device and battery pack
• Filament (plastic) for your 3D printer, -Transparent –Flexible(optional)!
• 5mm RGB LED & Resistors
• N-MOS Transistors & breadboard
• Wires
• Heat shrink tubing
• Soldering Station
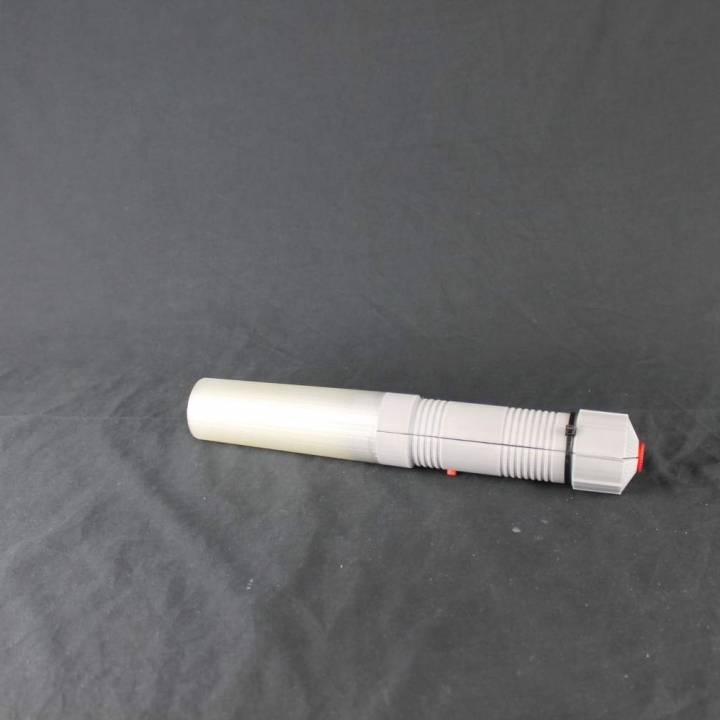
Parts description:
Step 1: Printing the Parts
Find all the parts here: https://www.myminifactory.com/object/telescopic-lightsword-with-micro-bit-14598
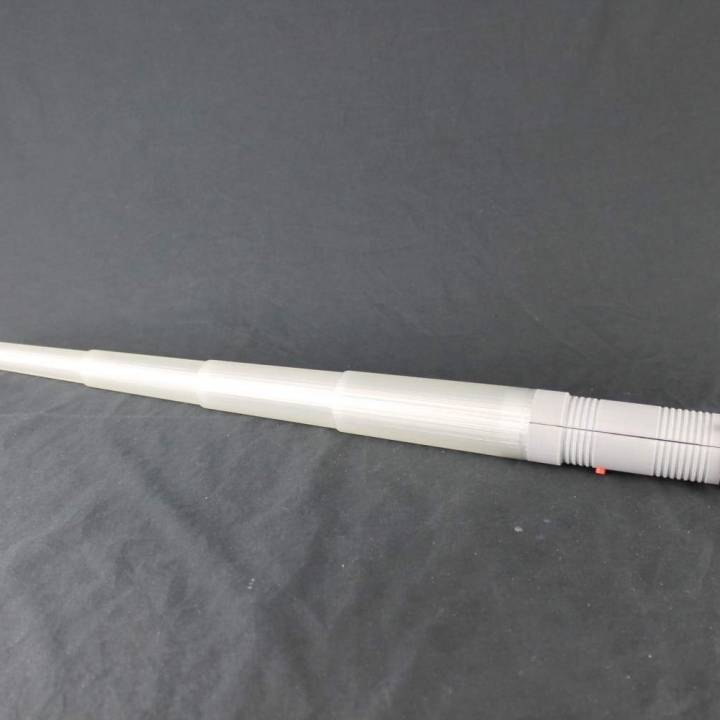
1. The sword: First of all you have to print the sword using transparent filament.
· To obtain the 3D files push the download button on this page !
· Next you will have to slice the parts: that means generate a code, representative of your 3D part which your printer will be able to understand. This action is called "slicing" because your printer prints the part layer by layer, so you need to slice your object into many digital layers. You will need to use the right slicer for your 3D printer, ask your teacher if you need help with this!
· The most important setting for the printer is the temperature of the nozzle, which will depend on the type of filament you use, the speed, the infill, the layer height, and whether you need support or not will also need to be considered.
· For the sword, just use 3 shells, no supports and a raft to be sure that it doesn’t warp.
Export your code to your SD card and take it over to the printer!
2. The handle: Now you have to print the handle using regular filament, PLA or ABS, I printed it with a grey filament but you can choose your own colour, you can also print it in white and paint it after which allows you to add more details! J Use an infill of 15%, medium speed, and support
3. Clips and button: Regular filament as well, use a low speed because they are very small parts, but don’t worry they are not hard to print.
4. Tools for LED disk construction: This part is just there to help you build the LED disk, print it with regular filament, 15% infill, and medium speed.
5. Battery spring and cover: It is better to print these 2 parts with flexible filament. If you don’t have any, print the cover in regular plastic, and use a regular steel spring for the battery spring.
Step 2: Flash the micro:bit
You can find this script here.
Step 3: Building the LEDs disk.
Here we are going to build the LED disk which is going to light the sword.This is not very easy to do, you have to be very thorough and organised,but if I can do it so can you! An easier way to do it is to use regular LEDs, but that will mean you will not be able to change the colours. Anyway, let’s start! J
1. Wiring LEDs, theory :
o This is the idea of what we want to do, we have to link all the blue pins together, same for the red, green and anode.
o The BLUE & GREEN LEDs have a forward voltage of 3V so you can link the cathode directly to the transistors.
o The red LED has a forward voltage of 1.8 volts, so we have to put a resistor on this one to reduce the voltage from 3 to 1.8V. To calculate the resistor we use the "Ohm law": U=R*I: U: voltage, R: Resistance, I: Current. So there: R = (3-1.8)/0.02 = 60 Ohm. There is a normalization for the value of resistors, you can’t find one resistor of 60 Ohm. So take one higher than 60, like 68 Ohm.
2. Soldering:
o First put all the LEDs inside the disk you have printed.
o Bend all the anodes to the middle, solder all of them together.
o Then do the same for the red, blue, and green pins, don’t forget to put a resistor on each red pin.
o Use some heat shrink tubing for each pin to be sure that the pins will not touch each other.
o Try to make this part as small as possible.
o Solder a wire to each pin grouping.
Step 4: Building the transistors board.
The micro:bit, like a lot of micro controllers, doesn’t load a high current. The micro: bit can load around 4mA, we need 20mA for each LED: total of 9*20=180Ma.
So to have sufficient power inside our LED (Power=Voltage*Current), we are going to use a transistor board. We are going to use our transistors as an electronic switch, it will be open or closed, we call it blocked or saturated respectively.
We are going to use a MOS transistors, which are commanded by the VGS voltage (Gate-Source voltage). So in this application, if VGS > 0.7 V, the transistors are saturated, if VGS=0, the transistors are blocked.
That is why we link the source to the ground, and use some wires to link the gate to the micro:bit. The drain is linked to the 9 LEDS pins grouping.
When the micro bit provides 3V on a pin, the transistor is saturated, then the led light is on, if the micro:bit provides 0V on the pin, the transistor is blocked, and the led light is off.
Step 5: Preparing the batteries system.
Strip 3 cm of rubber of the end of a wire a roll it up to make a coil. Have this coil make contact with the minus side of the battery. Do the same for the plus, and hold it in the small battery spring: make sure it is the perfect size, and solder some tin on it, put it inside the flexible plastic spring while it’s hot so it will melt into the plastic. If you prefer, you can use a real spring instead of the printed part.
The plus has to be linked to the anode of the LEDs and to the battery JST connector for the micro:bit, the minus has to be link to the source of the transistor and the JST connector as well.
Step 6: Assemble everything
Now you have all your plastic parts printed and all your electronic devices ready and linked together, we are going to plug everything together, and then we will clip our light sword closed! J
An image is always better than text, so just refer to the image below:
The transistor board is going under the micro:bit.
Put the clip inside the hole, take the other half of the handle, begin by placing the LEDS inside the small hole at the end of the handle, and then clip the 2 halves together. You can also use zip ties. Screw the battery cover on, clip the transparent sword on the top, and there we go!
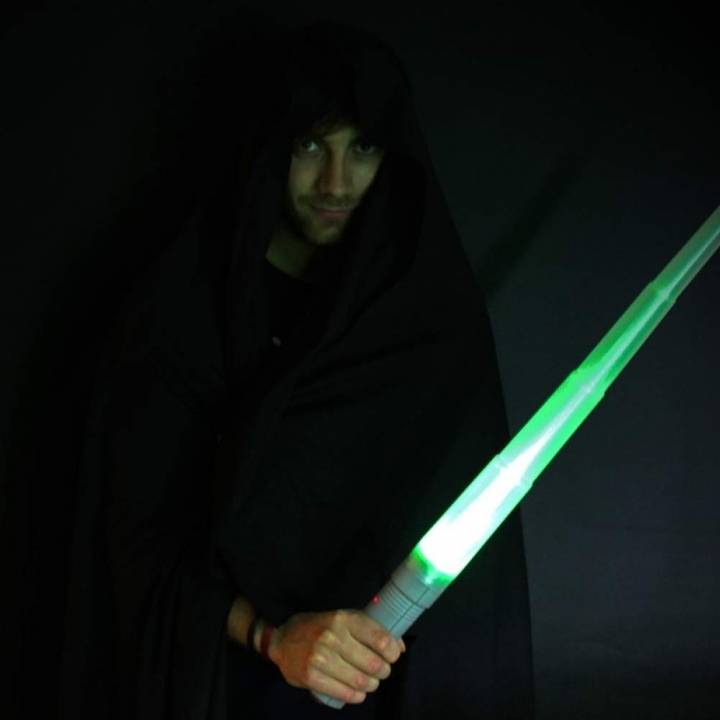
Your own Light Sword is ready, use it wisely! J


I have printed all with a layer height of 0.2mm, a regular infill ( 15%-30%), and a medium speed. Use support to print the body. There aren't that much of support don't worry. ;)
| Date published | 07/10/2015 |
| Time to do | 600 - 1200 minutes |
| Material Quantity | 230g |
| Dimensions | 190*60*60 |
| Technology | FDM |
| Complexity | Very Easy |