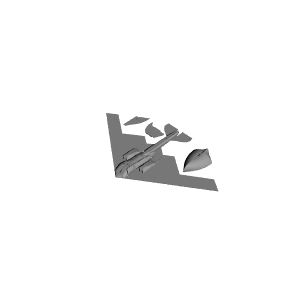
B2 Stealth Bomber Glider (Improved Flight) Powered by an Elastic Band


B2 Stealth Bomber Glider (Improved Flight) Powered by an Elastic Band
Published 2015-09-09T09:03:56+00:00
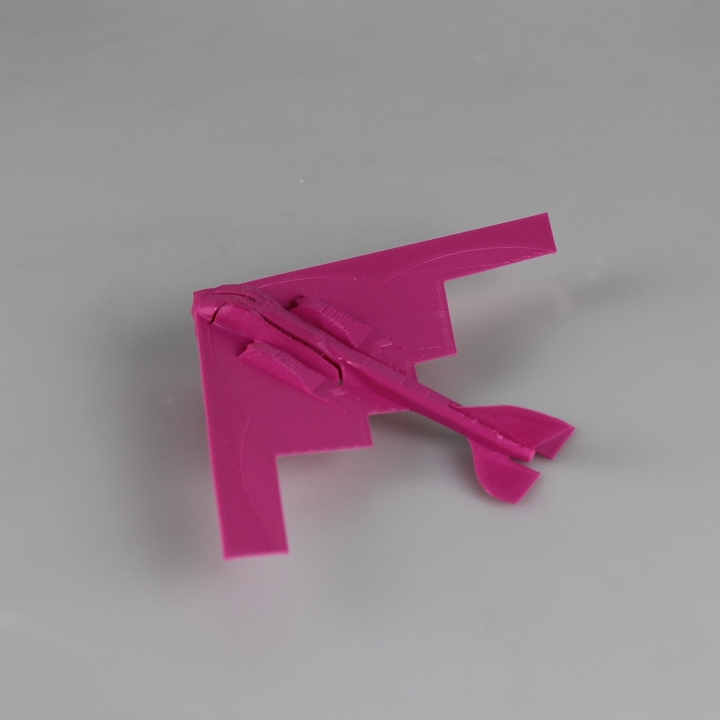
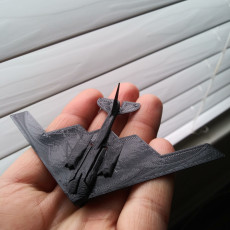
After seeing how amazingly well my B52 Bomber flies I realised why my original B2 Stealth Bomber wasn't reaching quite the same distances (I've managed to get almost 100m of flight from my B52, video up soon). The large oscillatory motion of the original stealth glider, whilst being stable, was sapping energy out of the flight and so to counter this I've designed an extremely technical aerodynamic damper - a tail!
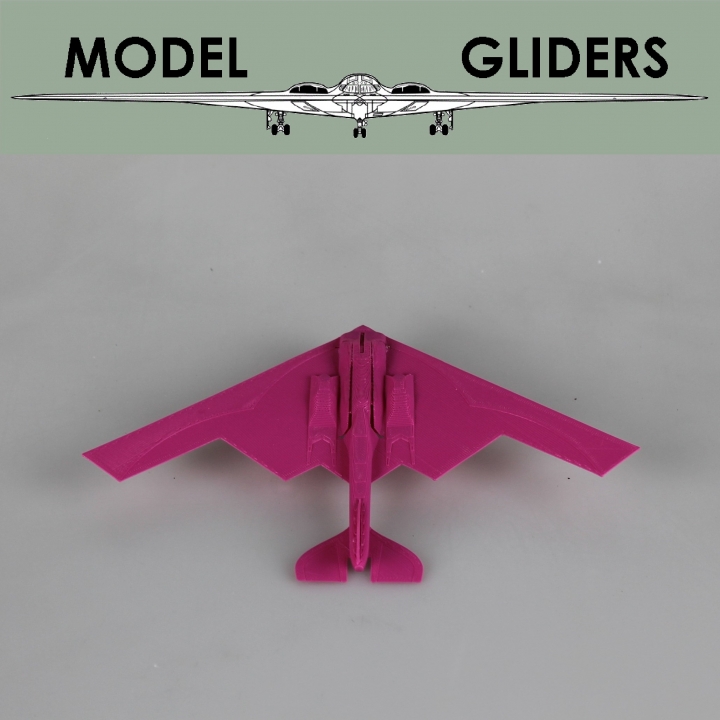
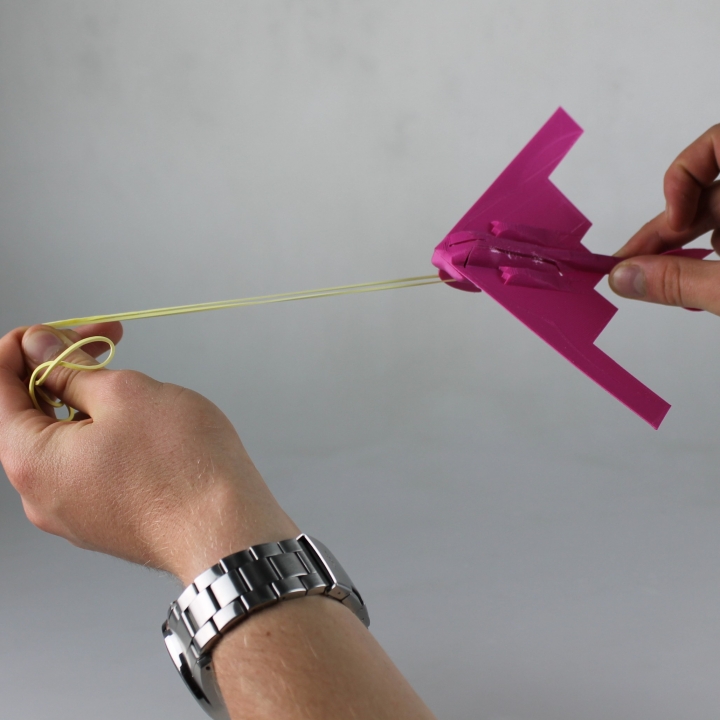
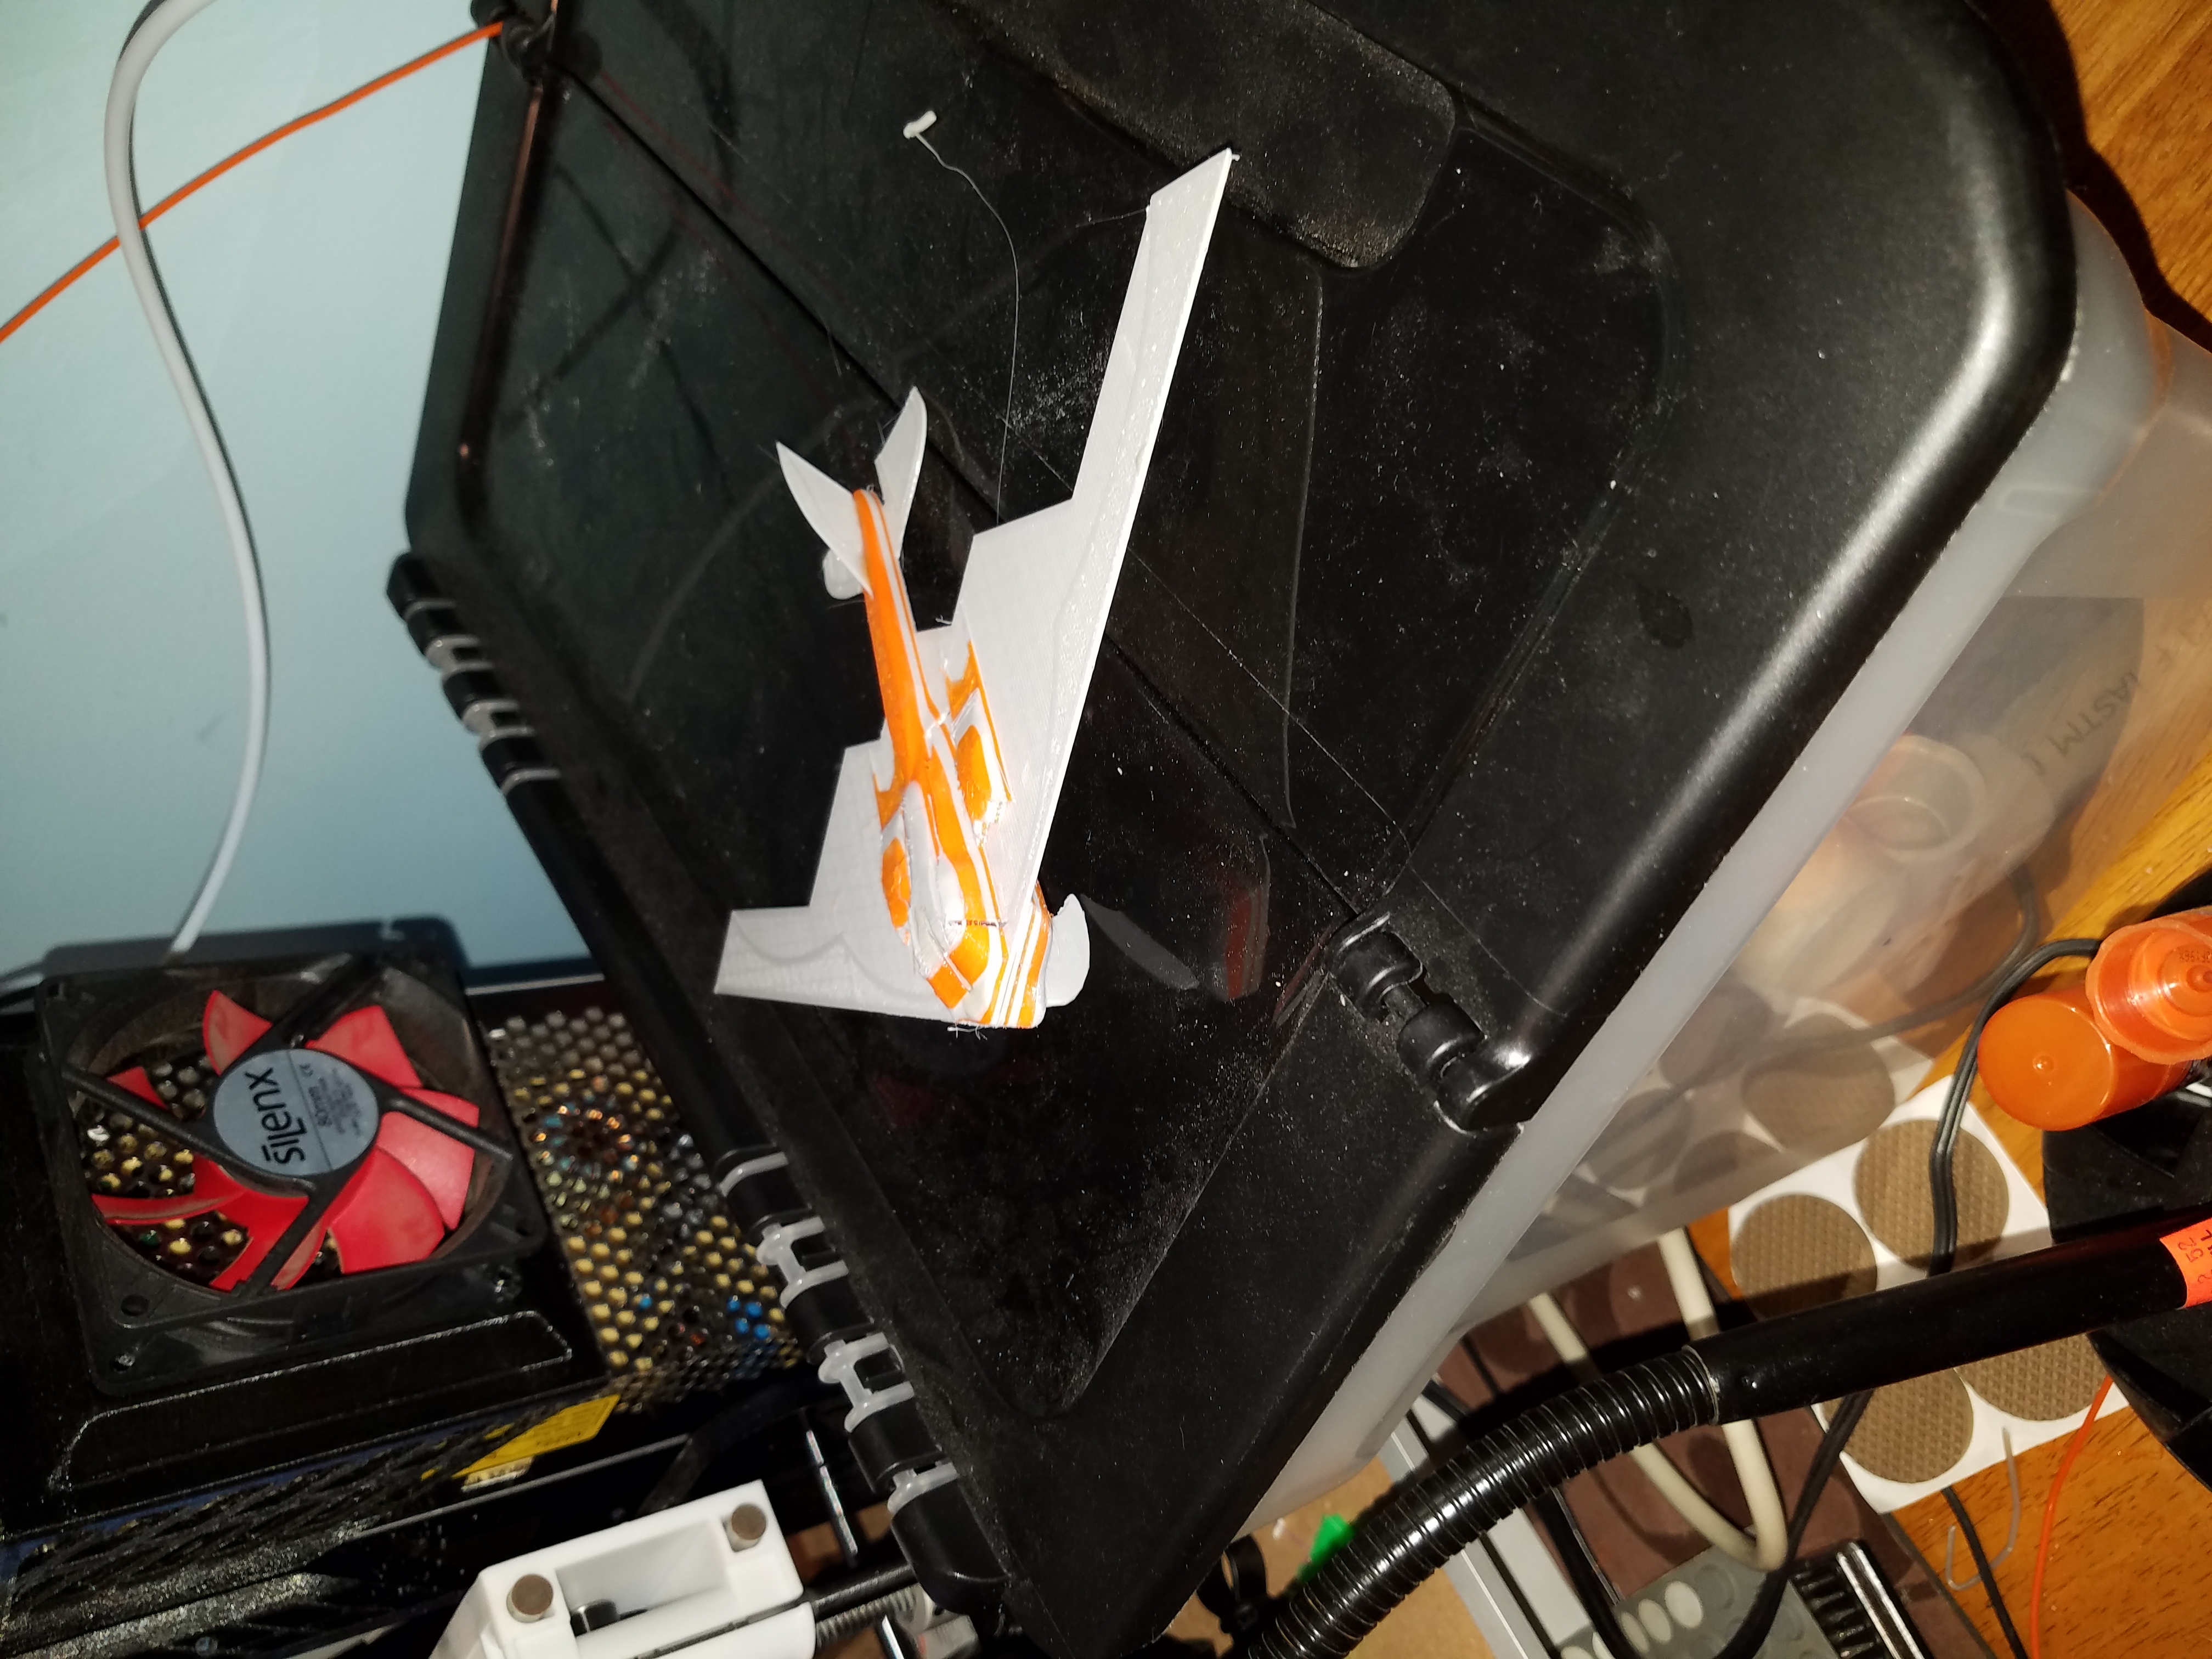
Printed here in Hot Pink you can see that the model no longer matches the design of the actual B2 stealth bomber as closely as the original however the flight dynamics have been greatly improved. Obviously if this was powered by 4 turbofan engines and had the feedback and system control power of a supercomputer as in the real life version then there would be no need for the tail! However I personally think it looks cool and Northrop Grumman have definitely missed a trick there!!


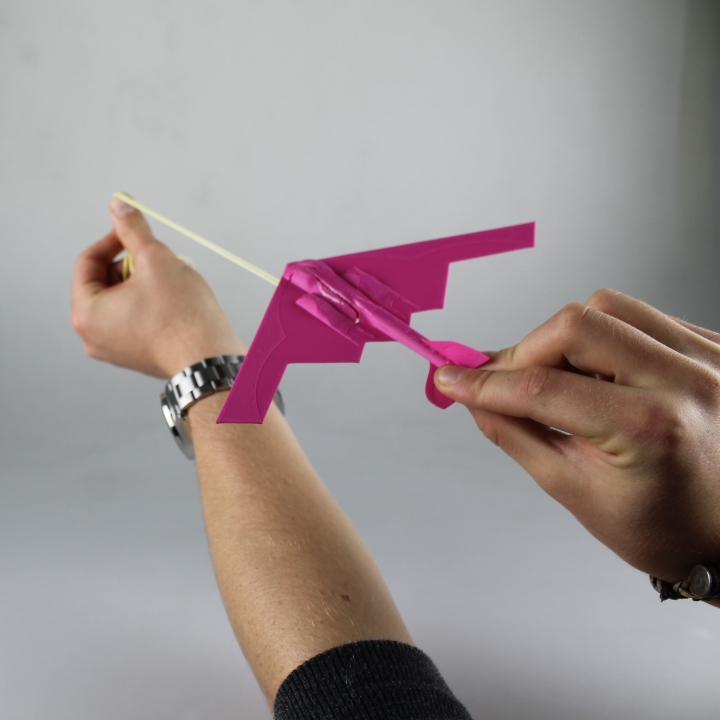
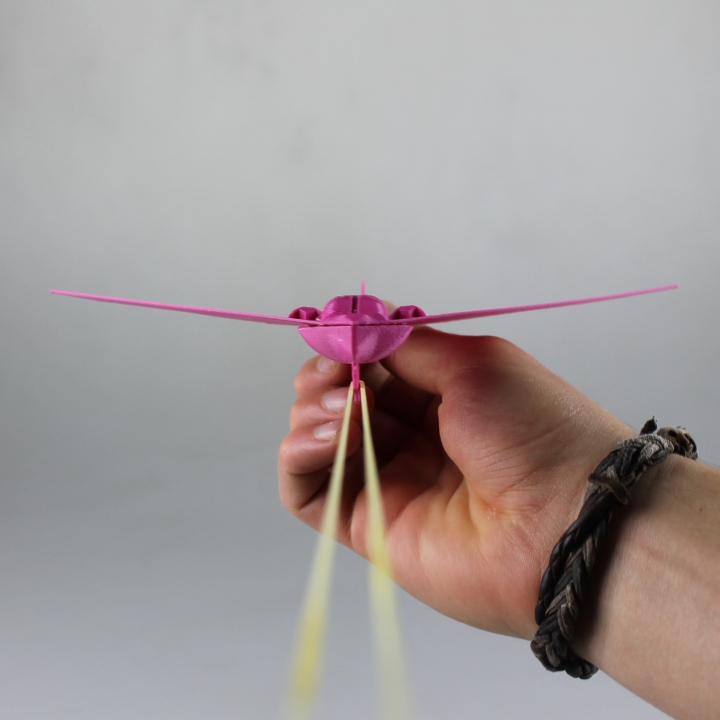
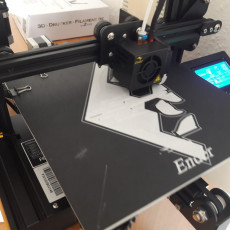
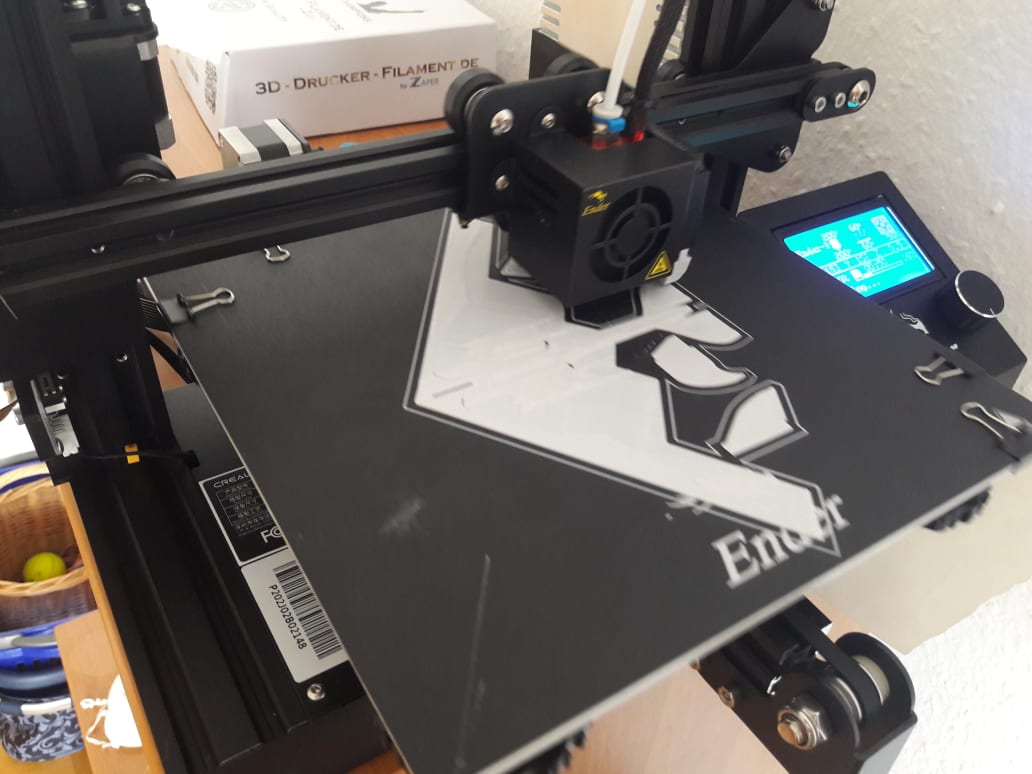
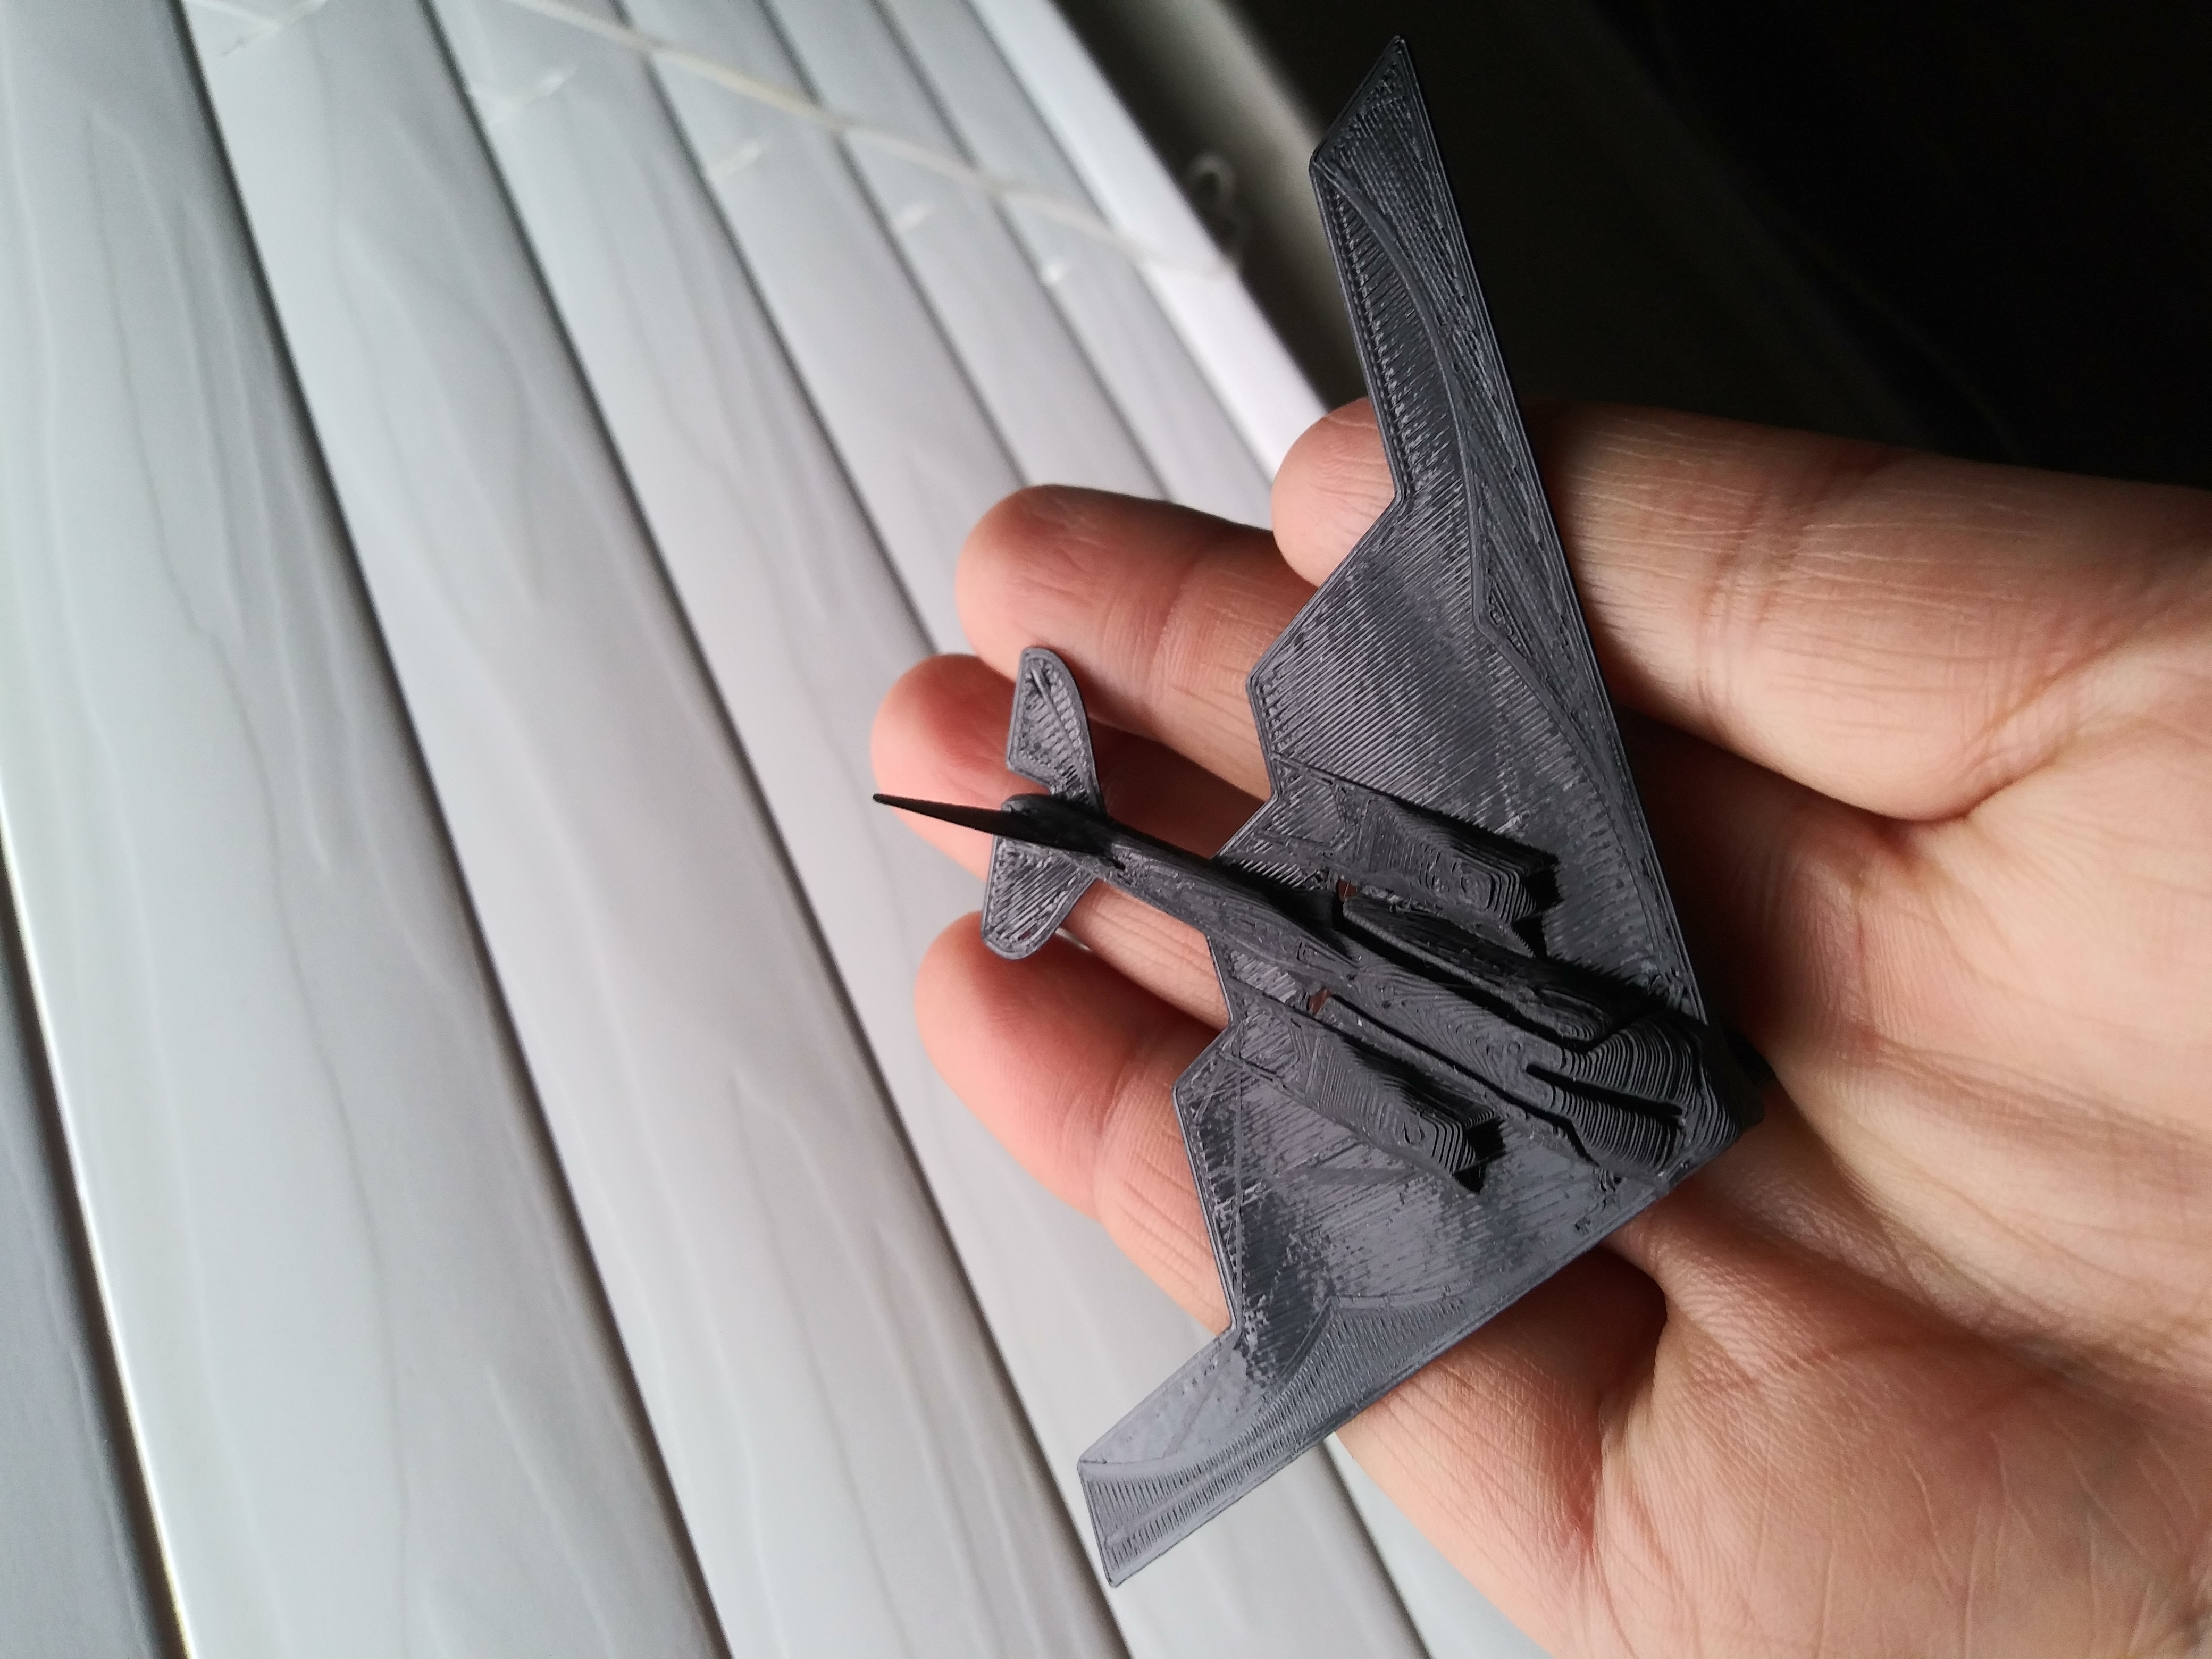
- If you have a heated/glass print bed then it can save you a lot of time and effort if you print the glider without a raft. - Your print layers need to be set to either 0.2mm or 0.1mm (the wings are 0.4mm thick and the wing detail an extra 0.2mm). Your initial print layer cannot exceed 0.2mm. - Ideally align your first print layer running parallel to the cockpit and then vary your print layers by 90 degrees (not 45 degrees) to prevent warping of the wing. It's not the end of the world if you don't do this but it is recommended. - The dihedral wing joint (the two grooves running down the cockpit) must be clamped and glued to the central shaft in order to pull the wings up into a shallow, symmetrical 'V' - highly important for stable flight. - Assemble using a good model glue. - - - - - - - - - - - - I've found the best technique for launching is: - Attach an elastic band, you can use trial and error to find your preferred length and strength, to the 'trigger'. - Hold the plane by the horizontal tail flaps, put your first and second fingers on the top side, either side of the tail and your thumb on the bottom. - Pull back and increase the tension in the elastic band making sure it isn't twisted. - Aim the plane at a slight upward angle and fire! - From experience, if flying your plane in a field with long grass make sure you keep an eye on where it lands!
| Date published | 09/09/2015 |
| Dimensions | 120mm X 206mm X 10mm |
| Complexity | Medium |
| Support Free | YES |
Dual color with 30% infill