Star Trek TOS Type 2 Phaser
Star Trek TOS Type 2 Phaser


Print Profile(1)

Description
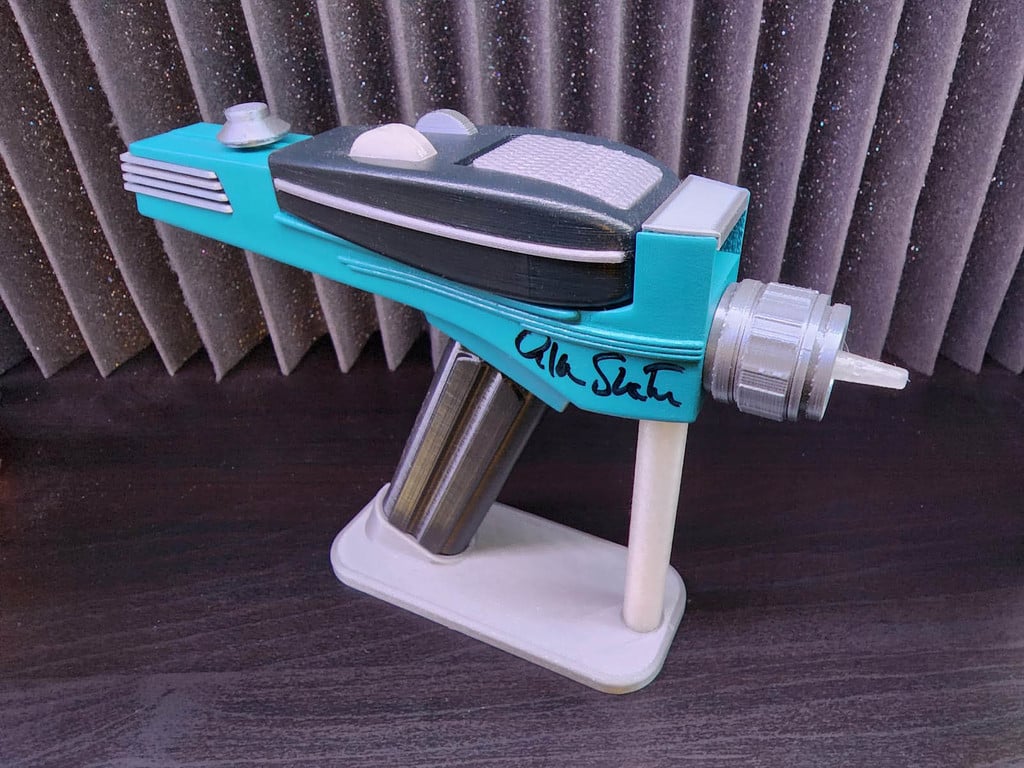
This is a remix of the Star Trek TOS Type 2 phaser on Thingiverse. I made the following changes:
- I resized several parts for a better fit.
- I reoriented several parts for high print quality.
- I redesigned the handle to accept magnets.
- I redesigned the stand to accept magnets and removed the cutout for the front support rod.
- I changed the lights to include a clear element on top for better appearance.
Magnets
- The base of the handle accepts four 10mm neodymium magnets, two on each side. There is a pause on Layer 19 for magnet insertion.
- The stand is printed at the correct angle for magnet insertion. It accepts three 15mm neodymium magnets, two in the rear and one in the front. There is a pause at Layer 102 for magnet insertion.
The holes for magnets are designed to be snug so that glue isn't required. Make sure that magnets are fully inserted. They should be flush with the part when inserted all the way.
The magnets allow you to place the phaser on the stand without an ugly support pillar.
Supports
Configure supports as follows.
- Supports must be enabled for the stand. Make sure to check On build plate only. If you don't check this box, supports will print inside the holes for the magnets.
- Use manual supports for the Type 1 phaser body parts and paint supports only on the inside overhang. This gives you the best appearance for that part.
- User automatic supports for the handle, but make sure to check On built plate only so that supports aren't printed in the magnet holes. You only need supports on the two holes at the part of the handle that touches the build plate.
Nozzle
Everything can be printed with a 0.4 nozzle with the exception of the knob with numbers on it. If you want to use a two-color knob as I did, you'll need a 0.2 nozzle for that.
Assembly
I resized parts to fit correctly. Some are very snug. For example, the Type 1 phaser emitter fits very tight so that glue isn't required. If you don't like that, you can resize it prior to printing.
The fins that fit on the back of the Type II body can be inserted one at a time. When you insert the final piece, it will be snug, and that allows you to avoid glue.