Skip to content

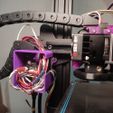
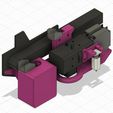
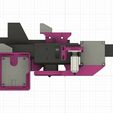
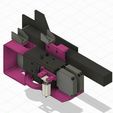
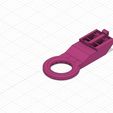
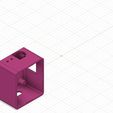
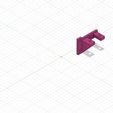
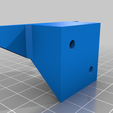
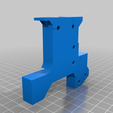
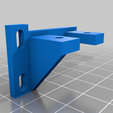
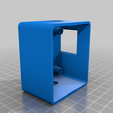
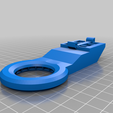
Biqu B1 - Biqu H2 V2S dragchain mount

Advertising
Advertising
?
Creation quality: 5.0/5 (1 vote)
Evaluation of members on the printability, utility, level of detail, etc.

  • 825 views
  • 6 downloads

License
3D design format
Folder details Close
  • h2-splitmpount_bltouch-mount.stl
  • h2-splitmpount_box-mount-02.stl
  • h2-splitmpount_boxlid-002.stl
  • h2-splitmpount_fan-duct.stl
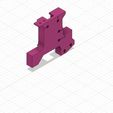
  • h2-splitmpount_main-bracket.stl
  • h2-splitmpount_pcbbox-002.stl

Learn more about the formats

Publication date 2024-02-12 at 12:32
?
Published to Thingiverse on: 2024-01-25 at 23:58
Design number 1781767

mad_

3D printer file info

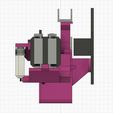
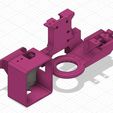
3D model description

###This is a Work in Progress###

I dont like the mount that Bigtreetech suggests, thanks to Zaurko & Bart Geldof for the inspiration

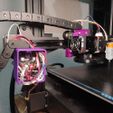
This mount is the least destructive way to install the H2 Extruder to the B1. You can use the same PCB daughterboard and USB-C cable, same X end switch and same 4010 fans.

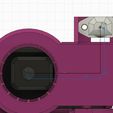
I added perforations for 10x10mm drag chains. But I would suggest something slightly bigger to help with cabling. So these might change.

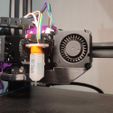
In this first version, expect the fan duct to heat, warp and smell a little since it touches the silicon on the heating block. I expect to change the ducts in the future

I like to park my printer a little outside of the hot bed so the filament has space to ooze while heating and I have enough space to clean the nozzle

Printed in PETG no supports required if you have the correct bridge settings

###You will require the next material:###
* 2 meters of Red and Black cable
* x4 female 2pin JST connectors
* JST connector crimper
* x2 M3*12 screws
* x11 M3*8 screws
* x2 M4*8 screws
* x1 M5*12 screw
* 45cm 10x10 nylon drag chain
* 2mm heatshrink
* 6mm heatshrink
* Reuse fan M2 screws to mount fans to new duct

###Necessary modifications:###
* Shorten the hotend fan
* Shorten the heat cartridge cables and add JST connector
* Add cable to your existing 410 part cooling fan cables and add JST connector (You can also use other fan ducts from Zauruko for different size fans)
* Extend the preinstalled extruder motor cable (Note that if you go color by color the extruder will be reversed, that can be fixed by swapping the polarity, using negative number of steps or changing the firmware)
* BL touch offset - X=40.95 Y=-26.3
* define NOZZLE_TO_PROBE_OFFSET { 40.95, -26.3, -1.5 }

Advertising


Issue with this design? Report a problem.

Would you like to support Cults?

You like Cults and you want to help us continue the adventure independently? Please note that we are a small team of 3 people, therefore it is very simple to support us to maintain the activity and create future developments. Here are 4 solutions accessible to all:

  • ADVERTISING: Disable your banner blocker (AdBlock, …) and click on our banner ads.

  • AFFILIATION: Make your purchases online by clicking on our affiliate links here Amazon.

  • DONATE: If you want, you can make a donation via Ko-Fi πŸ’œ.

  • WORD OF MOUTH: Invite your friends to come, discover the platform and the magnificent 3D files shared by the community!


Sharing and downloading on Cults3D guarantees that designs remain in makers community hands! And not in the hands of the 3D printing or software giants who own the competing platforms and exploit the designs for their own commercial interests.

Cults3D is an independent, self-financed site that is not accountable to any investor or brand. Almost all of the site's revenues are paid back to the platform's makers. The content published on the site serves only the interests of its authors and not those of 3D printer brands who also wish to control the 3D modeling market.
100% secure payment by credit card, PayPal, Apple Pay, Google Pay, etc.
View all payment options.