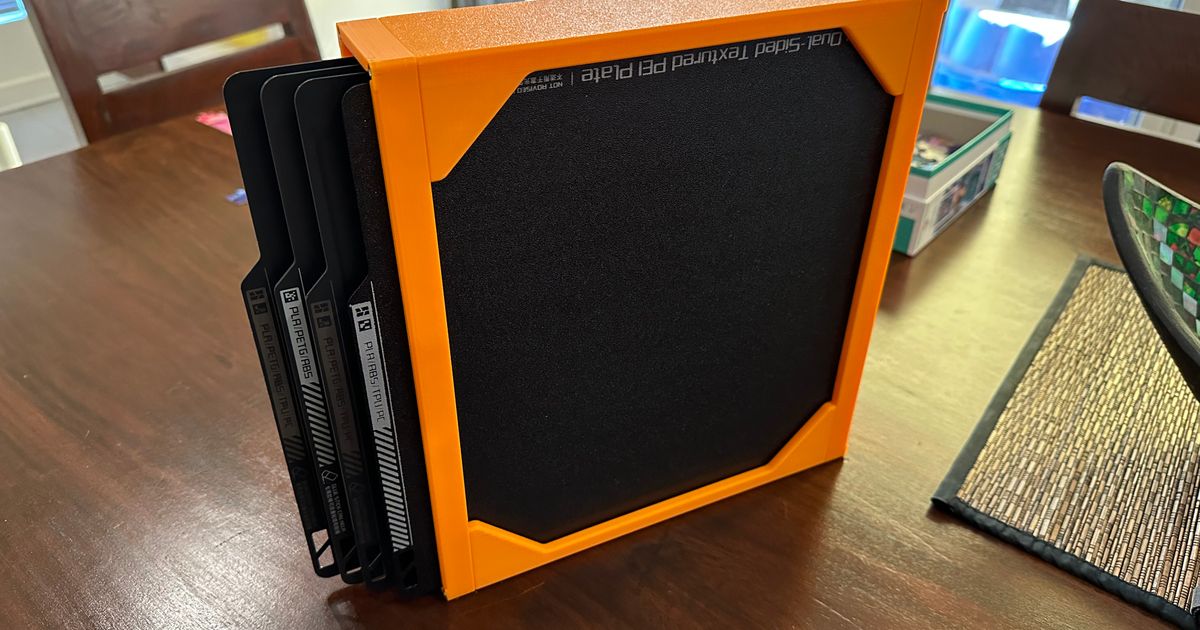
Bambu Build Plate storage - underdesk/shelf
Bambu Build Plate storage - underdesk/shelf


Print Profile(2)


Description
UPDATE 17/02/2024:
I finally got around to adding the official print profile.
Several people had trouble with the walls around the front and rear screw holes, especially when using filaments other than PLA.
To resolve this for everyone, I have changed all hardware in this updated version to M2, which allows for thicker walls without changing any other dimensions.
To build this updated version, you will need:
- 8* M2 3mm x 3.6mm heatset inserts
- 8* M2 x 16mm bolts
- 4* M5 woodscrews or chipboard screws of suitable length for your mounting surface.
============================================================================================================
Remix of buildplate caddy by cHaOt166, which is itself a remix of FrostyTheClownMan's model.
I've added even more central support for the plates, in the form of full-width central cross-members, a drawer for addtional build surface stickers, and finally mounting lugs for underdesk/undershelf mounting. I've also remixed the holes for the front and rear parts to accept heatset inserts.
You will need to print the contents of each file once, except for the cross-member files where you need to print 4* Full cross-members and 3* half cross members.
All parts were printed with a 0.4mm nozzle and 0.2mm payer height.
The drawer slots together from 4 parts and doesn't need glue. The parts are a tight fit and may need adjusting according to the tolerances of your printer. There are gaps between each of the drawer “slats”, as they wouldn't fit on the build plate if any larger, and when assembled it is rigid enough that there was no need to design a way to connect them.
When assembling the main body, first connect both sides with the cross-members before attaching the front and rear pieces. assembly is push fit only and again is quite tight.
The positions of the full and half cross members should be apparent from the shape of their corresponding receptacle. The cross members are green in my photos, so they are easy to see, and for clarity the upper four slots of the central column of cross-members are full cross members. The lower two are half cross-members, as is the cross-member at the front which supports the front of the drawer. Half cross-members should have their flat side, non-chamfered side, at the bottom.
Ive included STL's and STEP files so that the model can easily be adjusted for tolerances if required.
I hope that some of you find this useful, and I'd love to see your makes.
N.B if you downloaded these files before 17th February 2024 you will need to use M3 hardware as follows:
8* M3 5.7mm x 4.6mm heatset inserts
8* M3 x 16mm bolts
Comment & Rating (22)