Universal AMS Cardboard Spool Adapter
Universal AMS Cardboard Spool Adapter


Print Profile(5)

Description
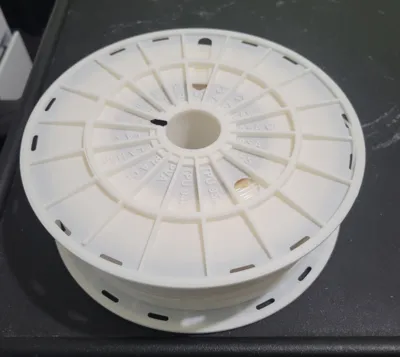
Spool One
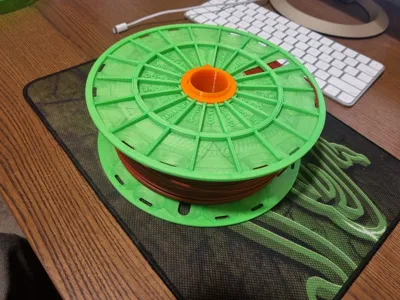
Universal and reusable spool for the Bambu Lab AMS that accommodates any brand of cardboard spool or refill without requiring brand-specific inserts for different diameters.
-NEW FEATURE!!!!. NOW, you can use it on small spools by removing the clamp and adding the provided taper insert.
-NEW V2 print plates. I've just added a new set of print plates with thicker walls for extended durability.
-NEW ACCESSORY. Now you can use the Spool One on an AMS lite when mounted on my new design Holder ONE. Check it out on the link below:
https://makerworld.com/en/models/188682#profileId-207967
FEATURES:
- A single clamp system that covers all internal cardboard diameters from 80mm to 102mm, and an AMS minimum core width of 50mm and a maximum of 60mm.
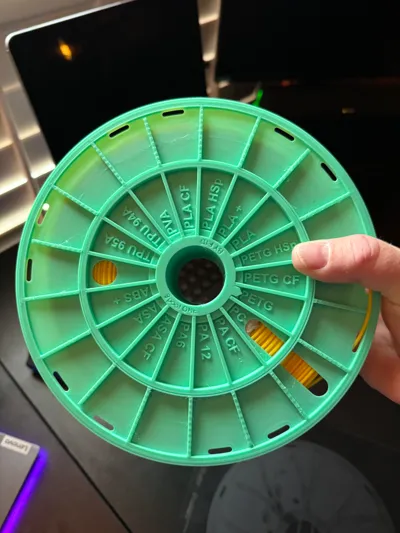
- Integrated filament and brand tagging system with an optional customizable extra tag.
- Fast printing and lightweight. Weighing 162 total grams and only 4:40 hours of total printing.
- Powerful clamp system that locks the spool rotation to prevent the core from slipping.
- Integrated clip system to stop the filament from unwinding while stored.
- The internal diameter of 35 millimeters allows you to use the adapter on A1, A1 mini spool hangers, and most single spool printers out there.
- Now you can use it on small spools by removing the clamp and adding the provided taper insert.
Assembly Steps:

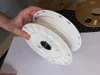
1. Insert the Bolt into the Filament Plate and align the arrow with the type of filament you will use.

2. Tear one of the cardboard spool sides.

3. Place the Filament Plate with the Bolt attached on top of the cardboard spool.

4. Hold the spool carefully with both hands, flip it along with the Filament Plate upside down, and then tear the second cardboard side.
5. Measure the internal diameter of the cardboard spool.
6. Install the three Tabs into one of the three pivot slot sets on the Clamp Star. There are two knobs on each Tab; insert the round knob first and then the flat one.
- For spools with internal diameters between 80 and 90, install the Tabs into the three shortest slots.
- For IDs between 86 and 96, install the Tabs on the medium three slots.
- For IDs between 92 and 102, install the Tabs on the longest three slots.
-NEW!!! For IDs under 70mm, remove the clamp star and nut and use the new taper insert as shown at the end of this assembly instructions.


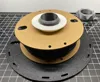
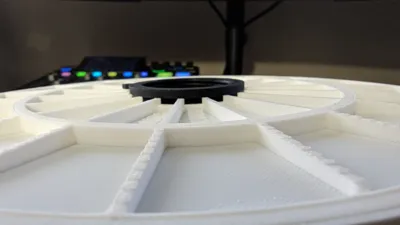
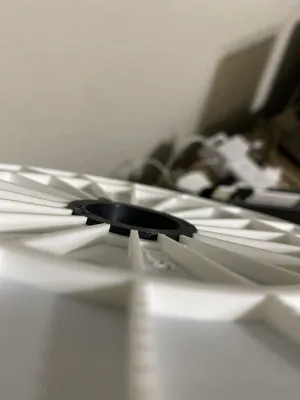
7. Connect the Clamp Nut to the Clamp Star.
8. Align the Clamp Star knob to the Bolt slot and screw it all the way down. Once the tabs make contact with the internal ID of the cardboard core, continue to tighten the Nut until it presses against the ID wall firmly. Do not overtighten it, as it may deform the plate and potentially damage the assembly.
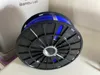
9. Insert the Brand Plate Nut into the Brand Plate and select the right brand.

10. Screw the Brand Plate into the Bolt until it presses against the cardboard core tightly. Again, avoid overtightening it as it may deform the Plate and potentially damage the assembly.

11. Insert the end of the filament into one of the 12 clips on the side of the plates.

12. If your filament or Brand is not included in the plates, you can modify the print file named OTHER and just insert it into the special slot. To remove it, just push it out from the other side. For those of you who prefer to label the tag in CAD software, you can find the Step and Fusion files at the "Raw Model Files" button.
Assembly for small Spools

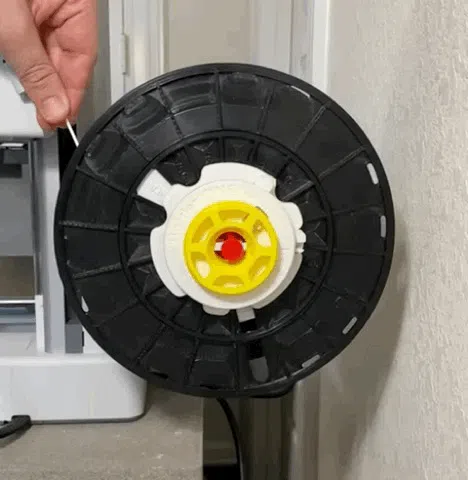
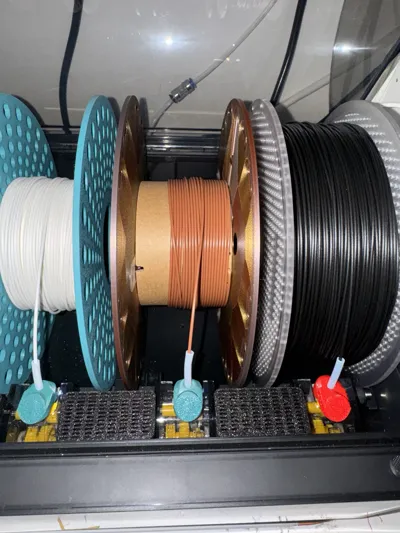
Done! Your spool is ready to be used on the AMS, A1 spool holders and now using my new print Holder ONE, it can also be used on the AMS lite!!!
If you like the design, kindly consider buying me a coffee using the link below.
https://www.buymeacoffee.com/f1dude
Thanks!
Comment & Rating (95)


License
You shall not share, sub-license, sell, rent, host, transfer, or distribute in any way the digital or 3D printed versions of this object, nor any other derivative work of this object in its digital or physical format (including - but not limited to - remixes of this object, and hosting on other digital platforms). The objects may not be used without permission in any way whatsoever in which you charge money, or collect fees.


