T
turnmitail 2024-05-14 21:41:35 UTCturnmitail
Looks sick!


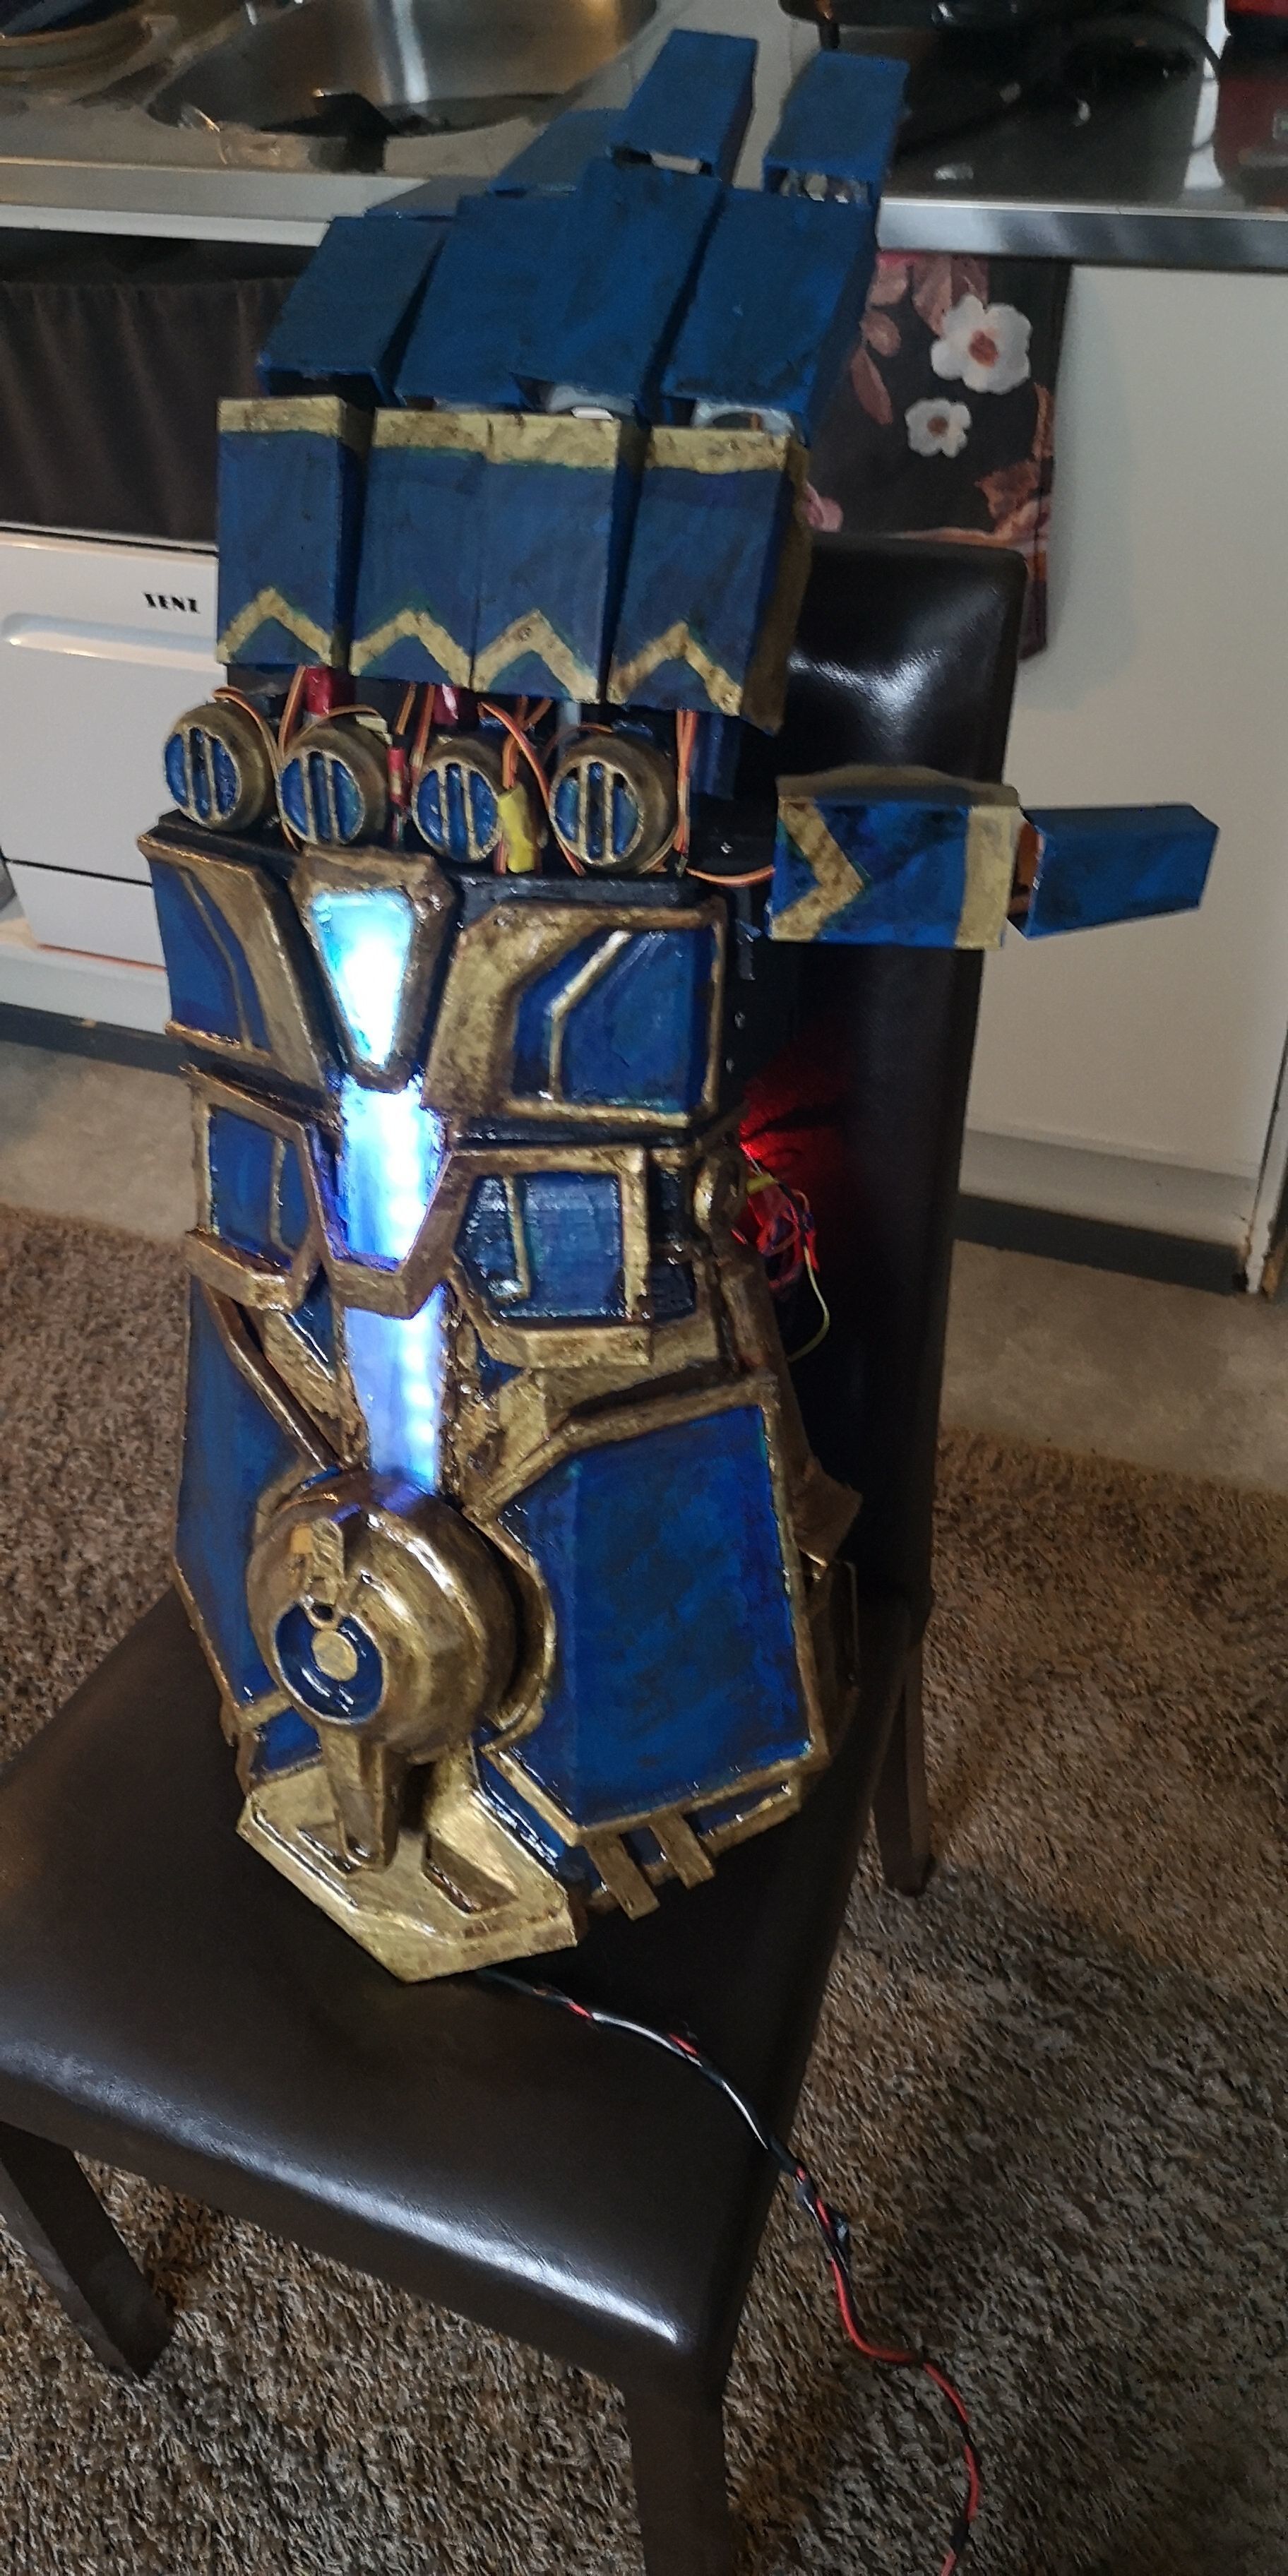


Hello and thank you for showing interest! You can use these 3D files to make yourself a cool Atlas gauntlet prop on the wall as there is a full one without hollowed interior, hollowed easy to carry one or if you know what you are getting into, motorized functional Atlas gauntlet.
If you receive mesh needs repair you can open it in software like flashprint that will give you option to automatically repair integrity. This has not been a problem at me, but I've seen/heard some people using different slicers and having this error. After fast and simple automatic repair, files will work normally.
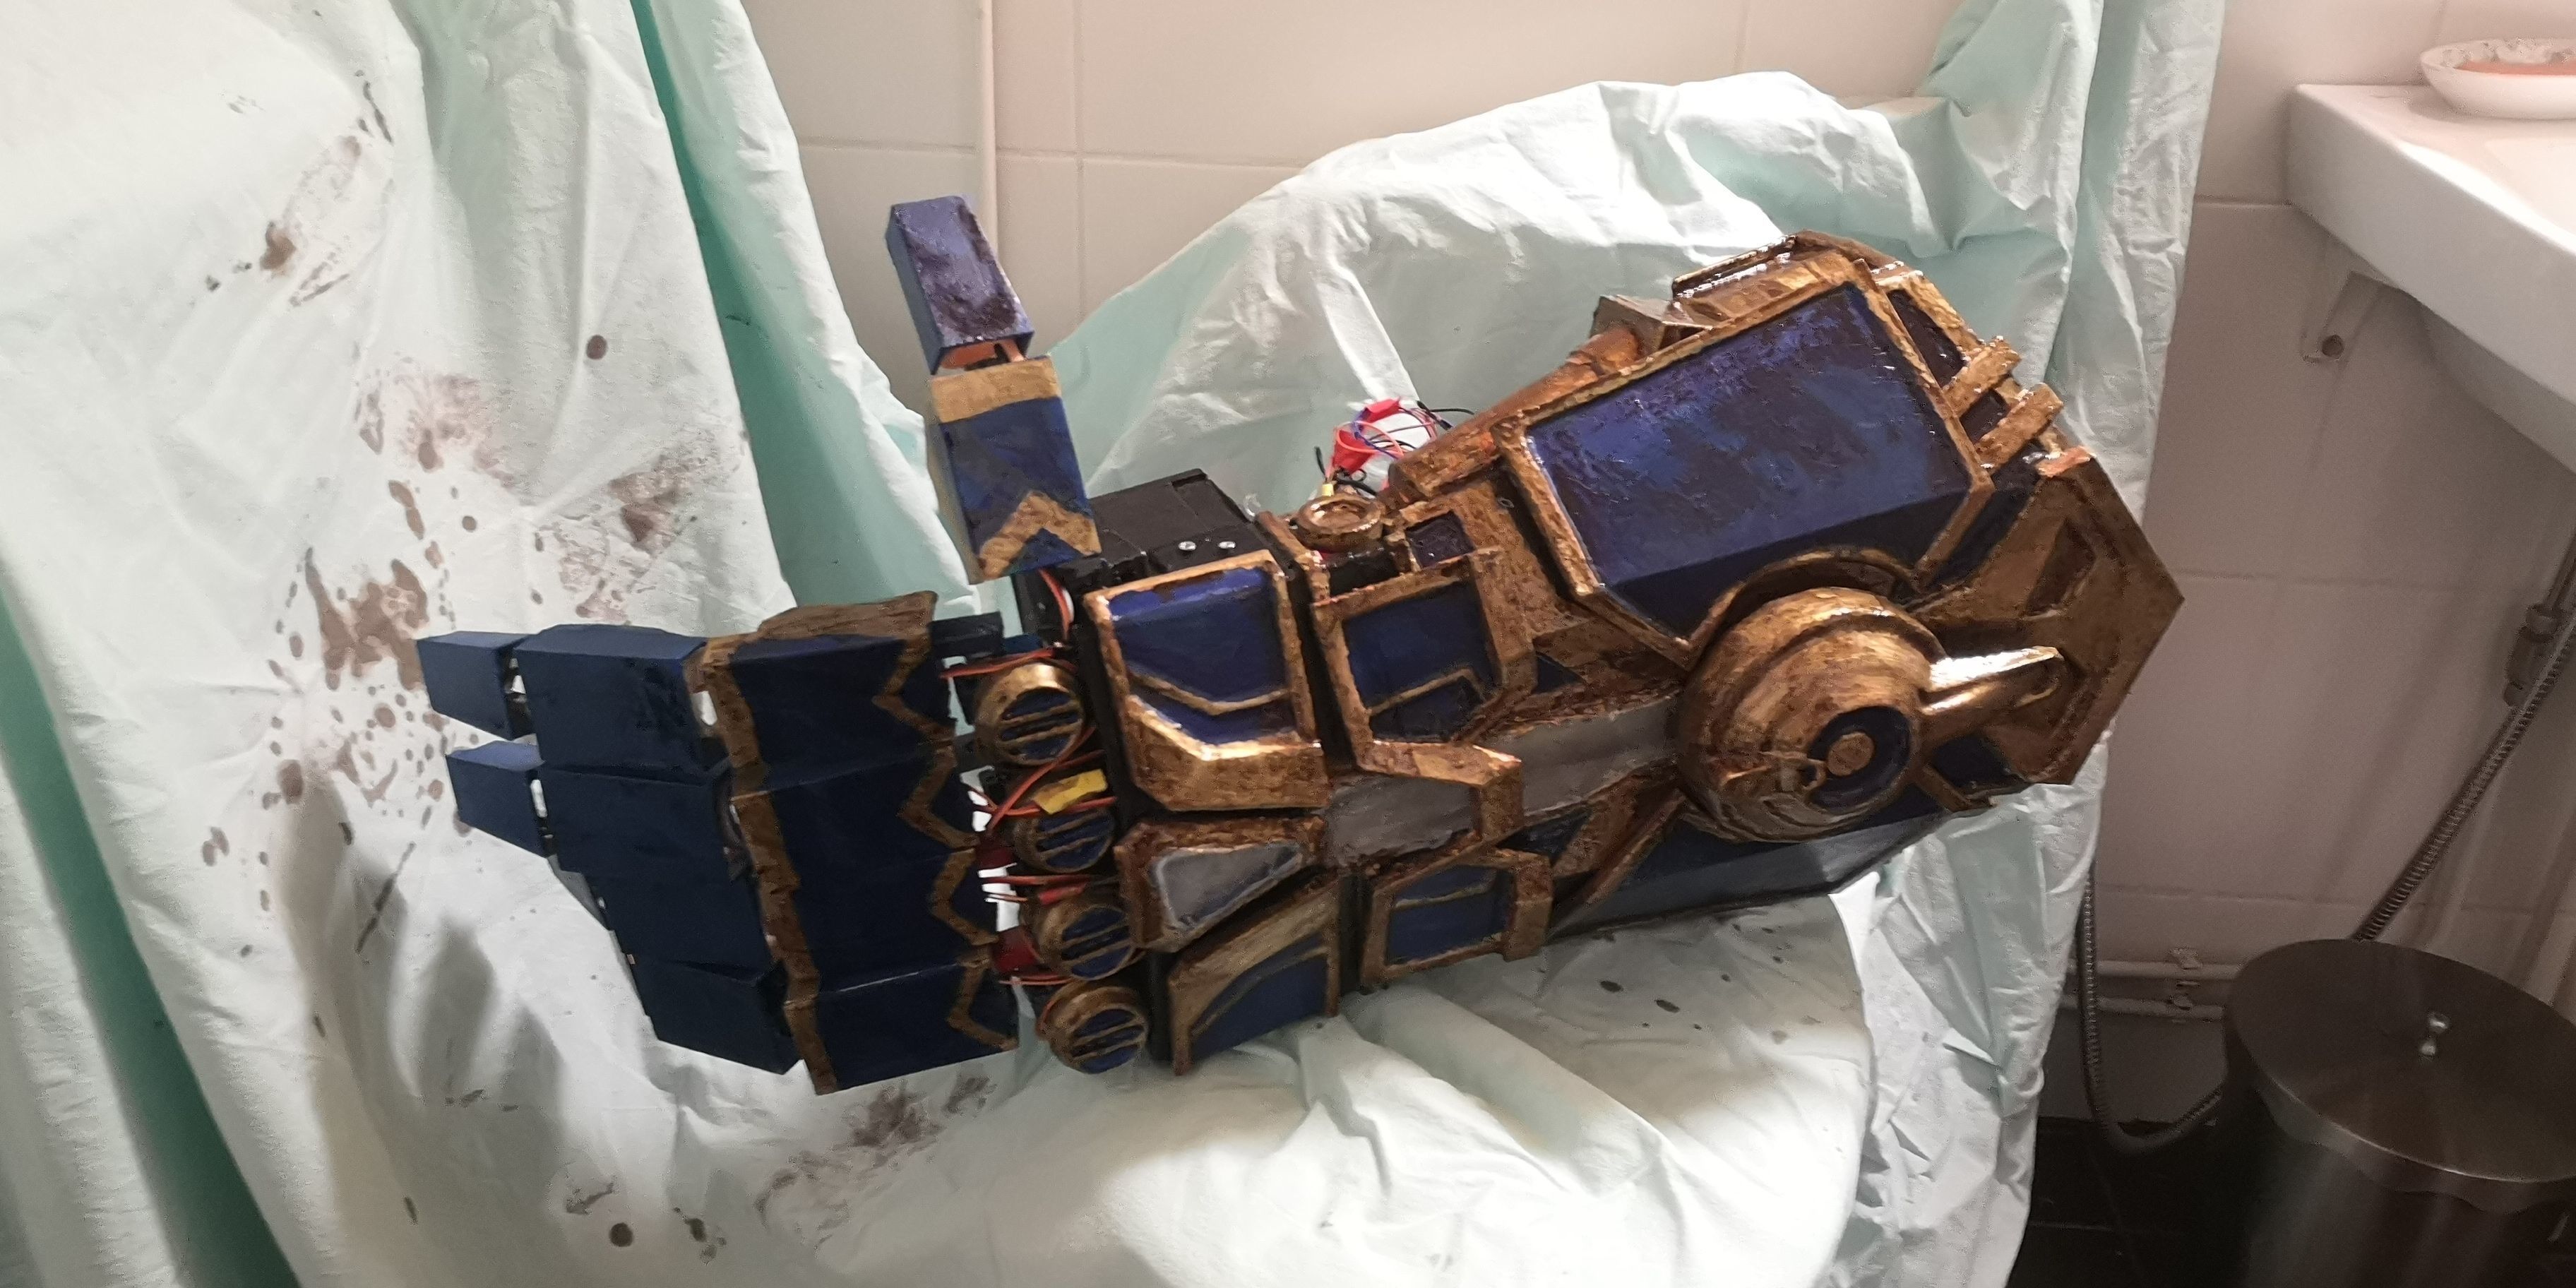
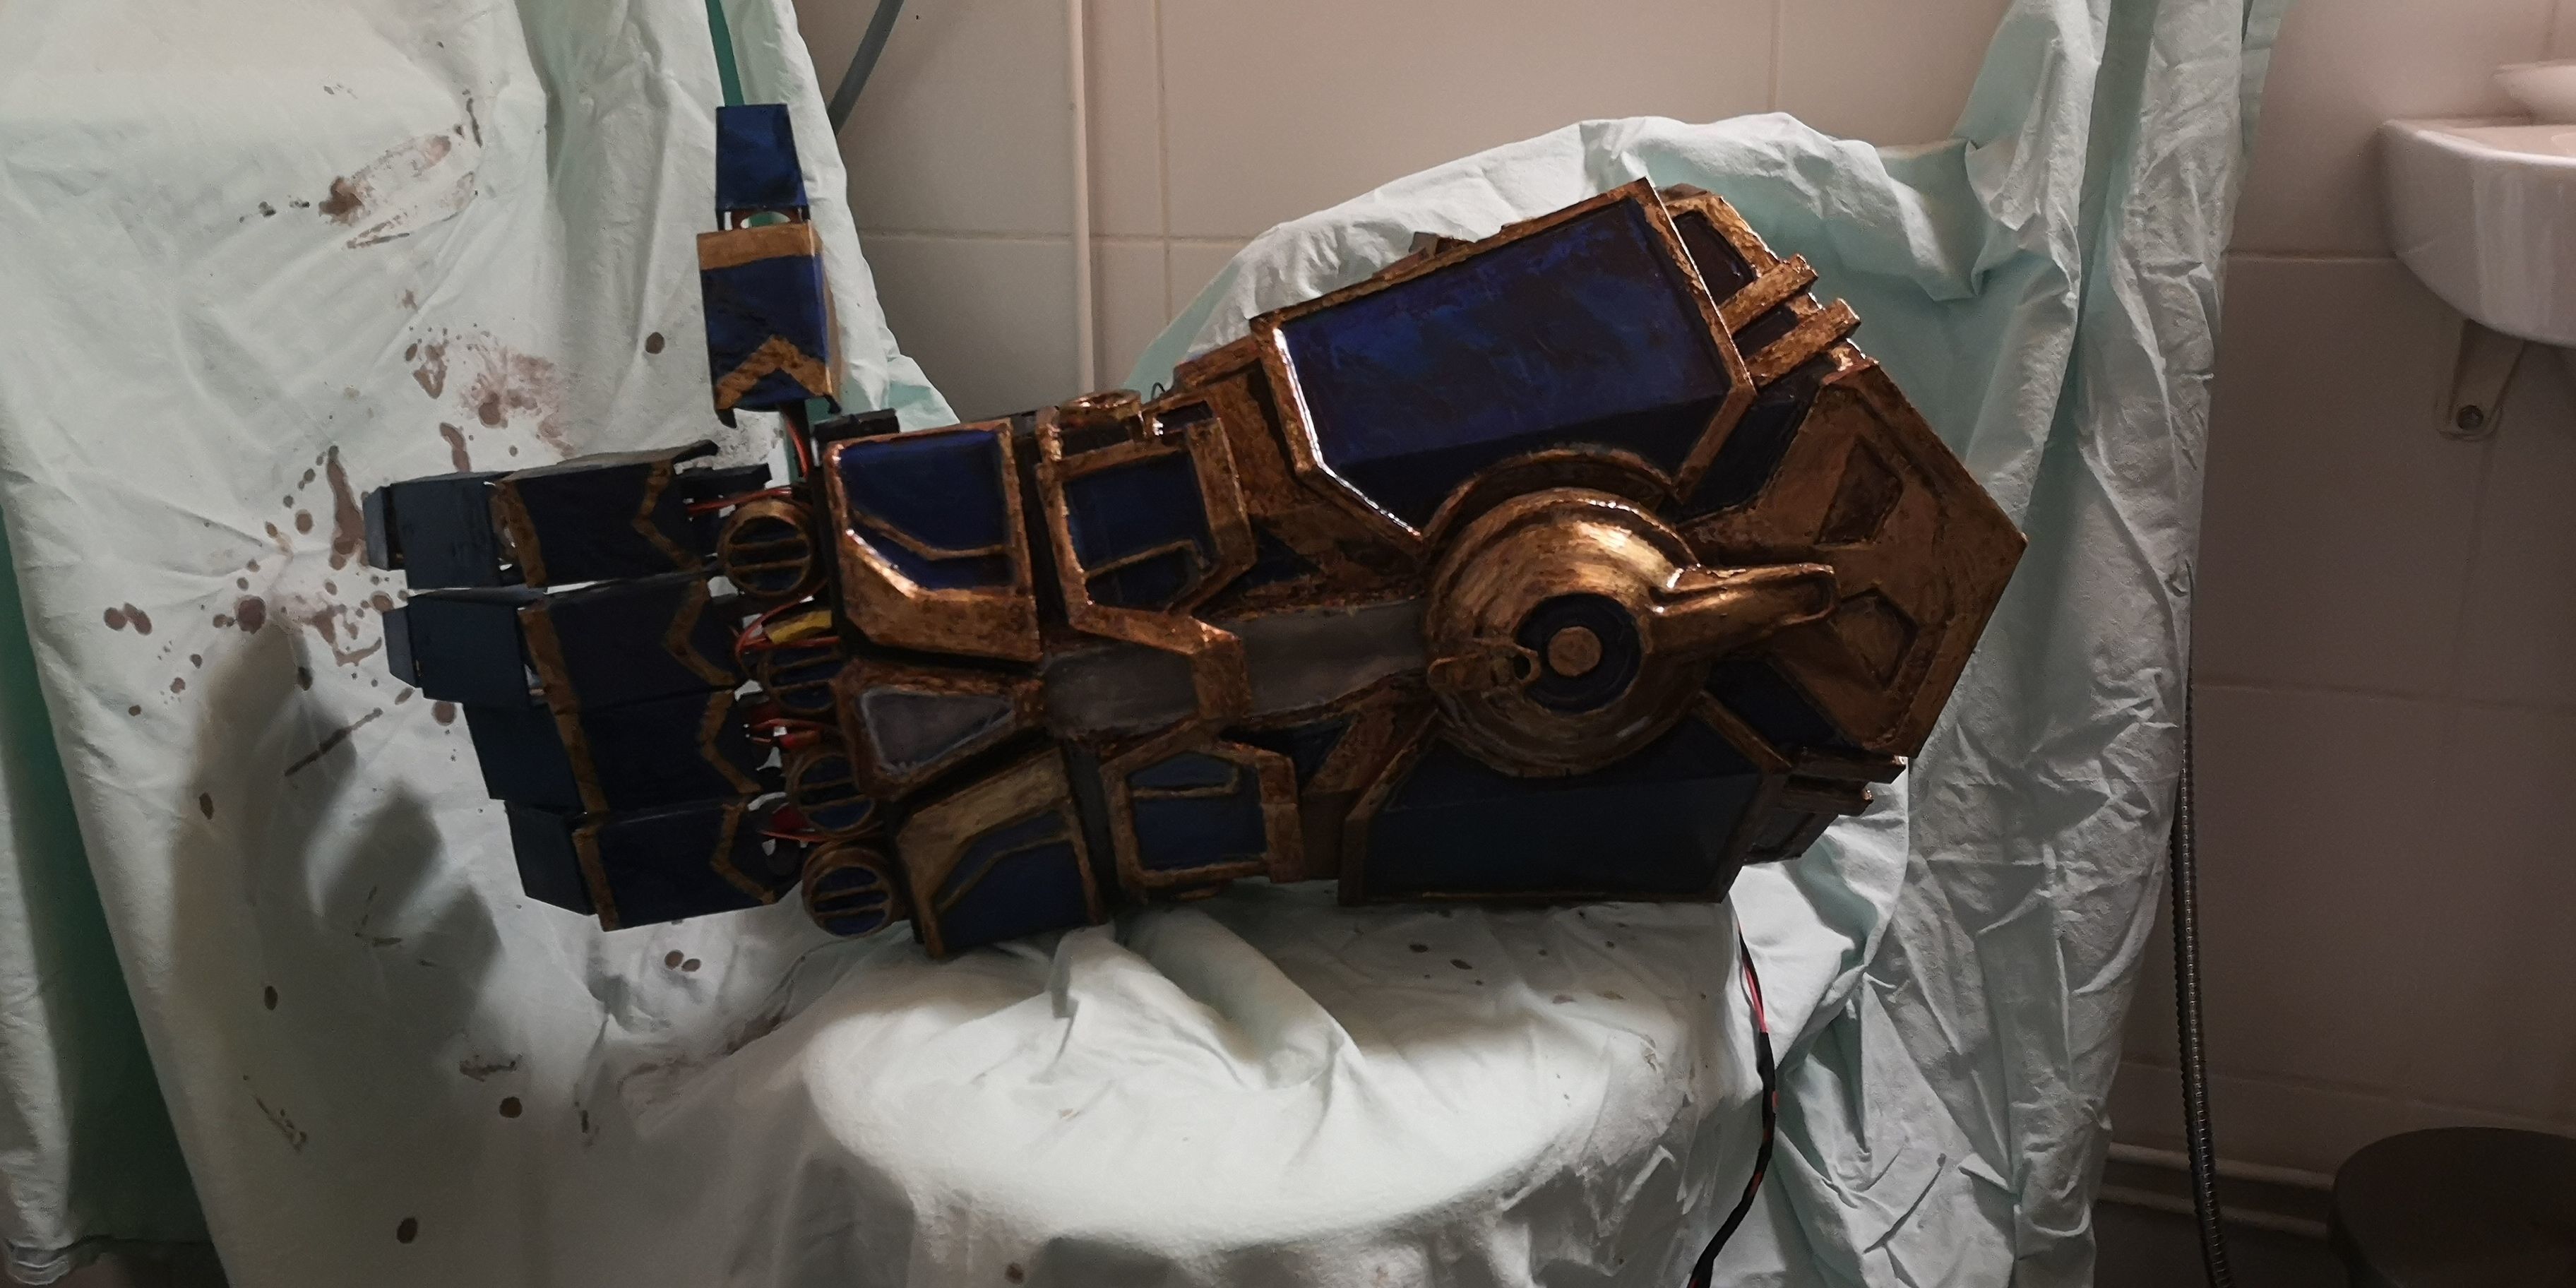
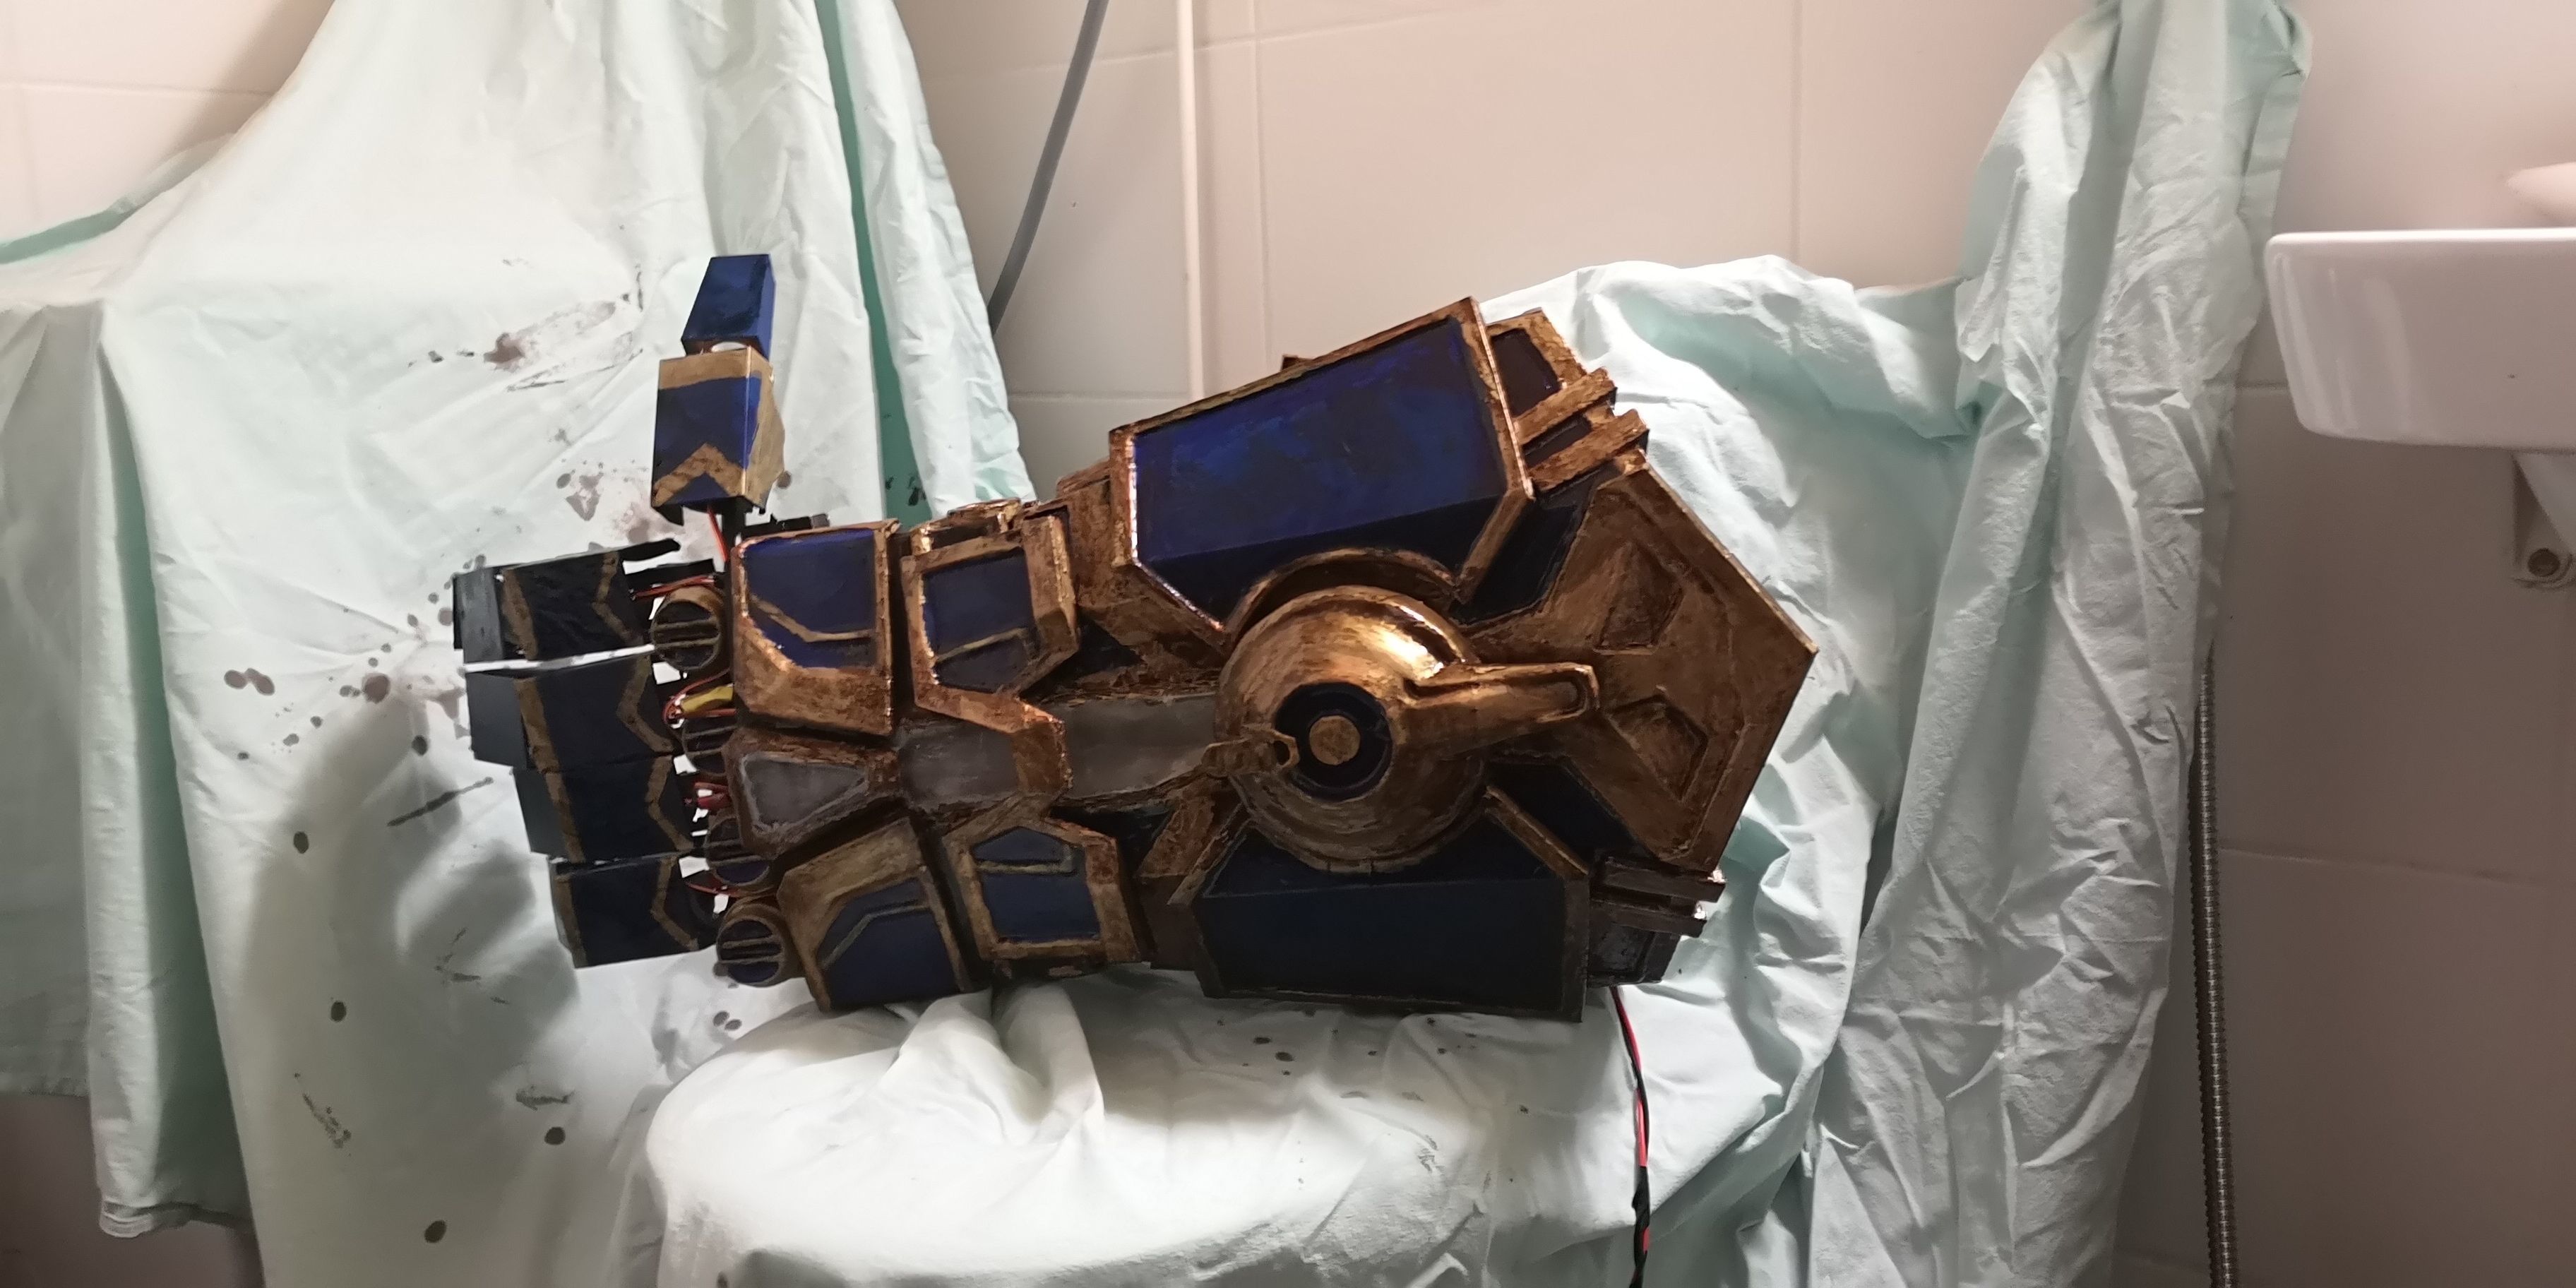
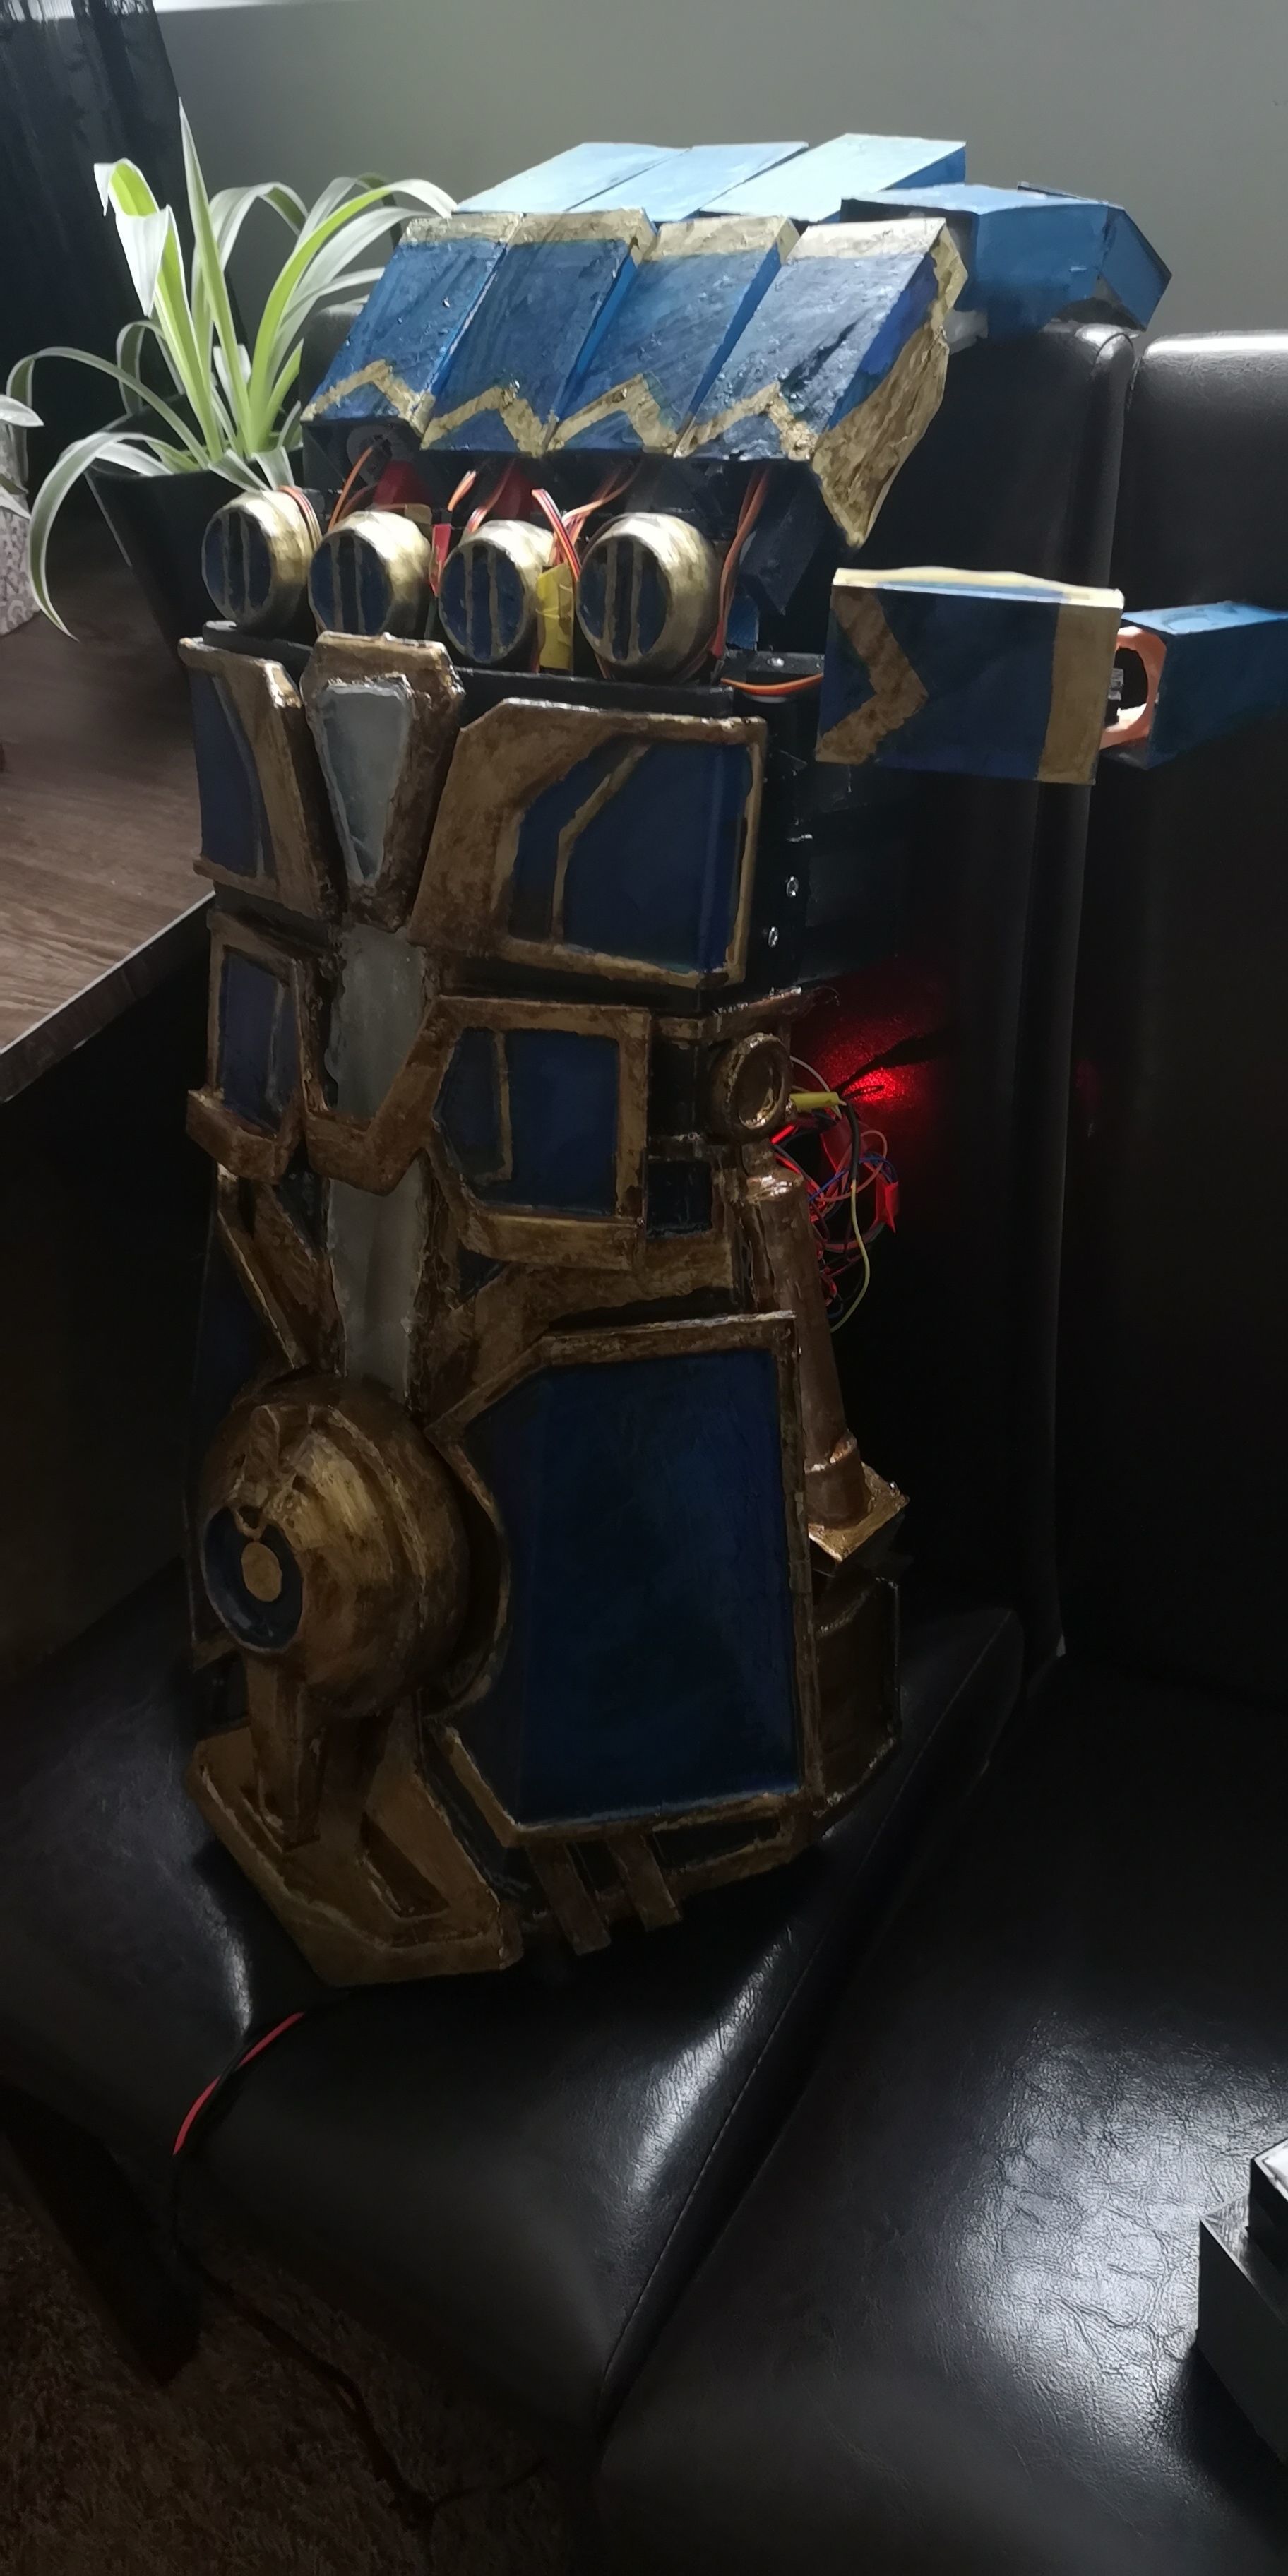
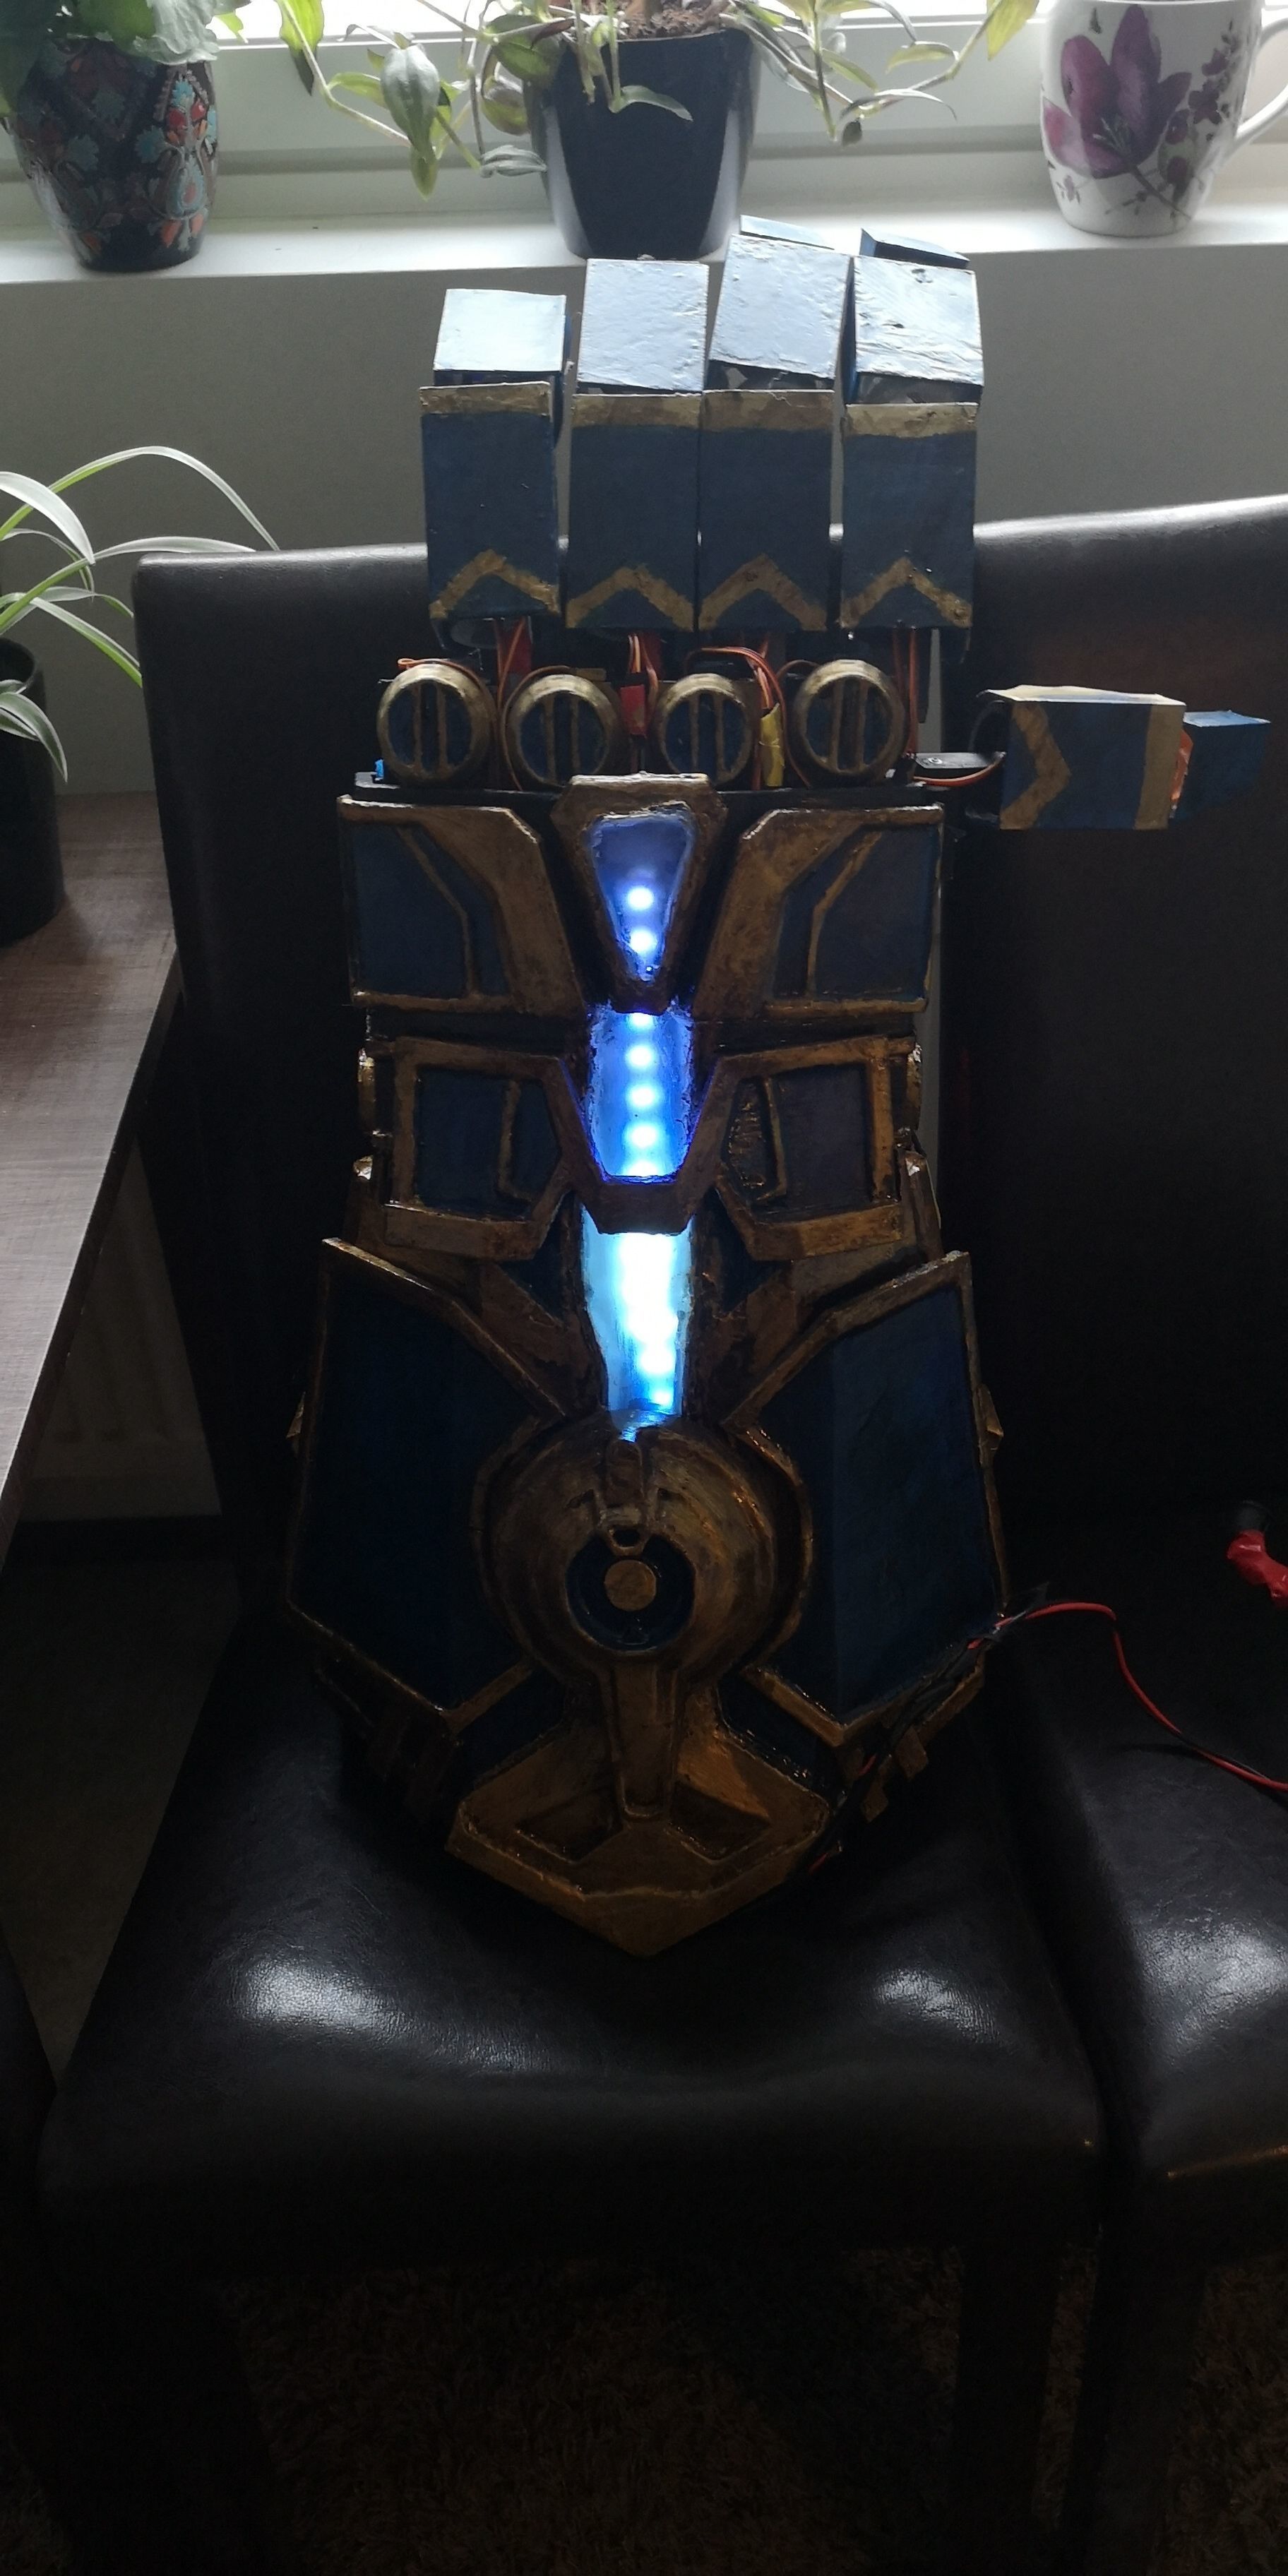
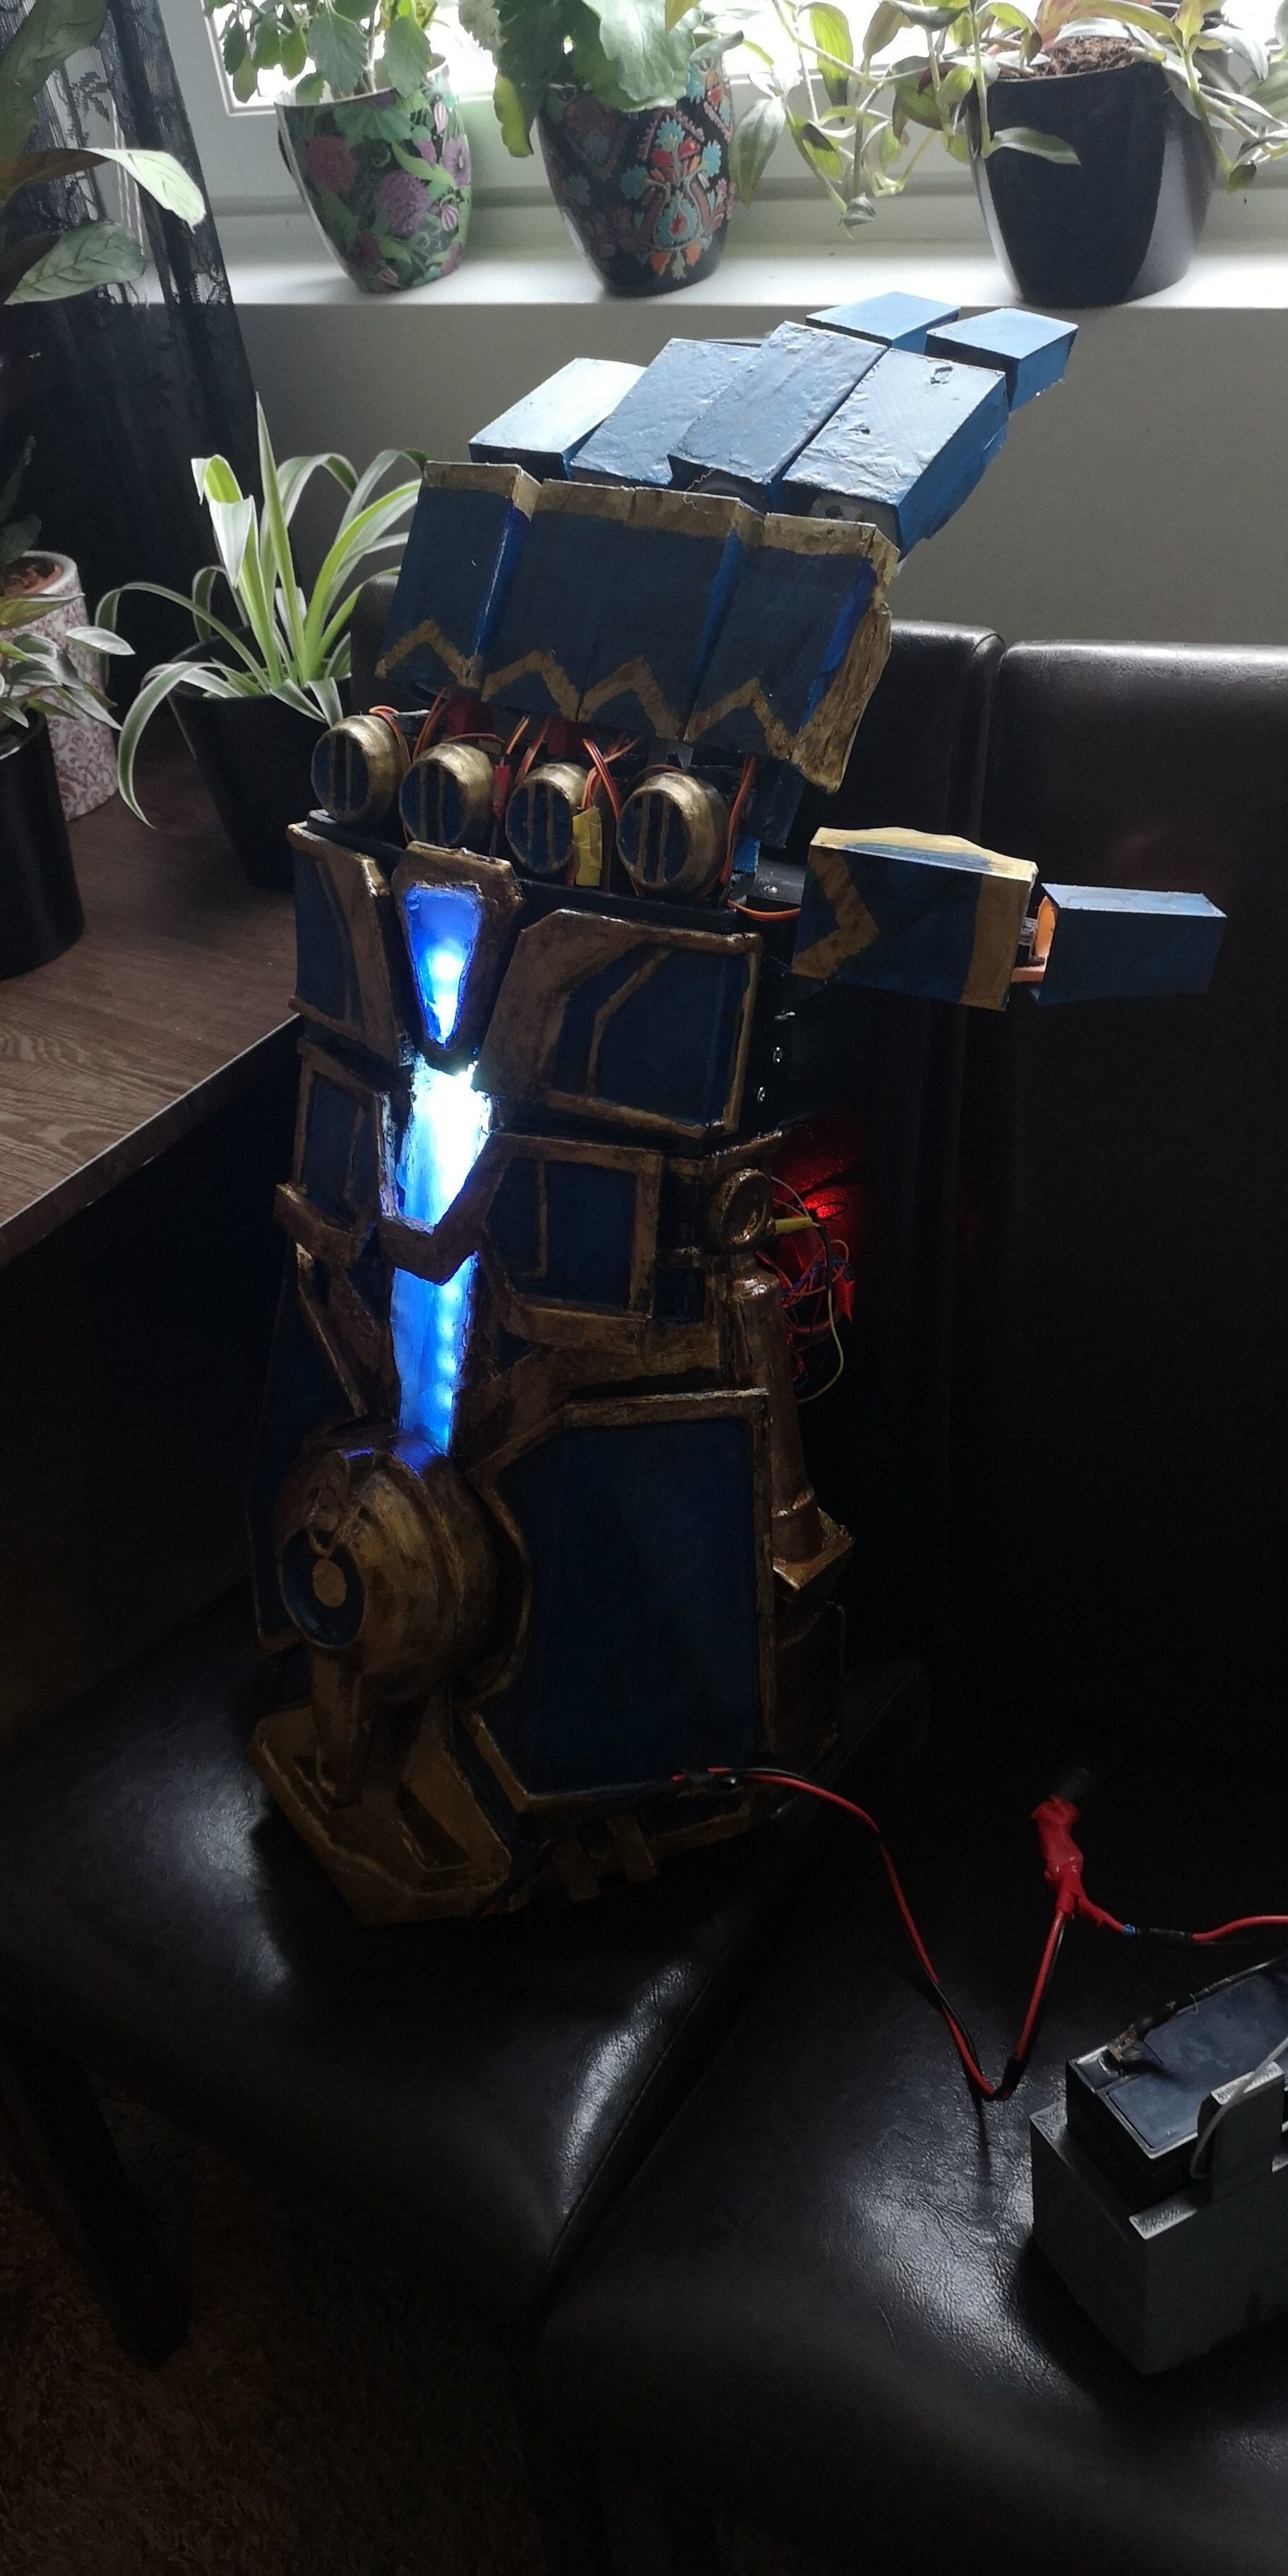
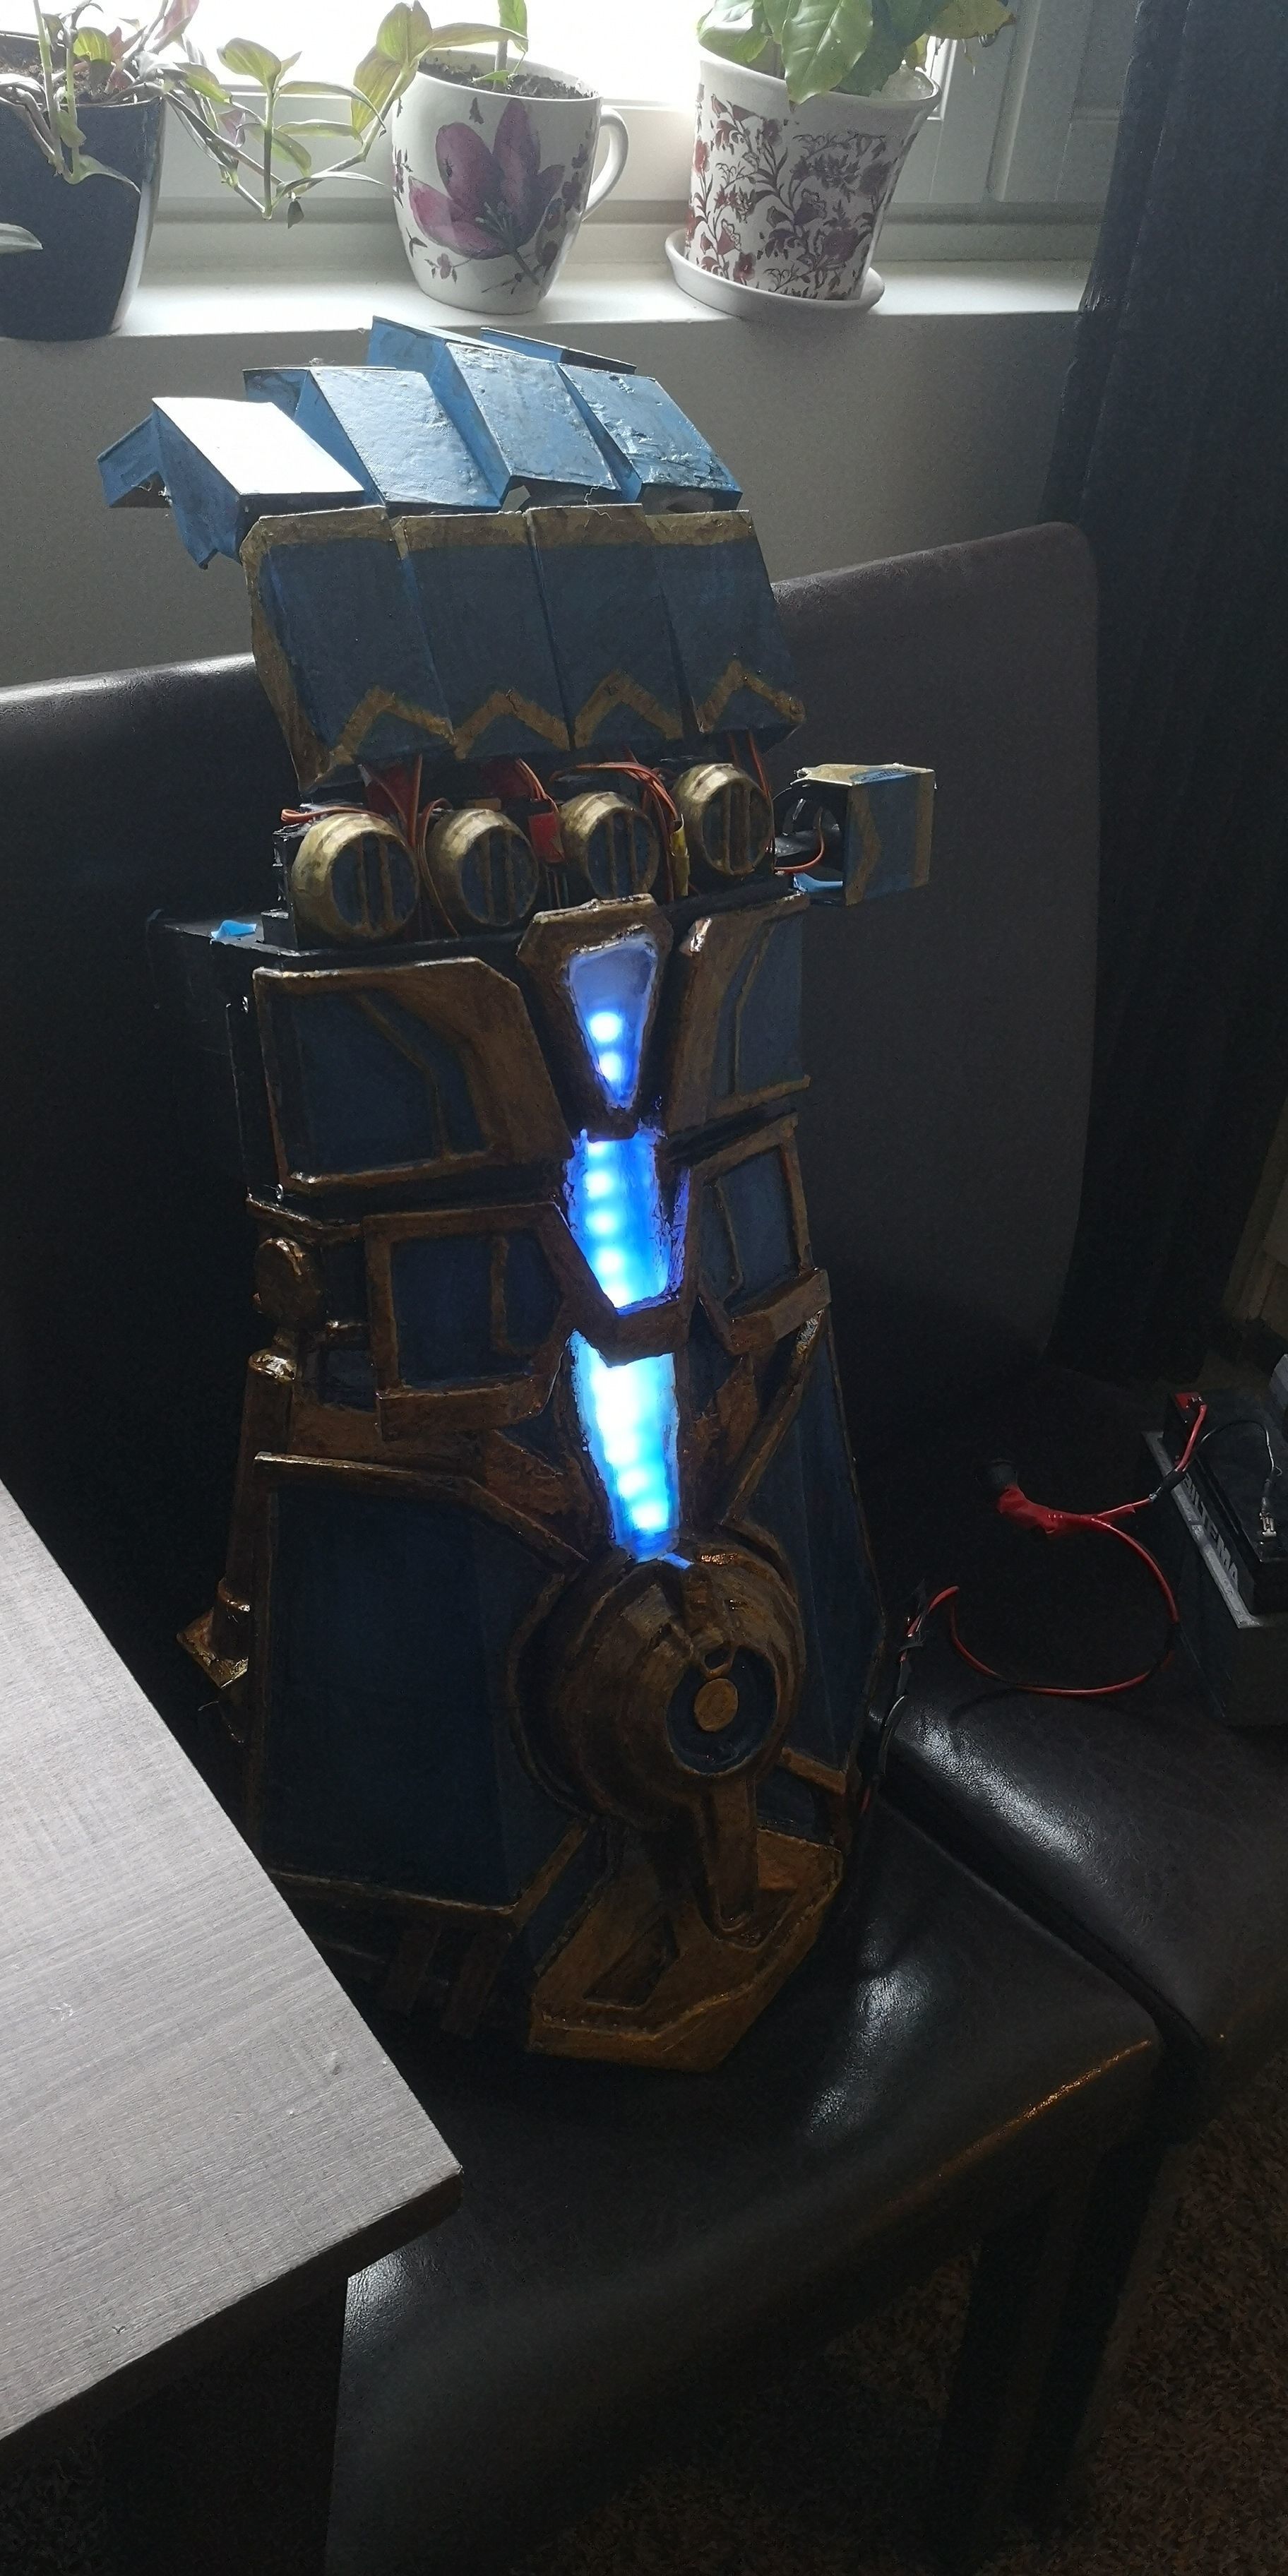
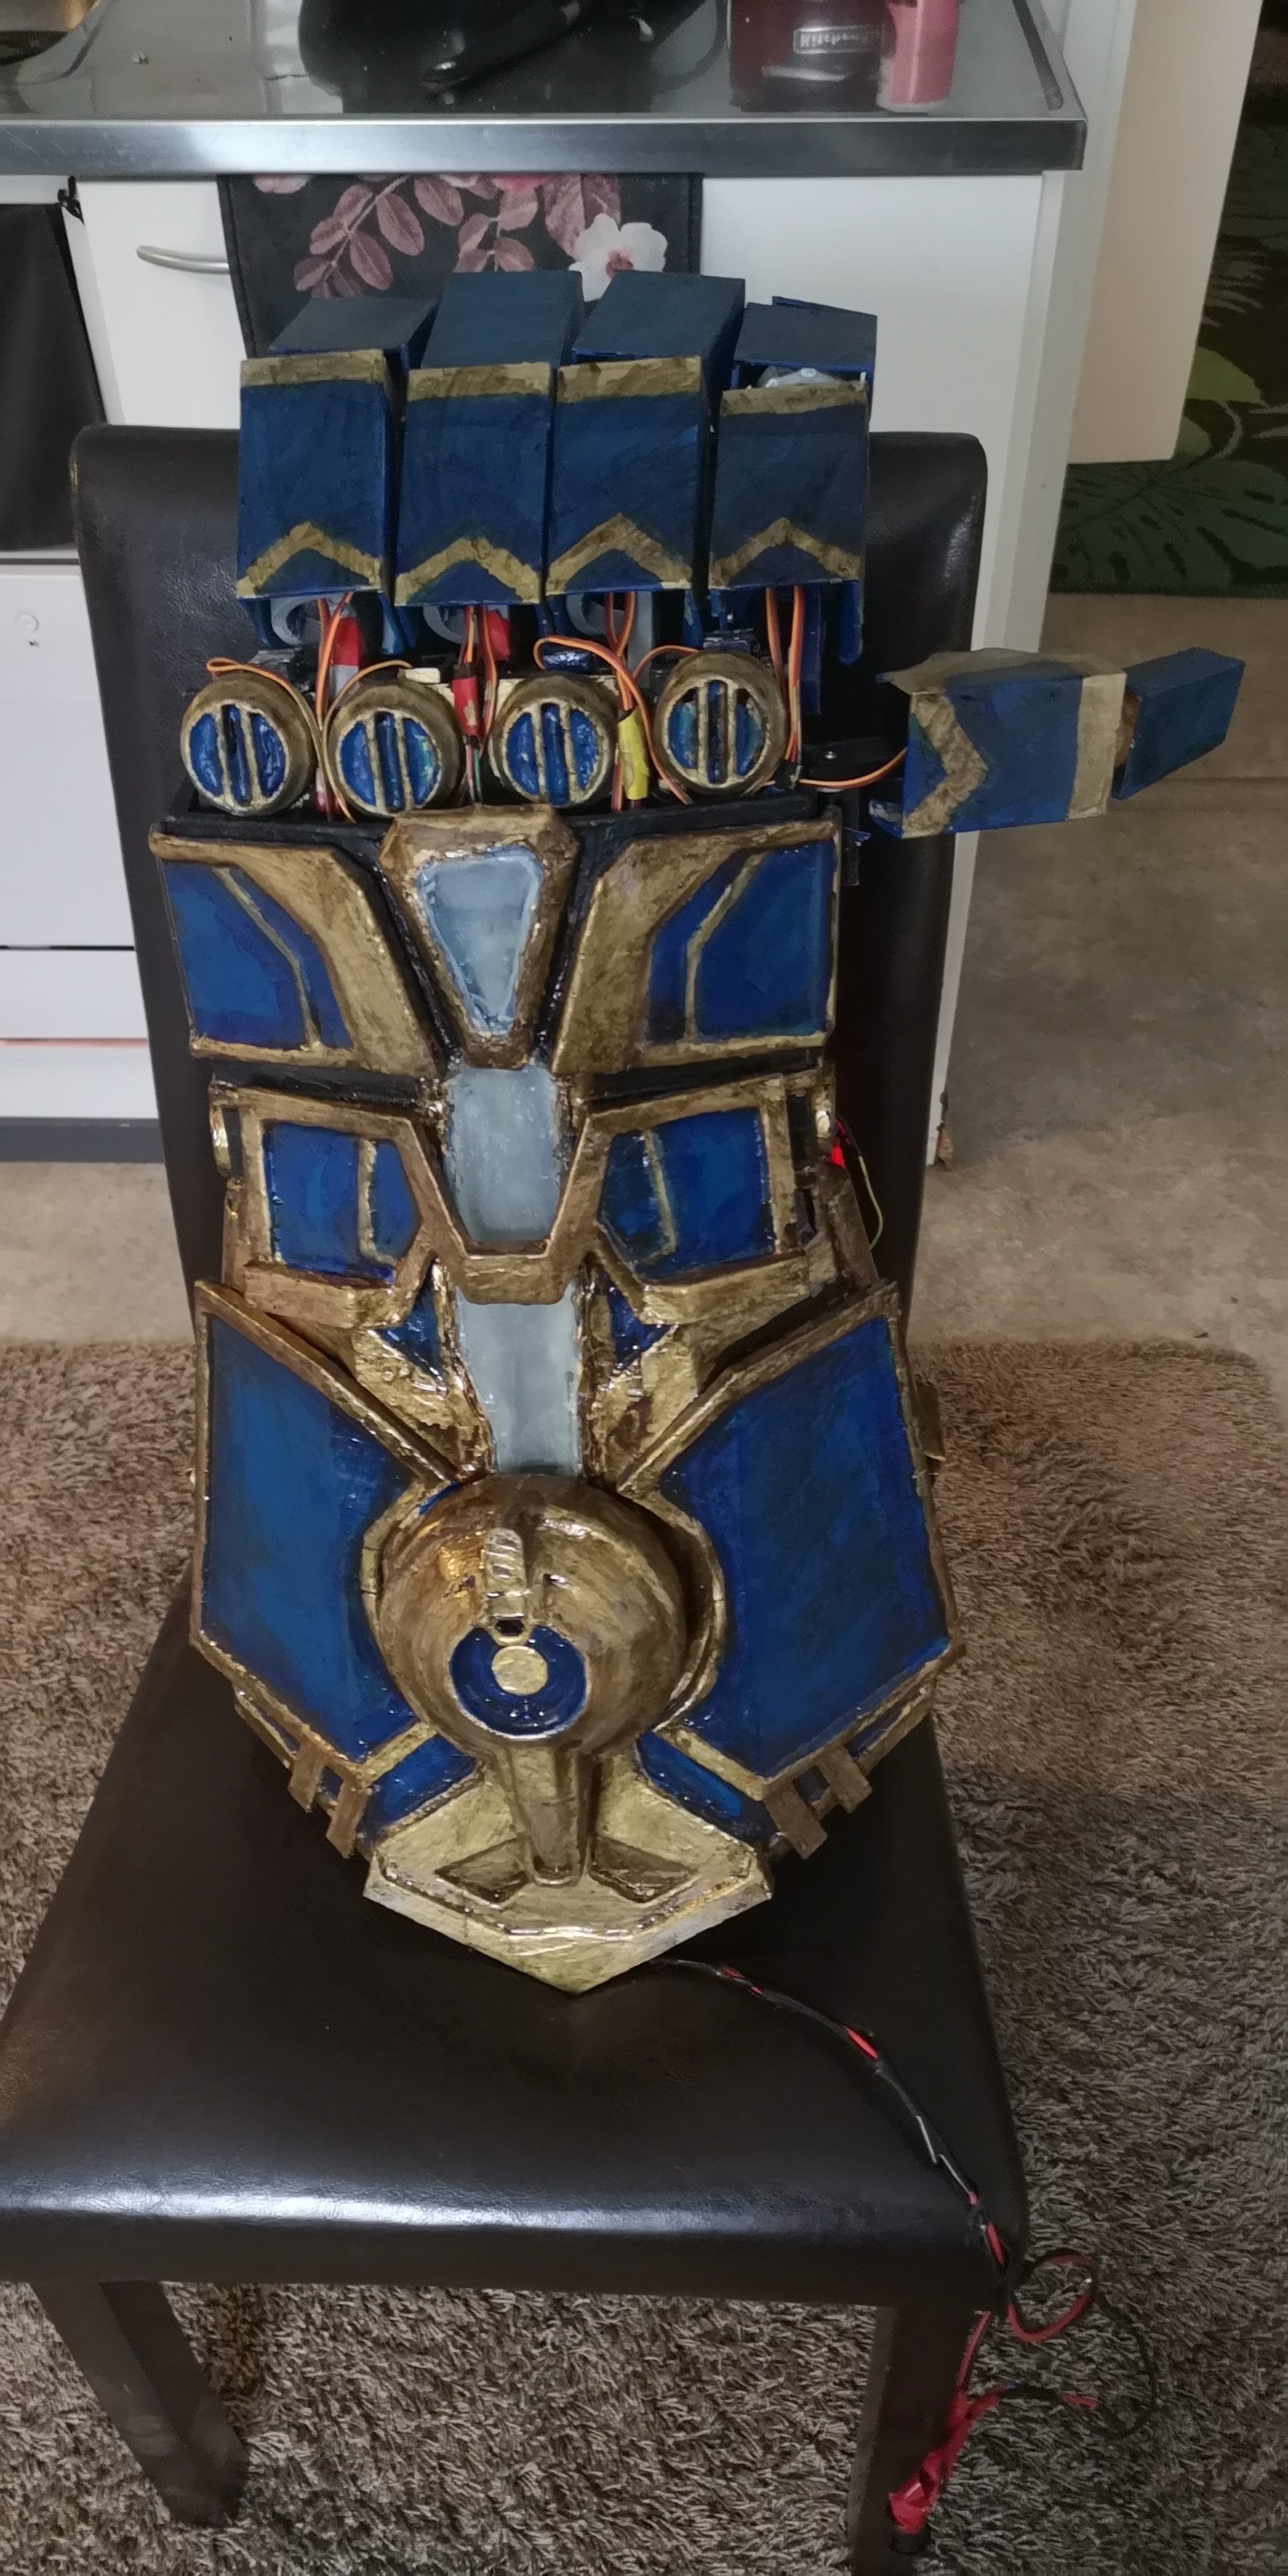
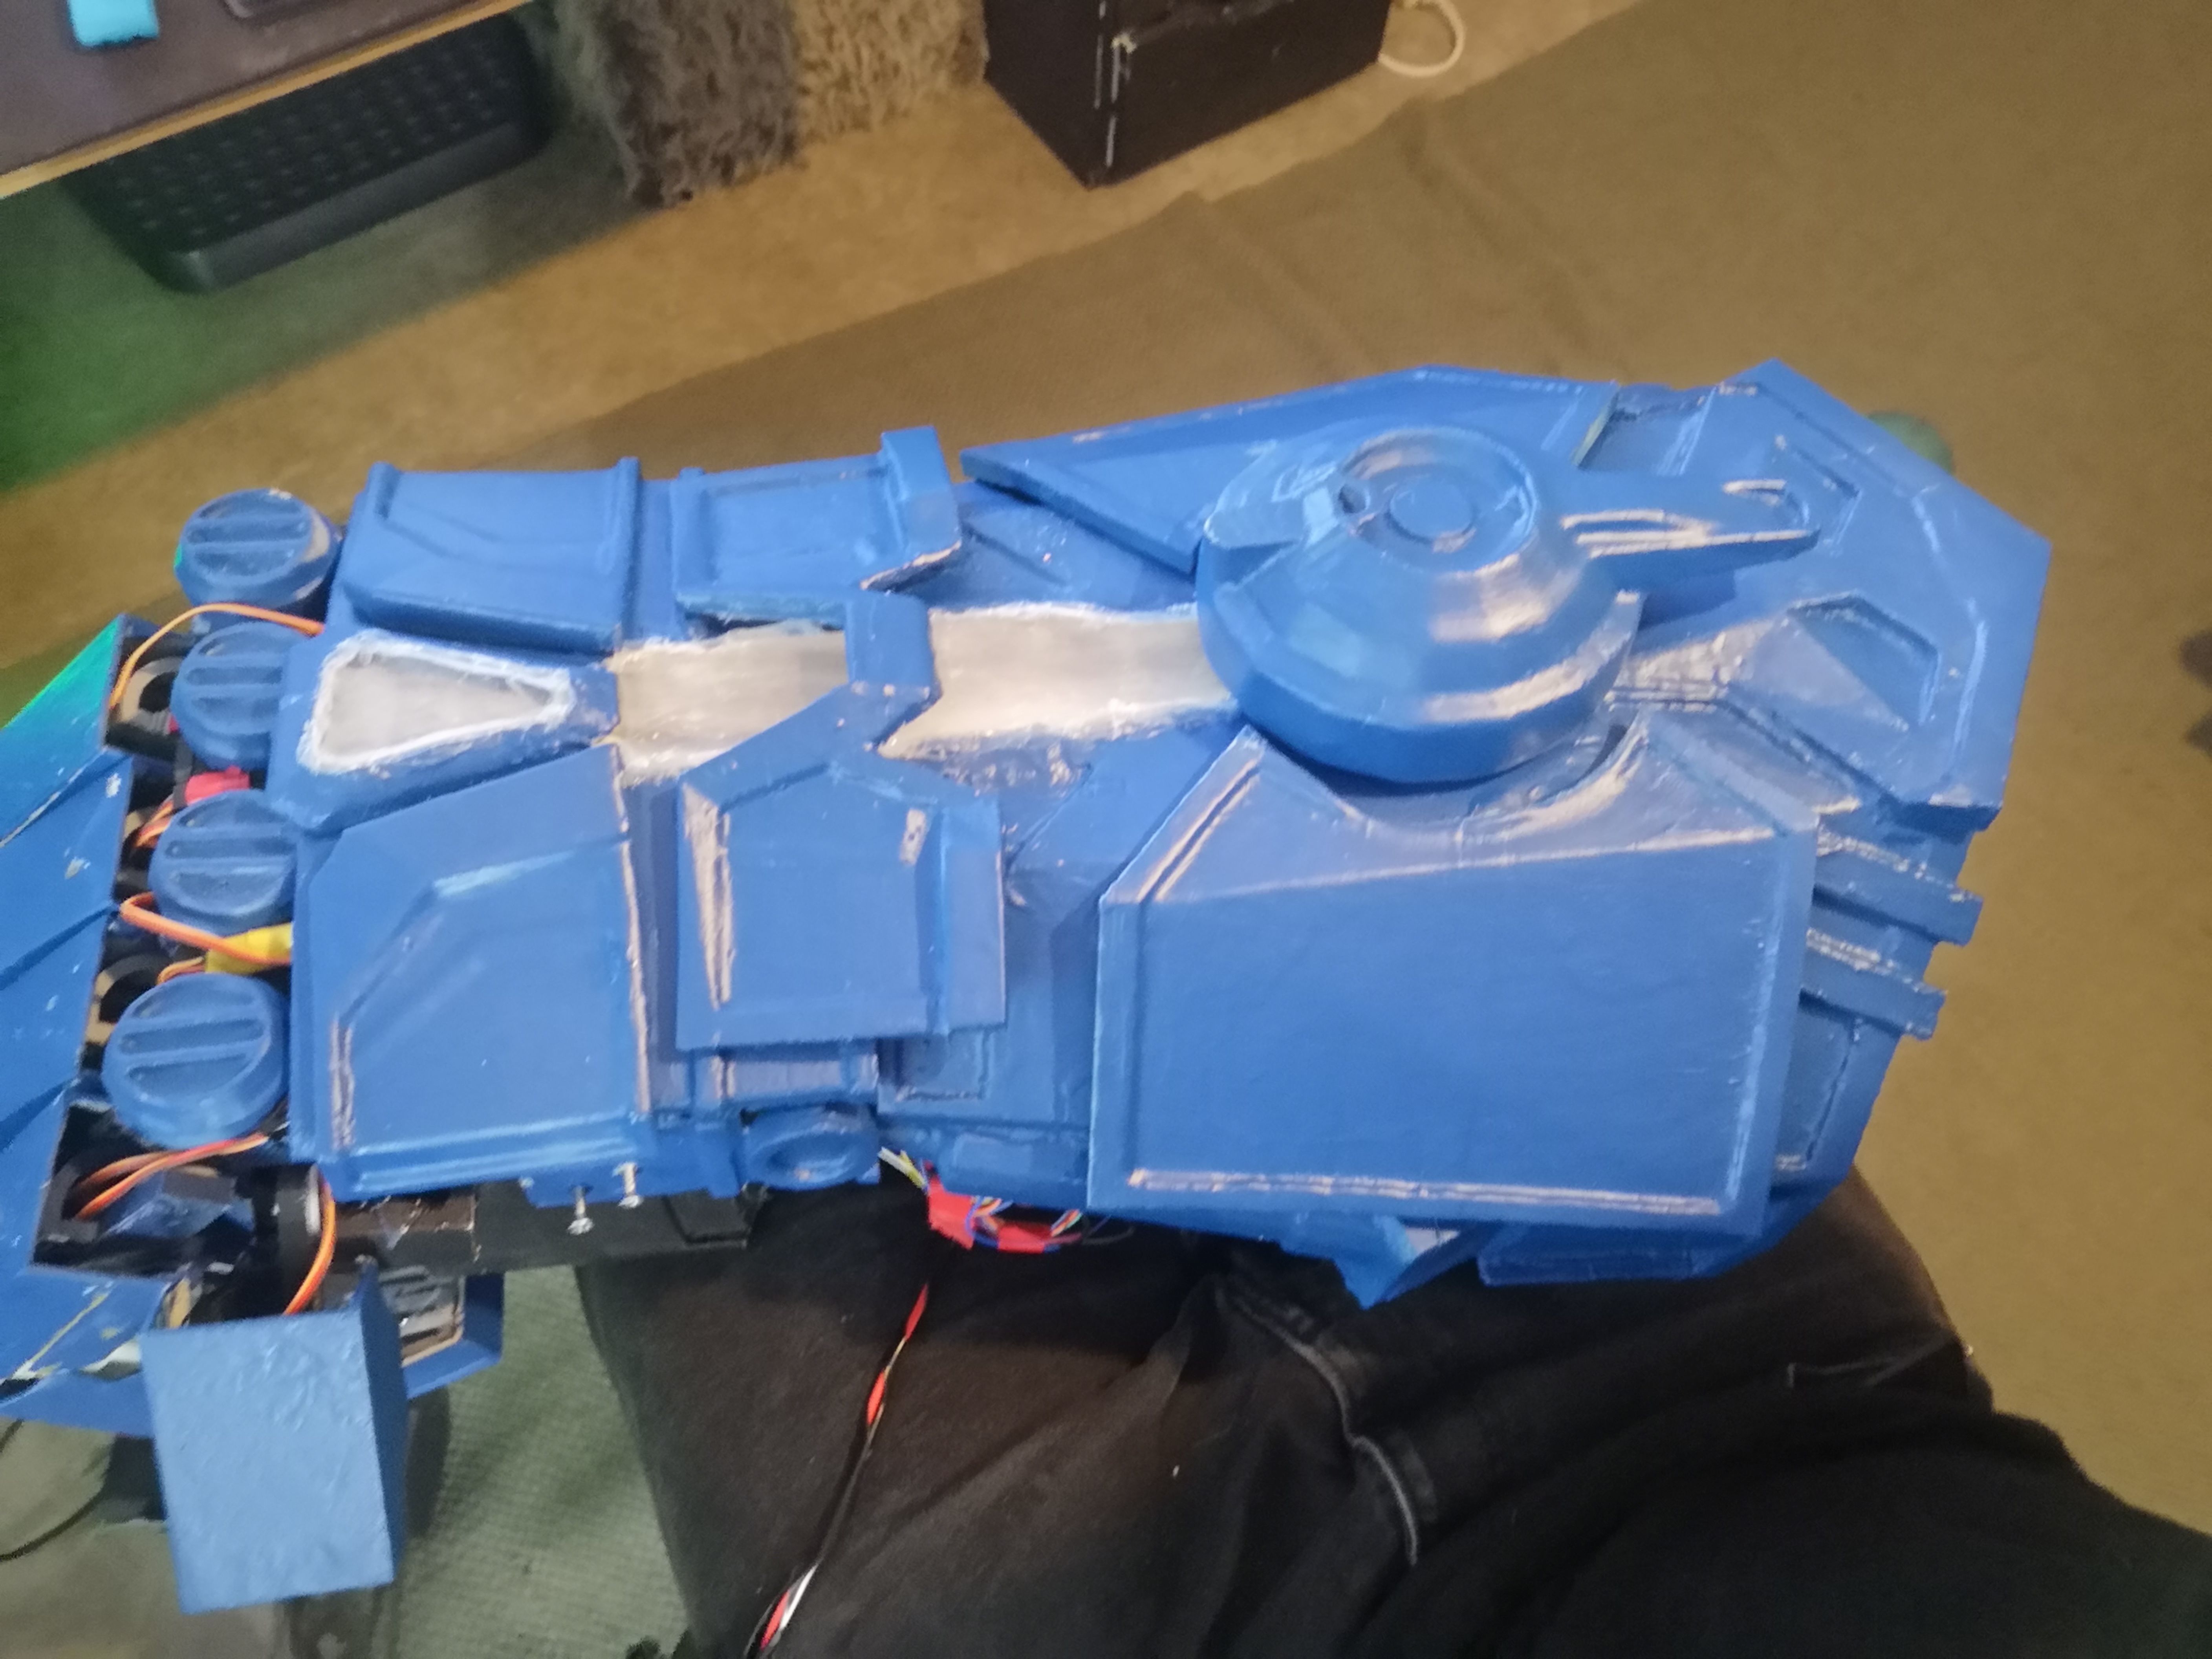
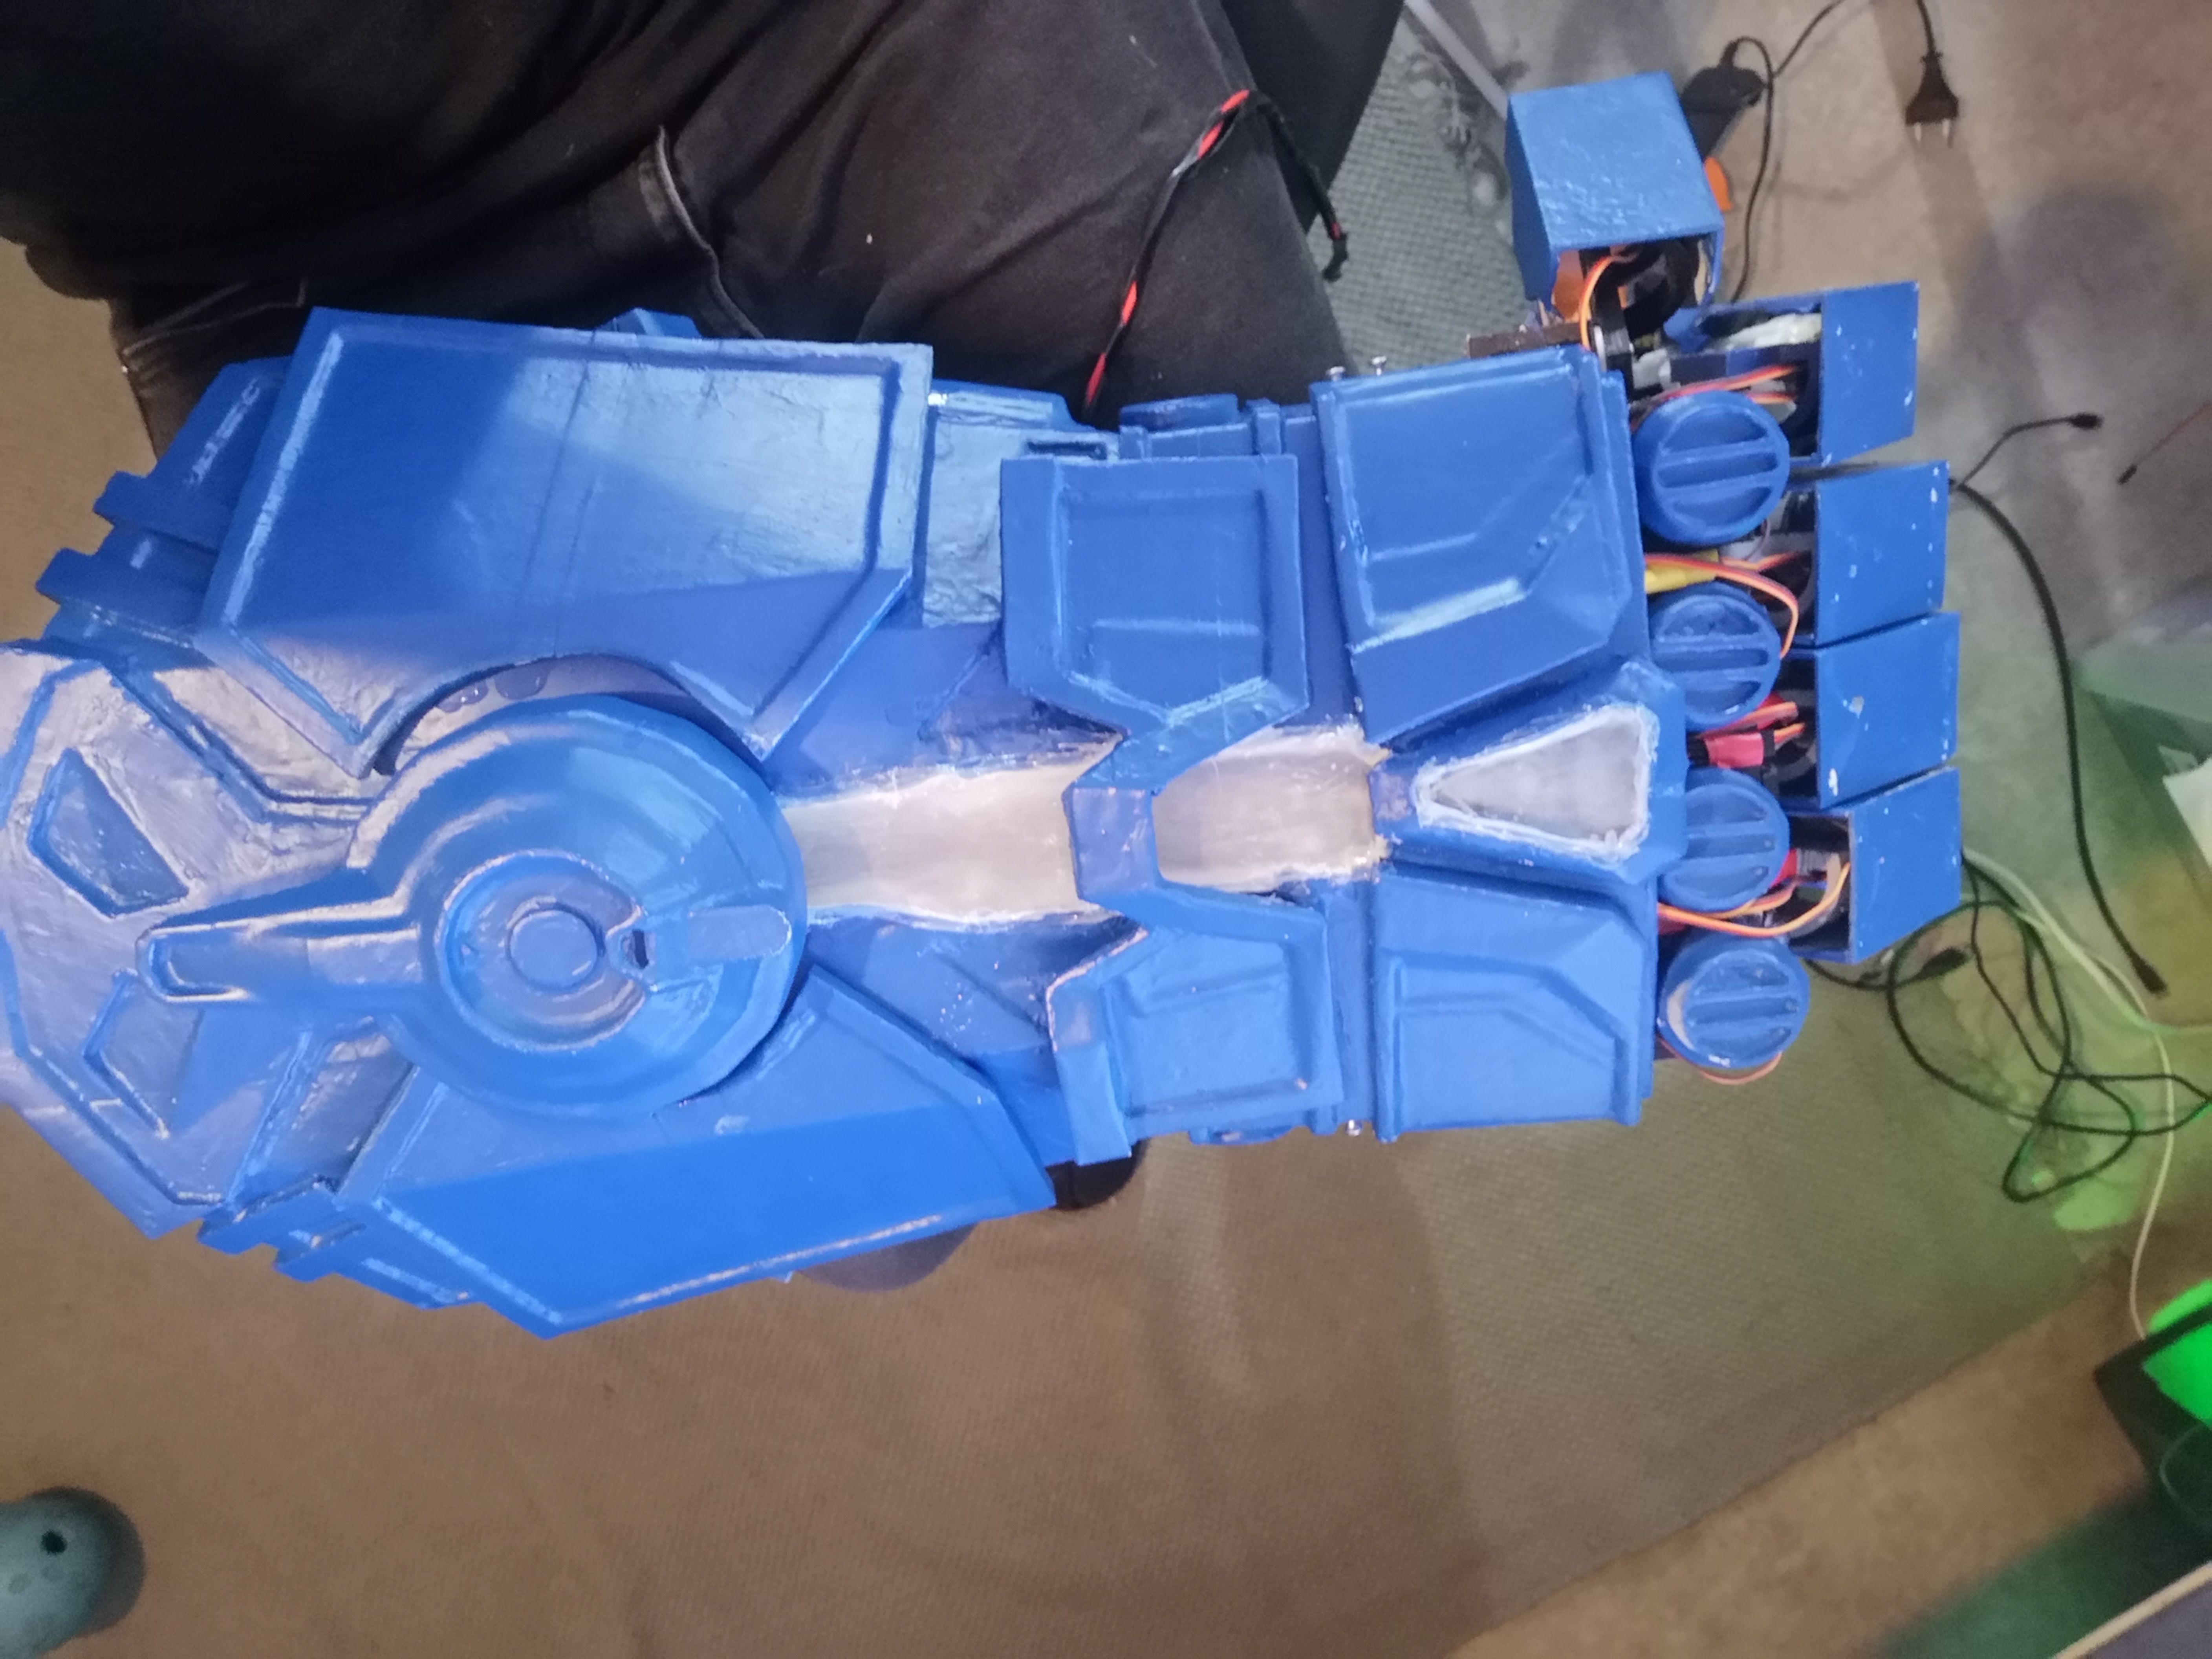
Atlas gauntlet from League of Legends / Arcane from what Vi uses. In the video and how I've done it is with 14 servos for every joint and motorized with a potentiometer inside. This project can though be printed and used as a prop without motorizing it. In the files is included the code for Arduino Uno to run the led strip and 14 servos via PCA 9865 board.
I will provide as much information as possible here. If you are doing mechanised version, knowledge of electronics will be necessary to be able to work around this. Tools will be needed to make adjusments to 3D prints depending on how your printer (over extrude, under extrude, overall settings) are calibrated. There are couple variations of models, such as the finger pieces and outer shell for you to do what you wish with it. Right ones depend on your machinery and if you are planning on making a wall piece, small table piece, or wearable one.
For easy solution you can connect the fingers to each others with hot glue and be done with the prop after printing all the top parts. Install some sort of strap and you are golden. If you want more fucntionality, use nut's and bolt's instead of glue. Install a fishing wire to run through the fingers to your hand as the fingers are heavy enough to open on their own.
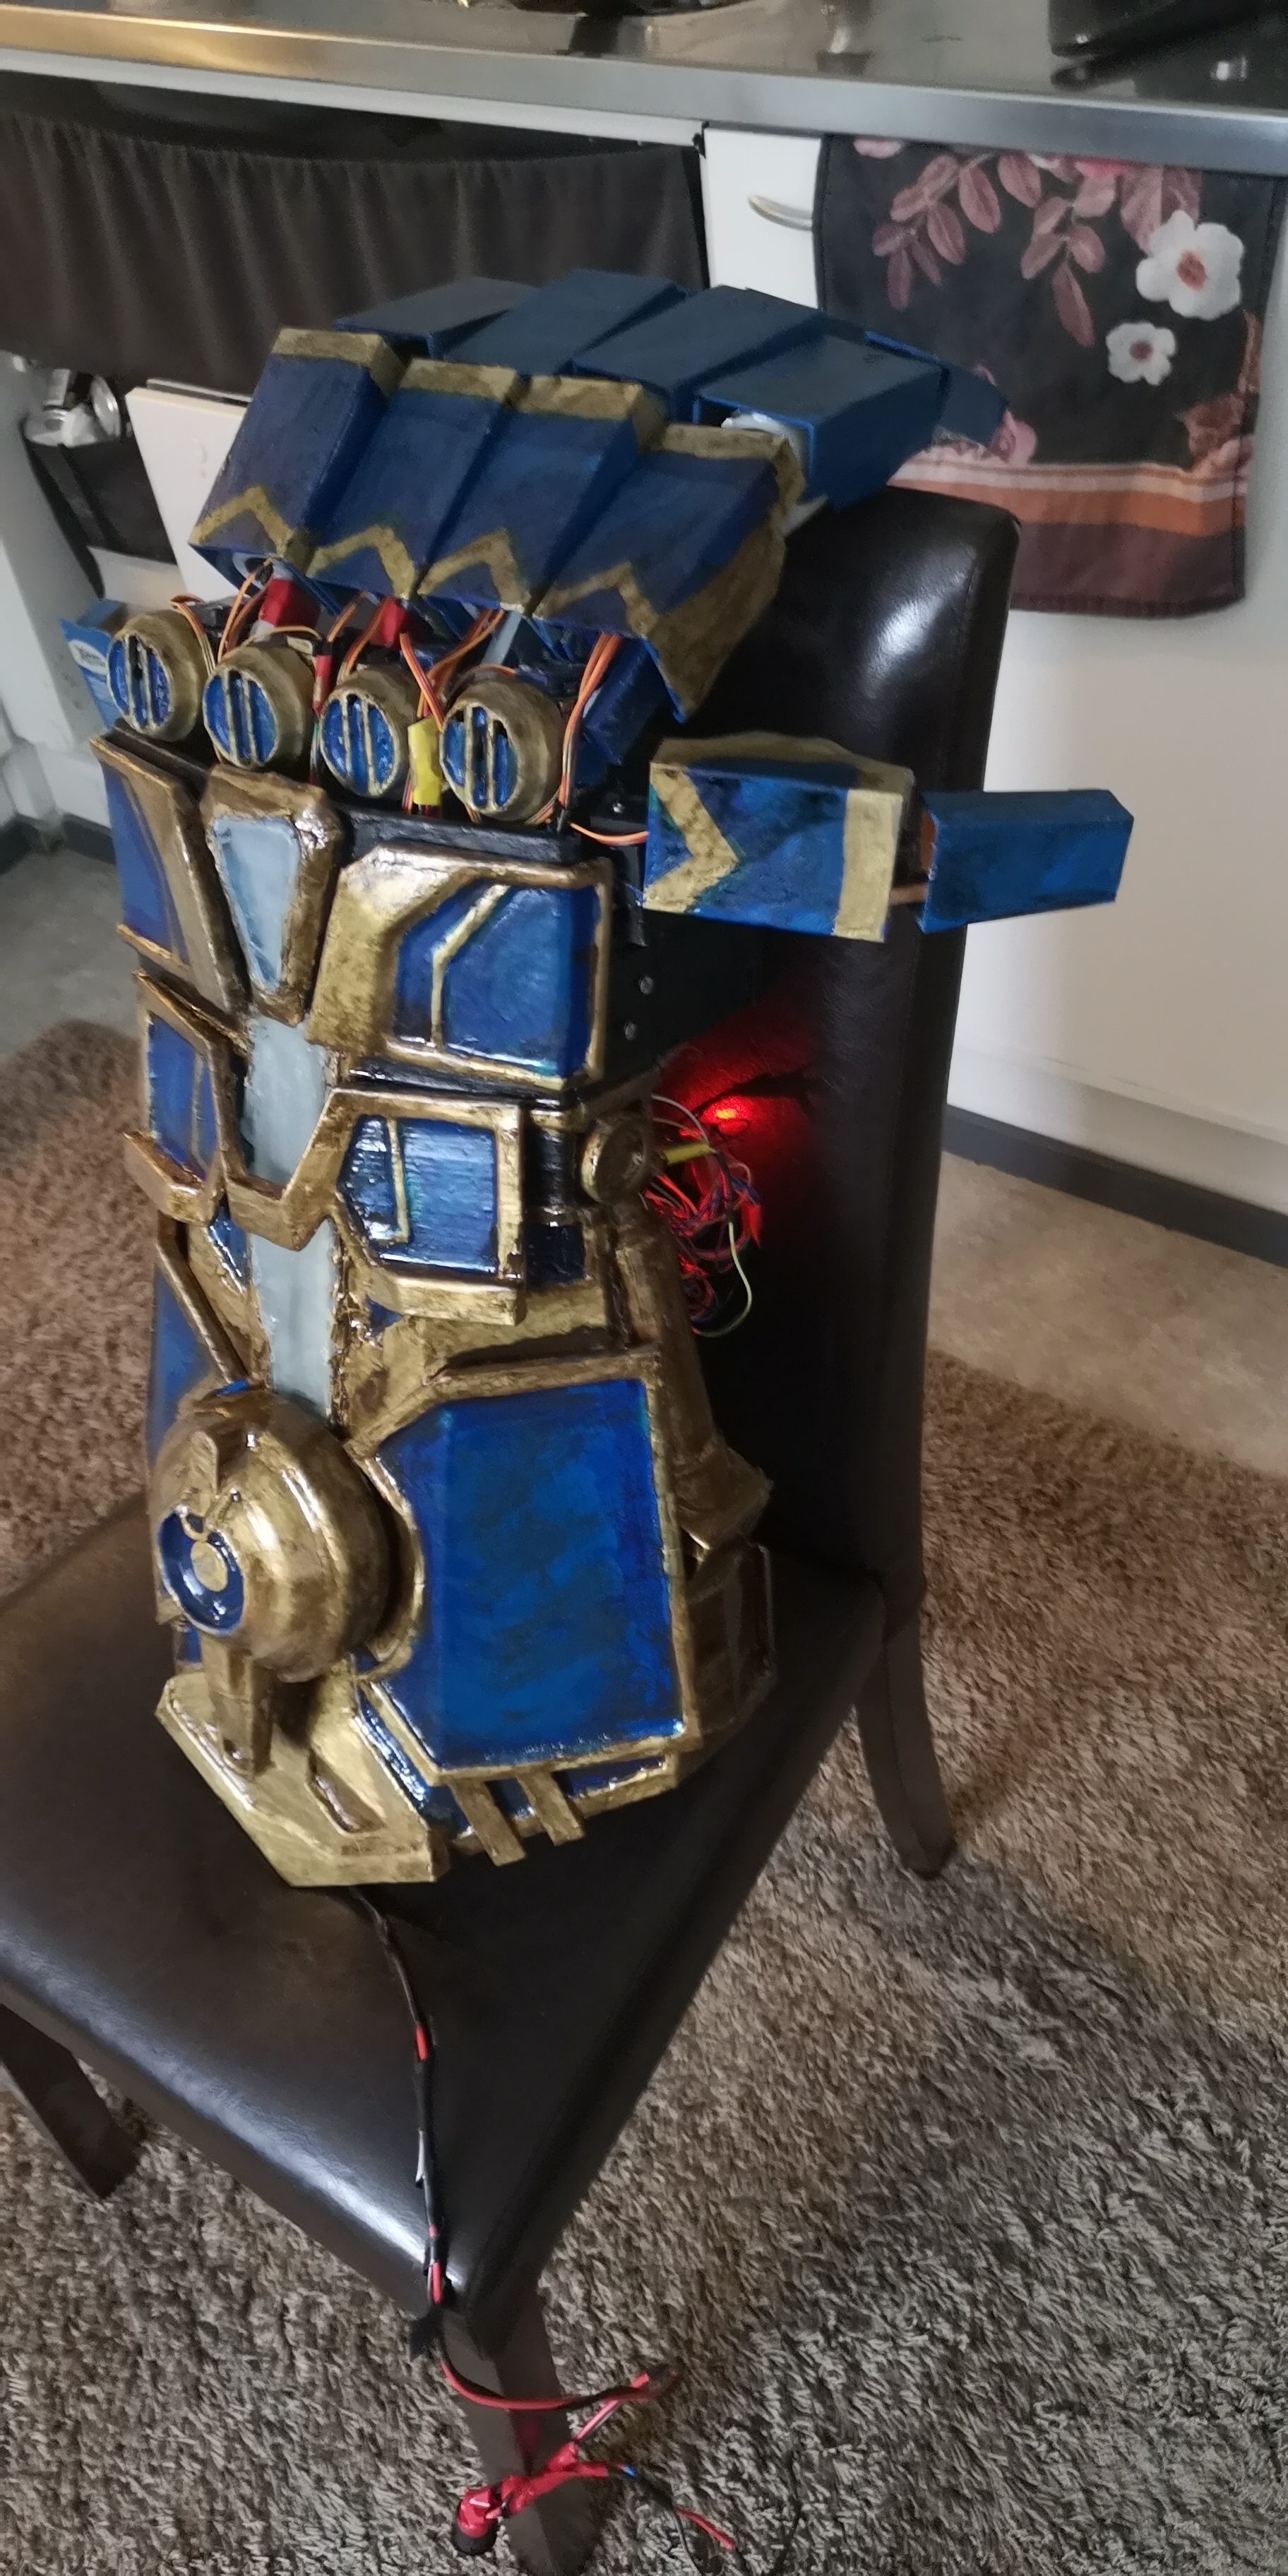
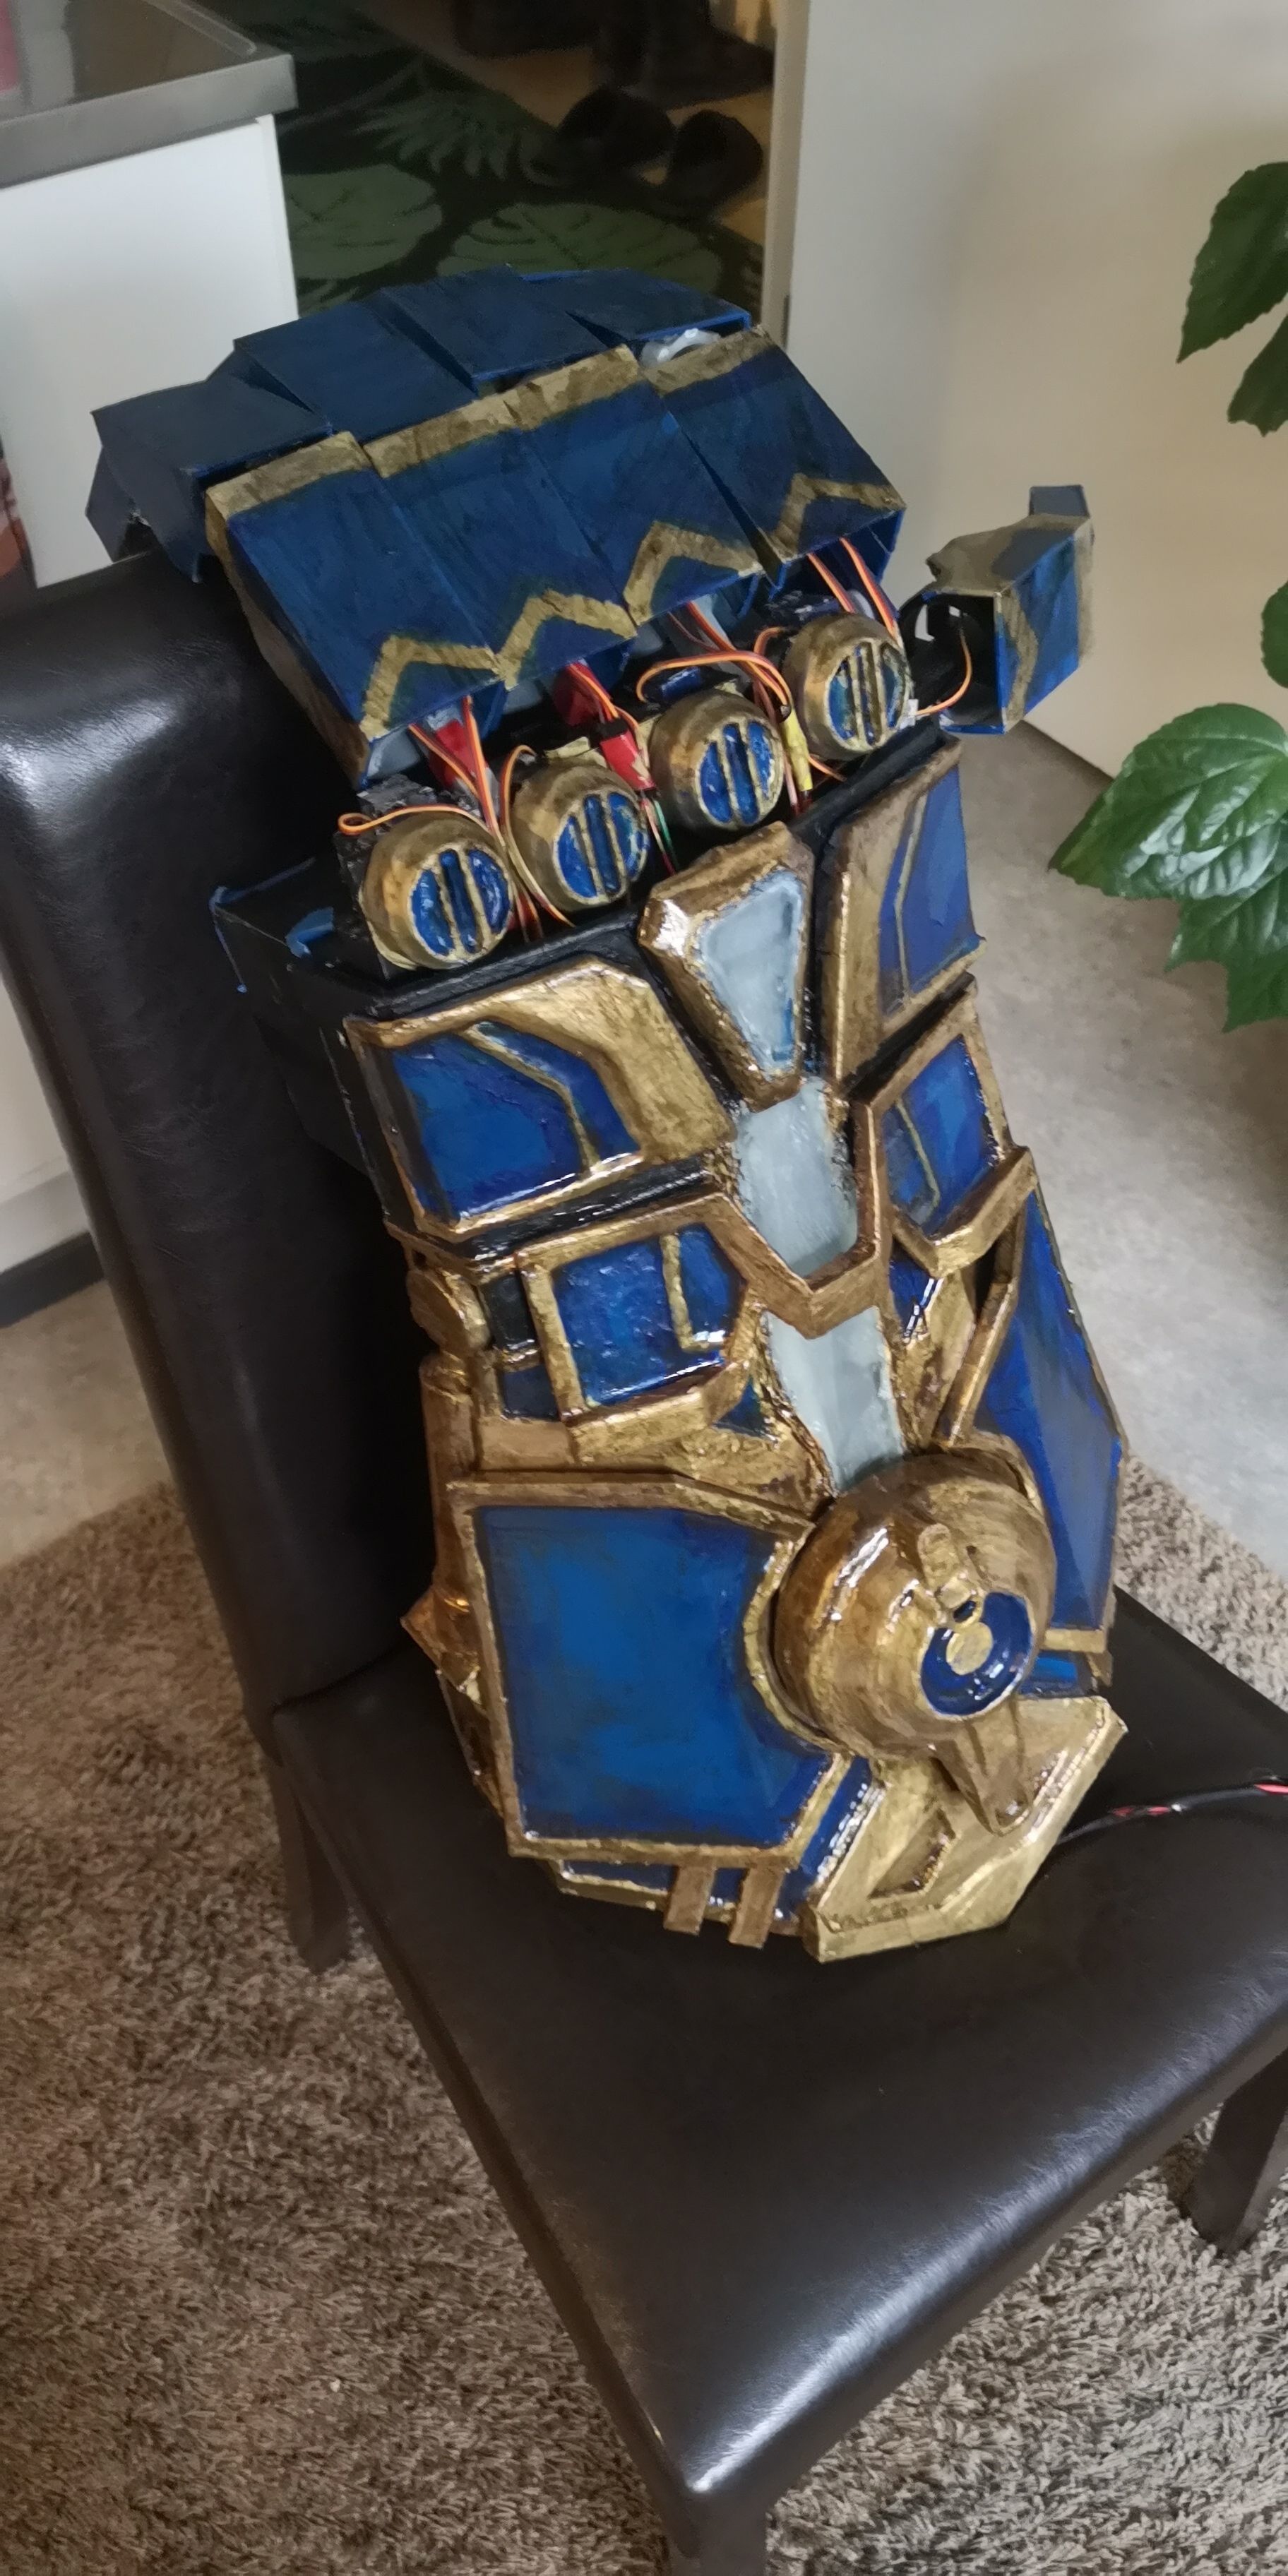
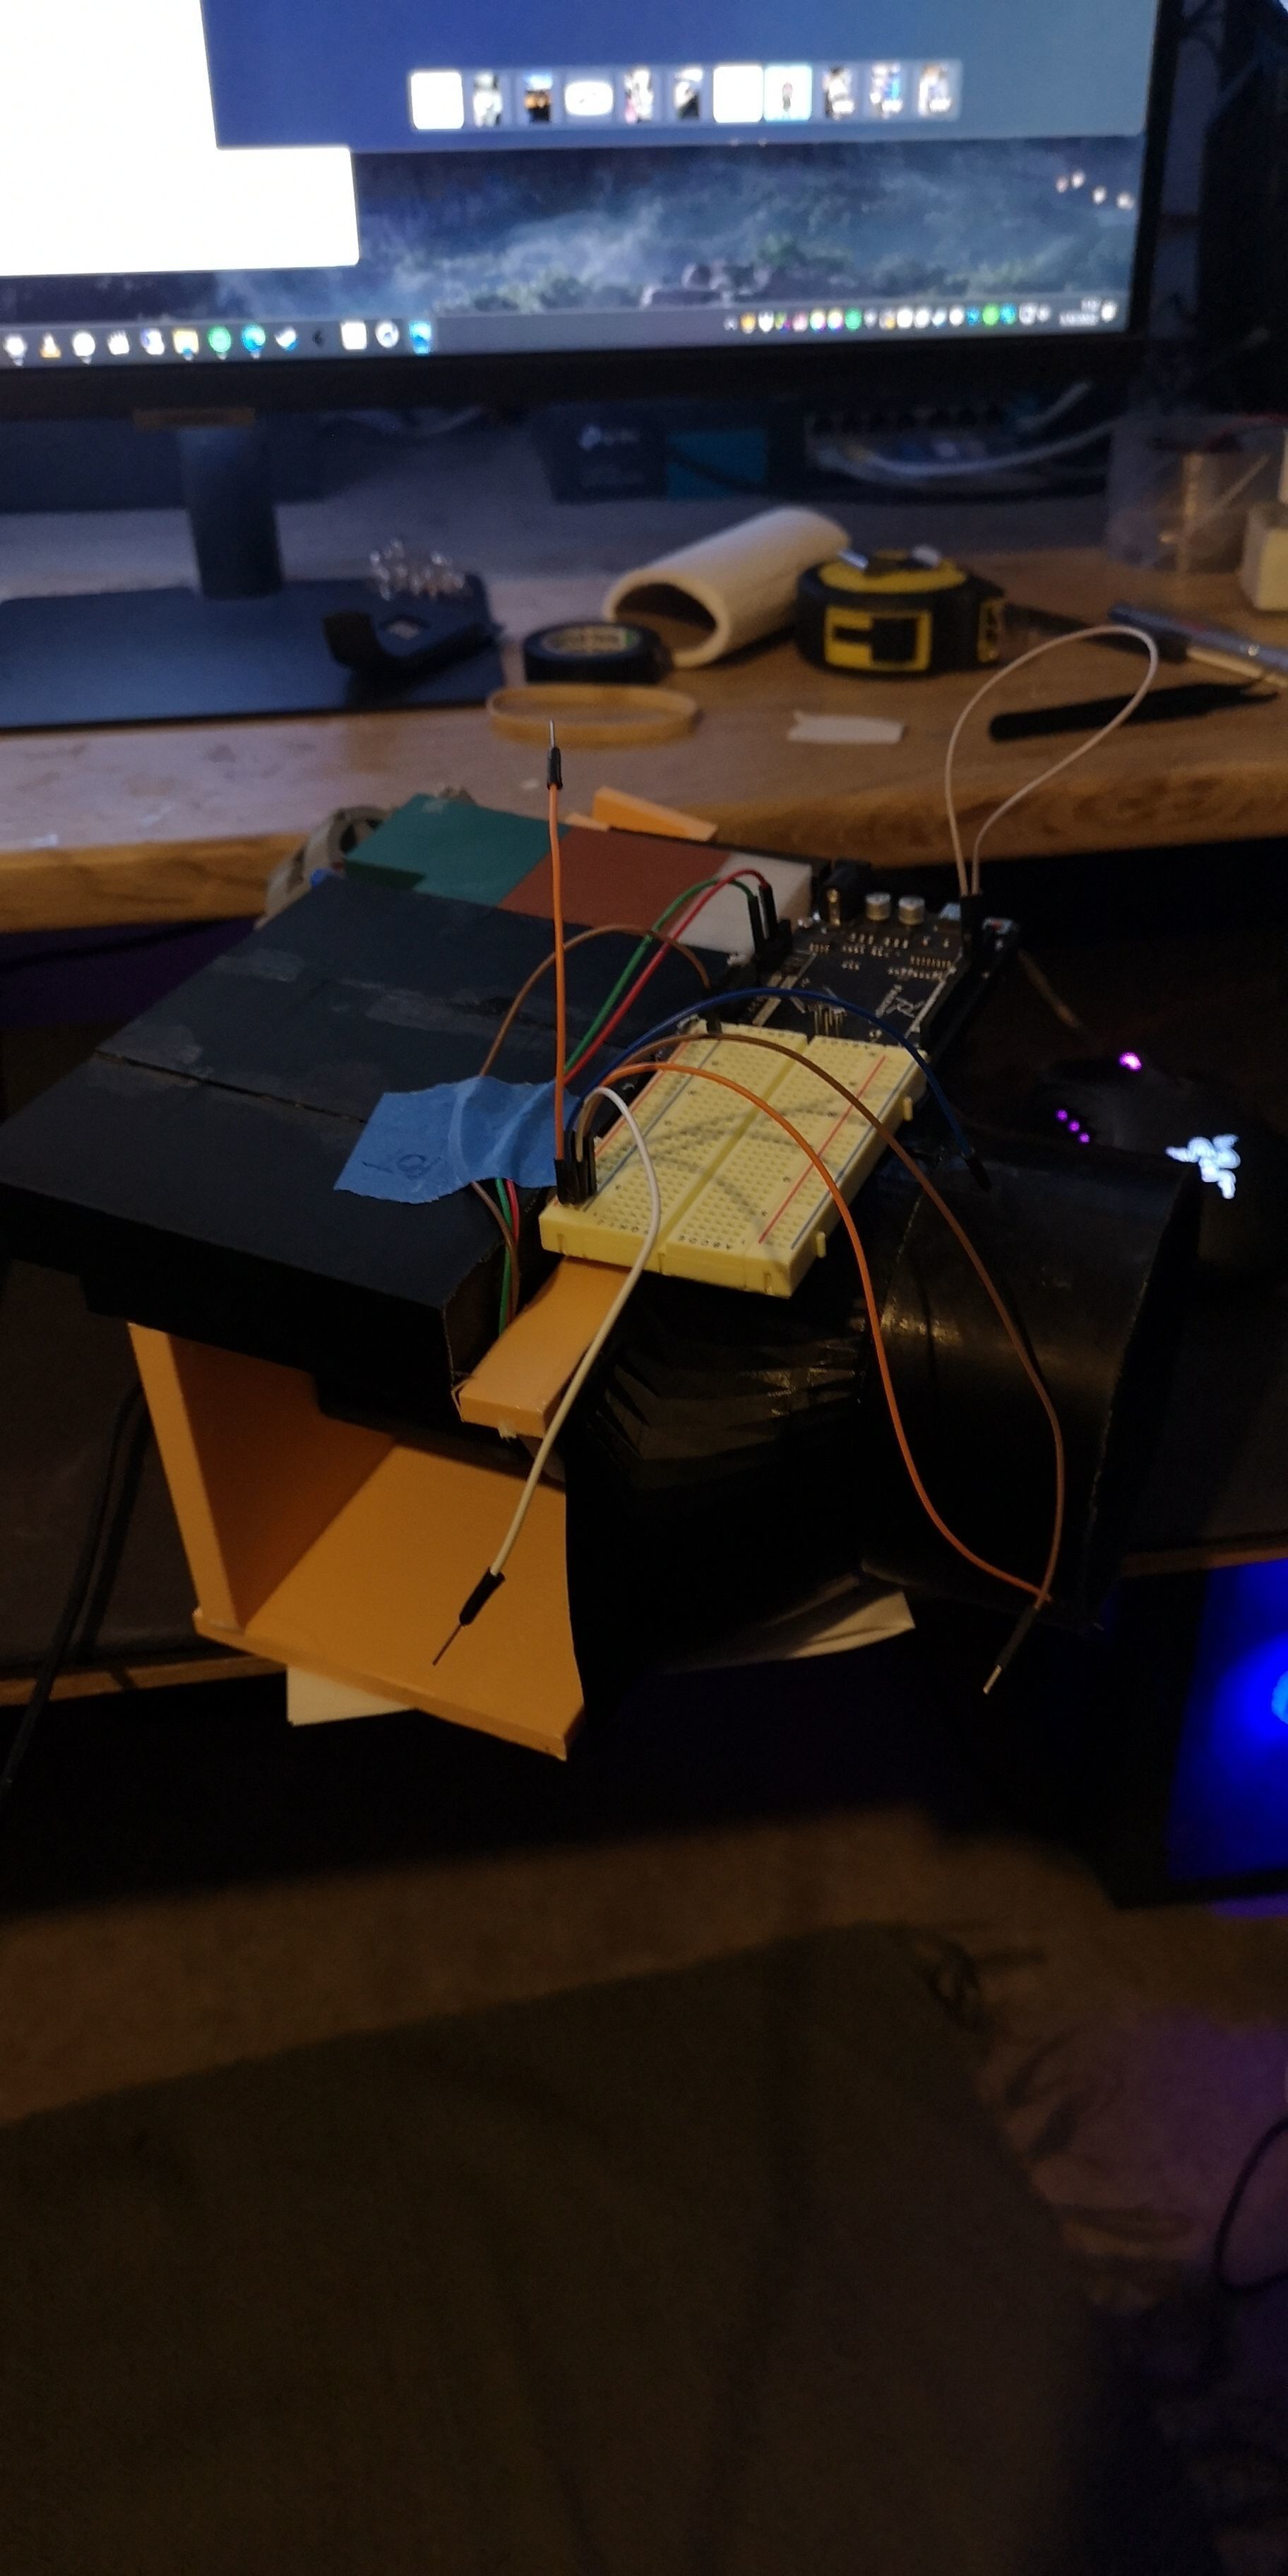
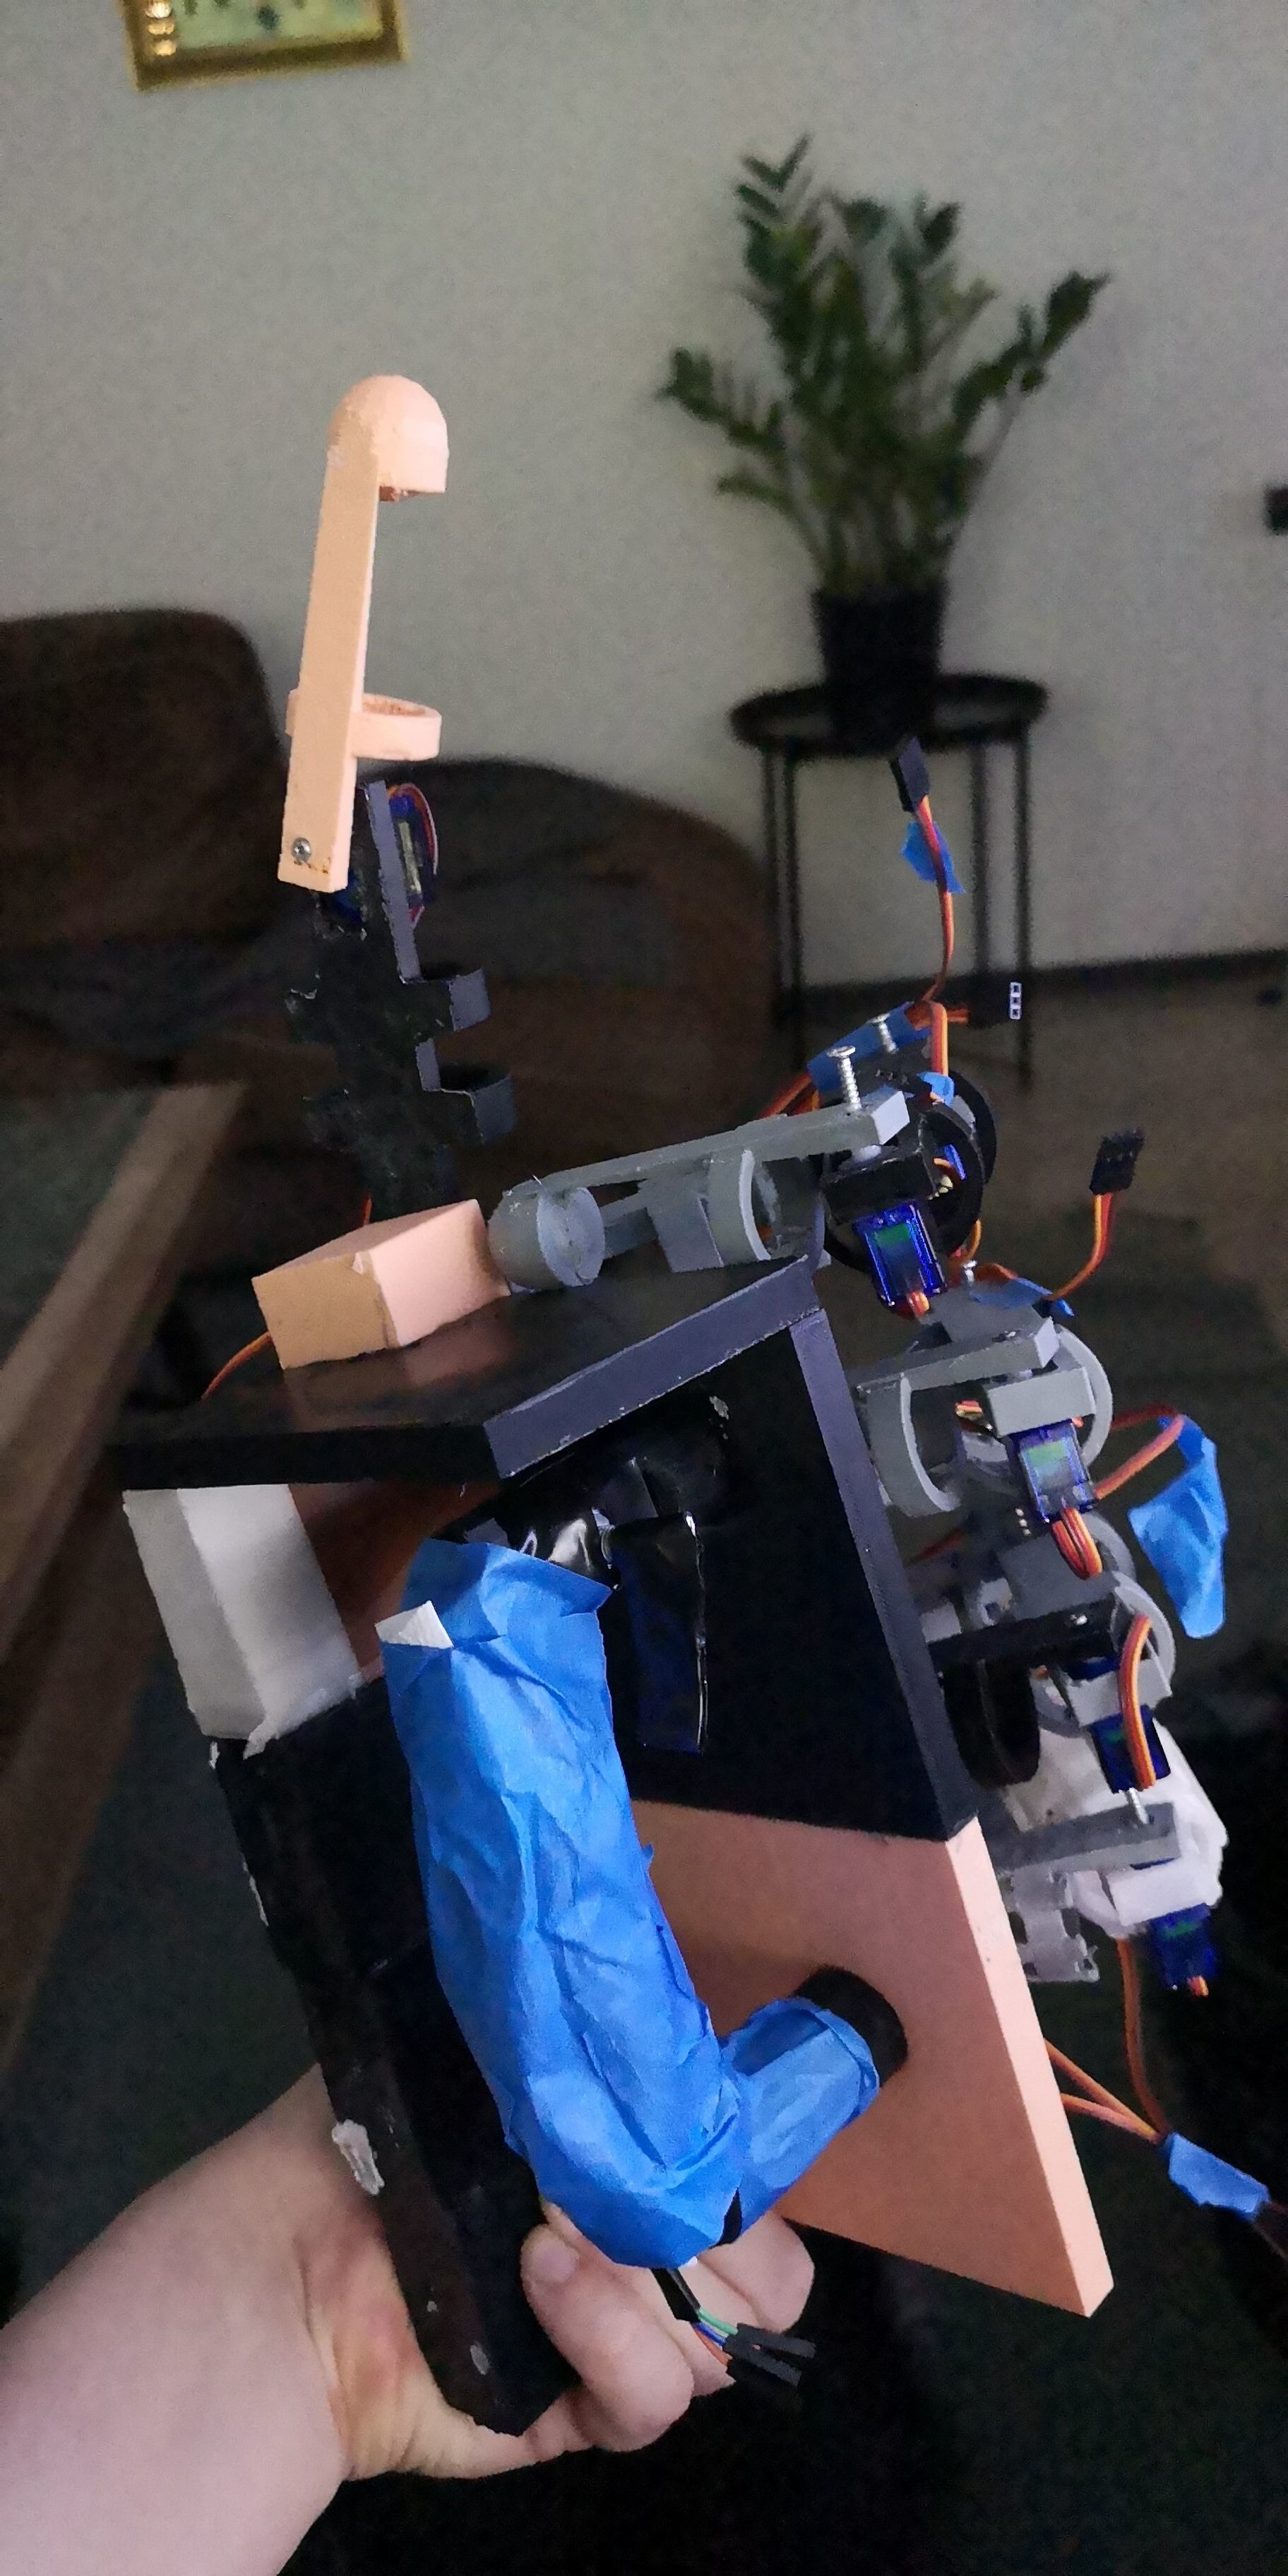
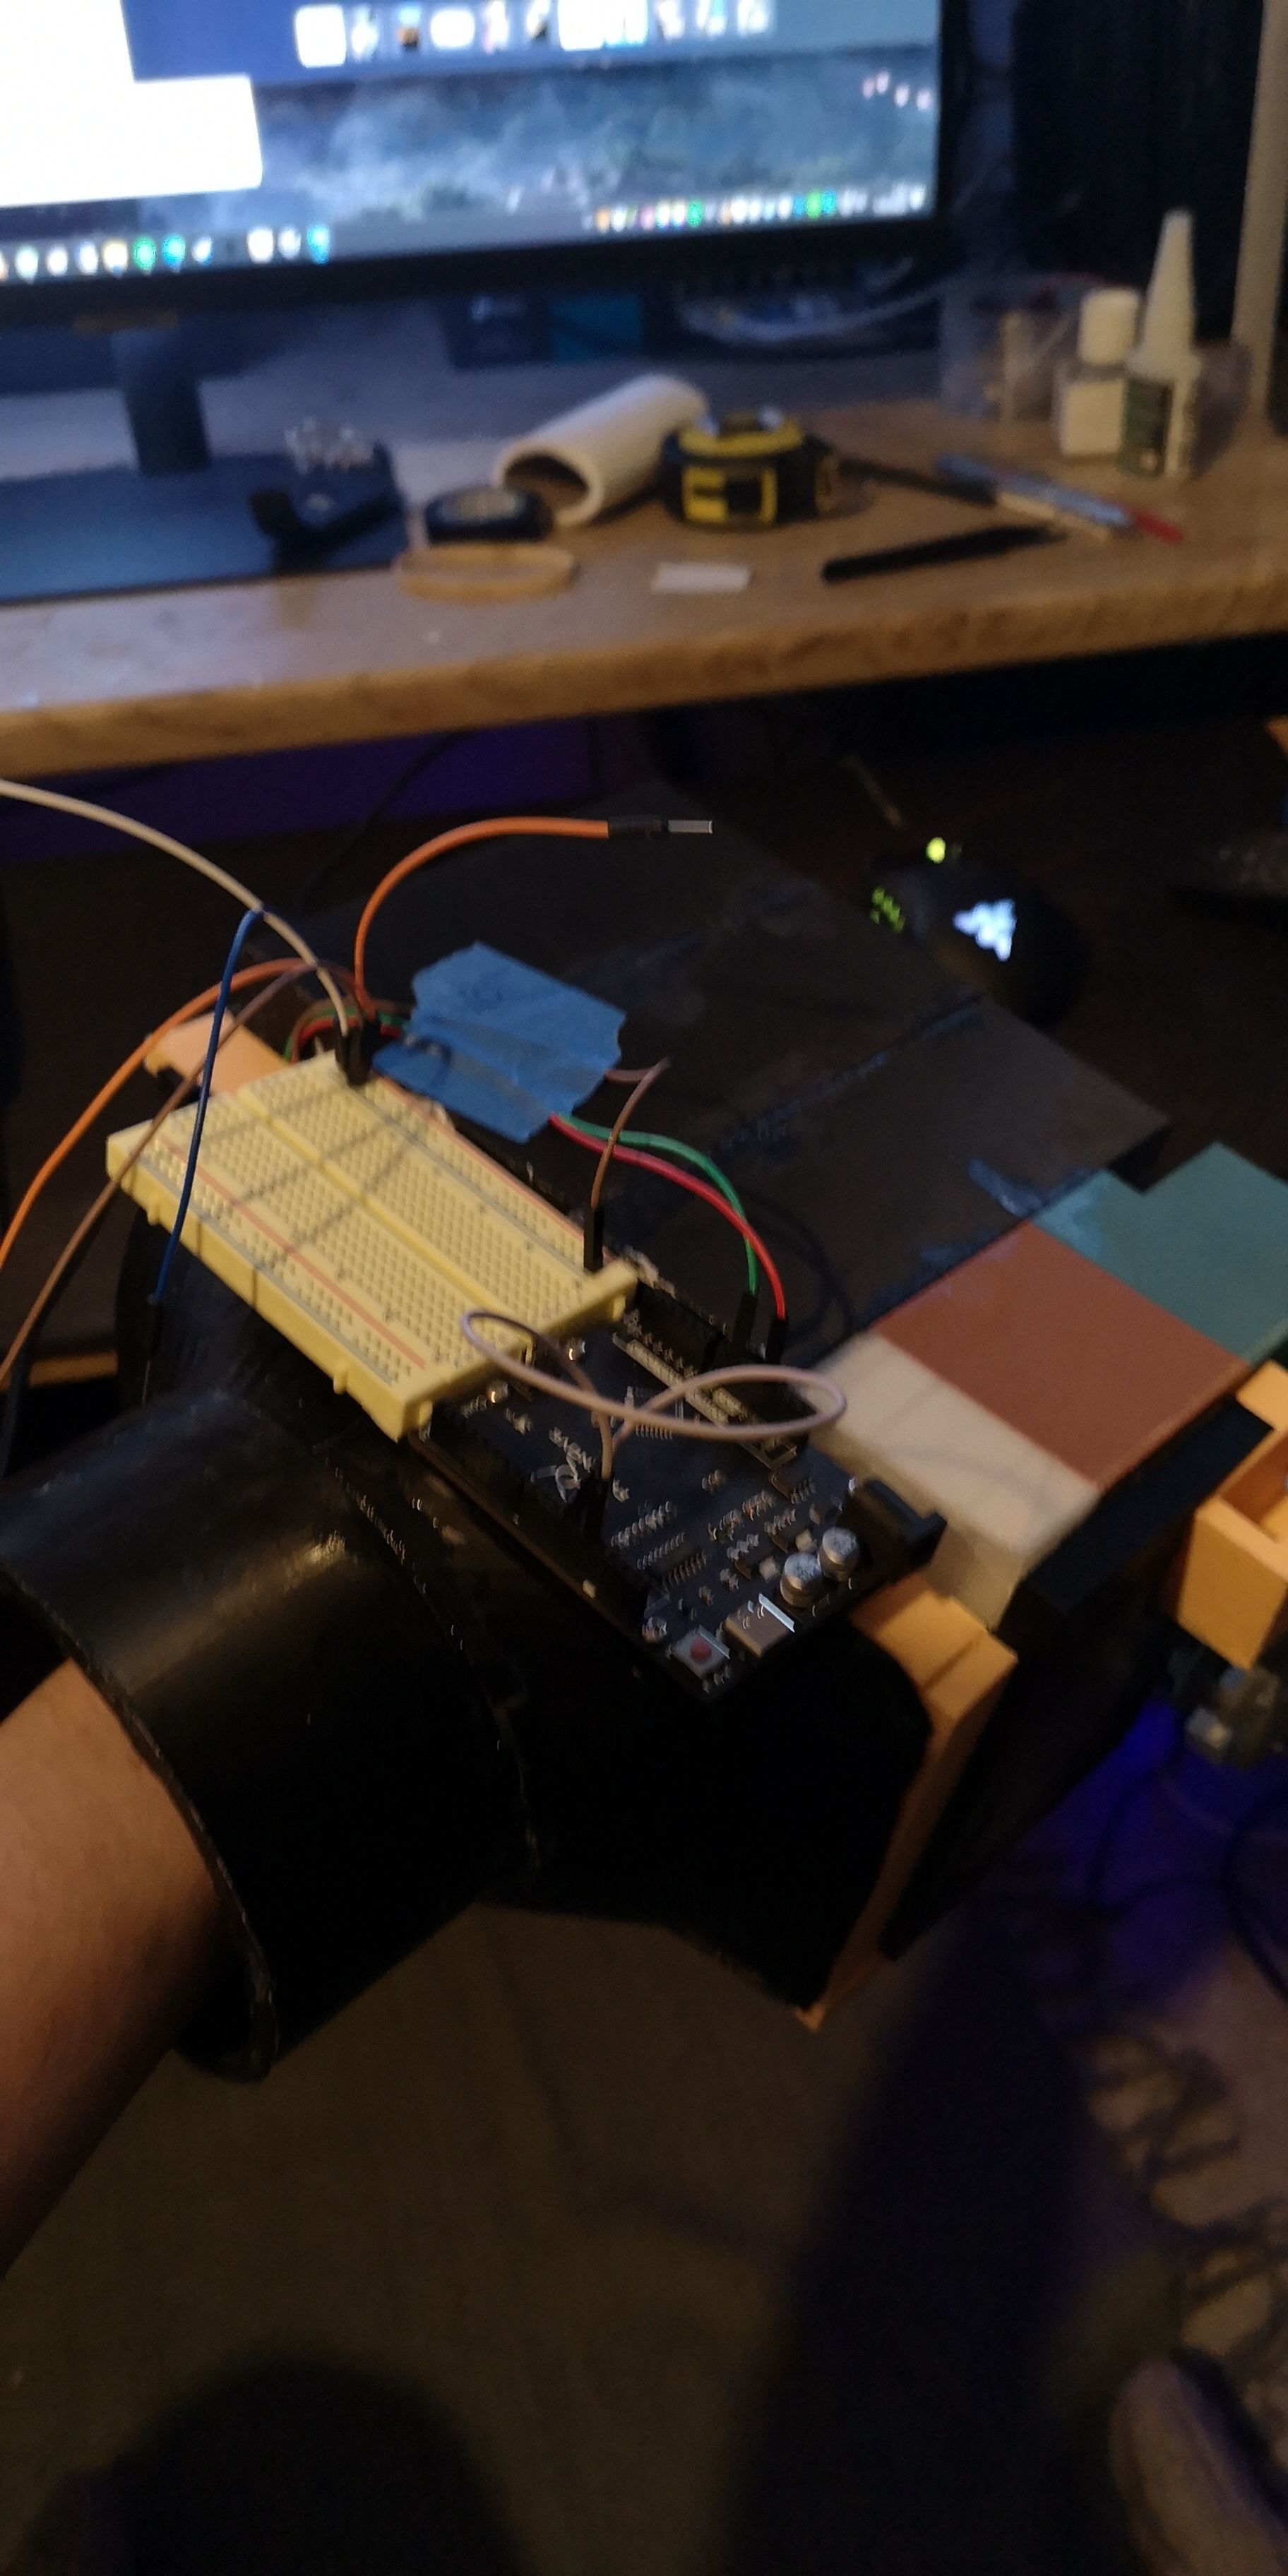
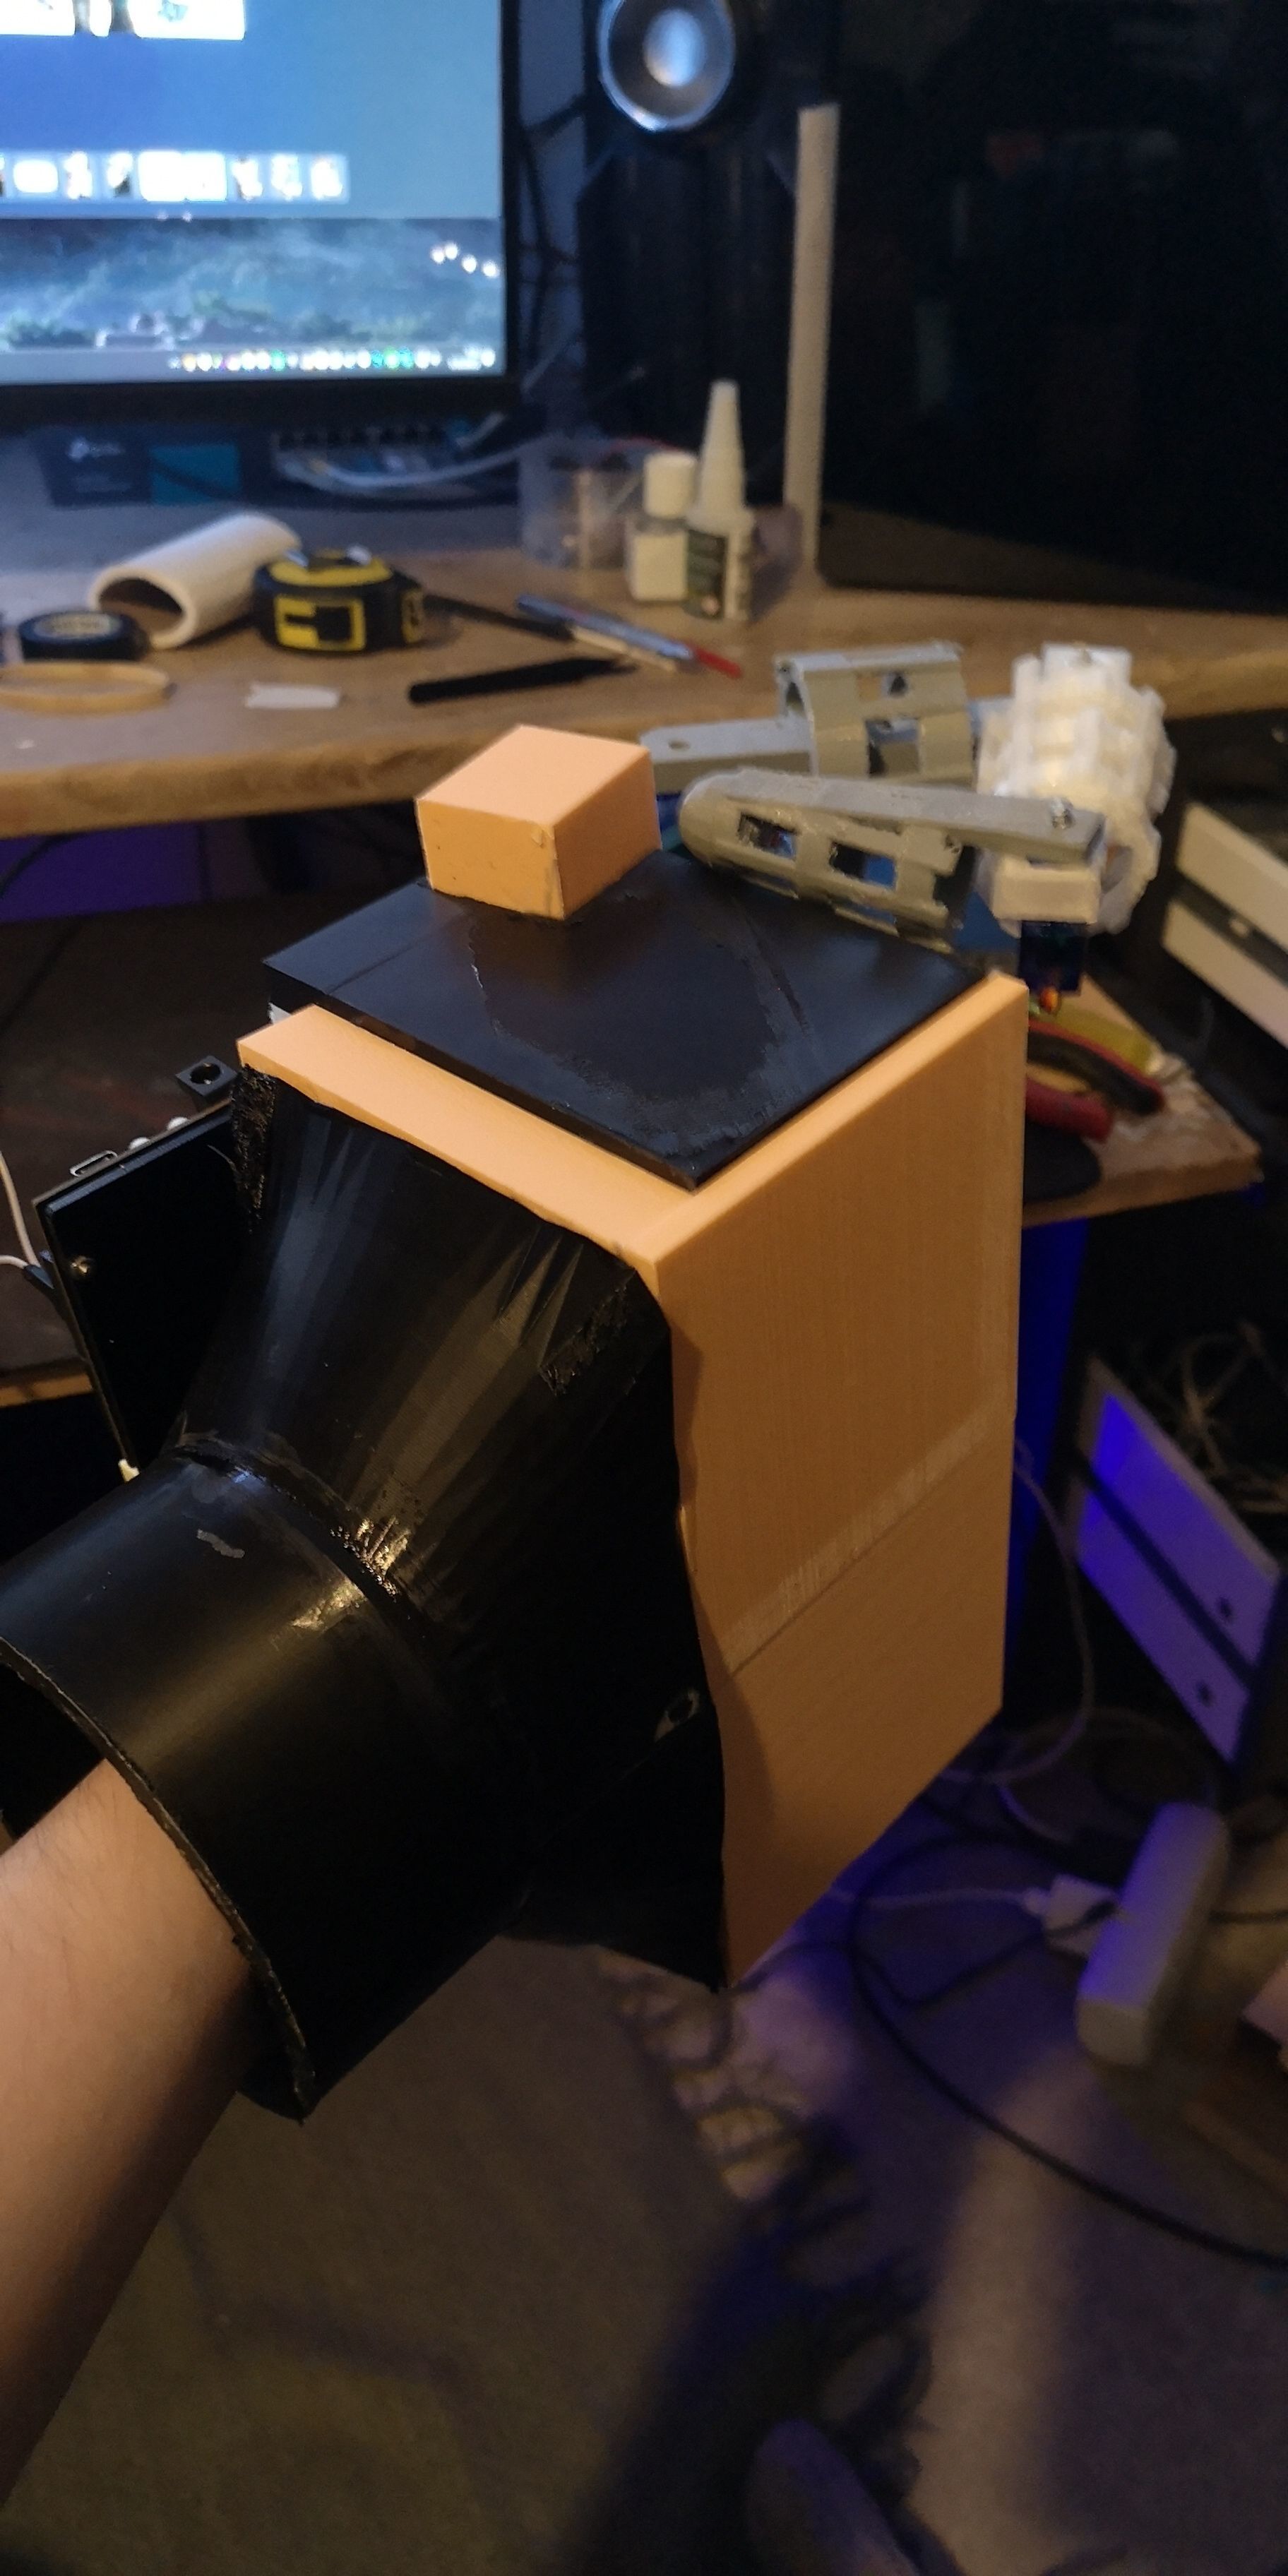
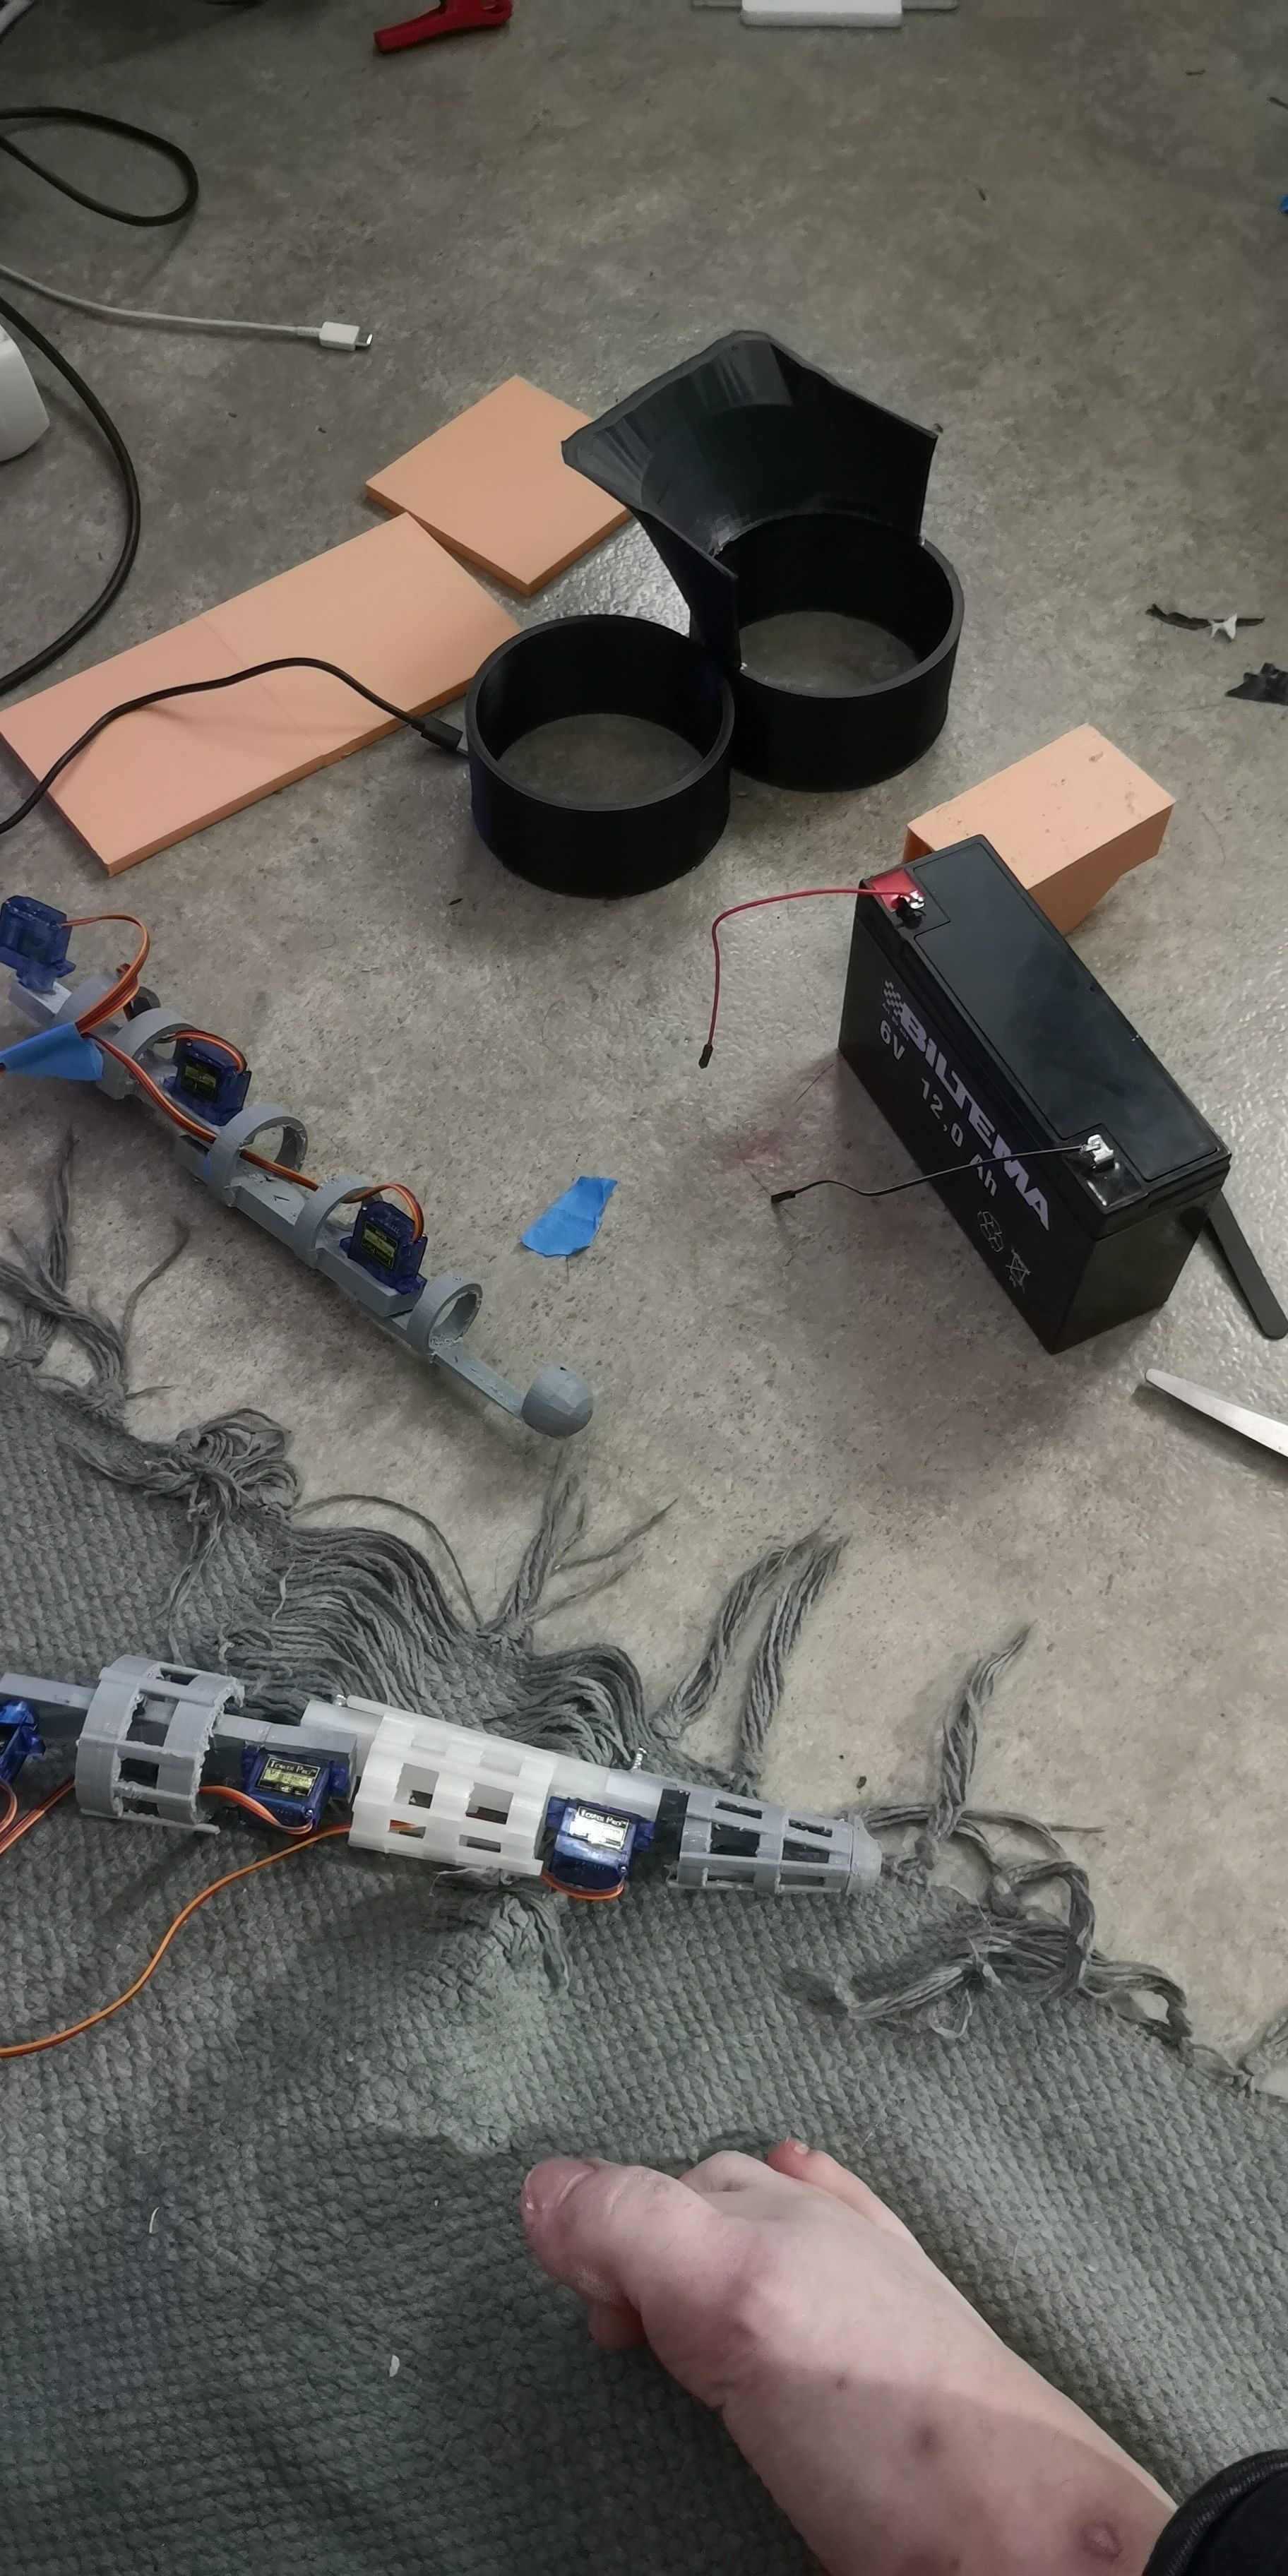
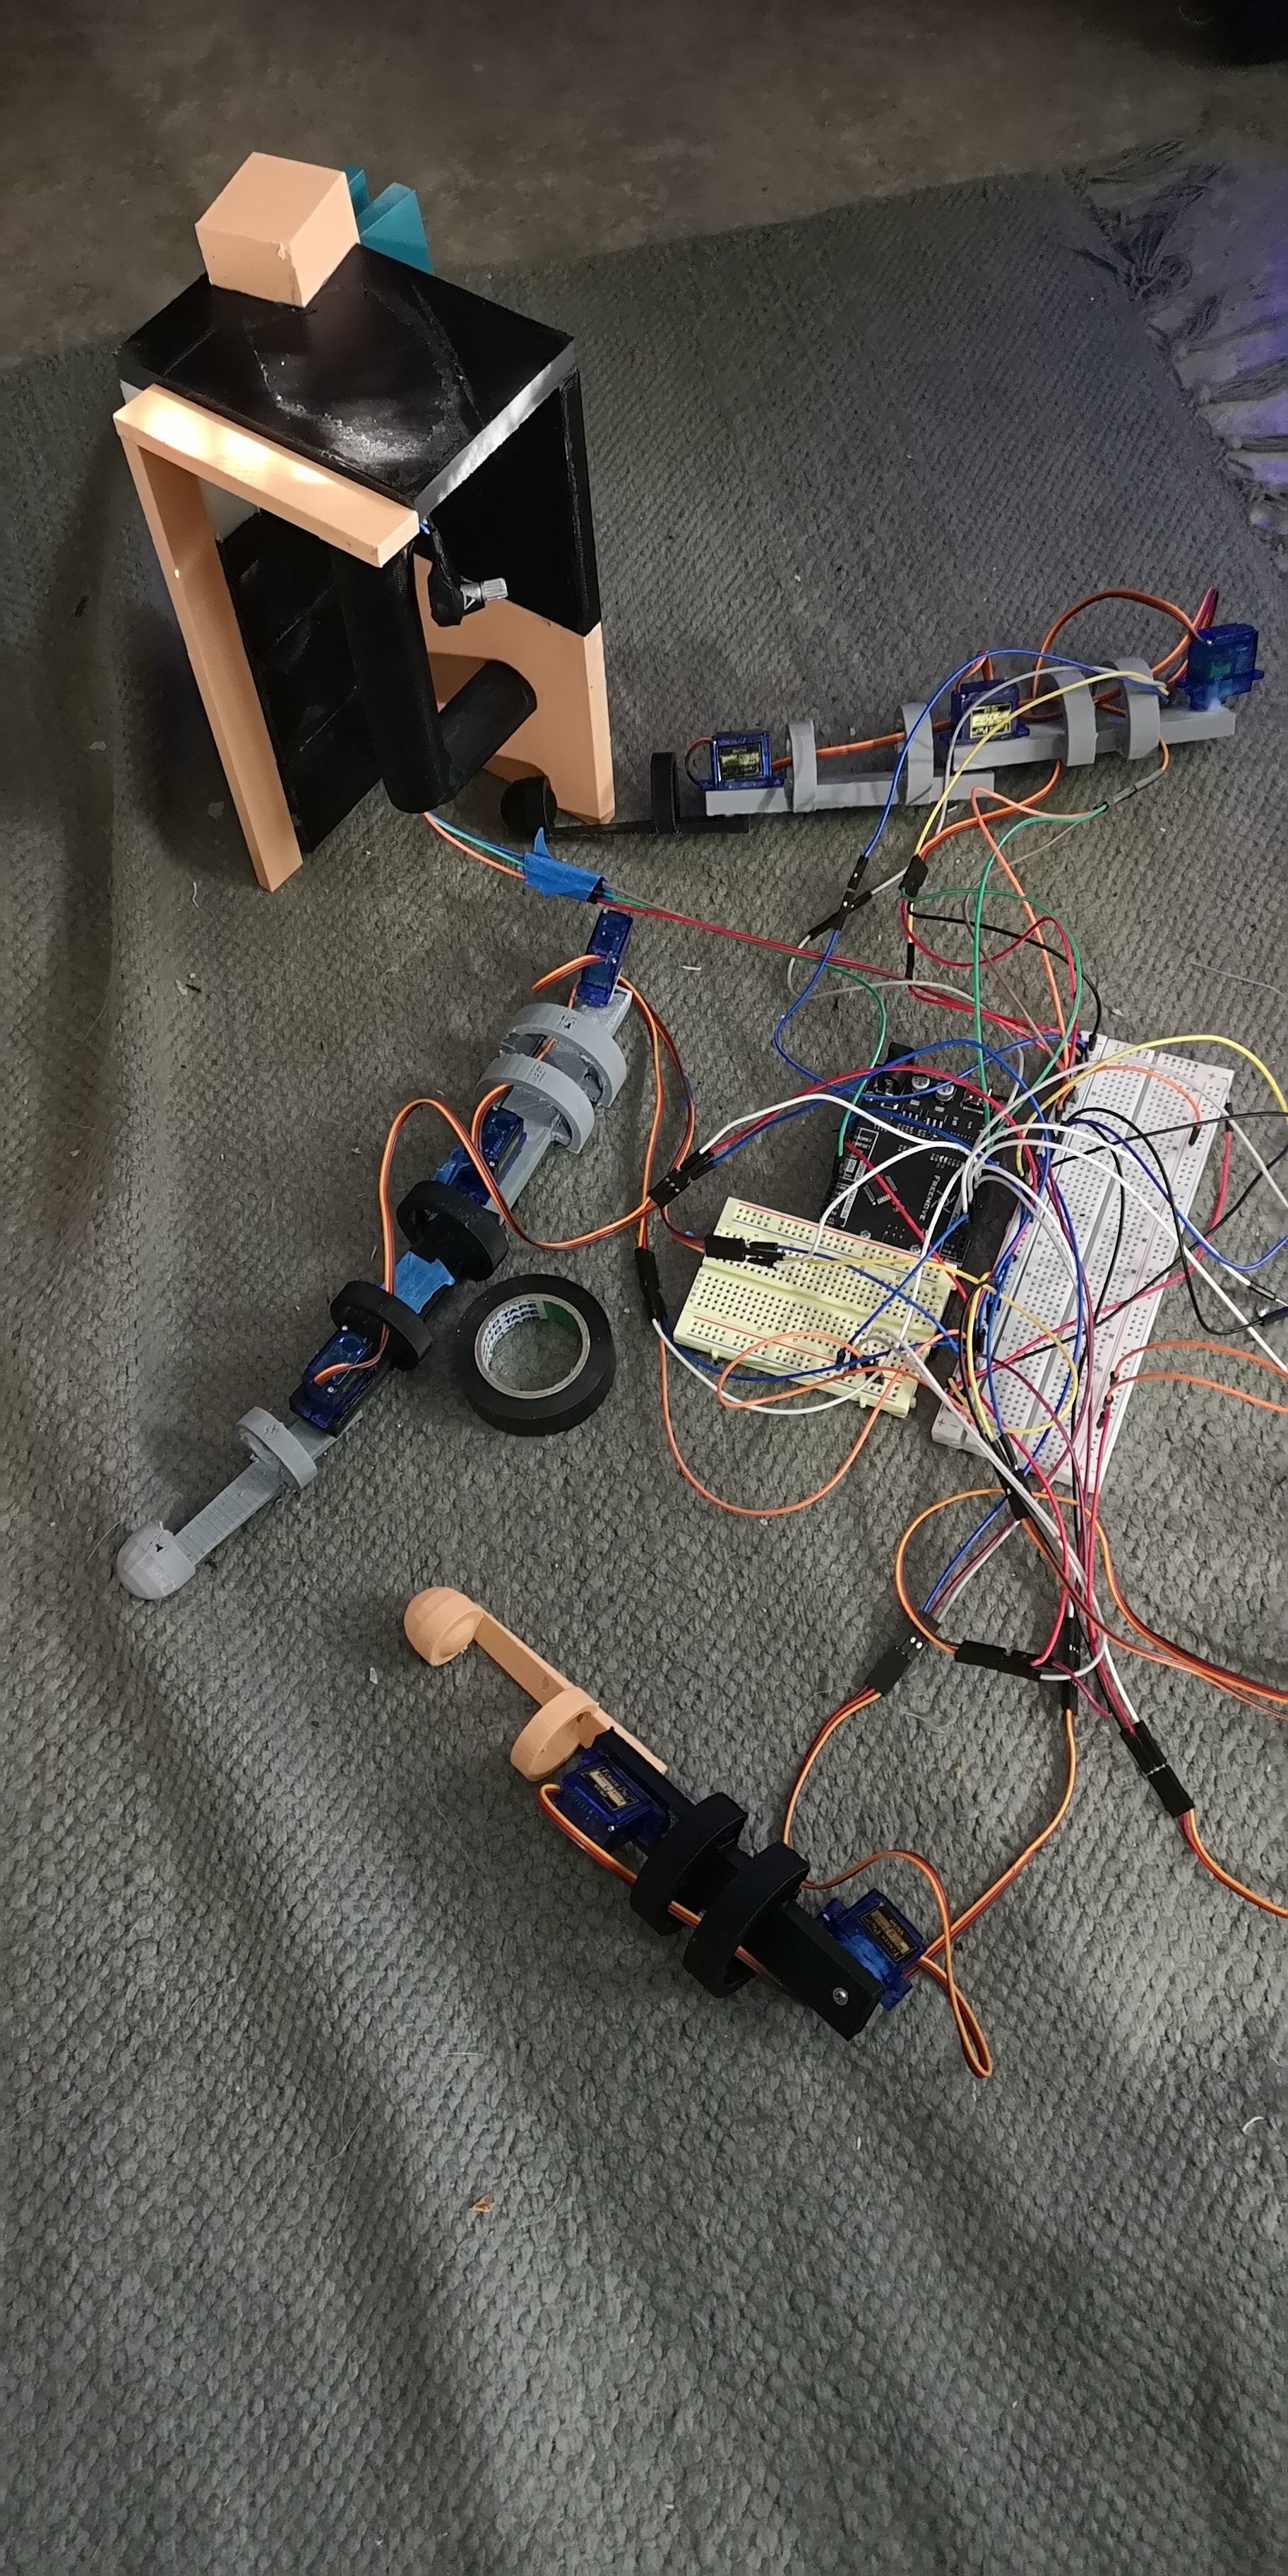
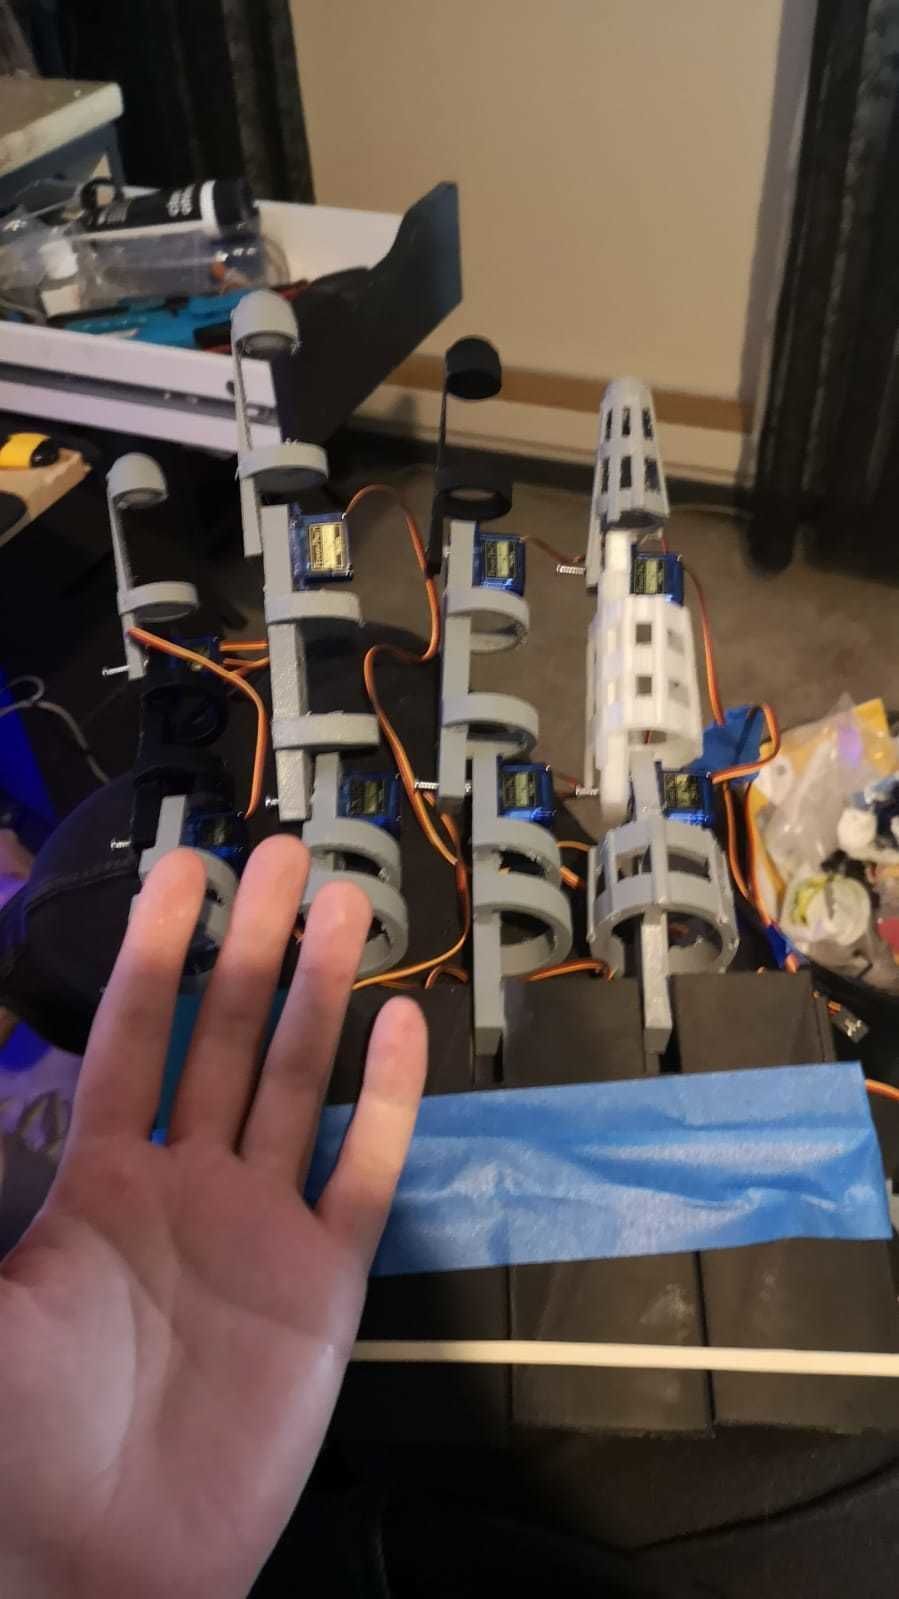
For mechanised version like this. Start building the fingers on floor with a breadboard, look at the pictures I have left in here. Build the main frames of the fingers and breadboard the wiring and everything to work. After you have the fingers moving on the floor connected to the PCA 9865 and Arduino Uno. Start slowly assembling it. Hot glue will be your savior in this project as it will be enough to hold the motors in place and pieces of plastic together. The top cover I suggest screwing into the internal hand socket cube for easier removing if problems occur. Hot glue or anything will work with that too. First when you have the fingers working, start connecting them into the hand cube (where you will have handle and potentiometer inside) with force and little sanding (depending on your printer extrusion ratio) the servos will fit nicely in there. Or you will make them fit in there with a bit of force, if you have underextrusion in your printer, you might need to add glue or something else to hold the servos in place.
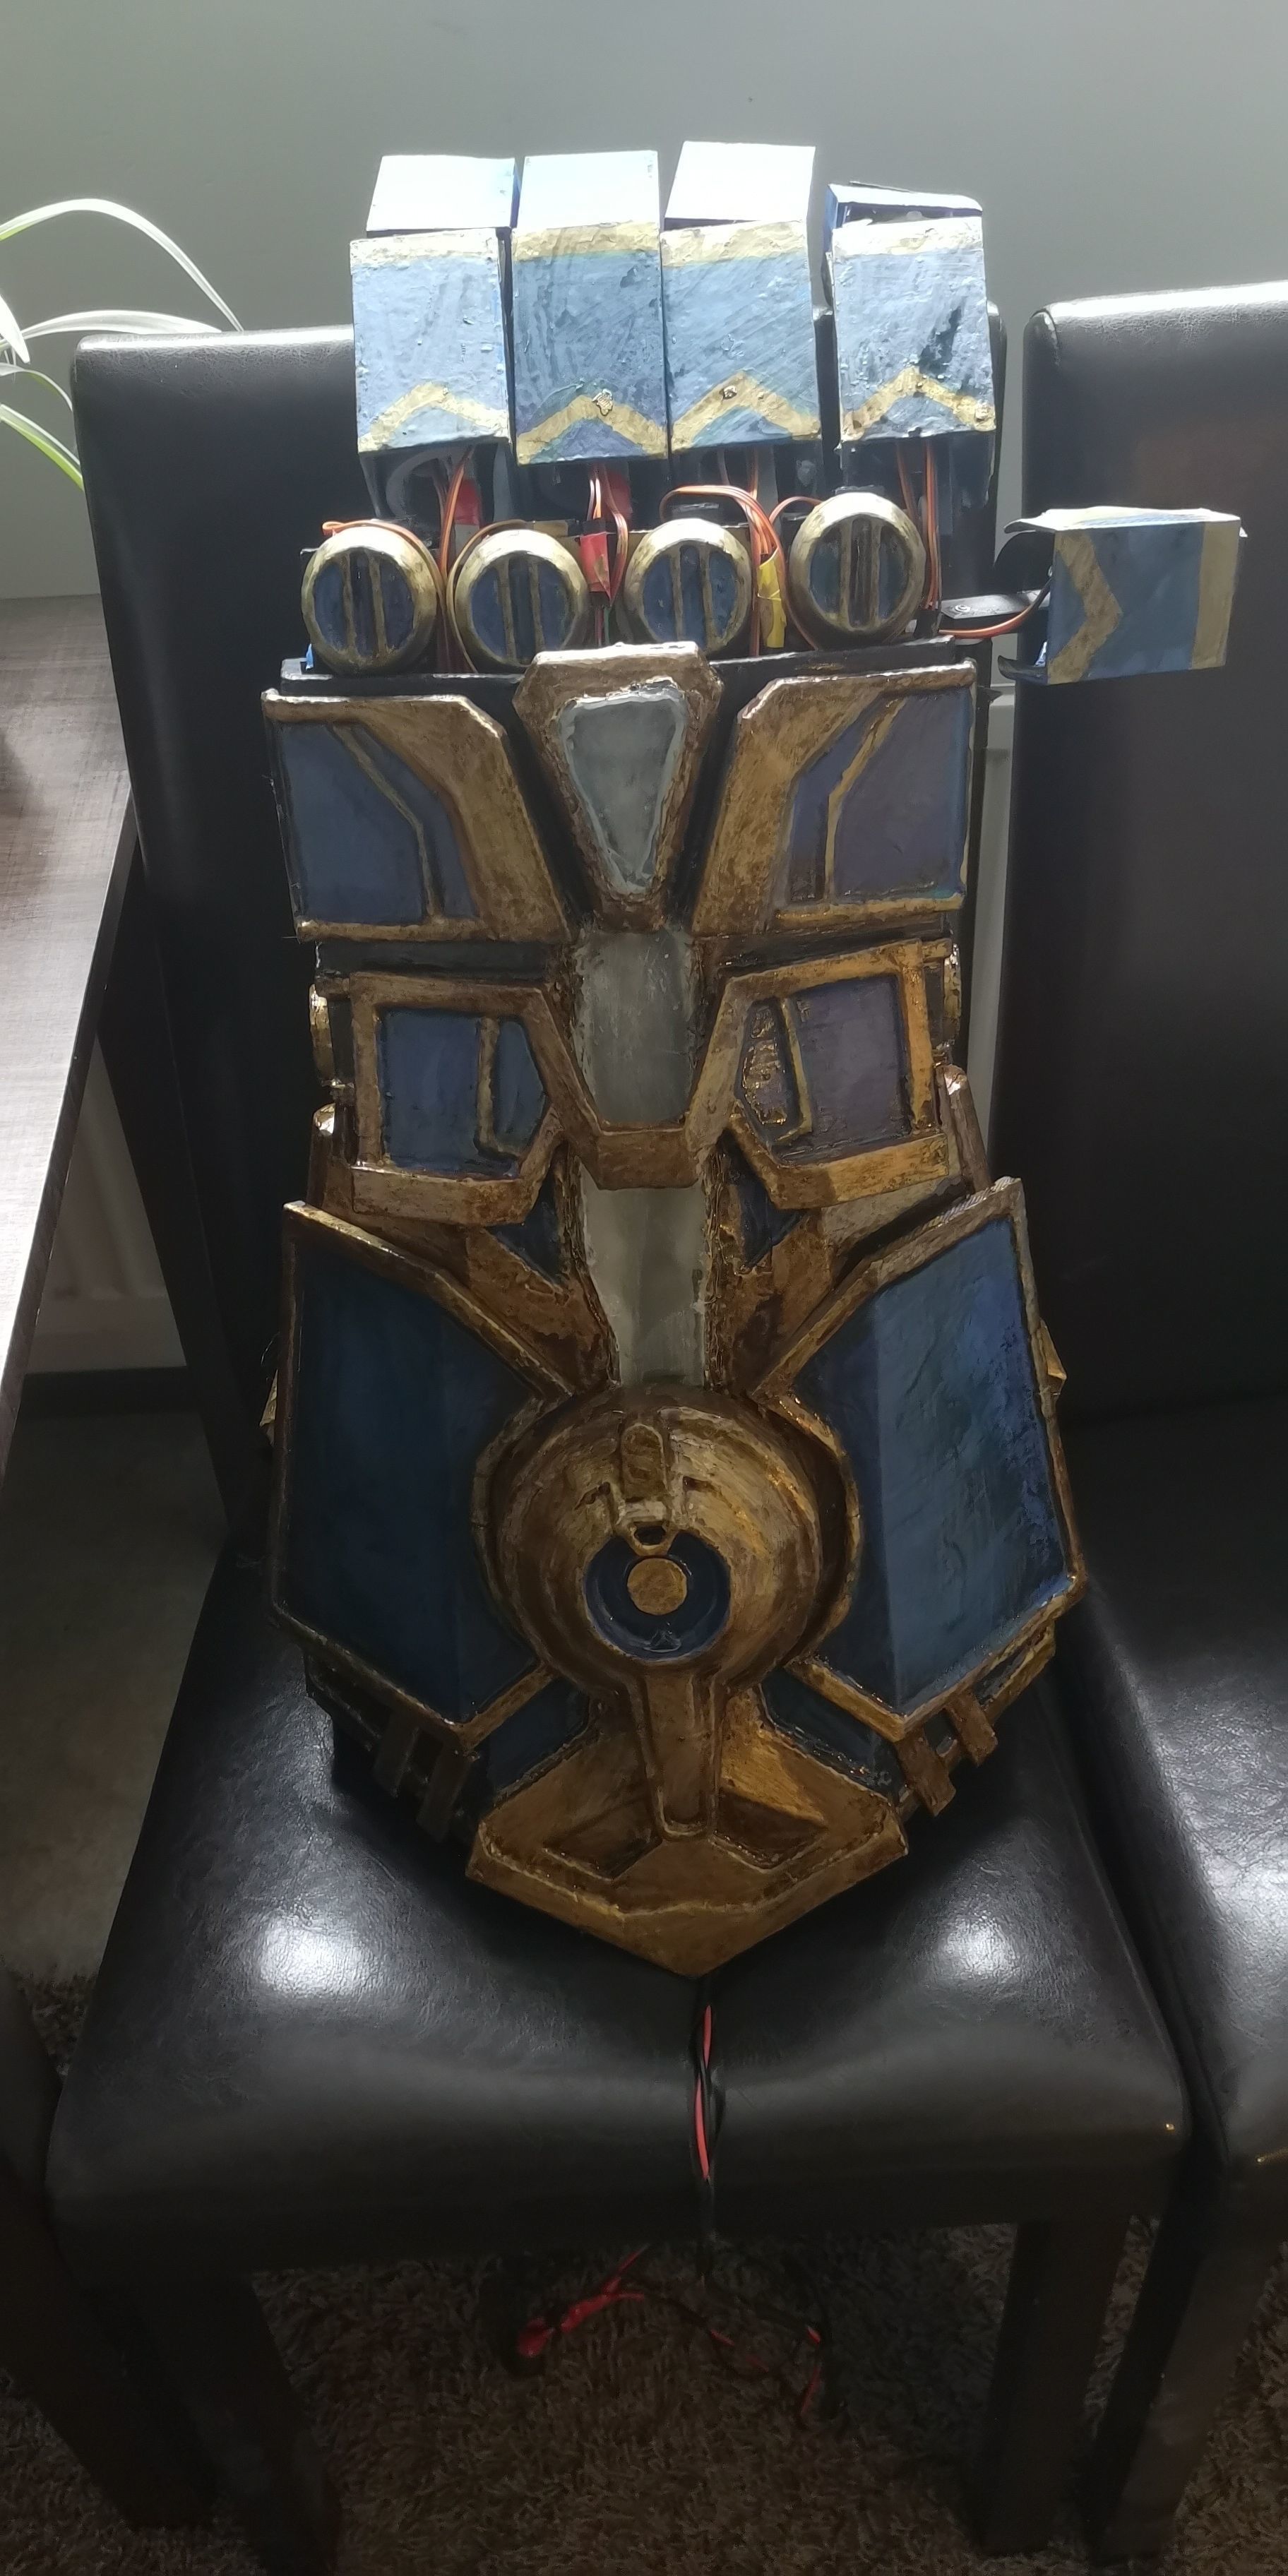
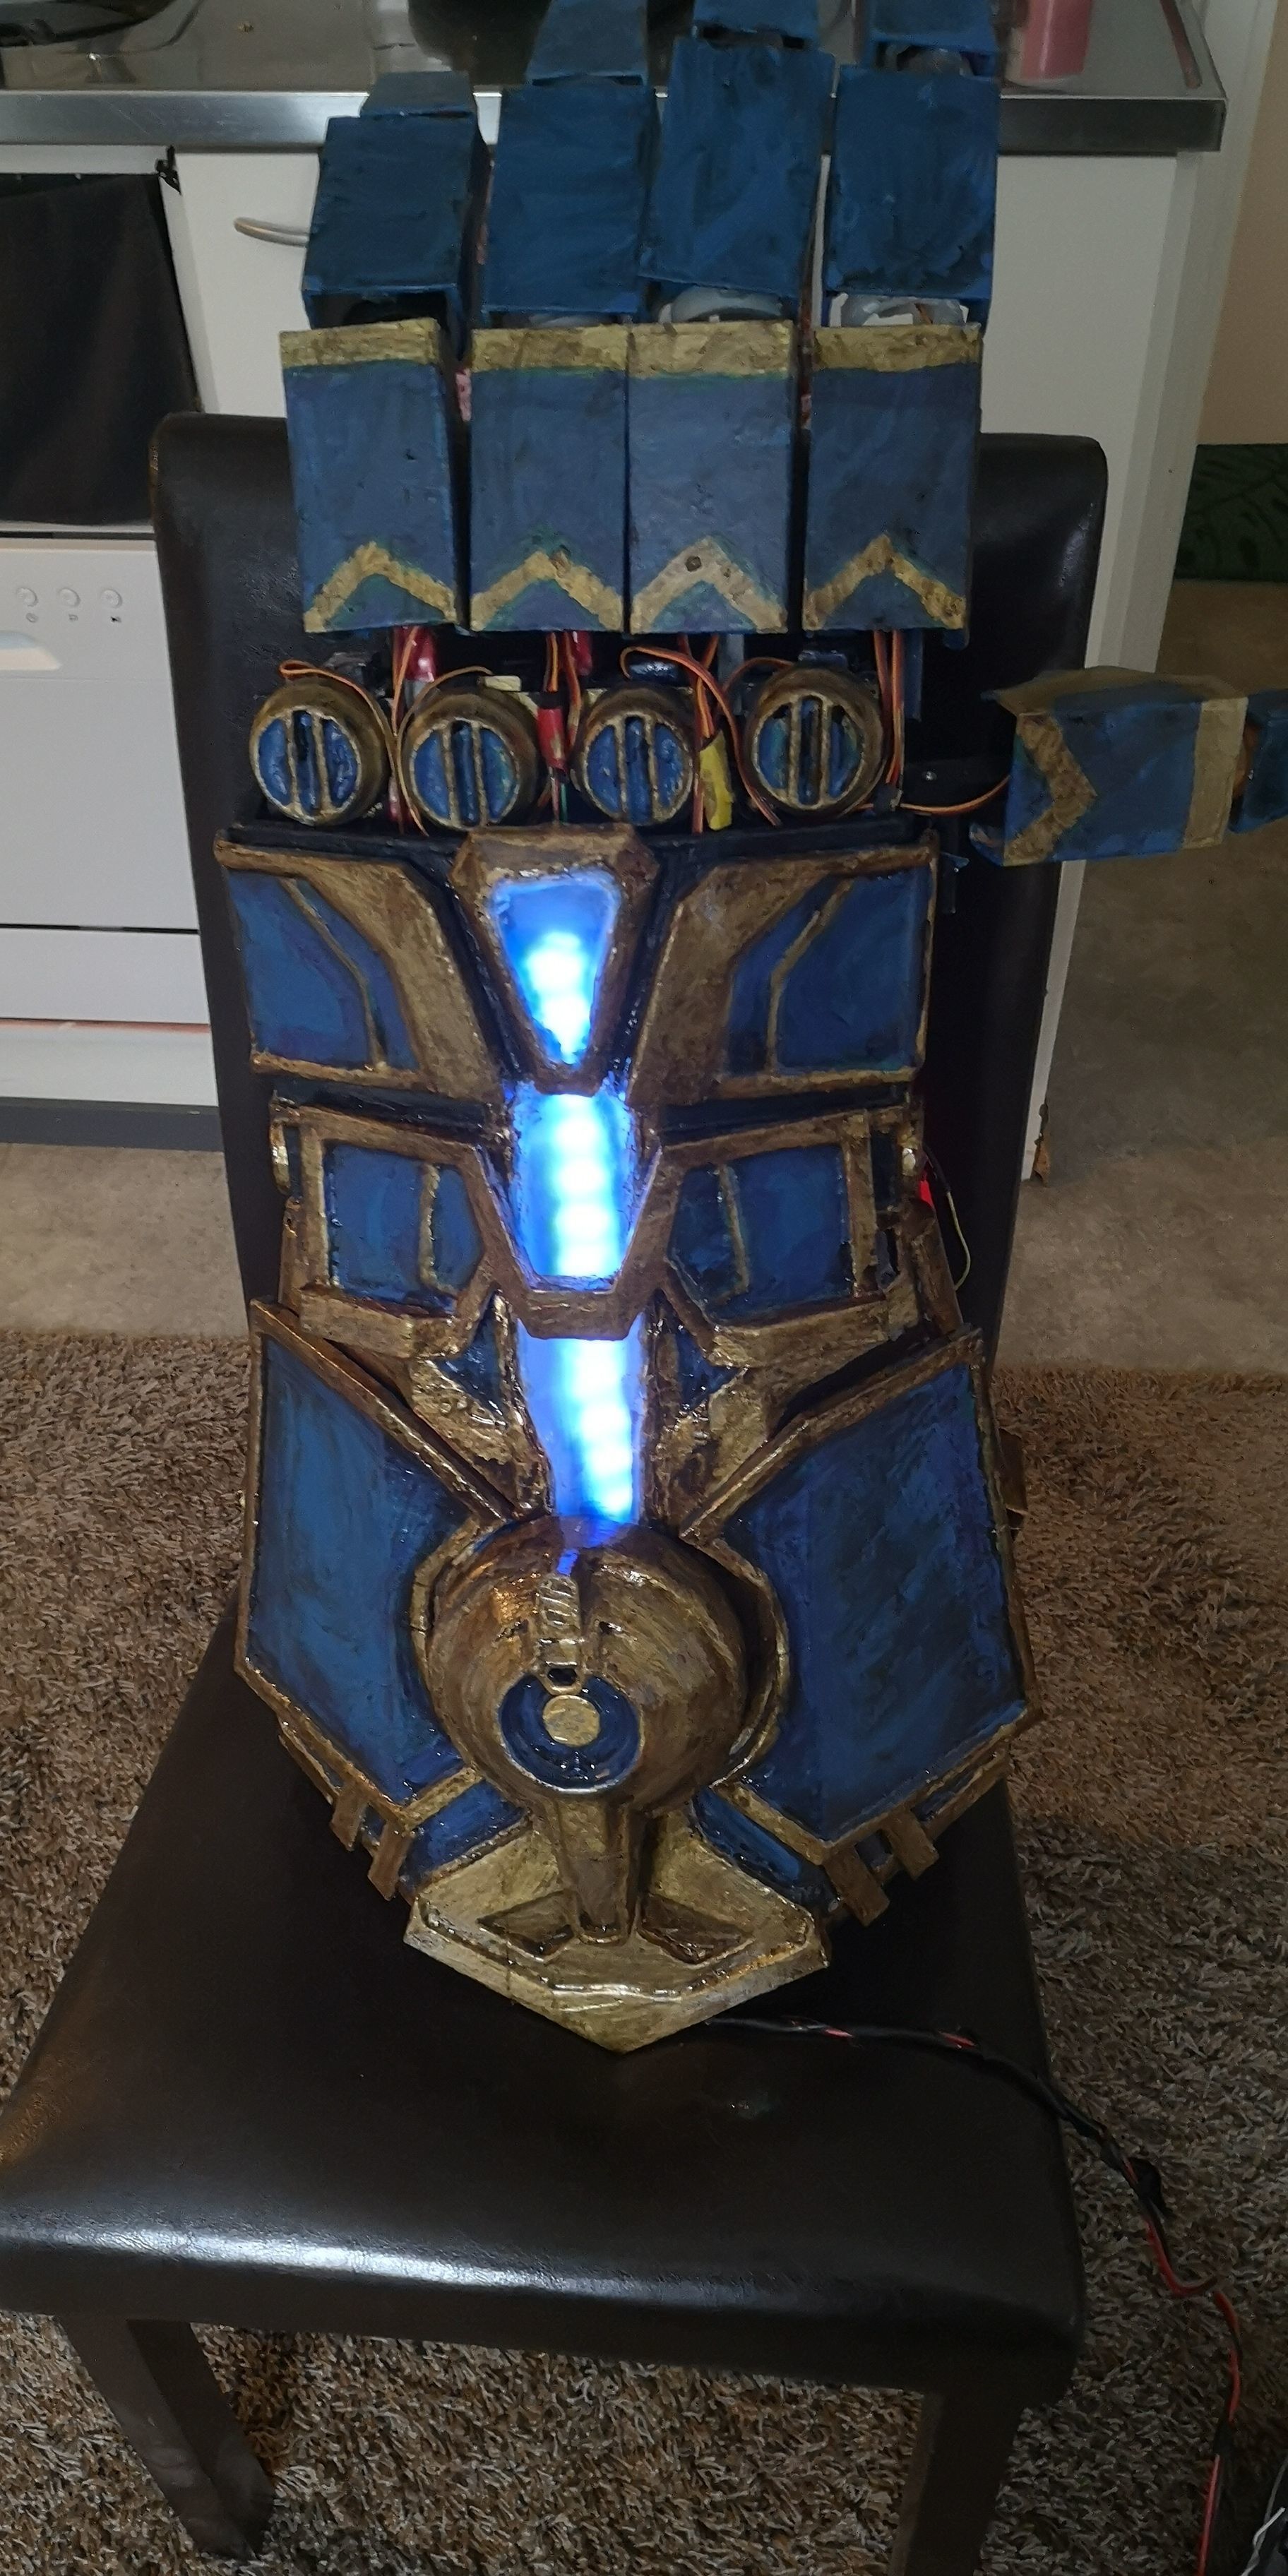
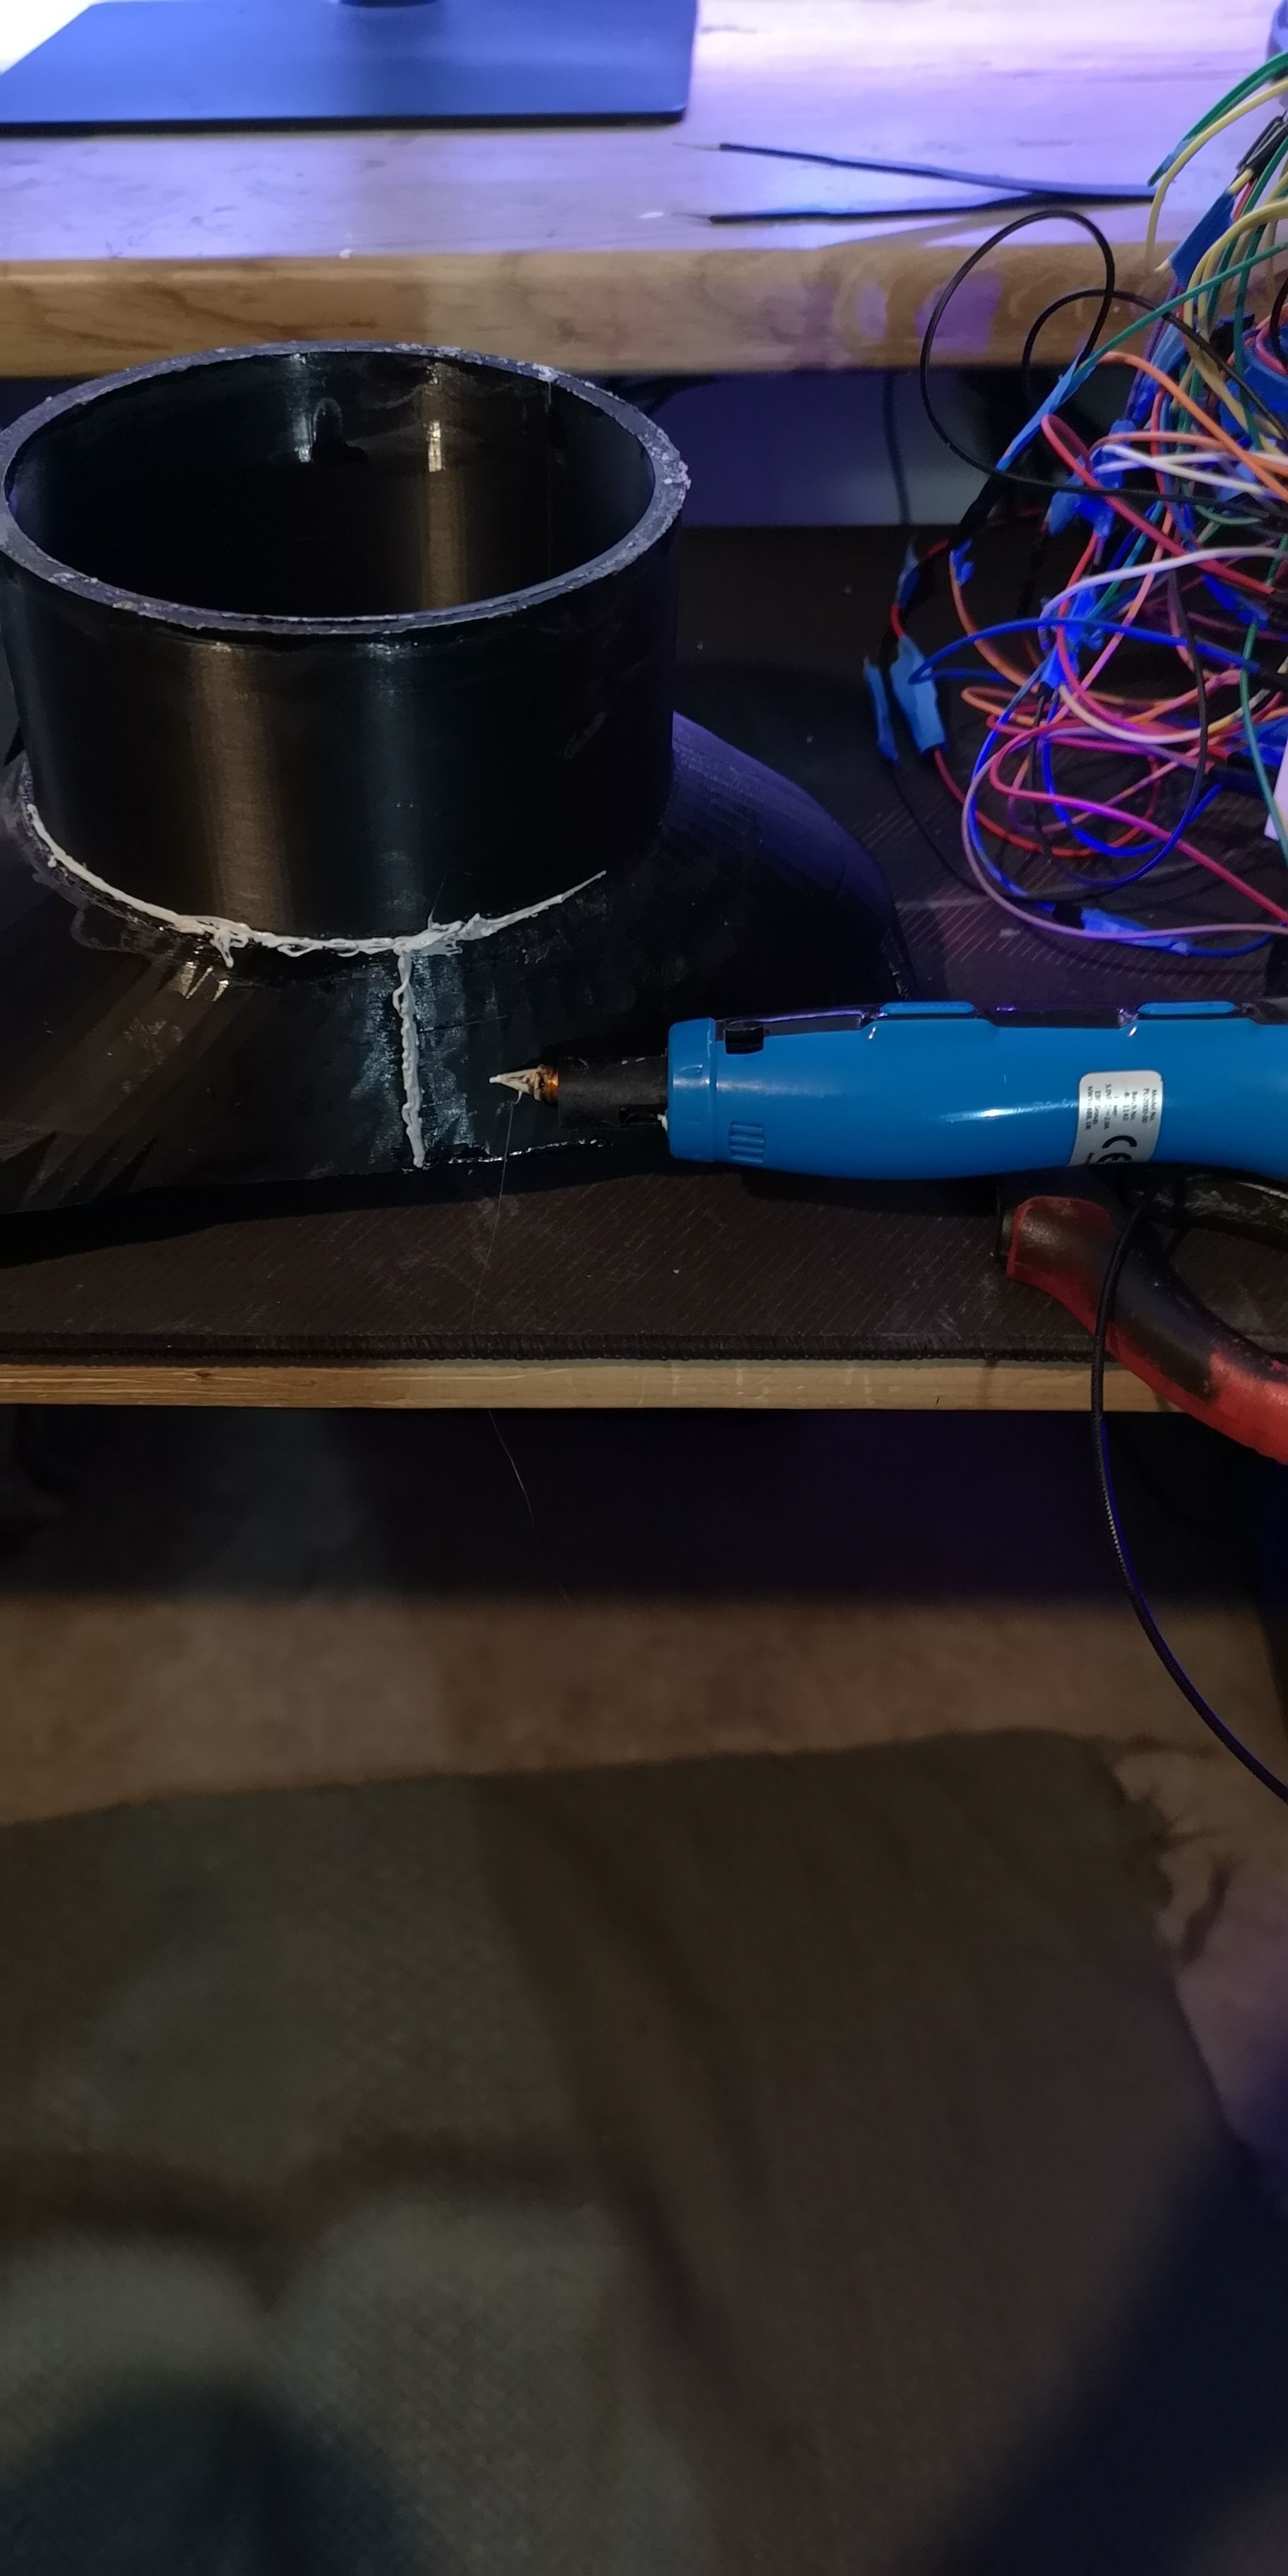
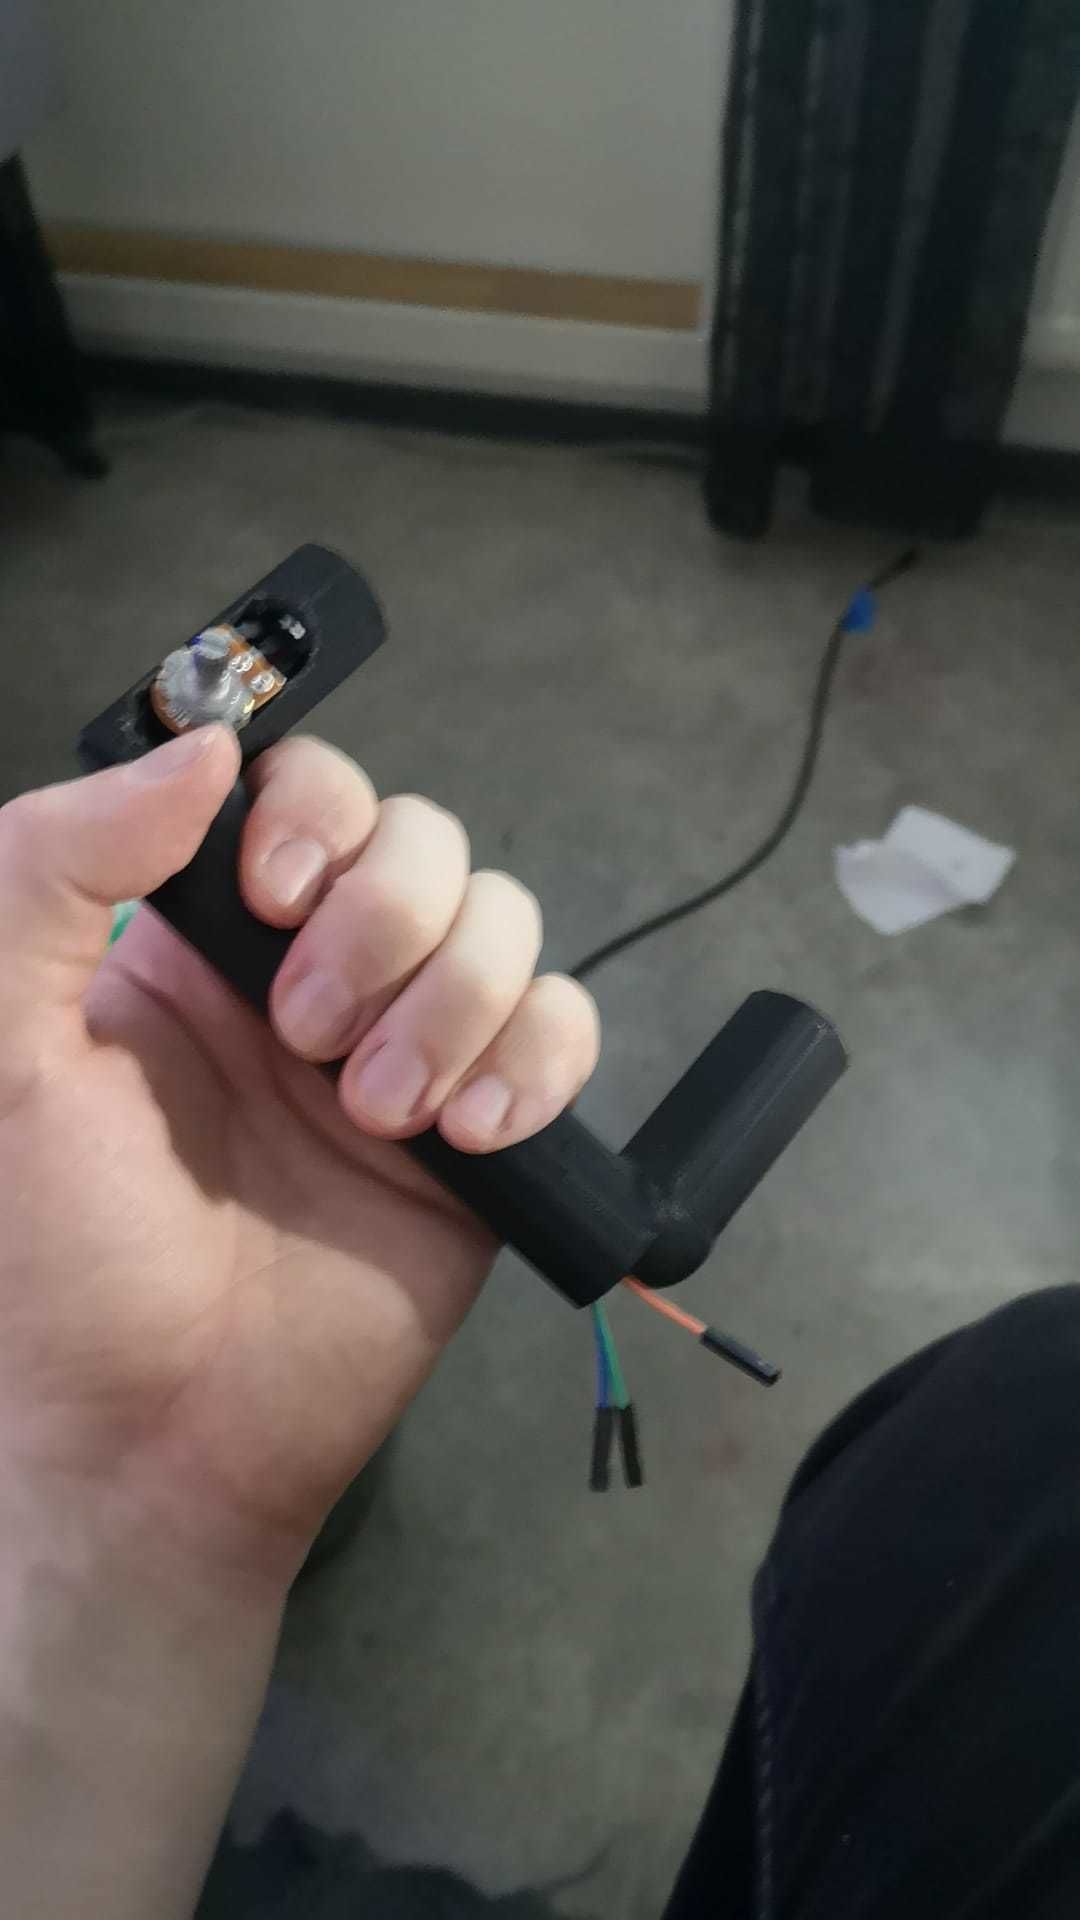
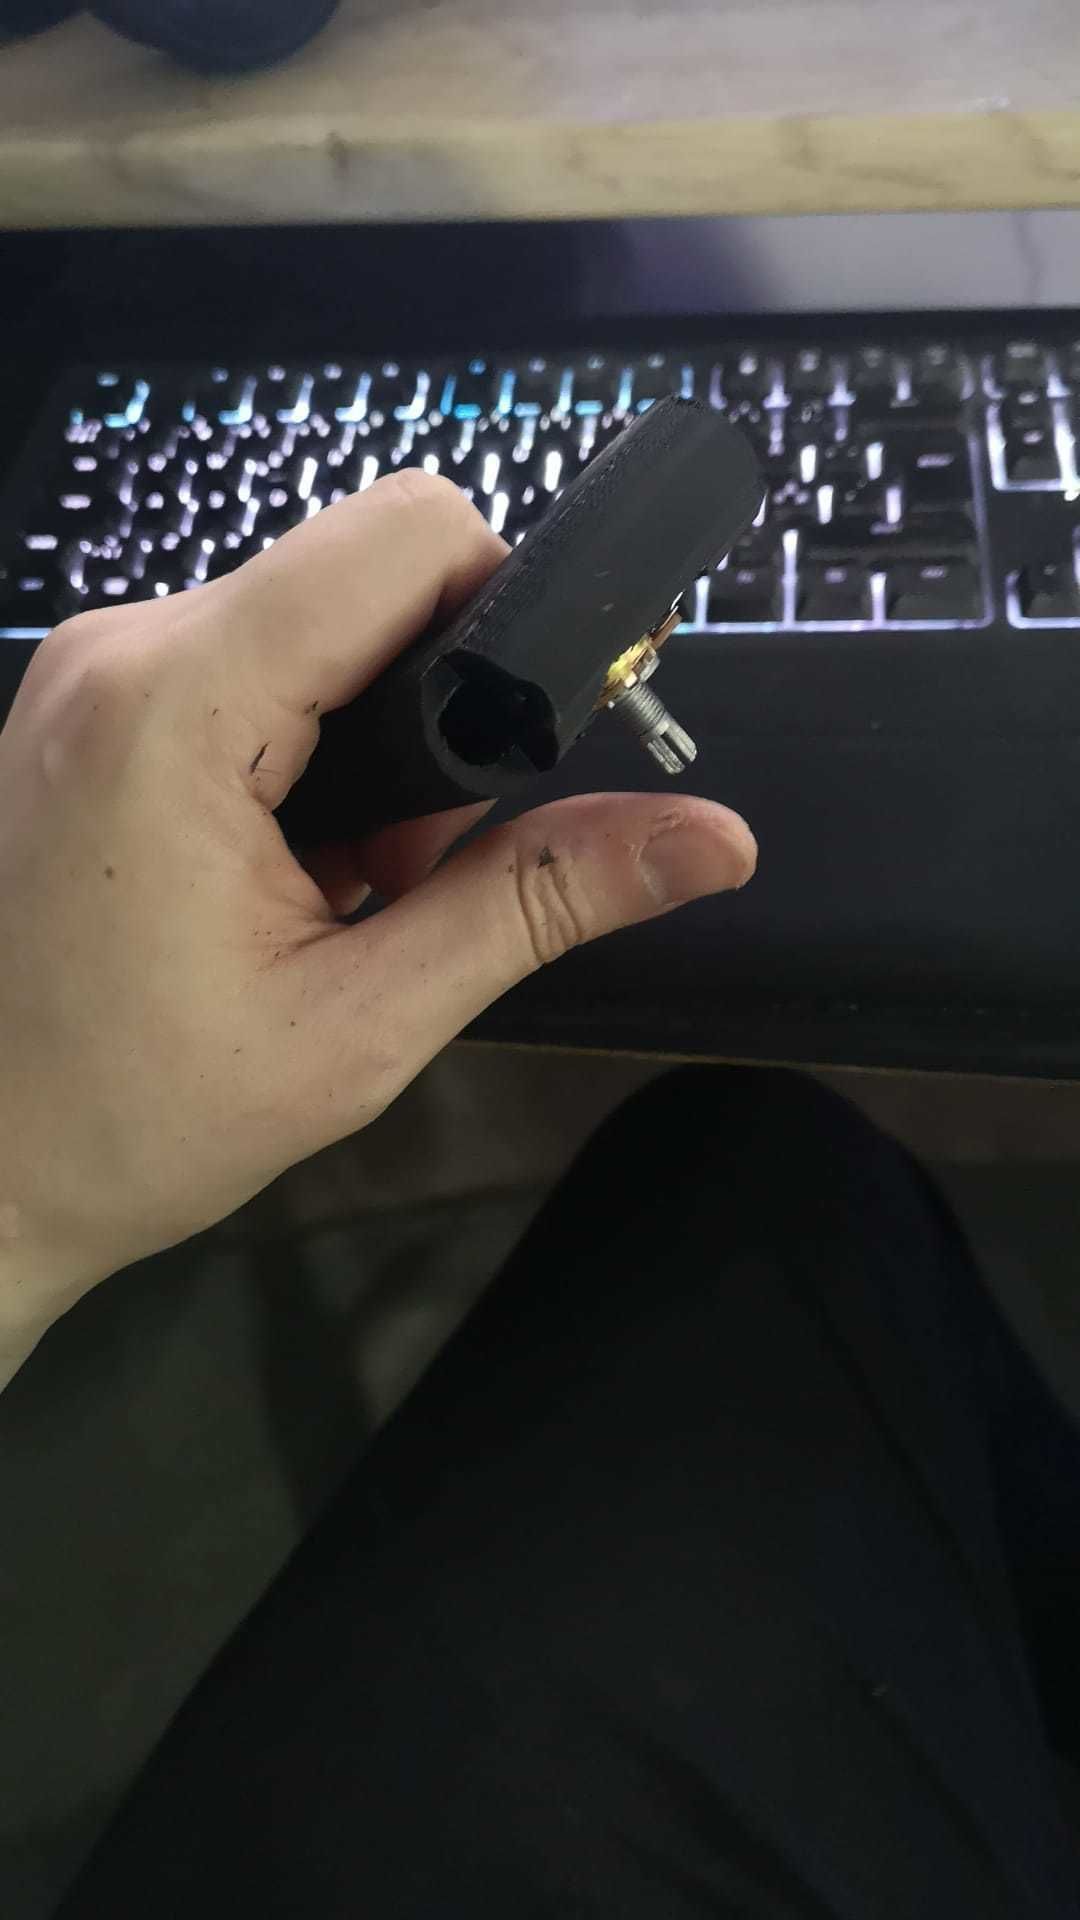
You are running power from your battery to the PCA 9865 and have grounded everything together, great, connect potentiometer to the handle inside the hand cube, depending on your potentiometer you might need to make more space for it or again put it in place with hot glue etc. Connect potentiometer to the Arduino Uno and you have control over your fingers. Now that the mechanical part is done. Start creating the top cover. Slide led strip cables through the openings you have left to the top cover under neath the resin area. Tape oven paper or weight down oven paper on the resin rail and fill it with resin. After curing you should have a resin piece that fills out the room and goes nicely over the LED's. Screw everything together and hope for the best. If something isn't working, a wire has probably come loose. If you are using plastic gear servos like SG90's those will most likely break as that is how I built it first and those all started breaking under the weight.
Comes with battery back STL for 6V 48mAh battery. There are also non hollowed 3D files for just a prop on a wall case. For thumb, print the first and last joints of fingers, there's also file thumb set with socket. Included also plates for first joints of fingers, which I ended up myself painting (golden parts)
This will definitely be a large project even if you are going to just make it a static prop, but here is list for motorized version of parts needed:

