


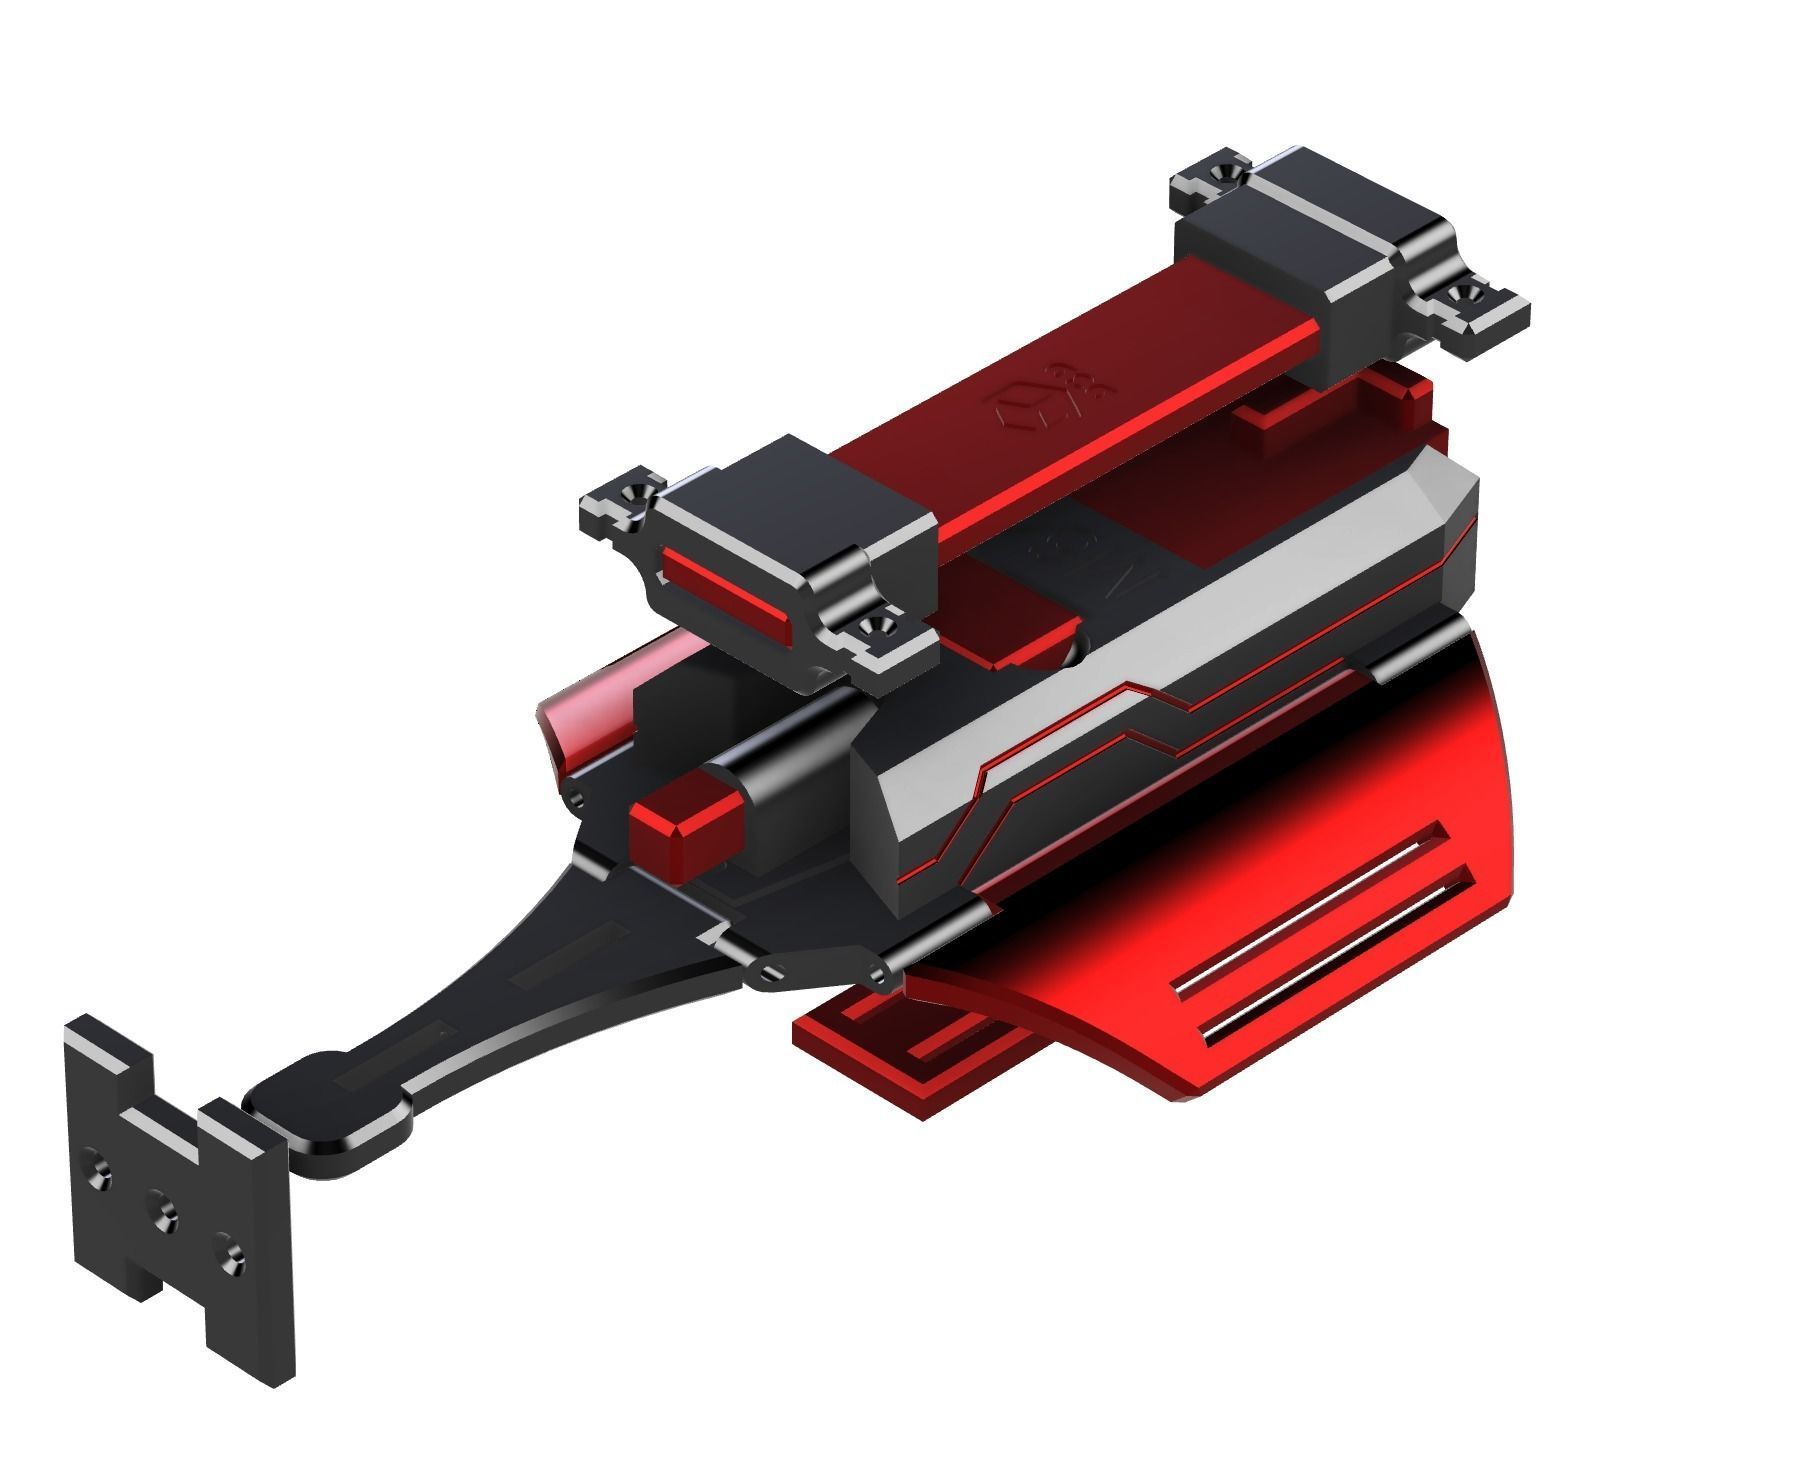
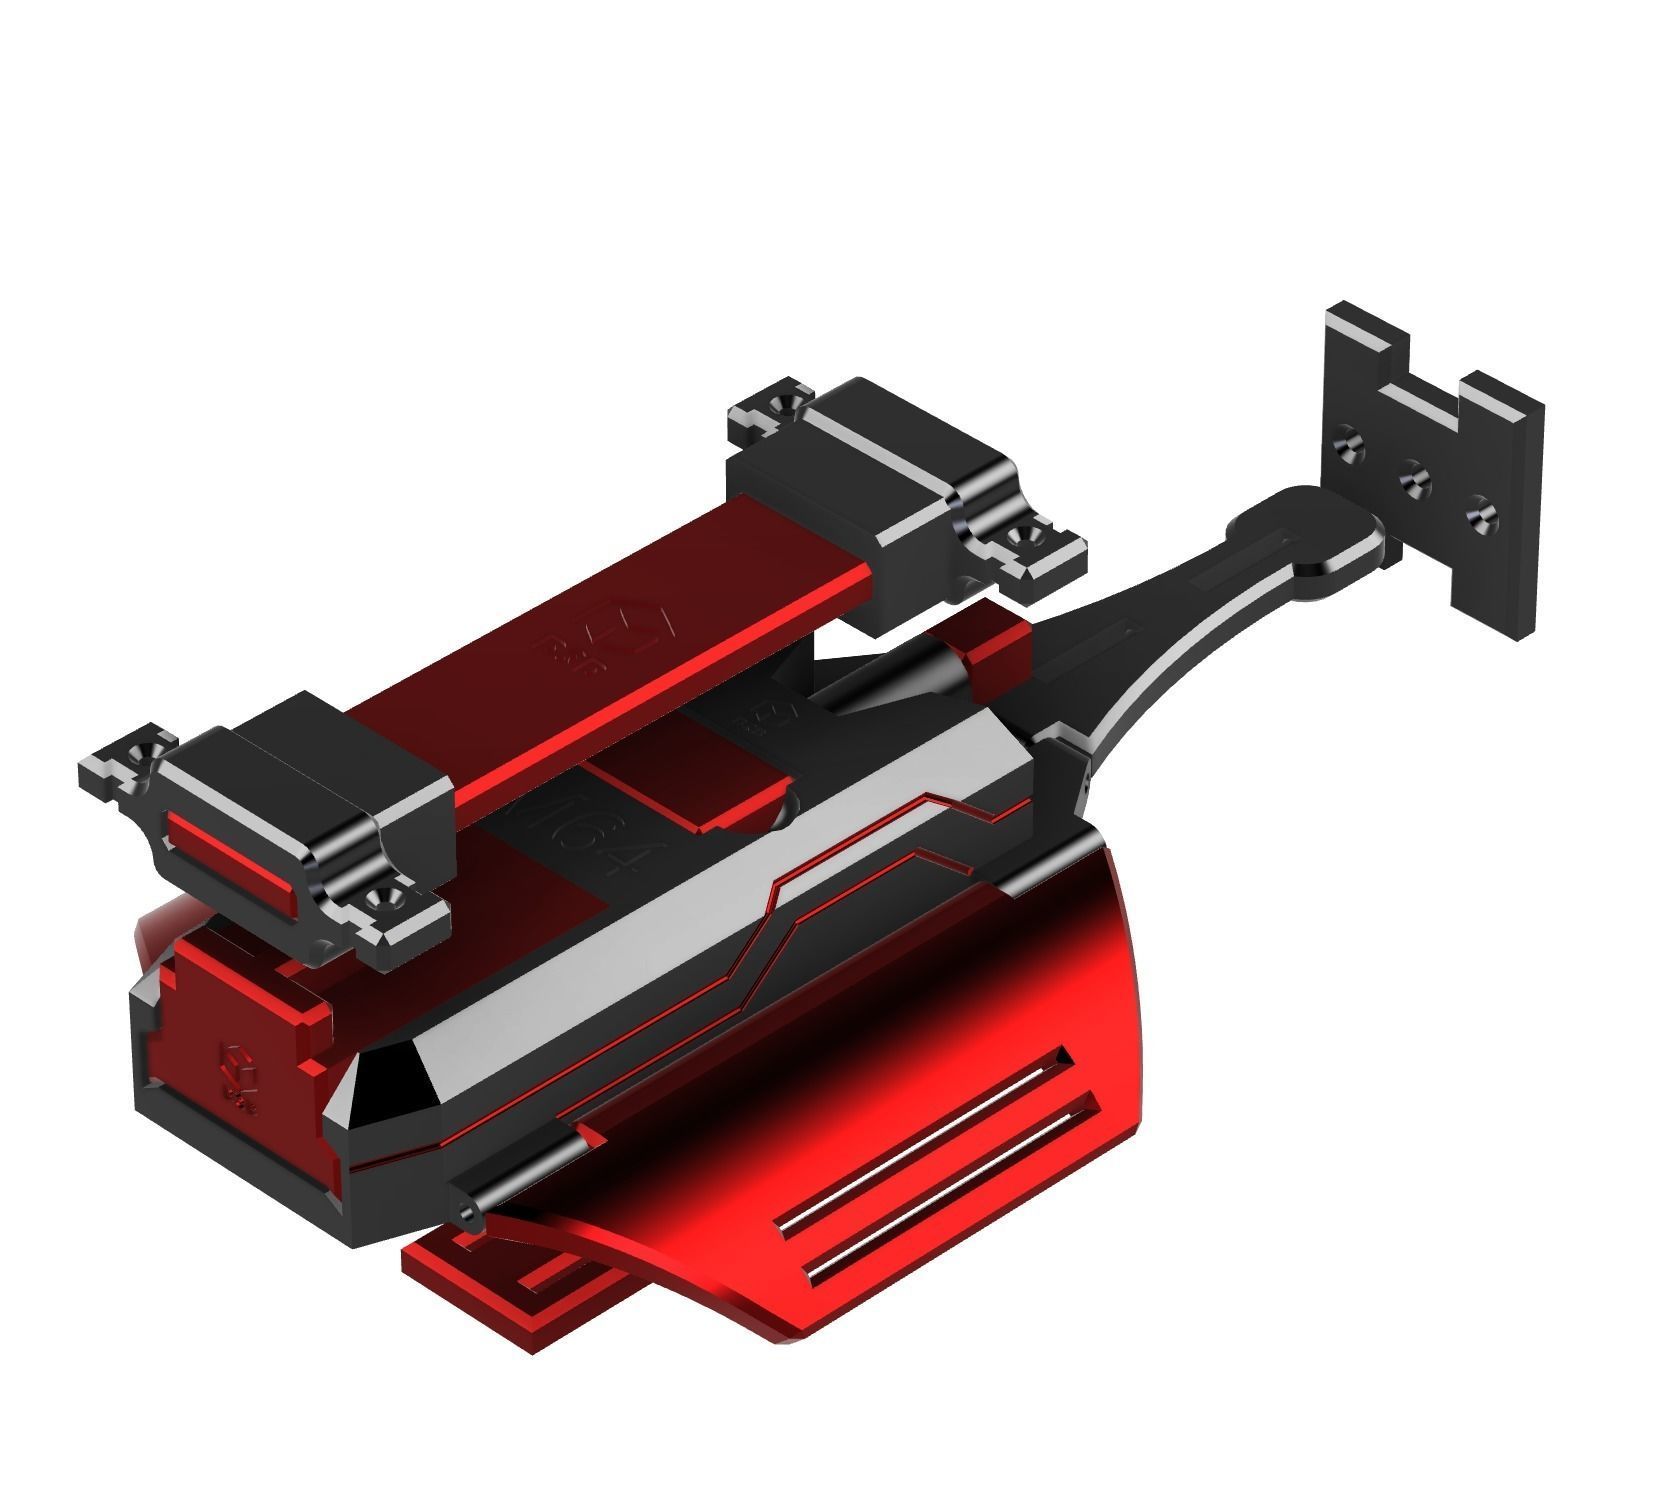
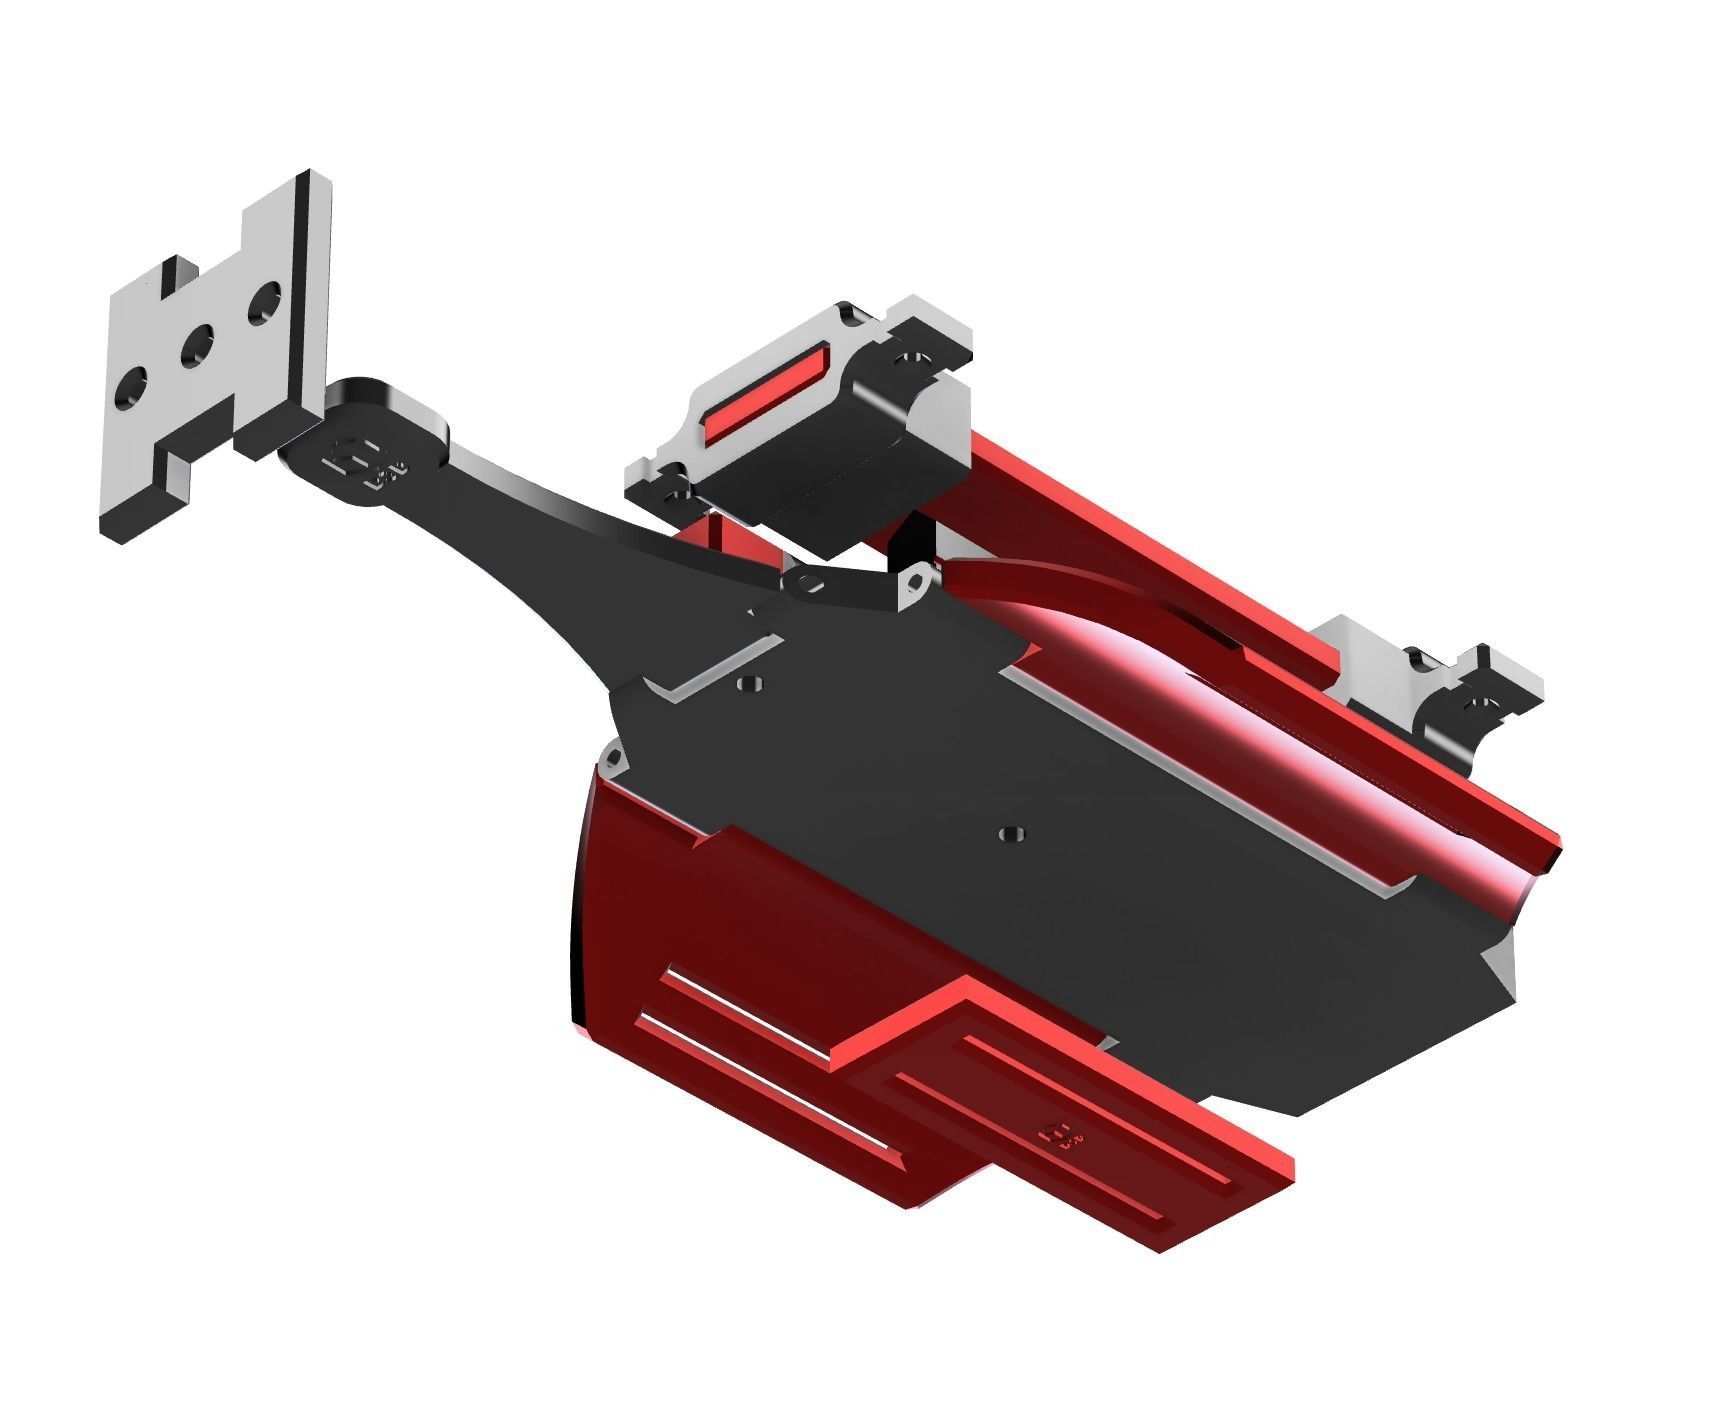
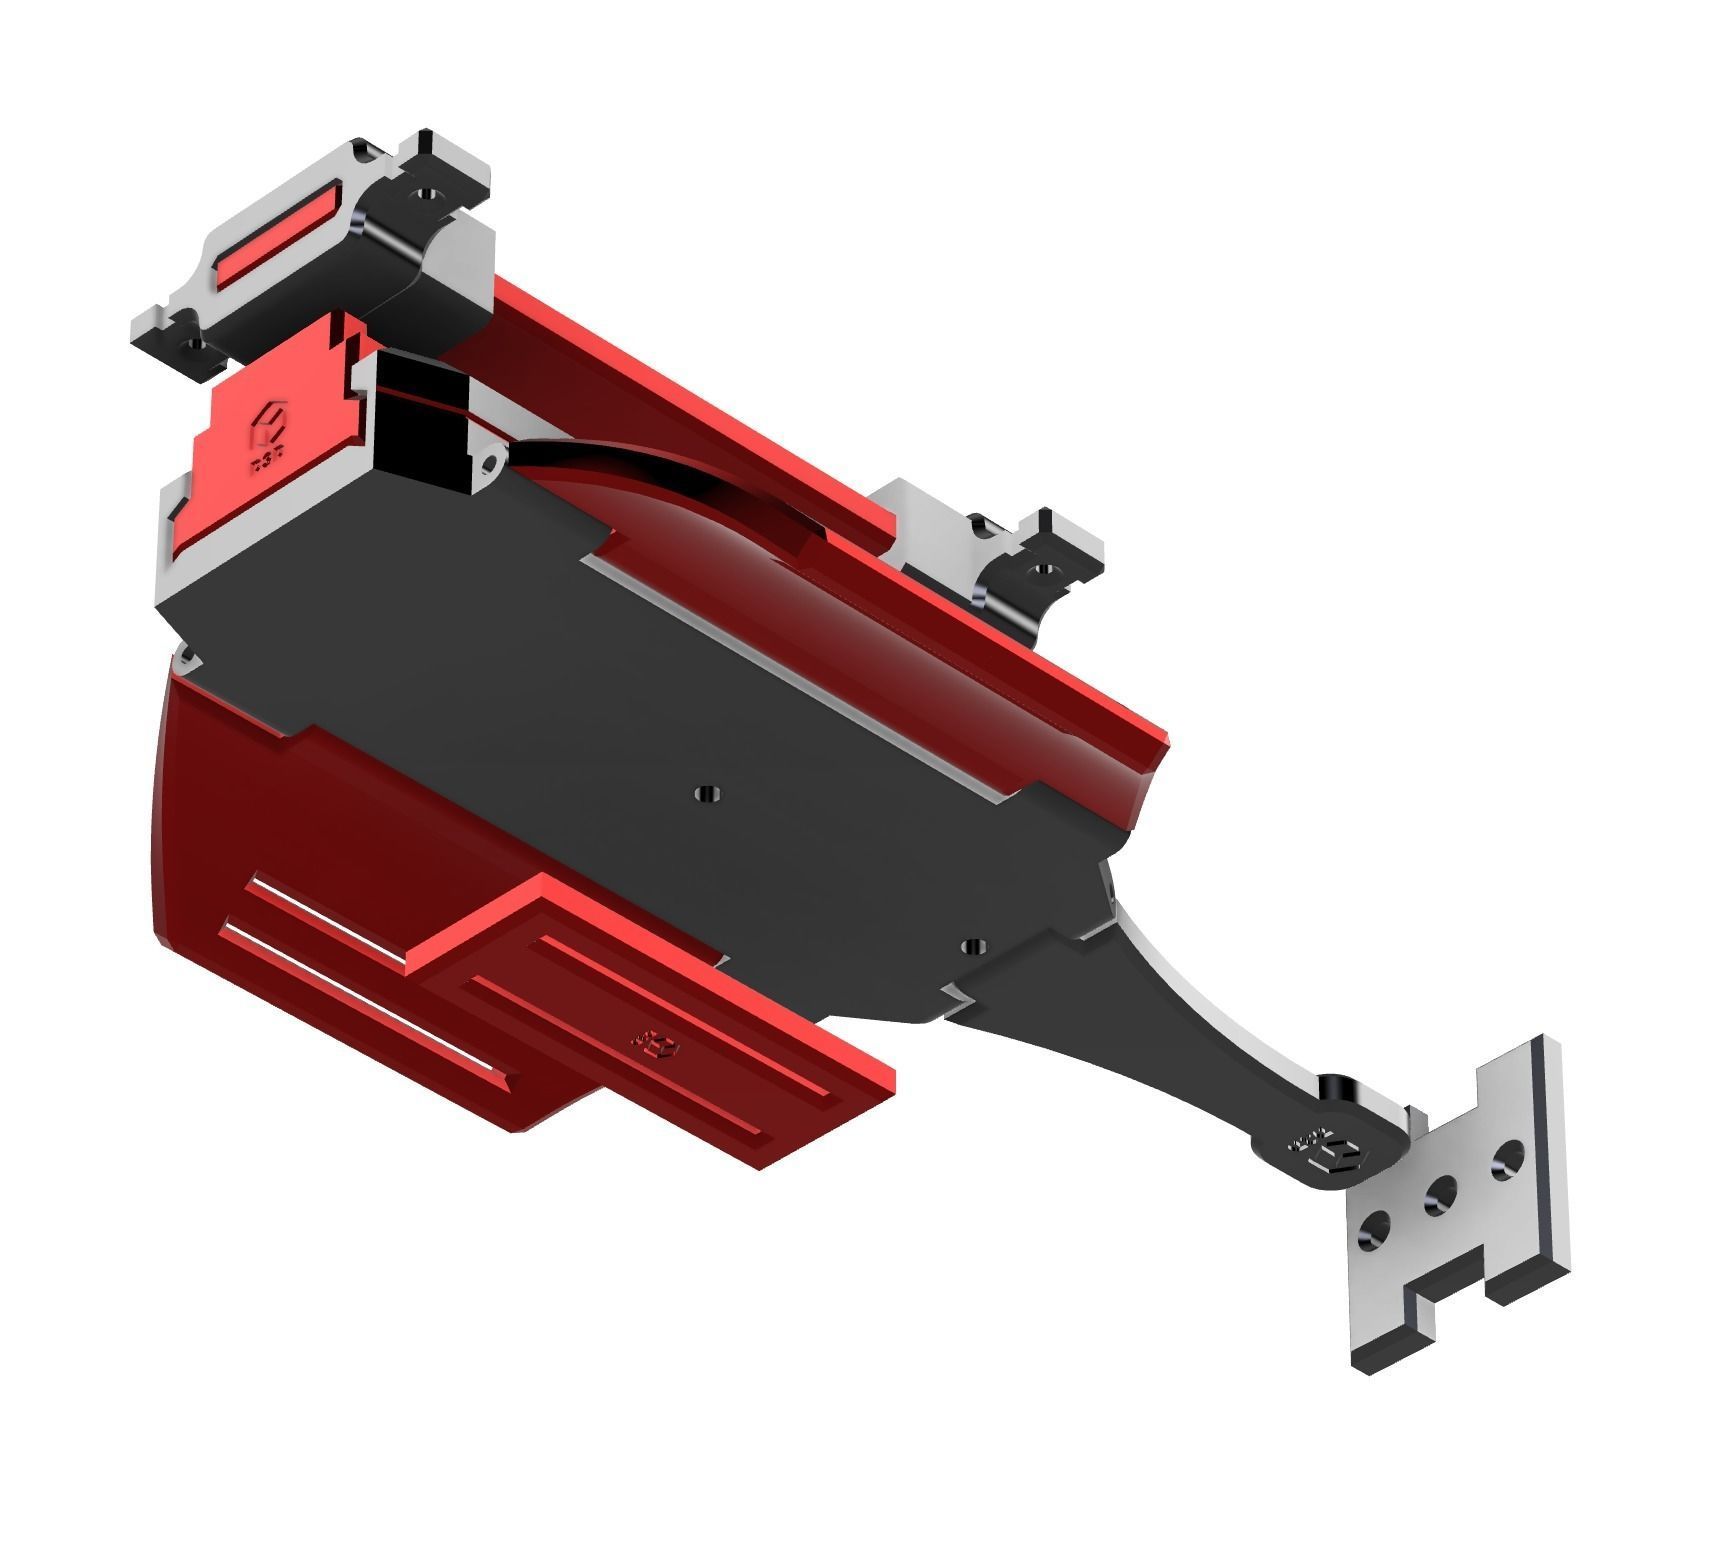
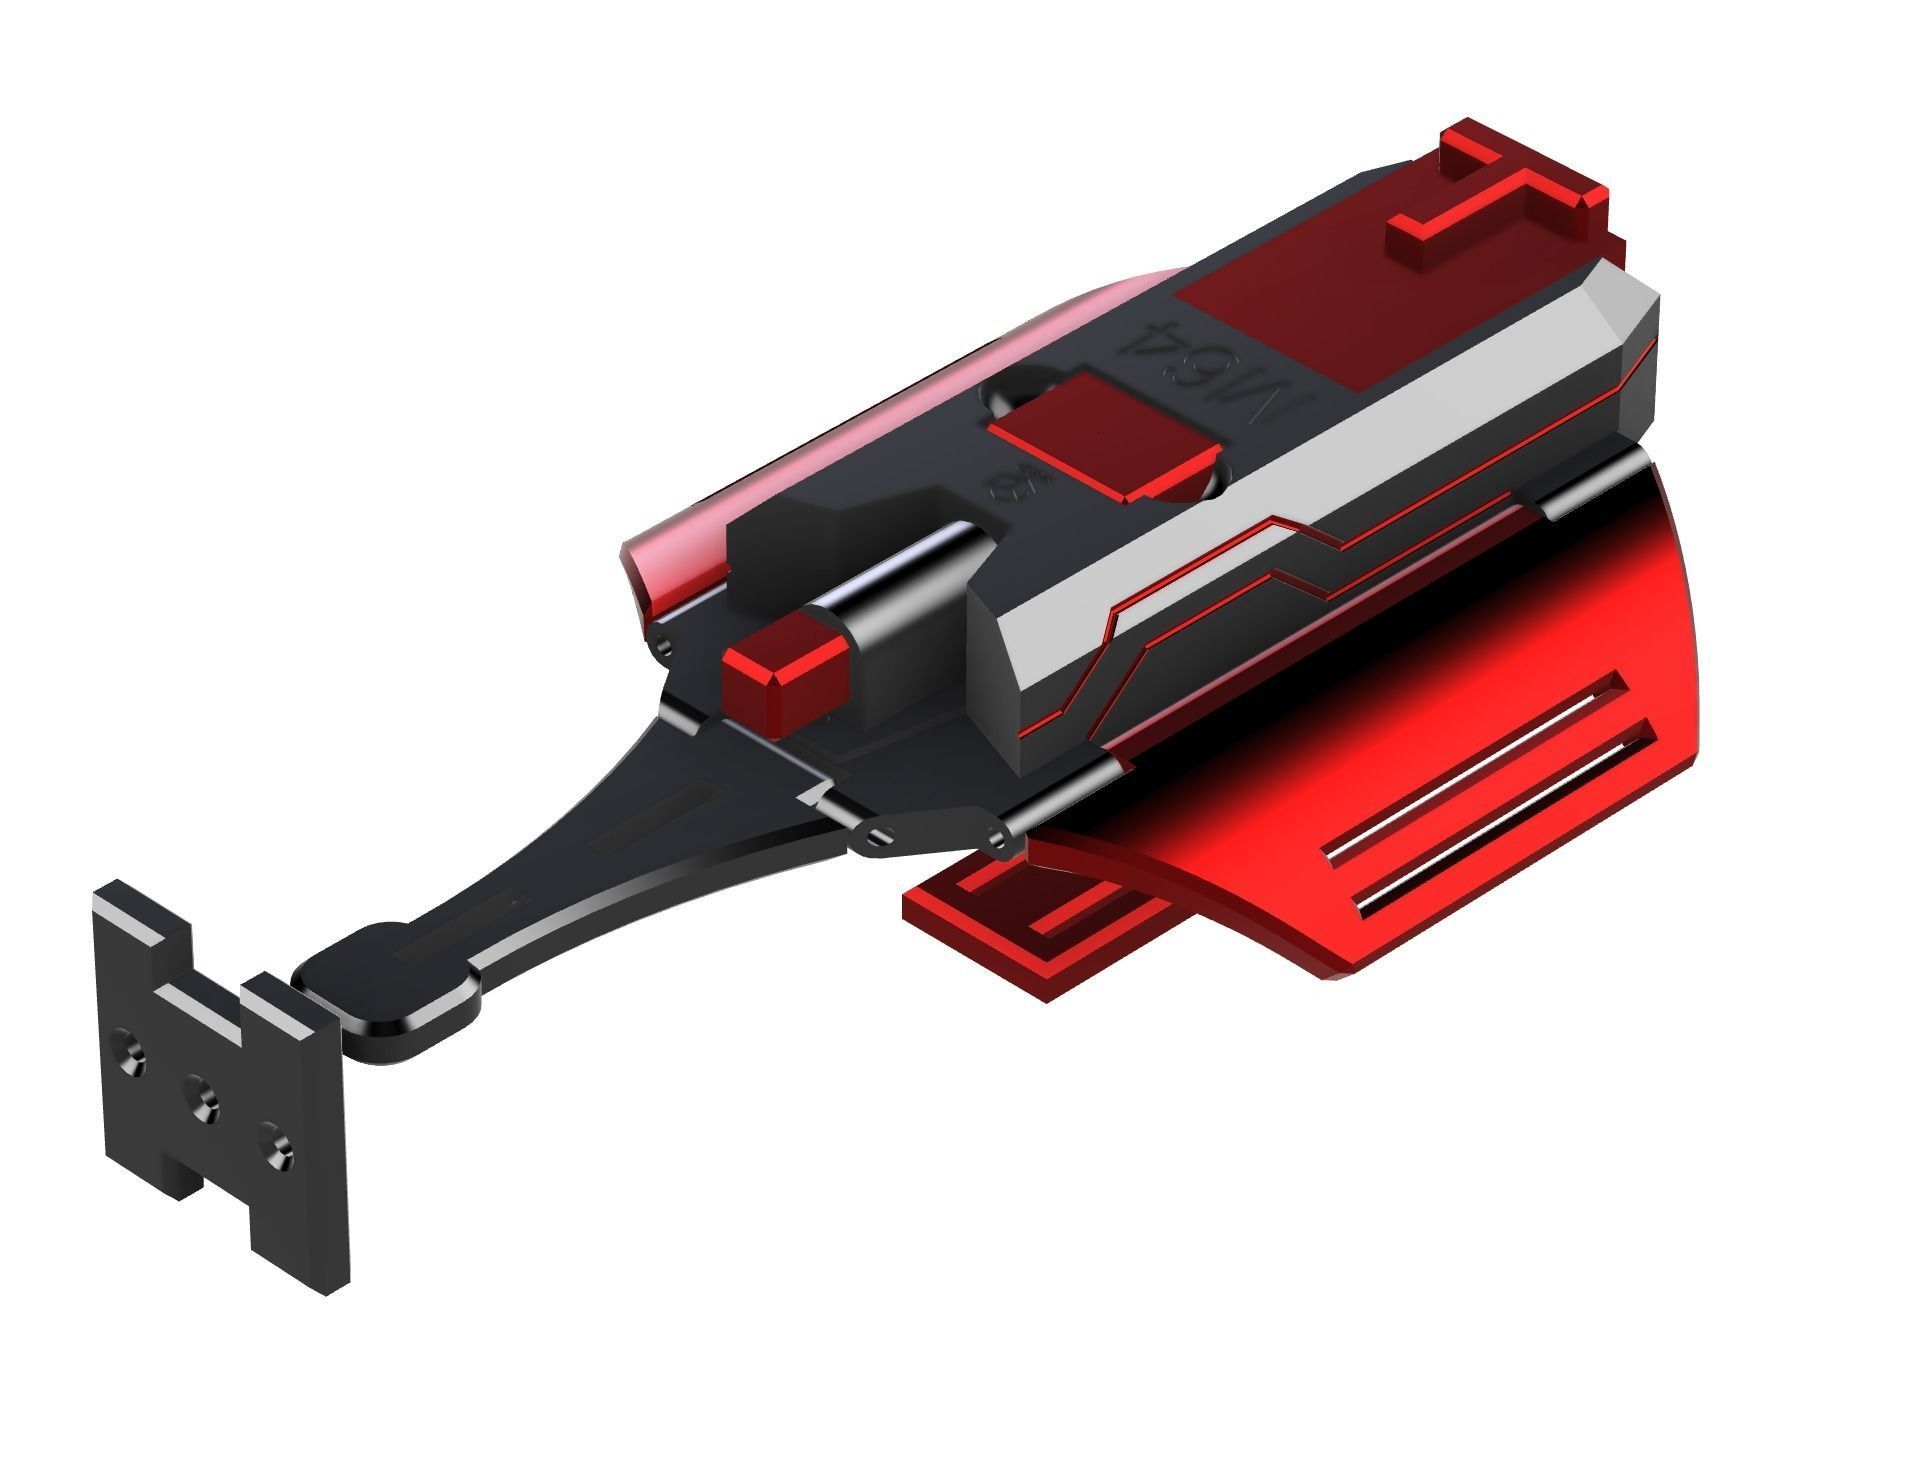

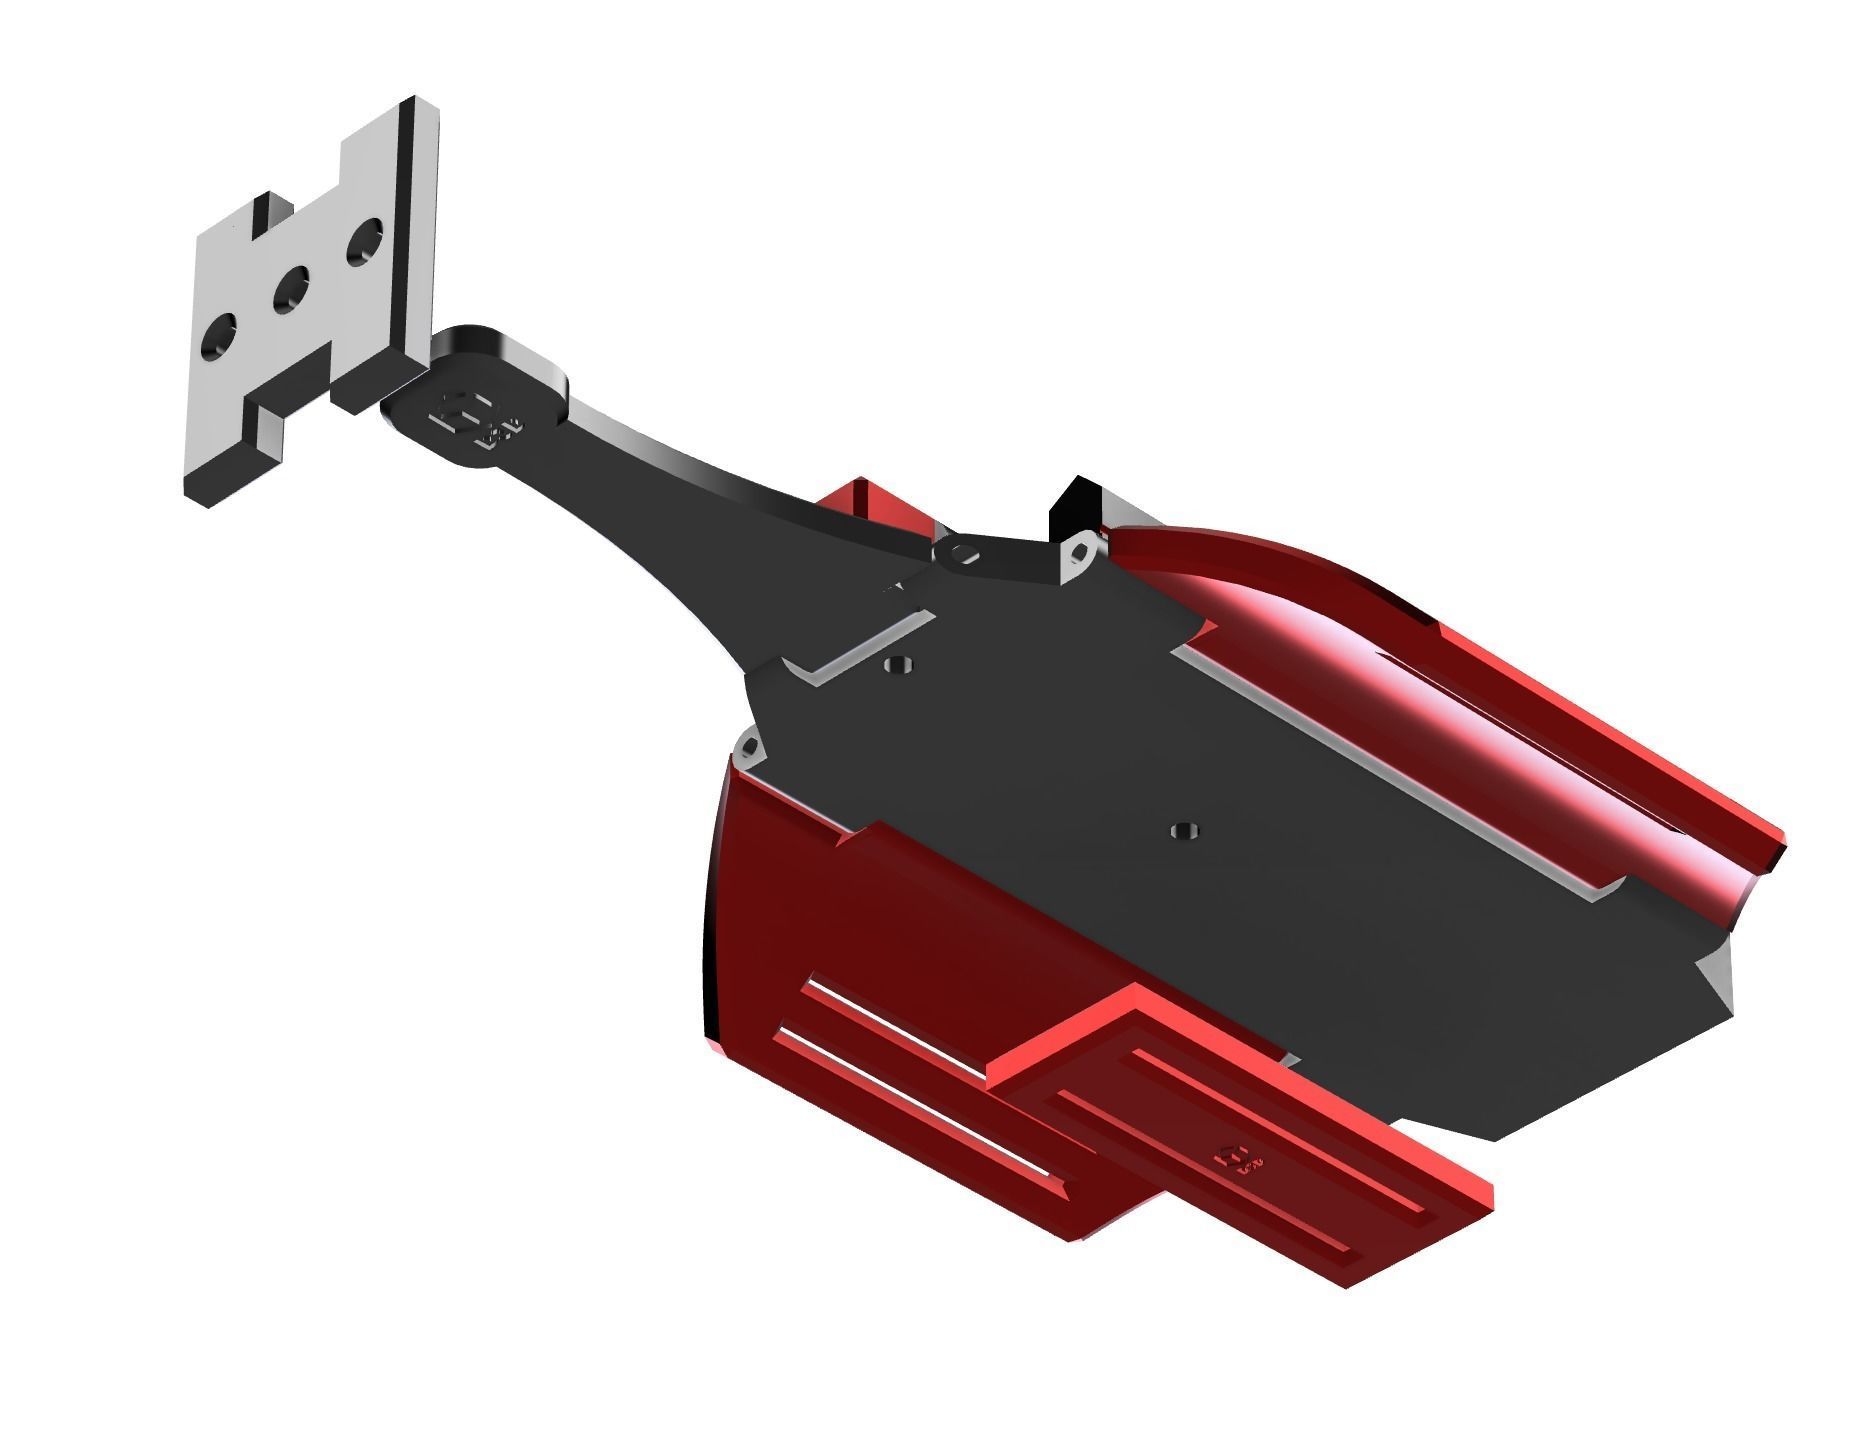


Spiderman Web Shooter 3D print model
This is a working 3D printable Stark tech inspired Web Shooter. This specific web shooter is inspired, mostly, by the one in Spider-Man homecoming, but quite a few liberties are taken with the look and design to make it functional. Its functionality is as close as possible to an actual web shooter. This web shooter it has removable and reloadable cartridges, a dart that sticks to metal objects with the use of magnets, the ability for a string to trail behind the dart just like a web and a trigger mechanism that requires you to make something resembling the Spider-Man hand symbol to fire it.
Print Instructions
- Material: PLA or PETG (for extra strength)
- Supports:
- Most of the pieces in this design are designed to print without supports
- The dart will require supports
- The arm cuffs will require supports
- Orientation:
- Orient the pieces to optimize strength and minimize supports
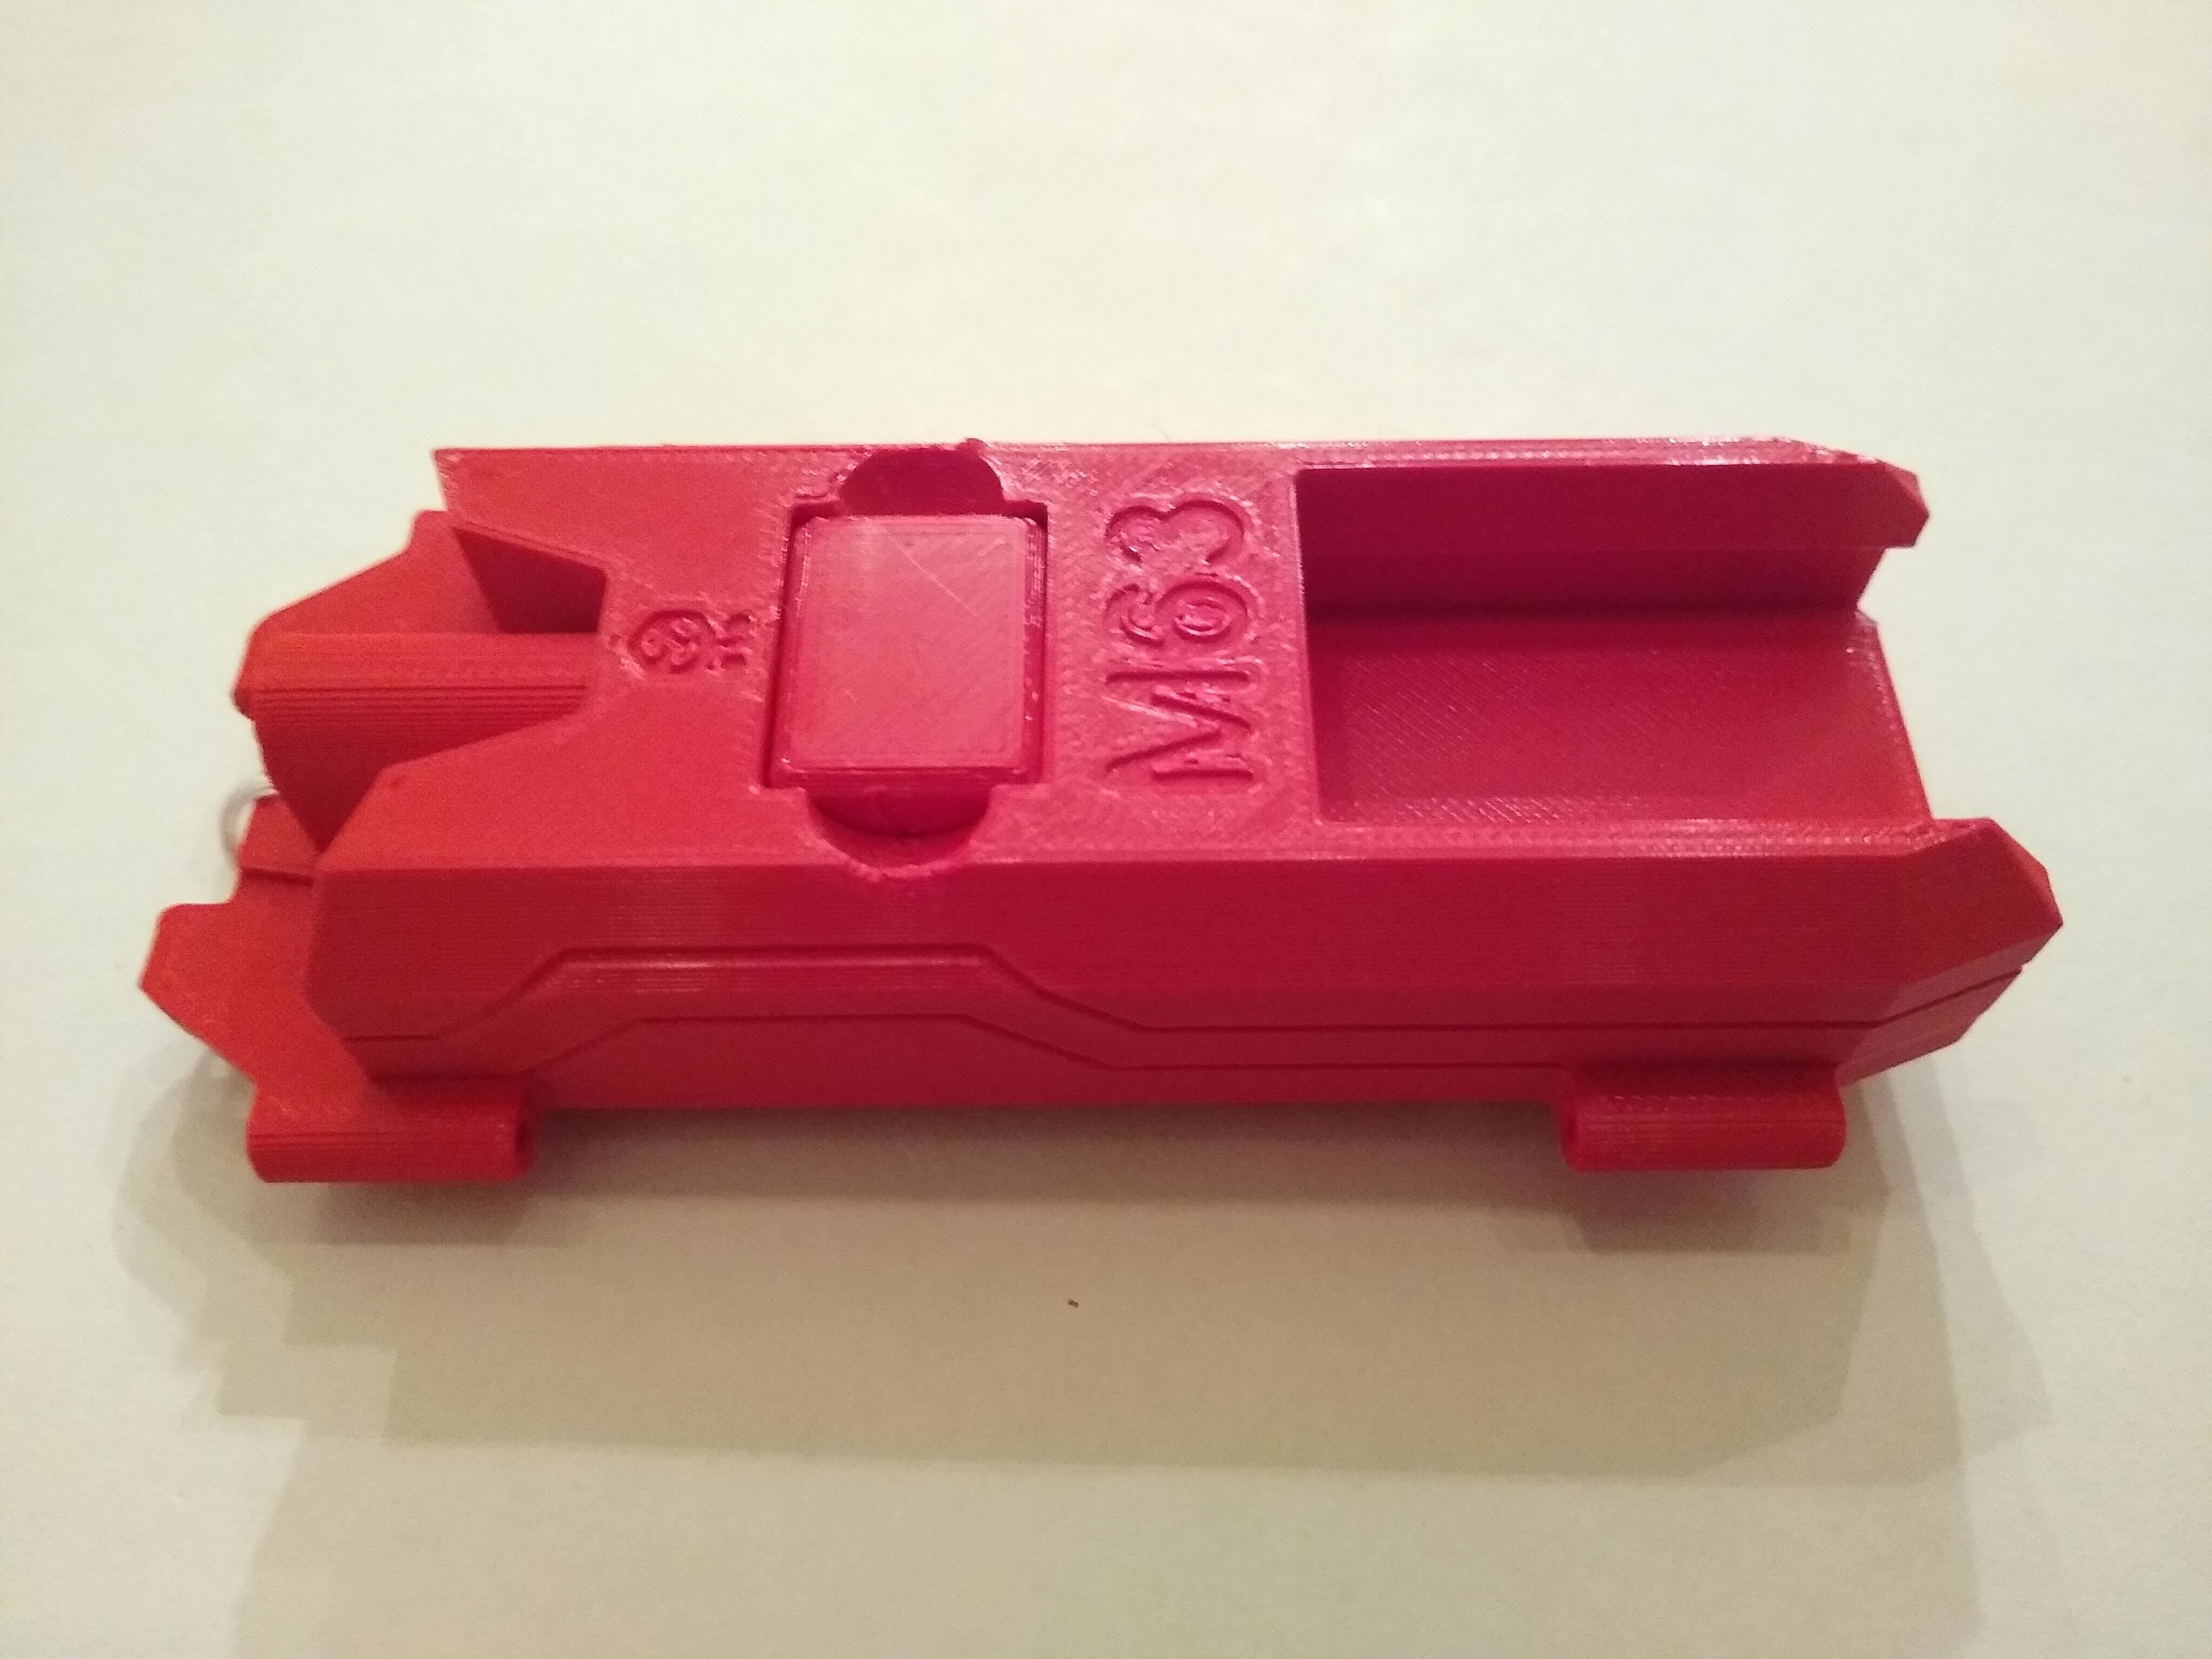
Parts
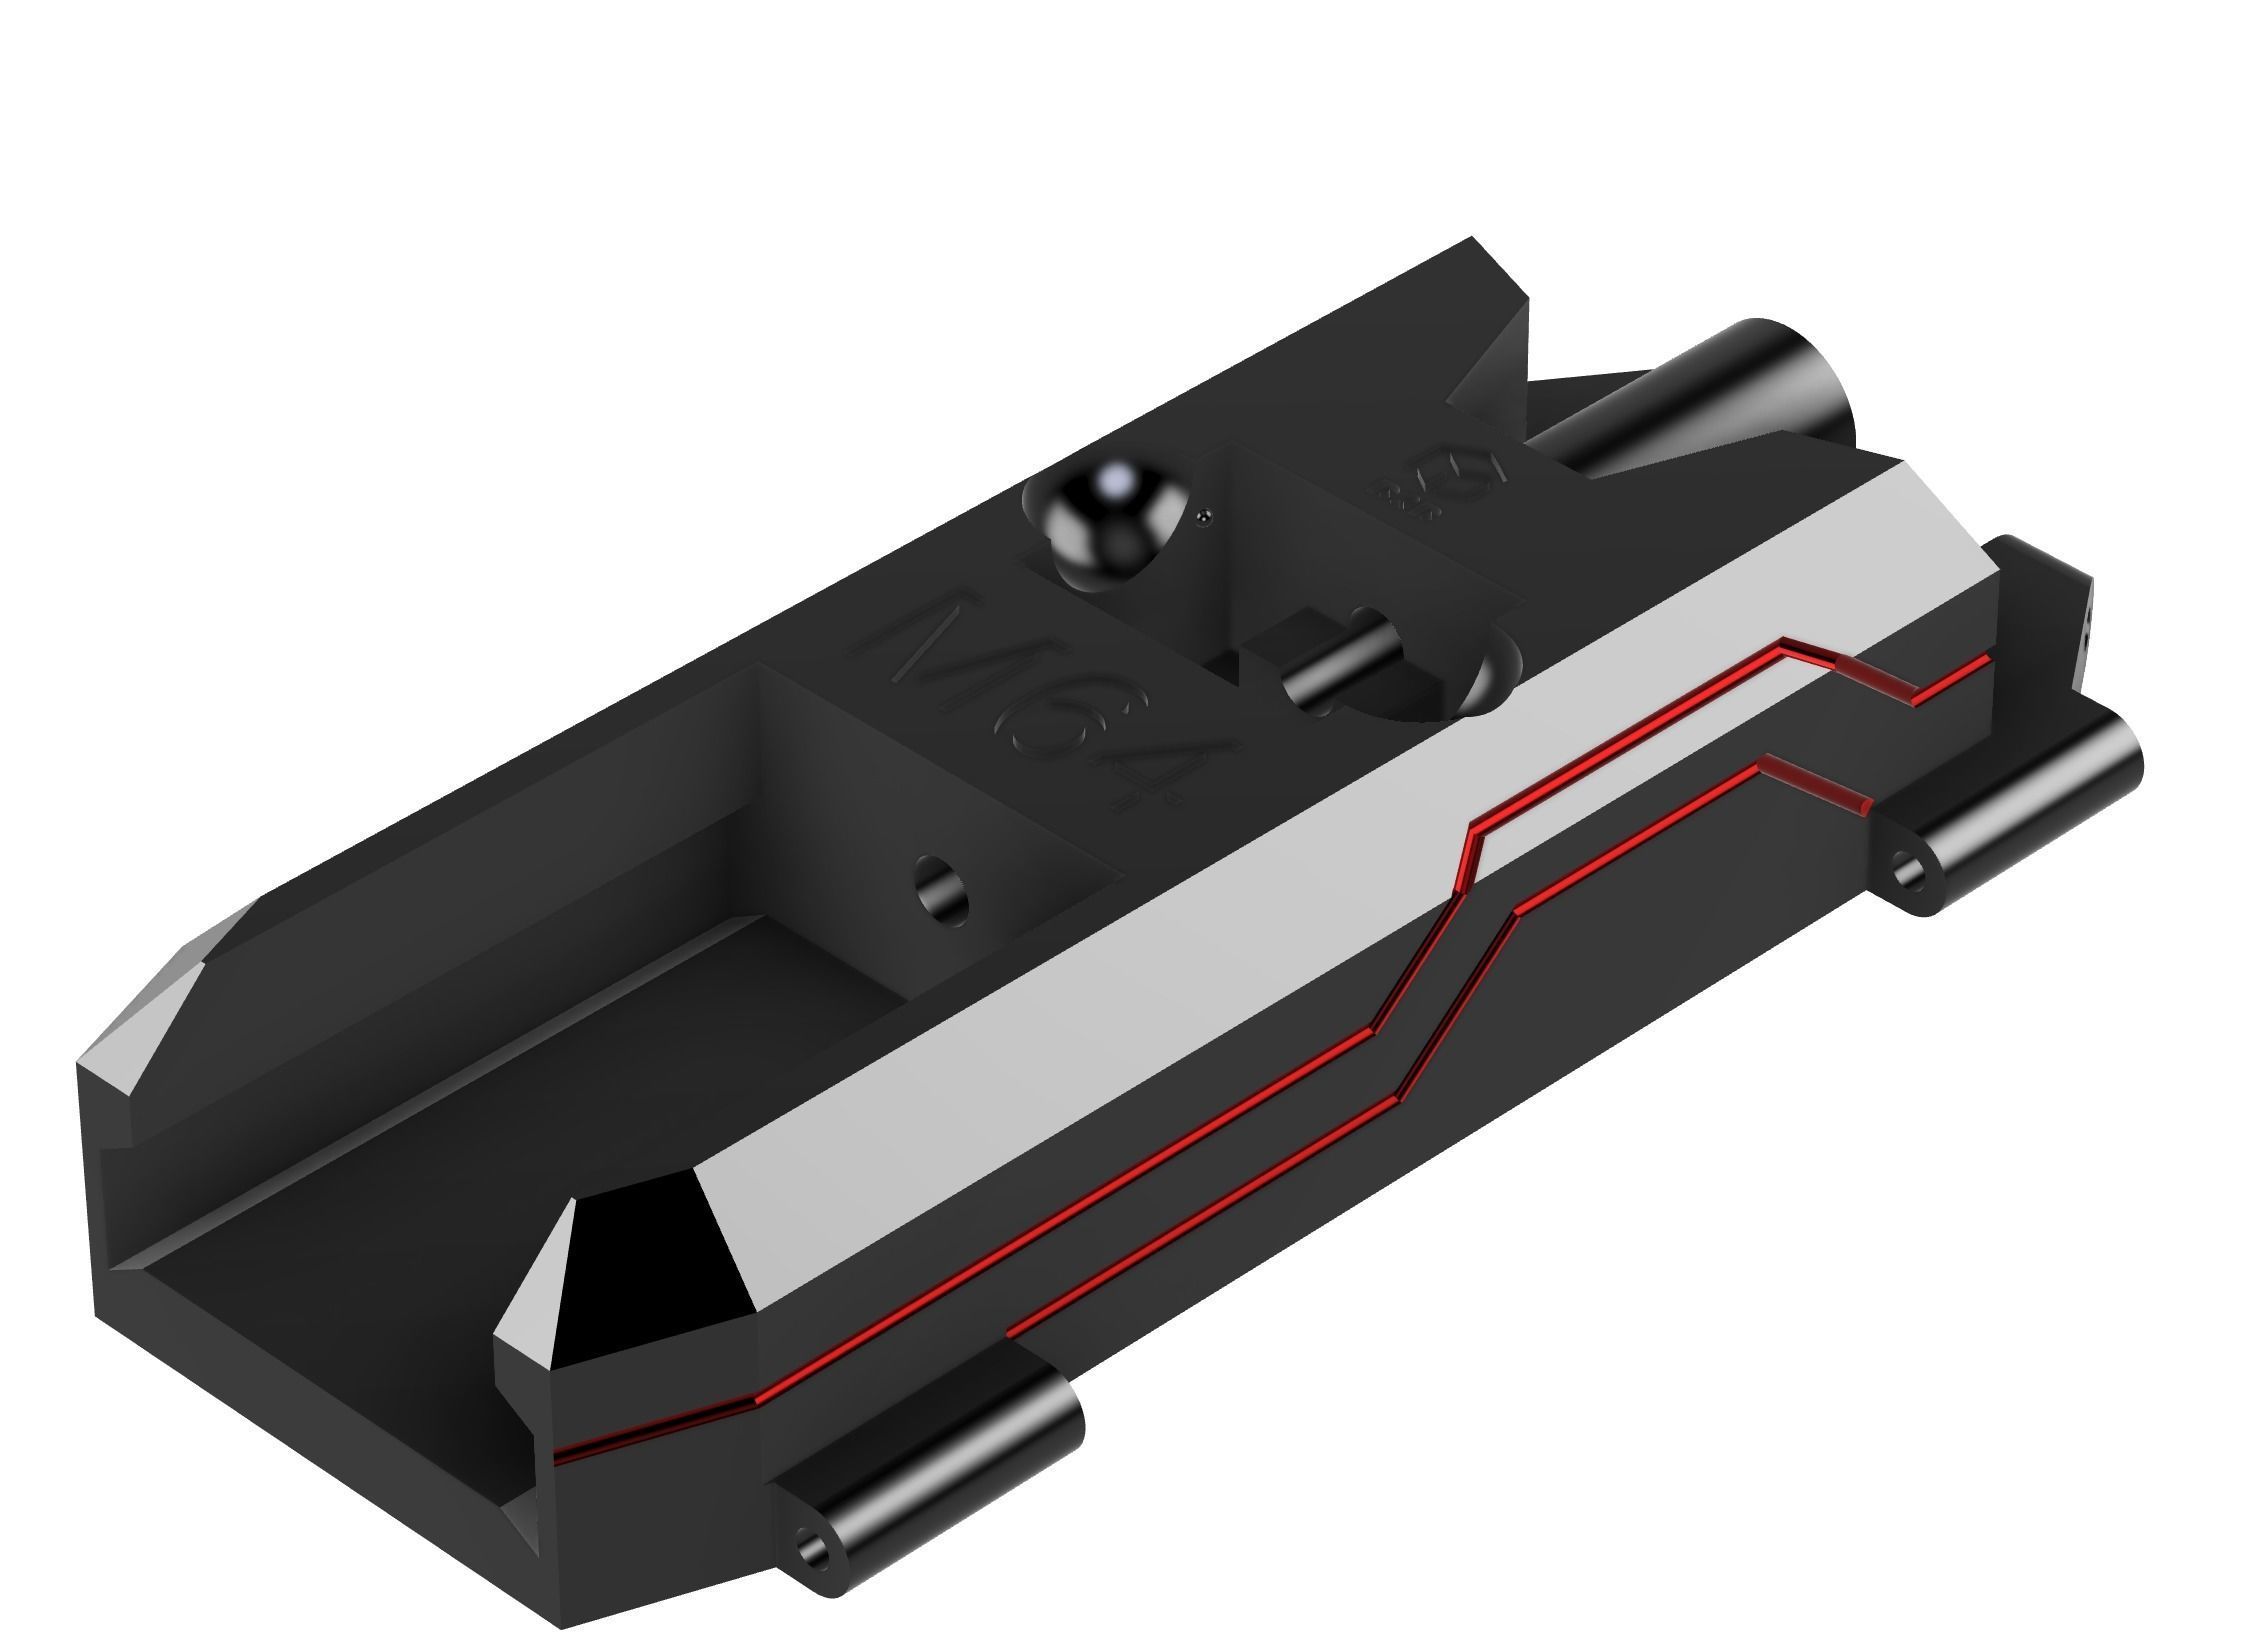
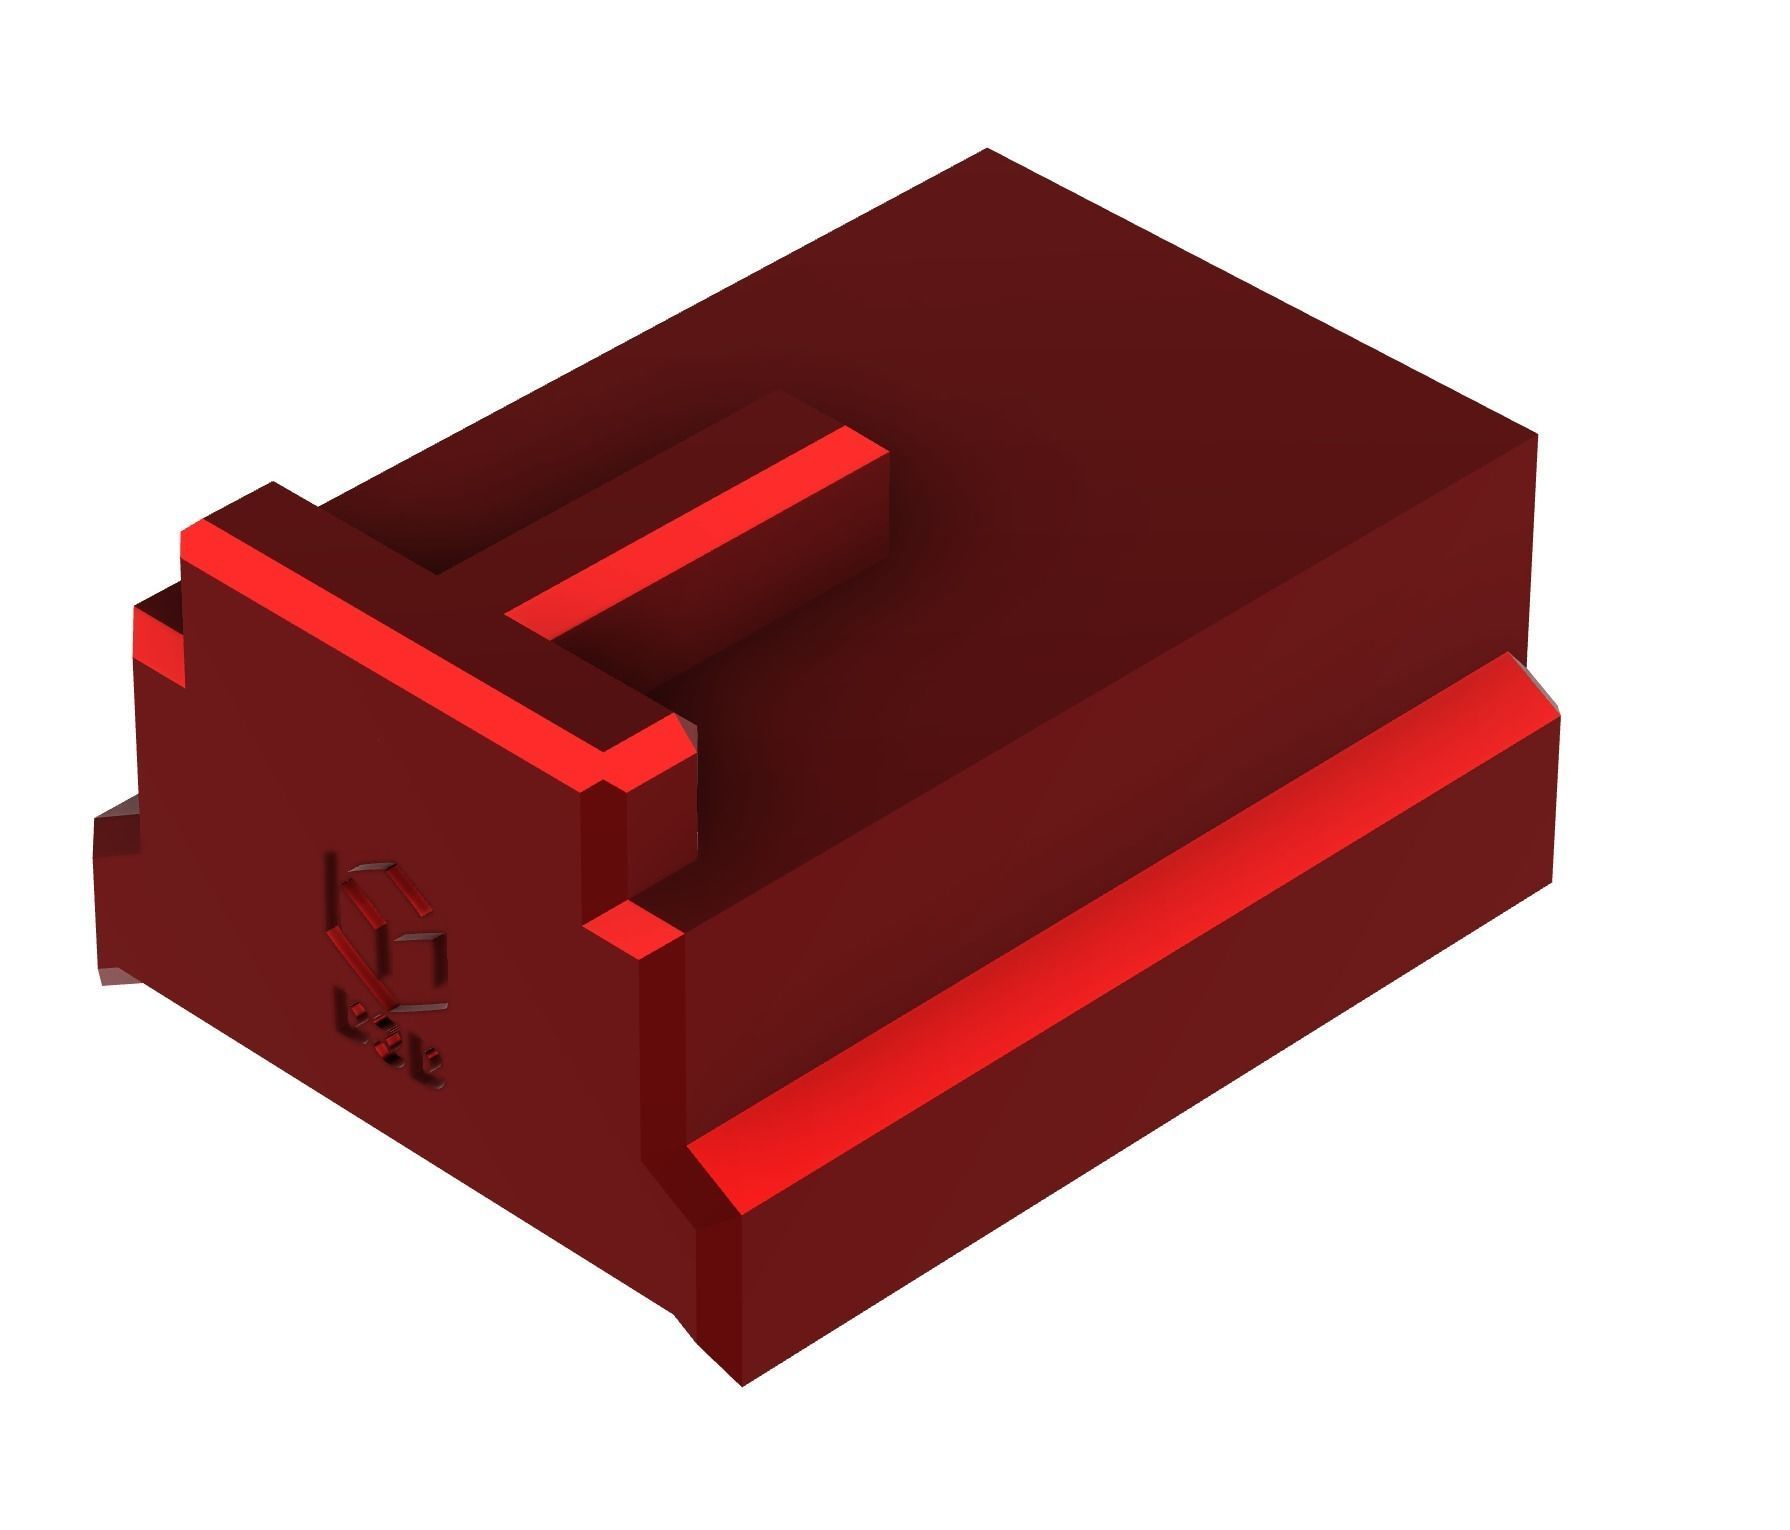
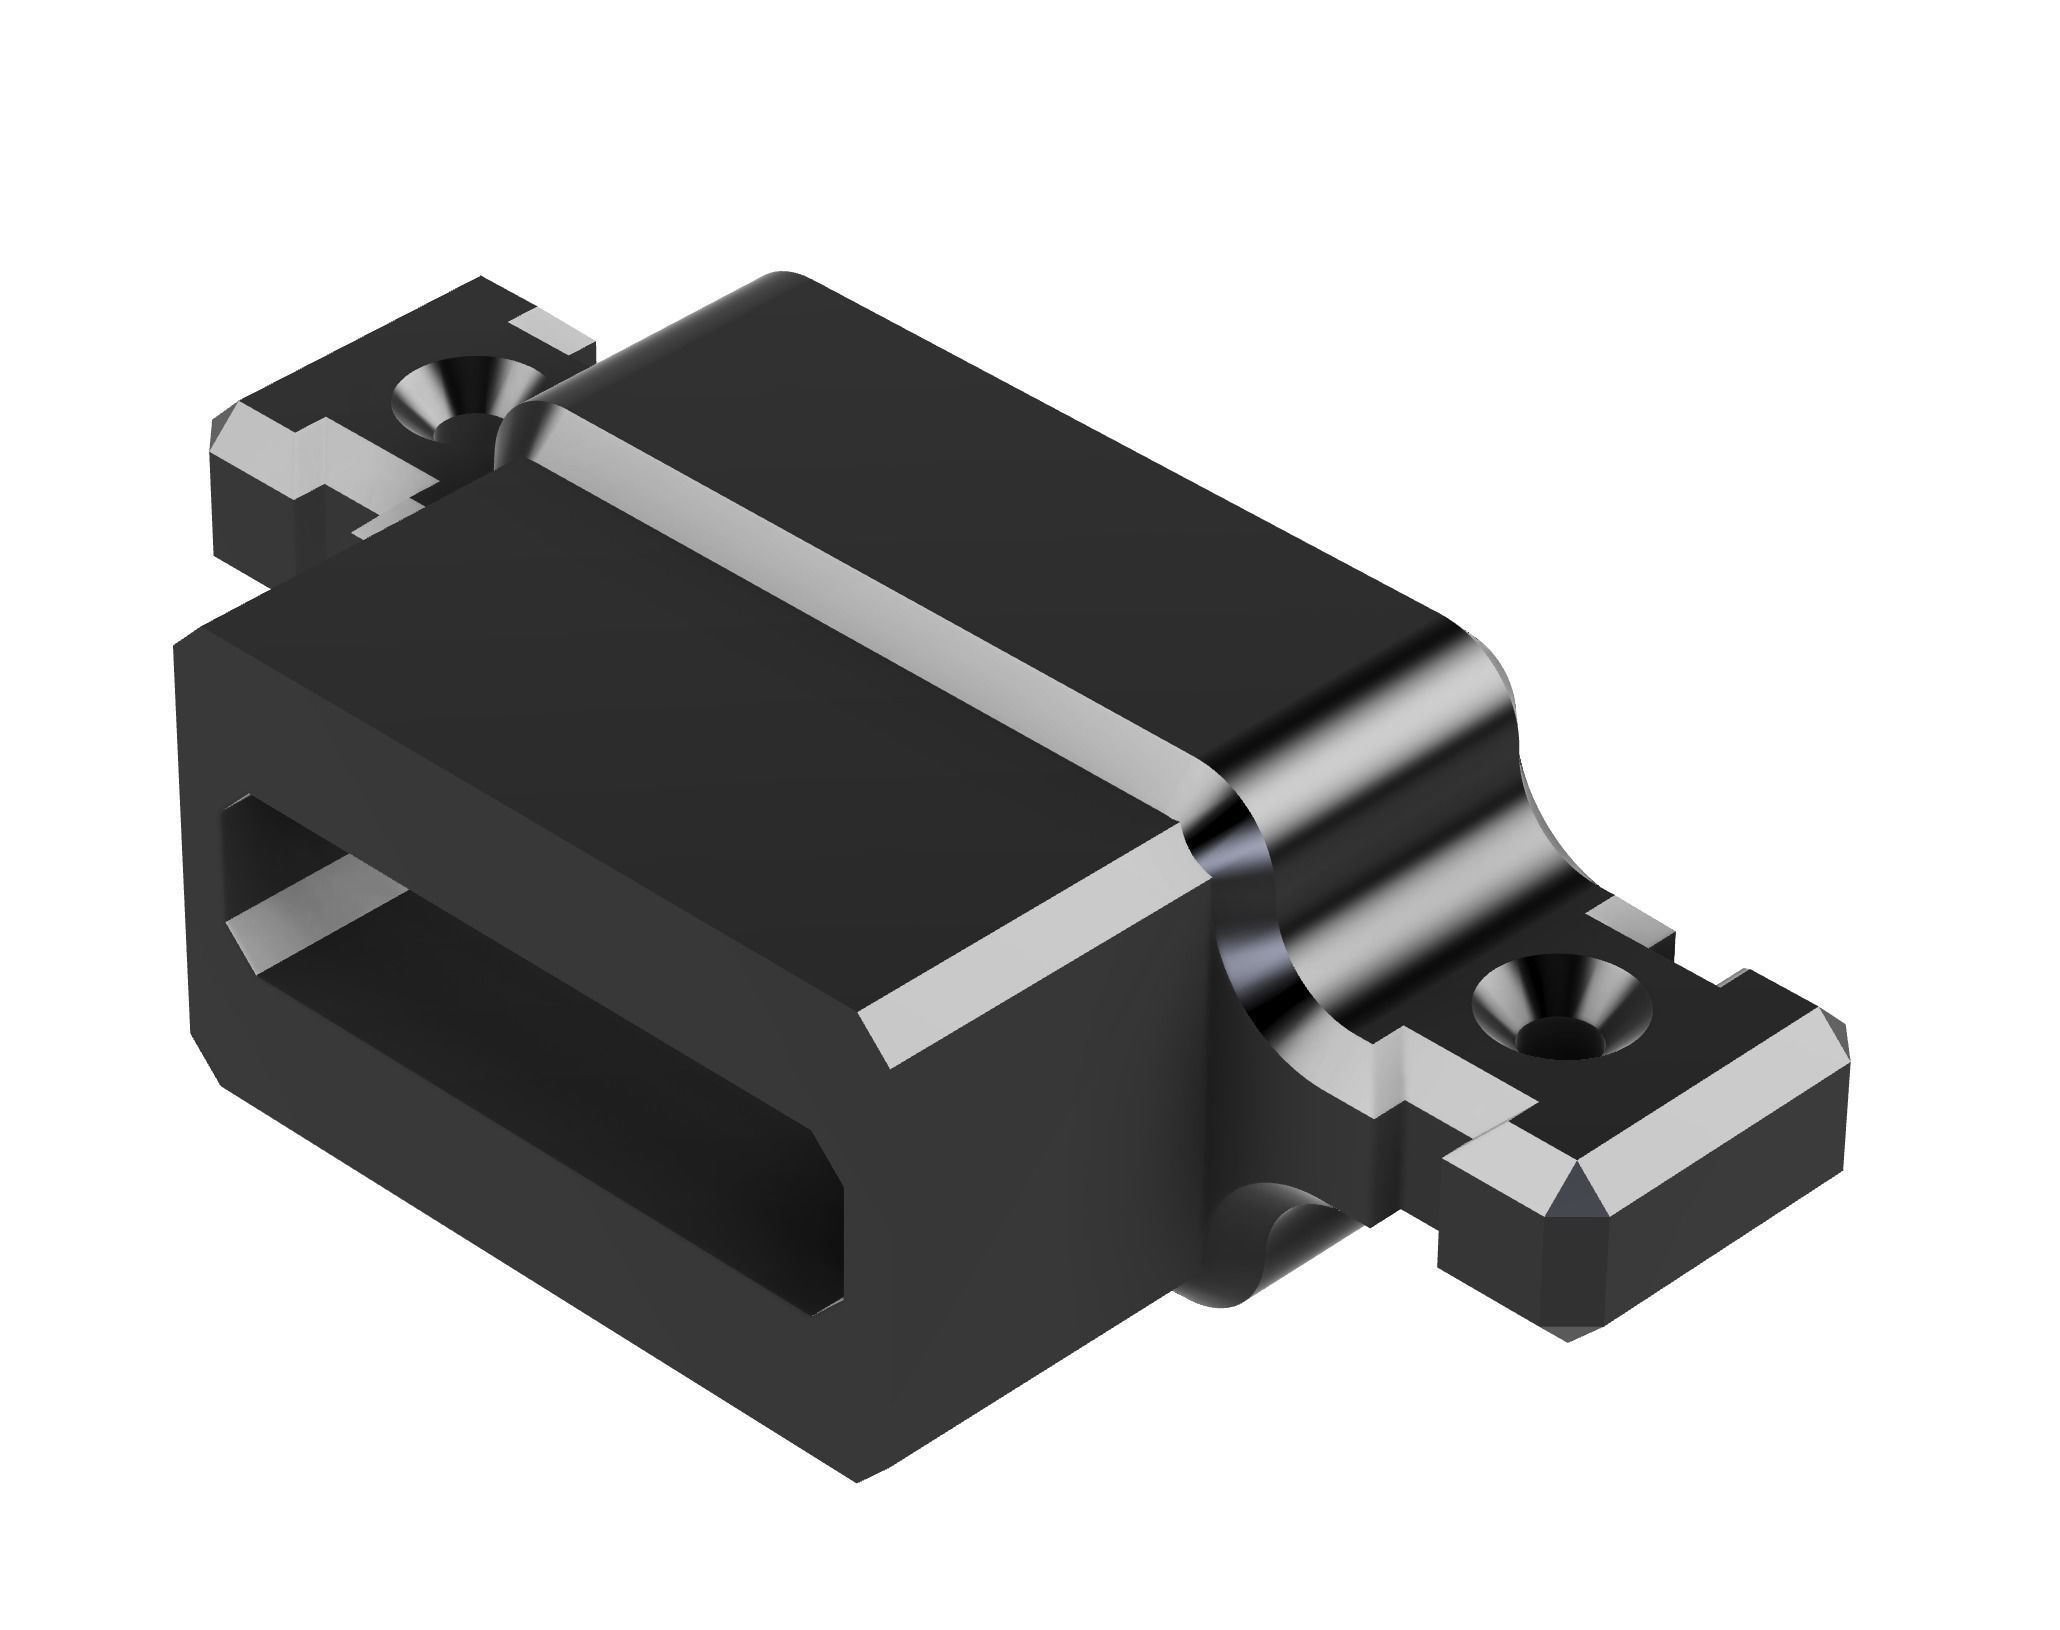
- Housing (included)
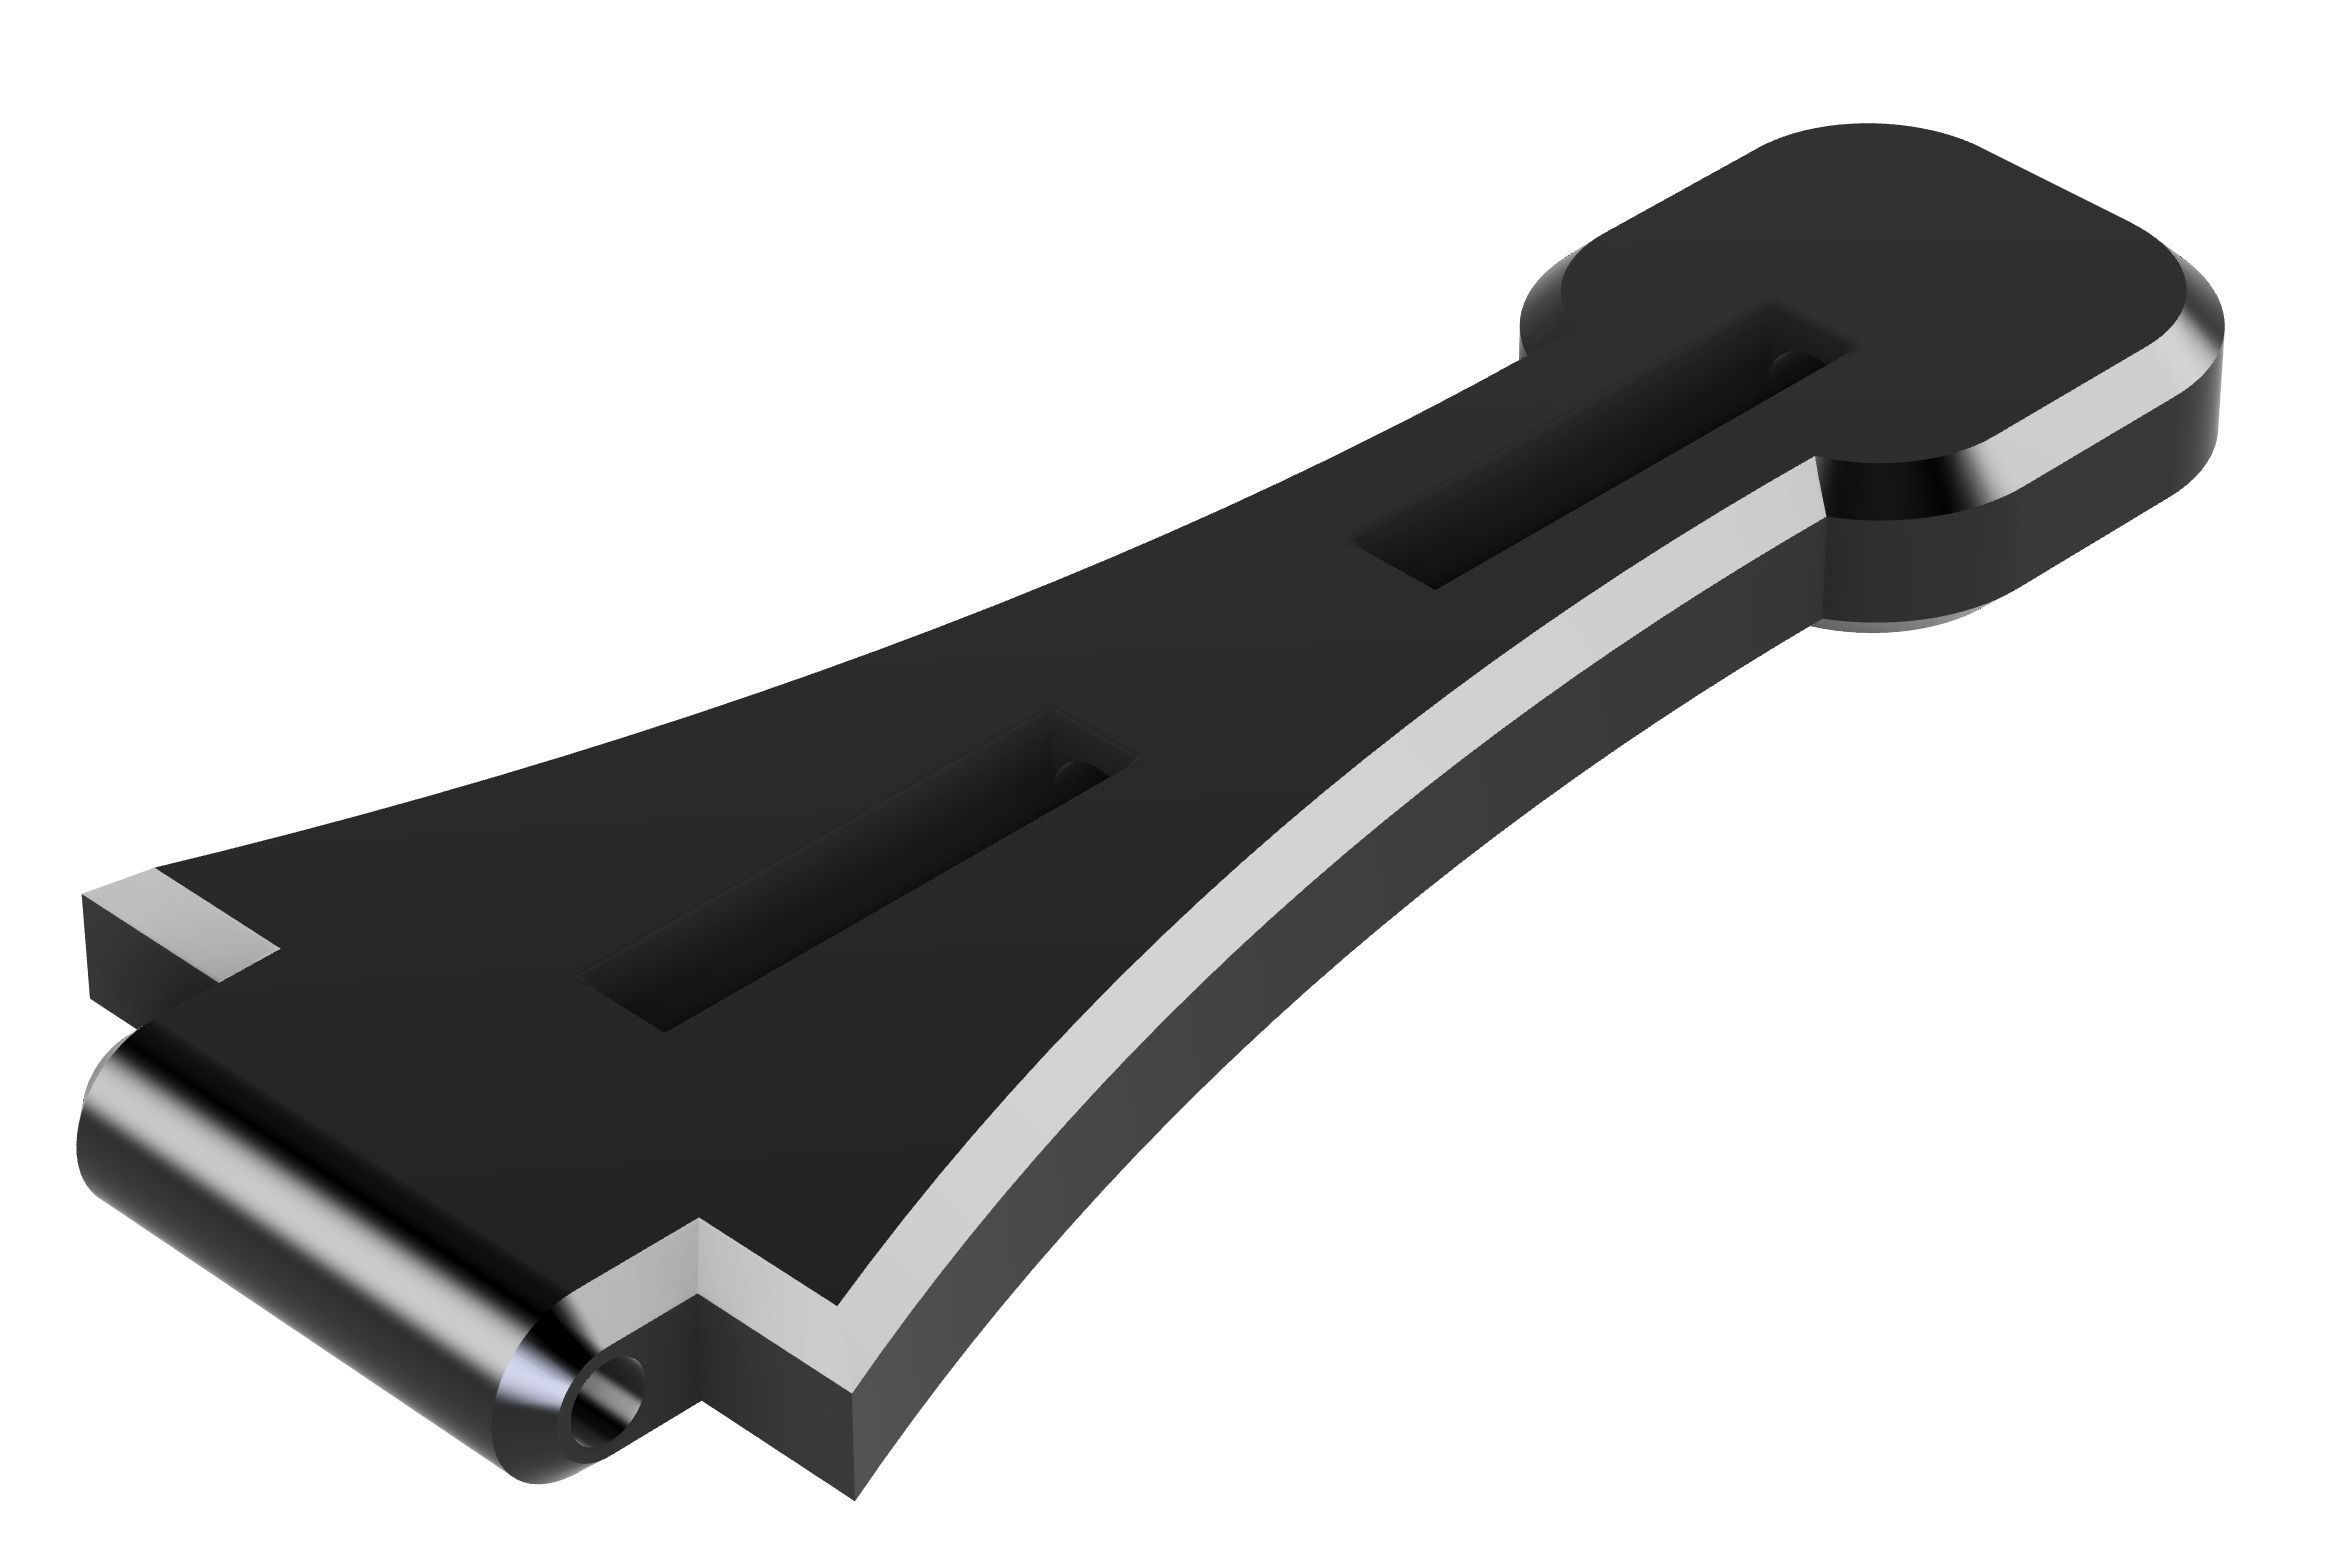
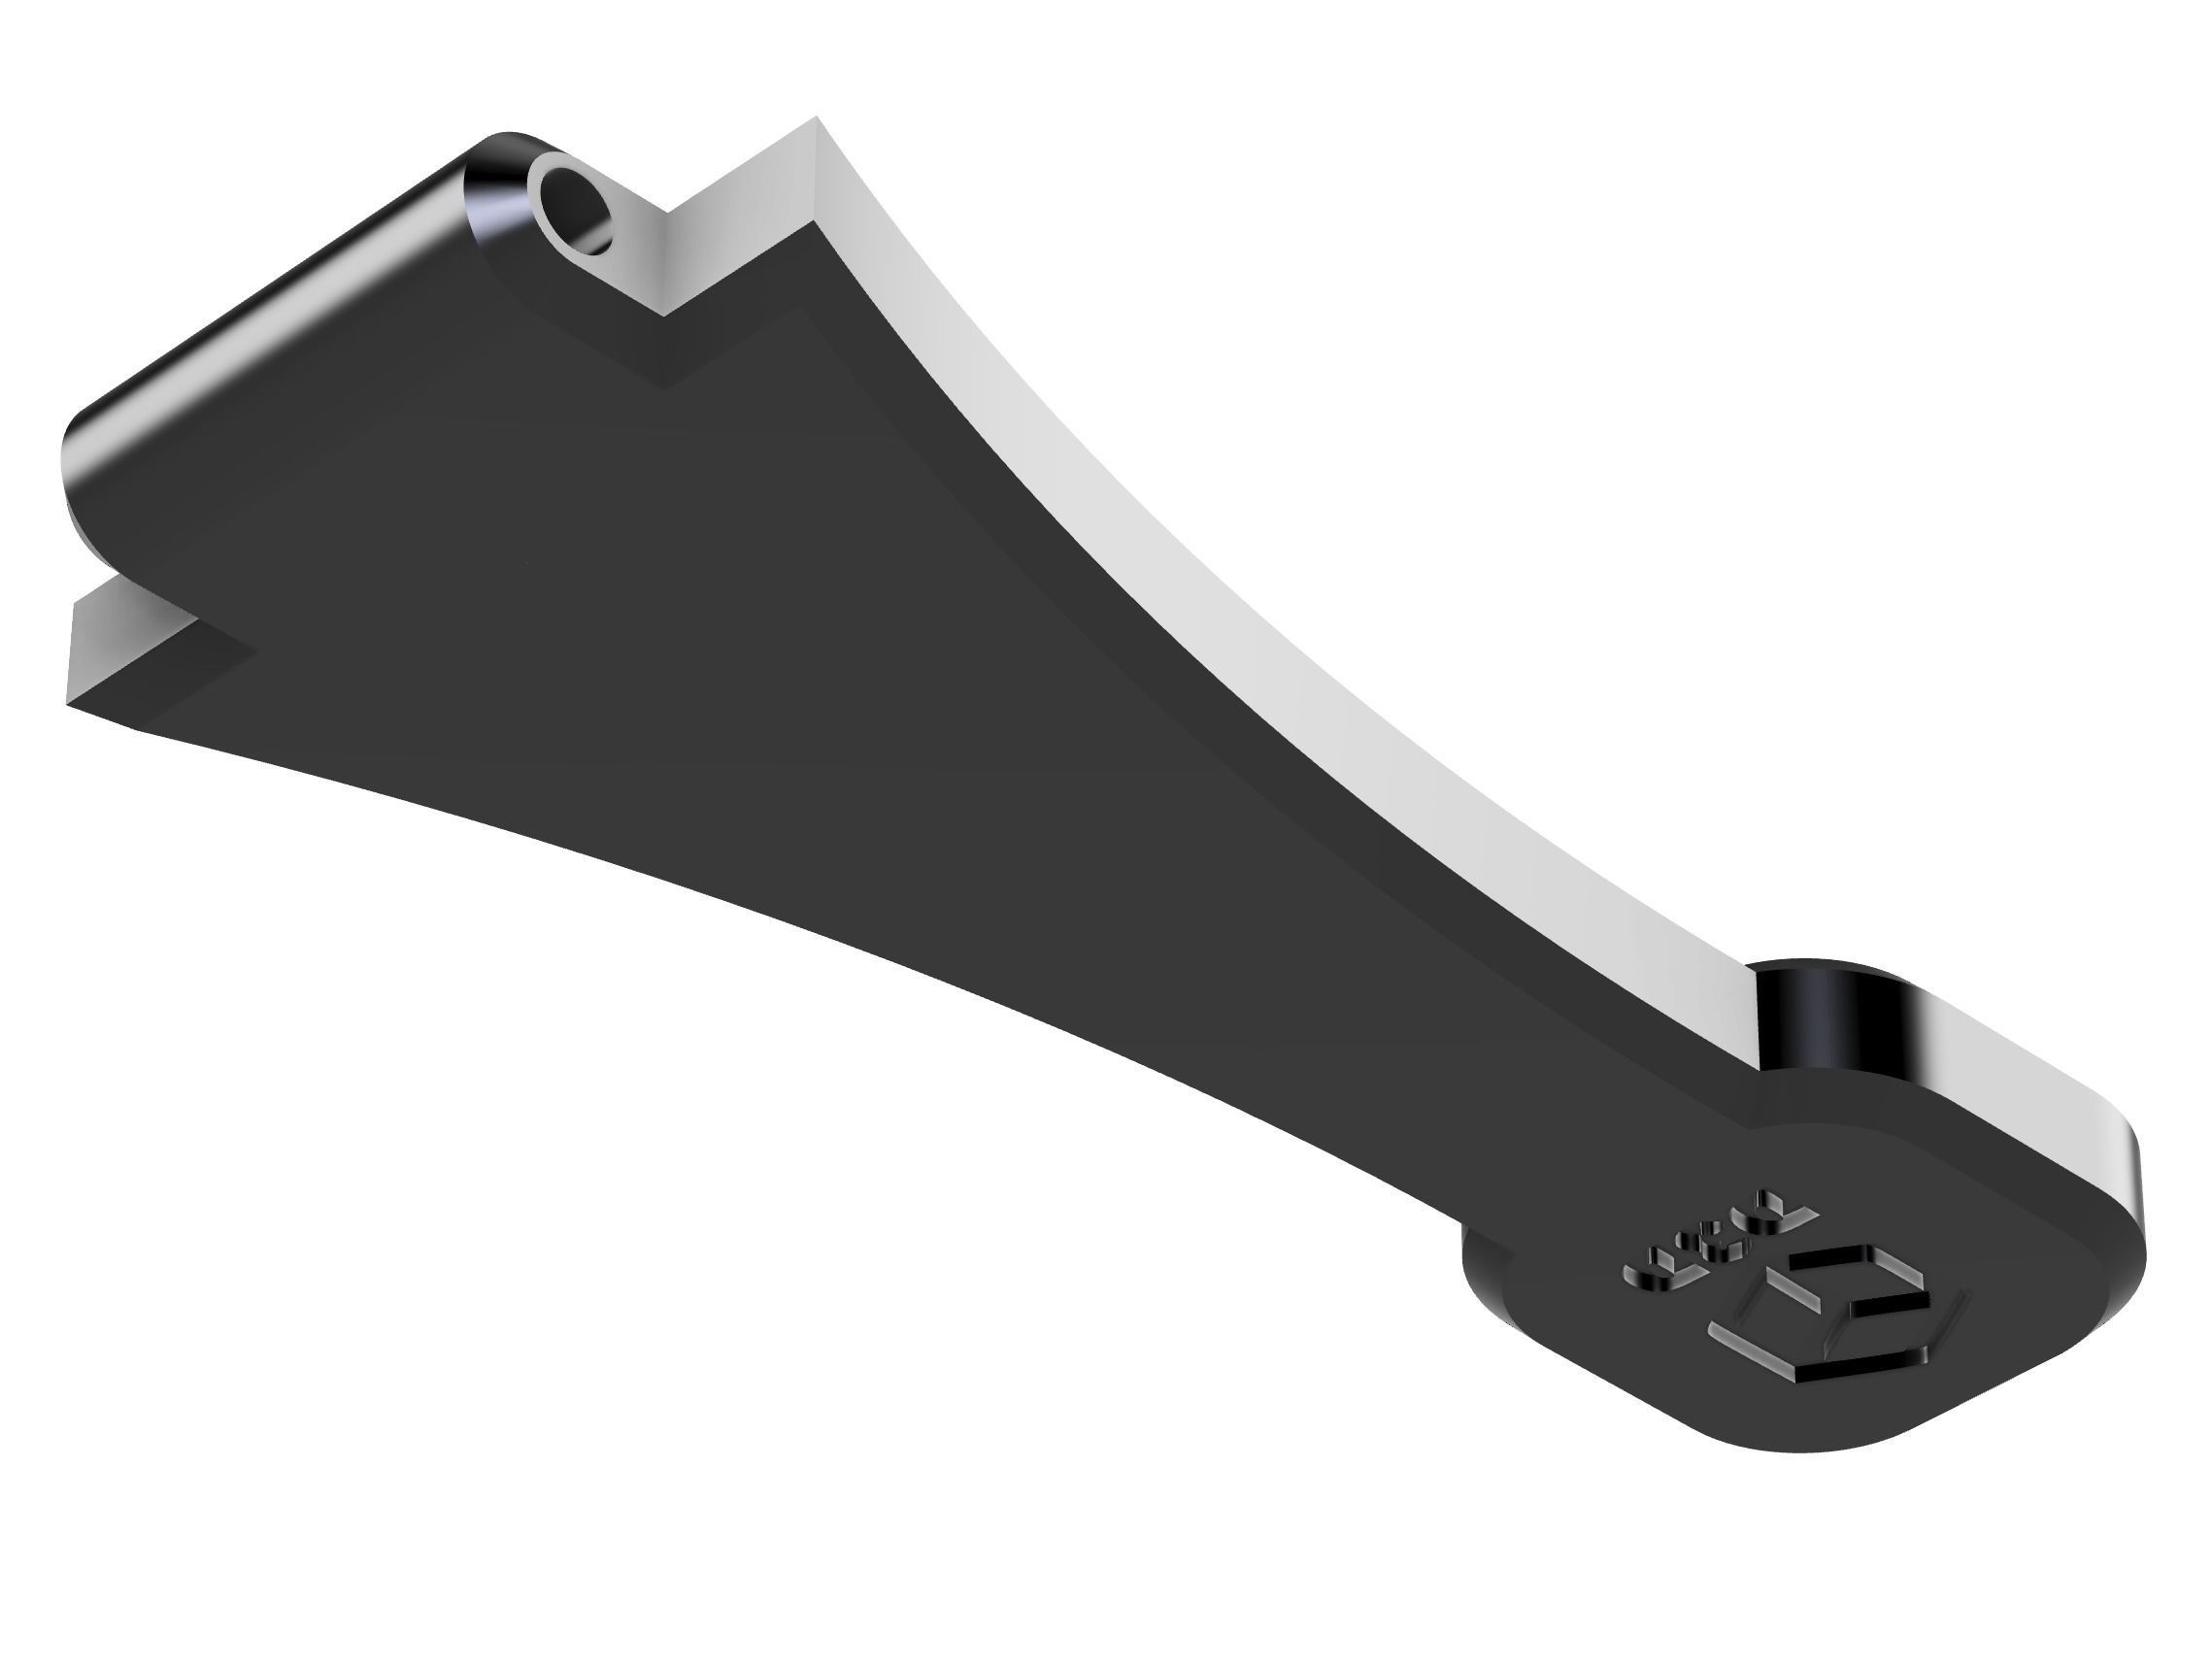
- Trigger (included)
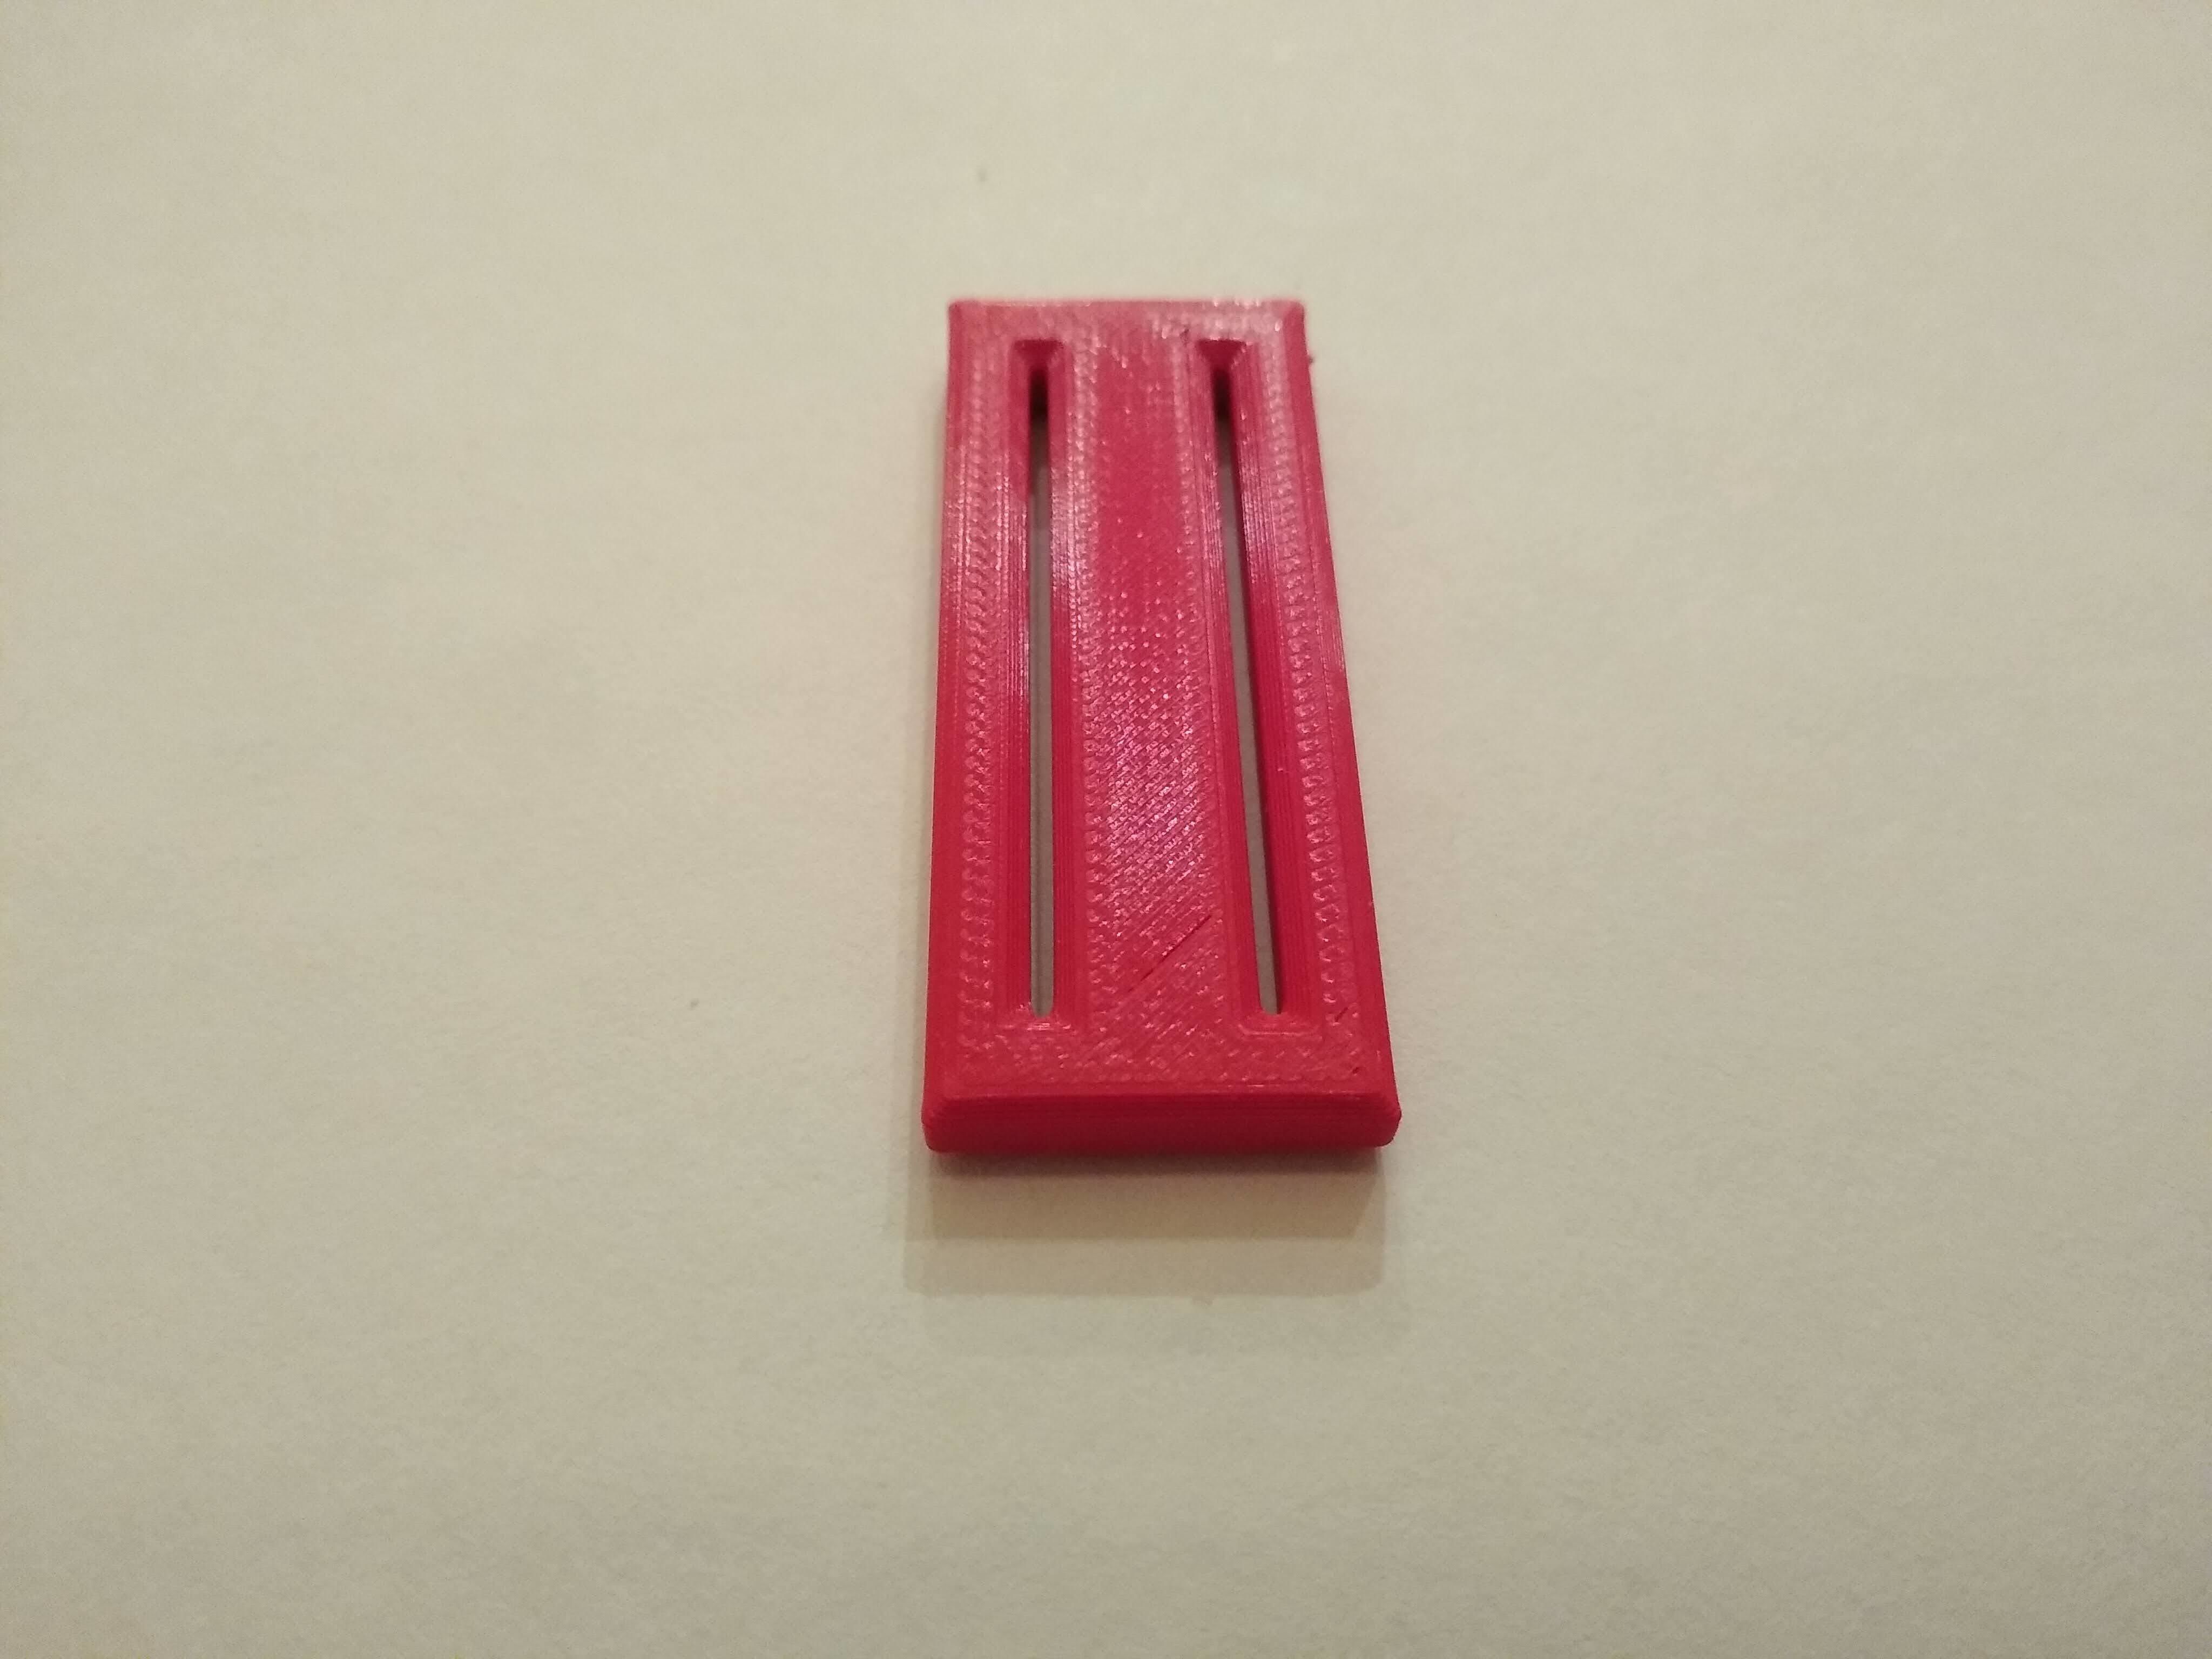
- Trigger Slider (included)
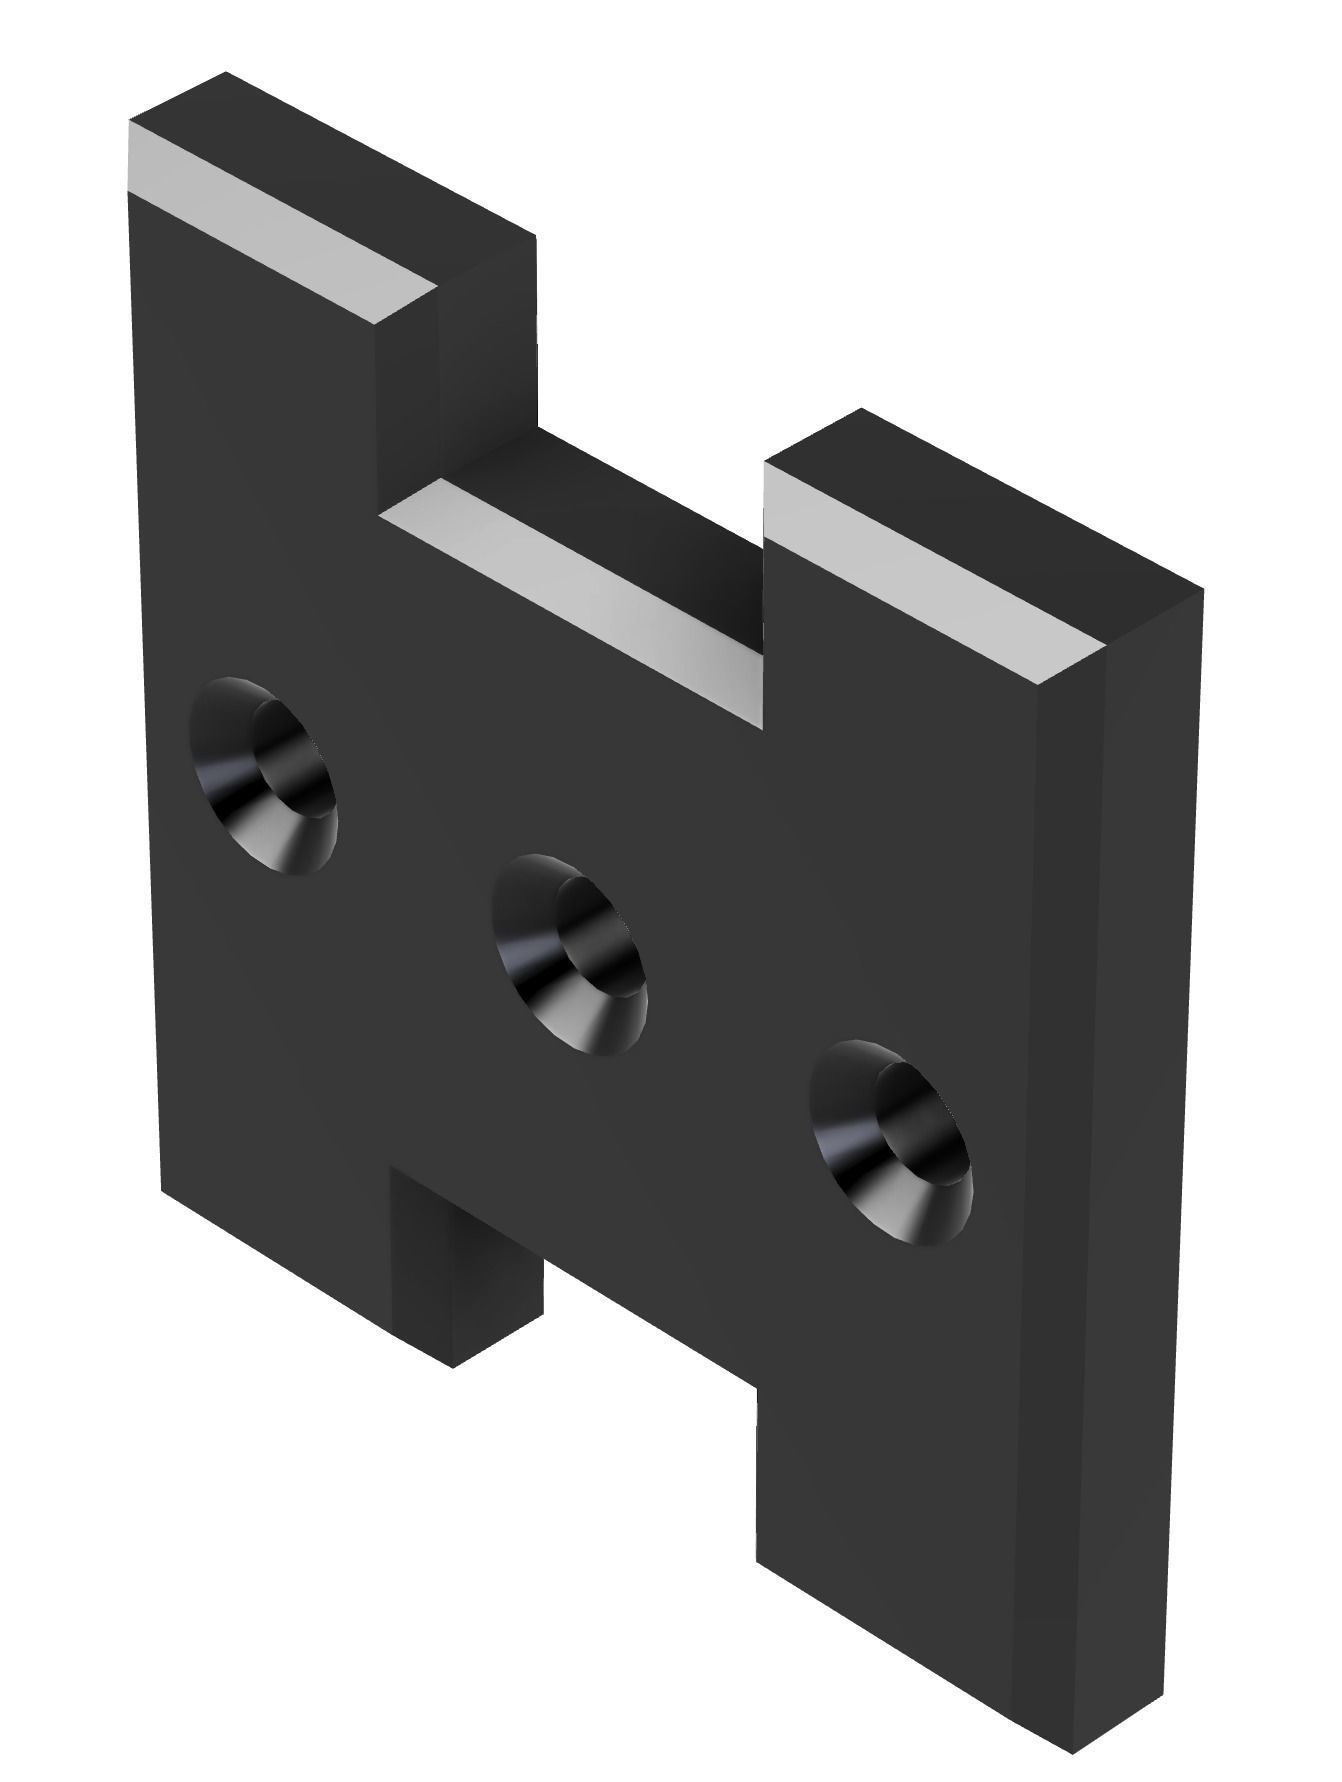
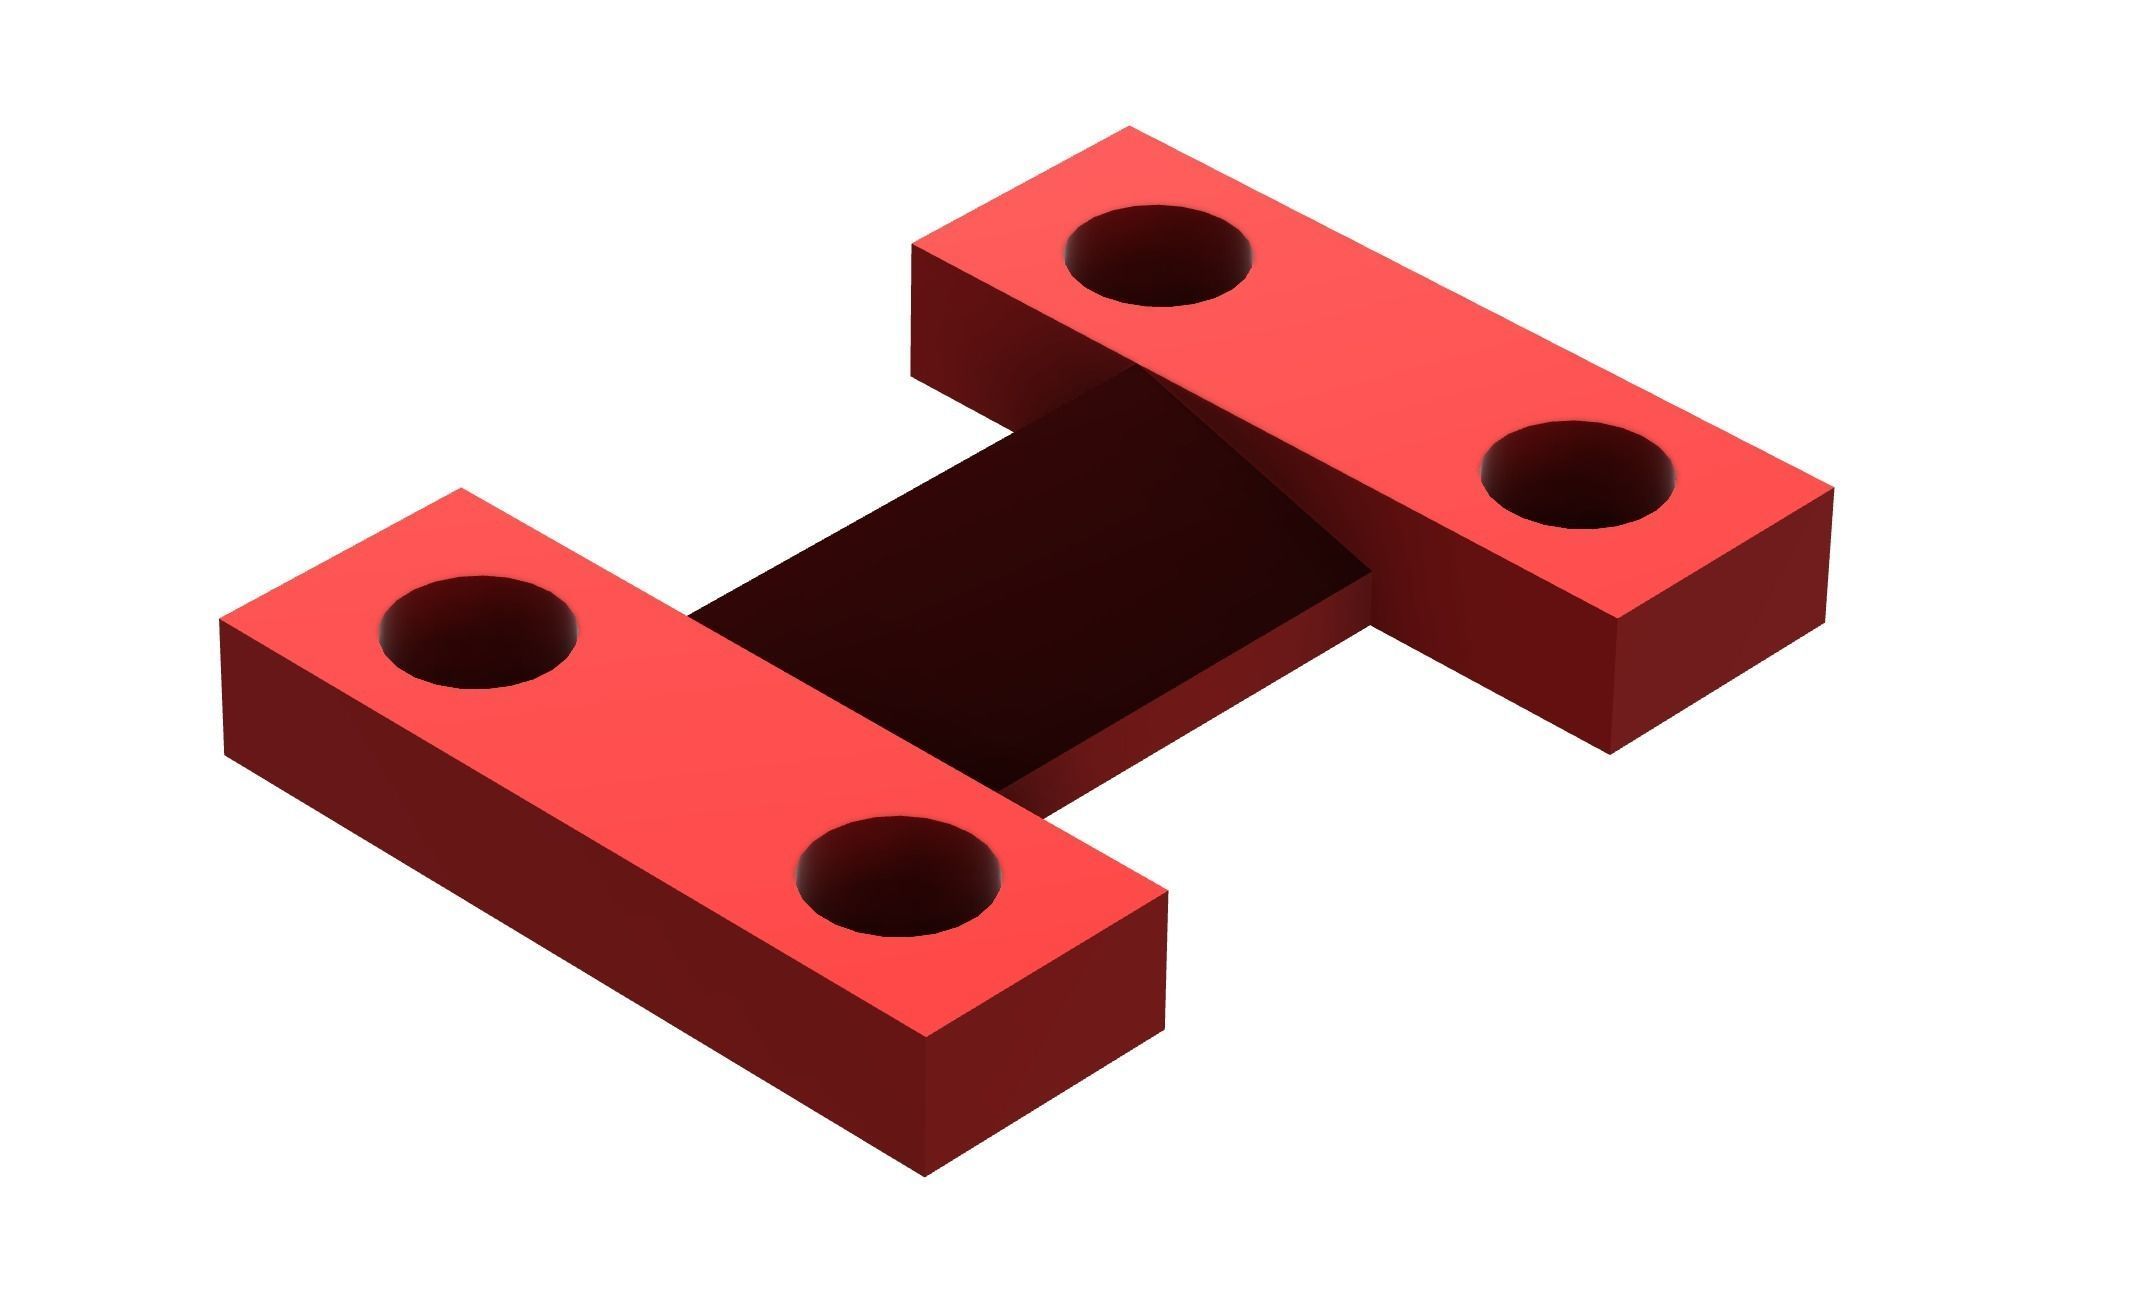
- Trigger Block (included)
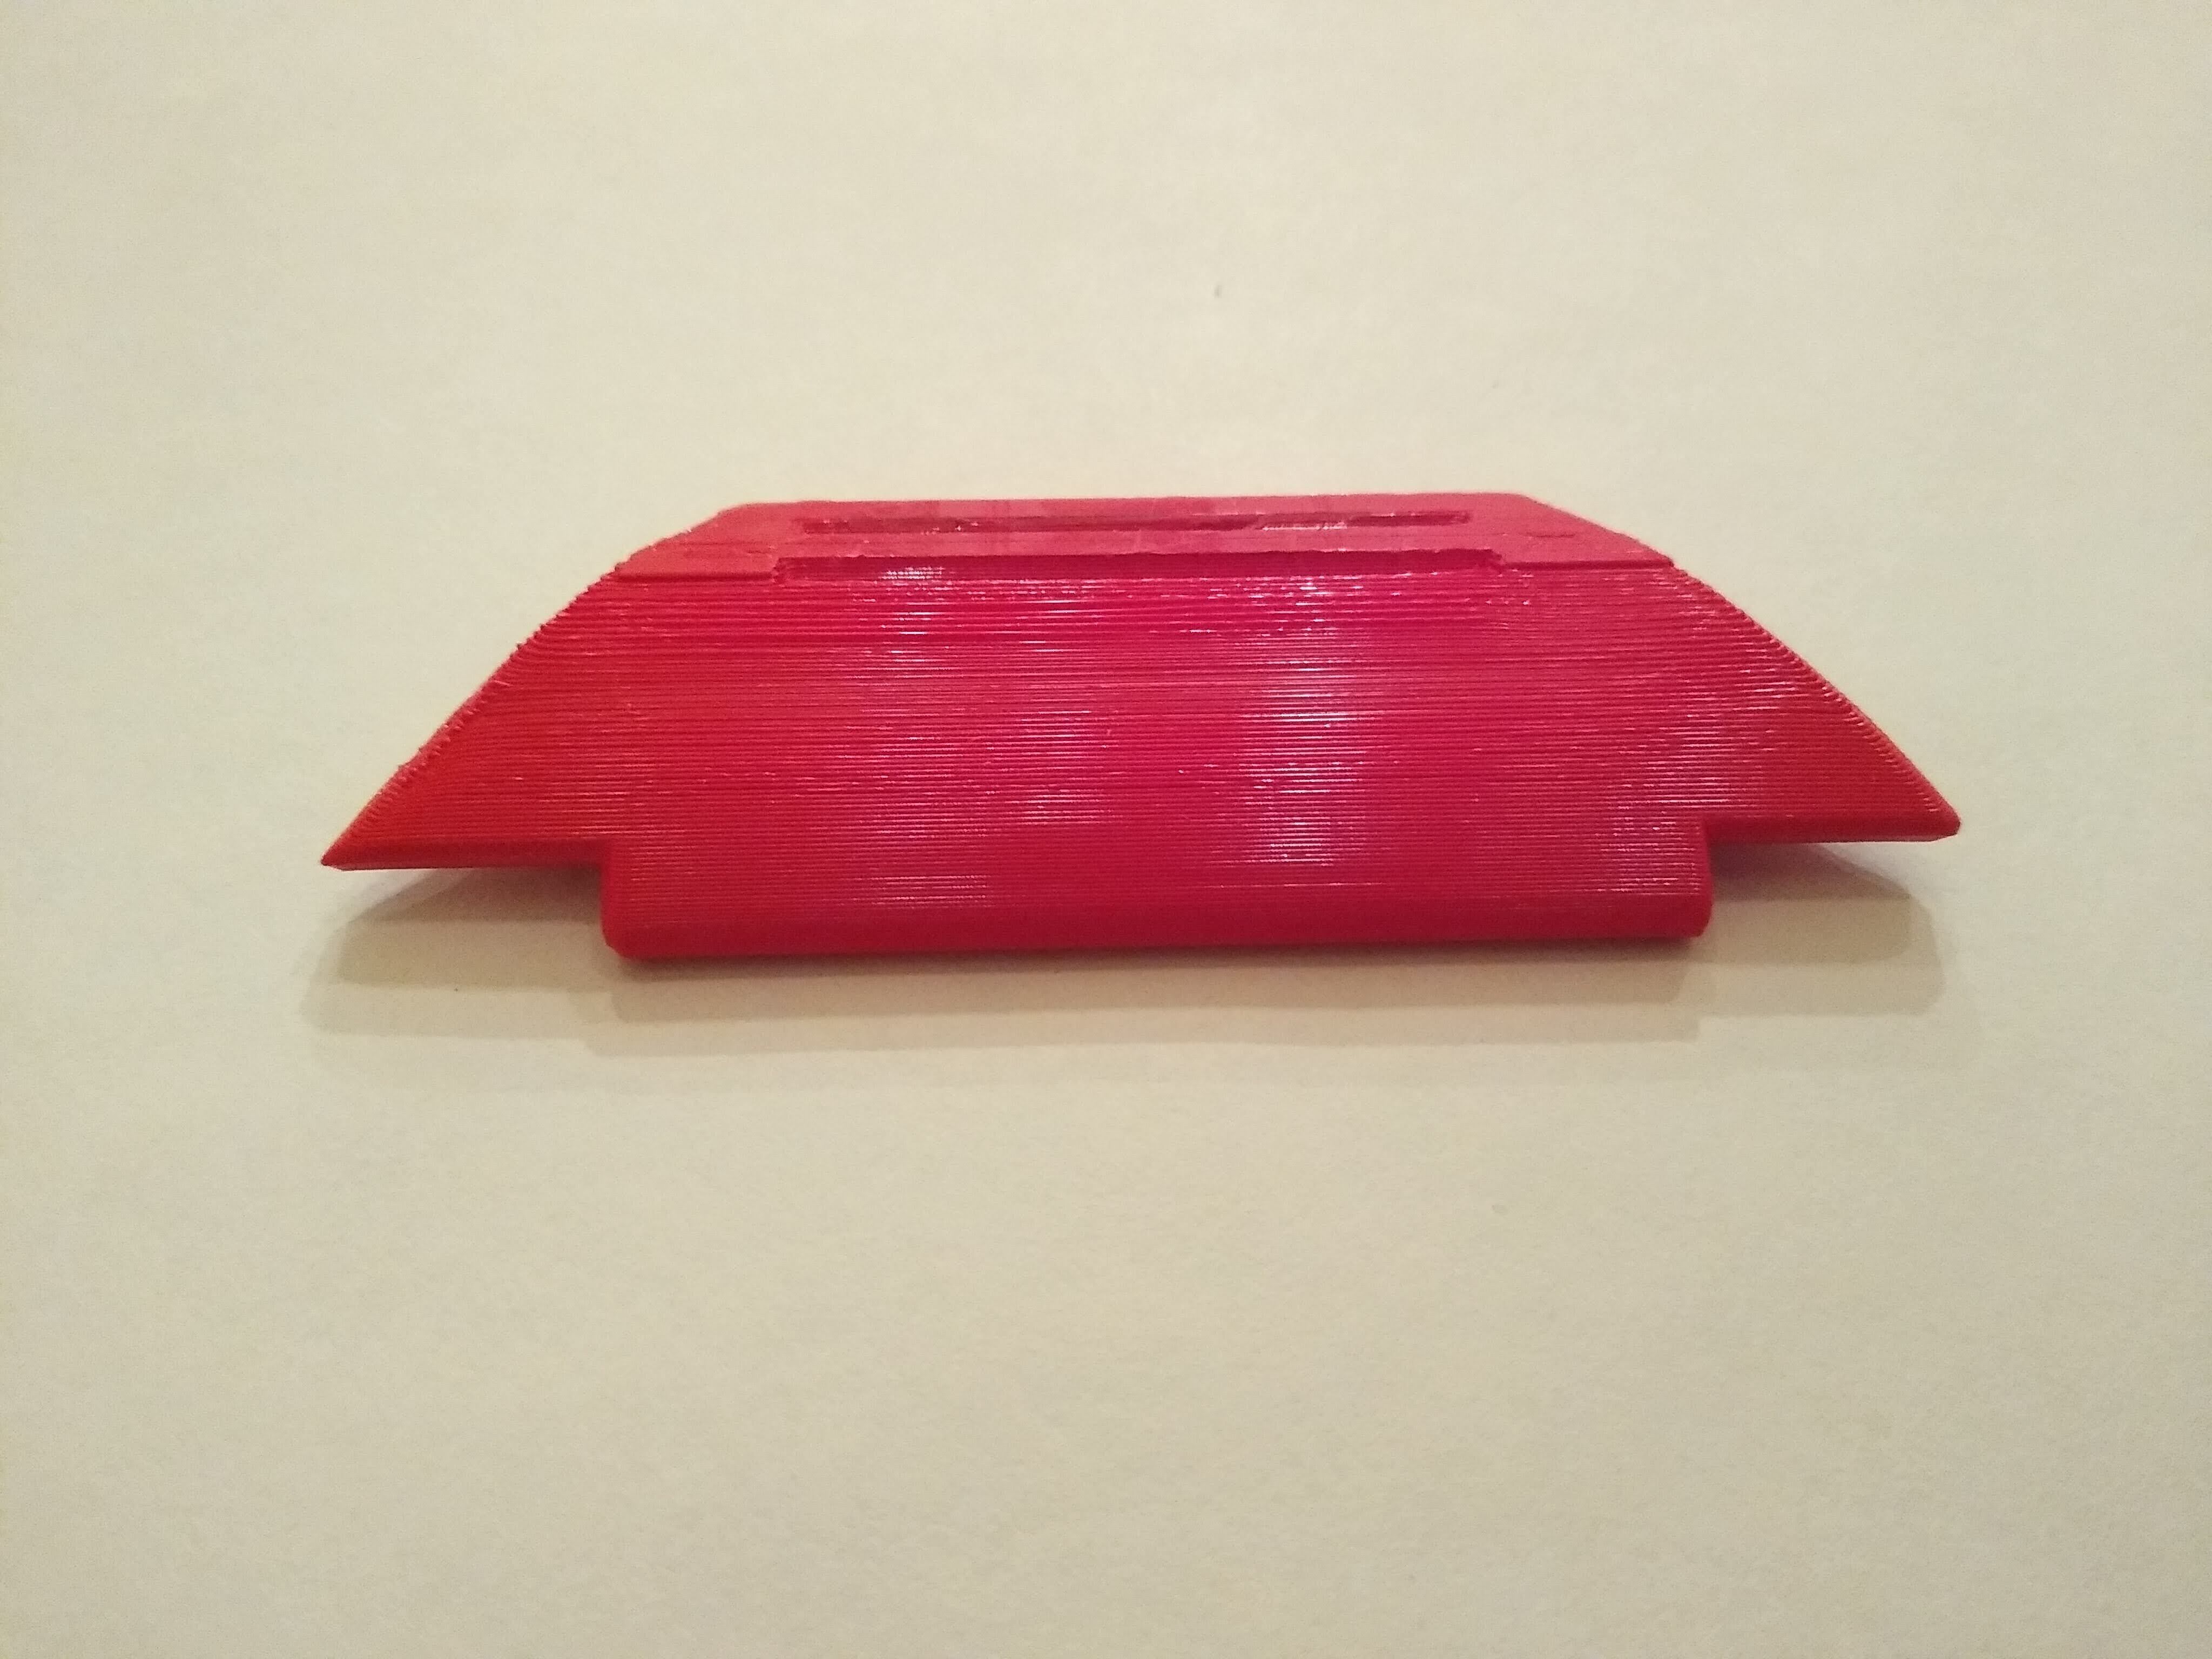
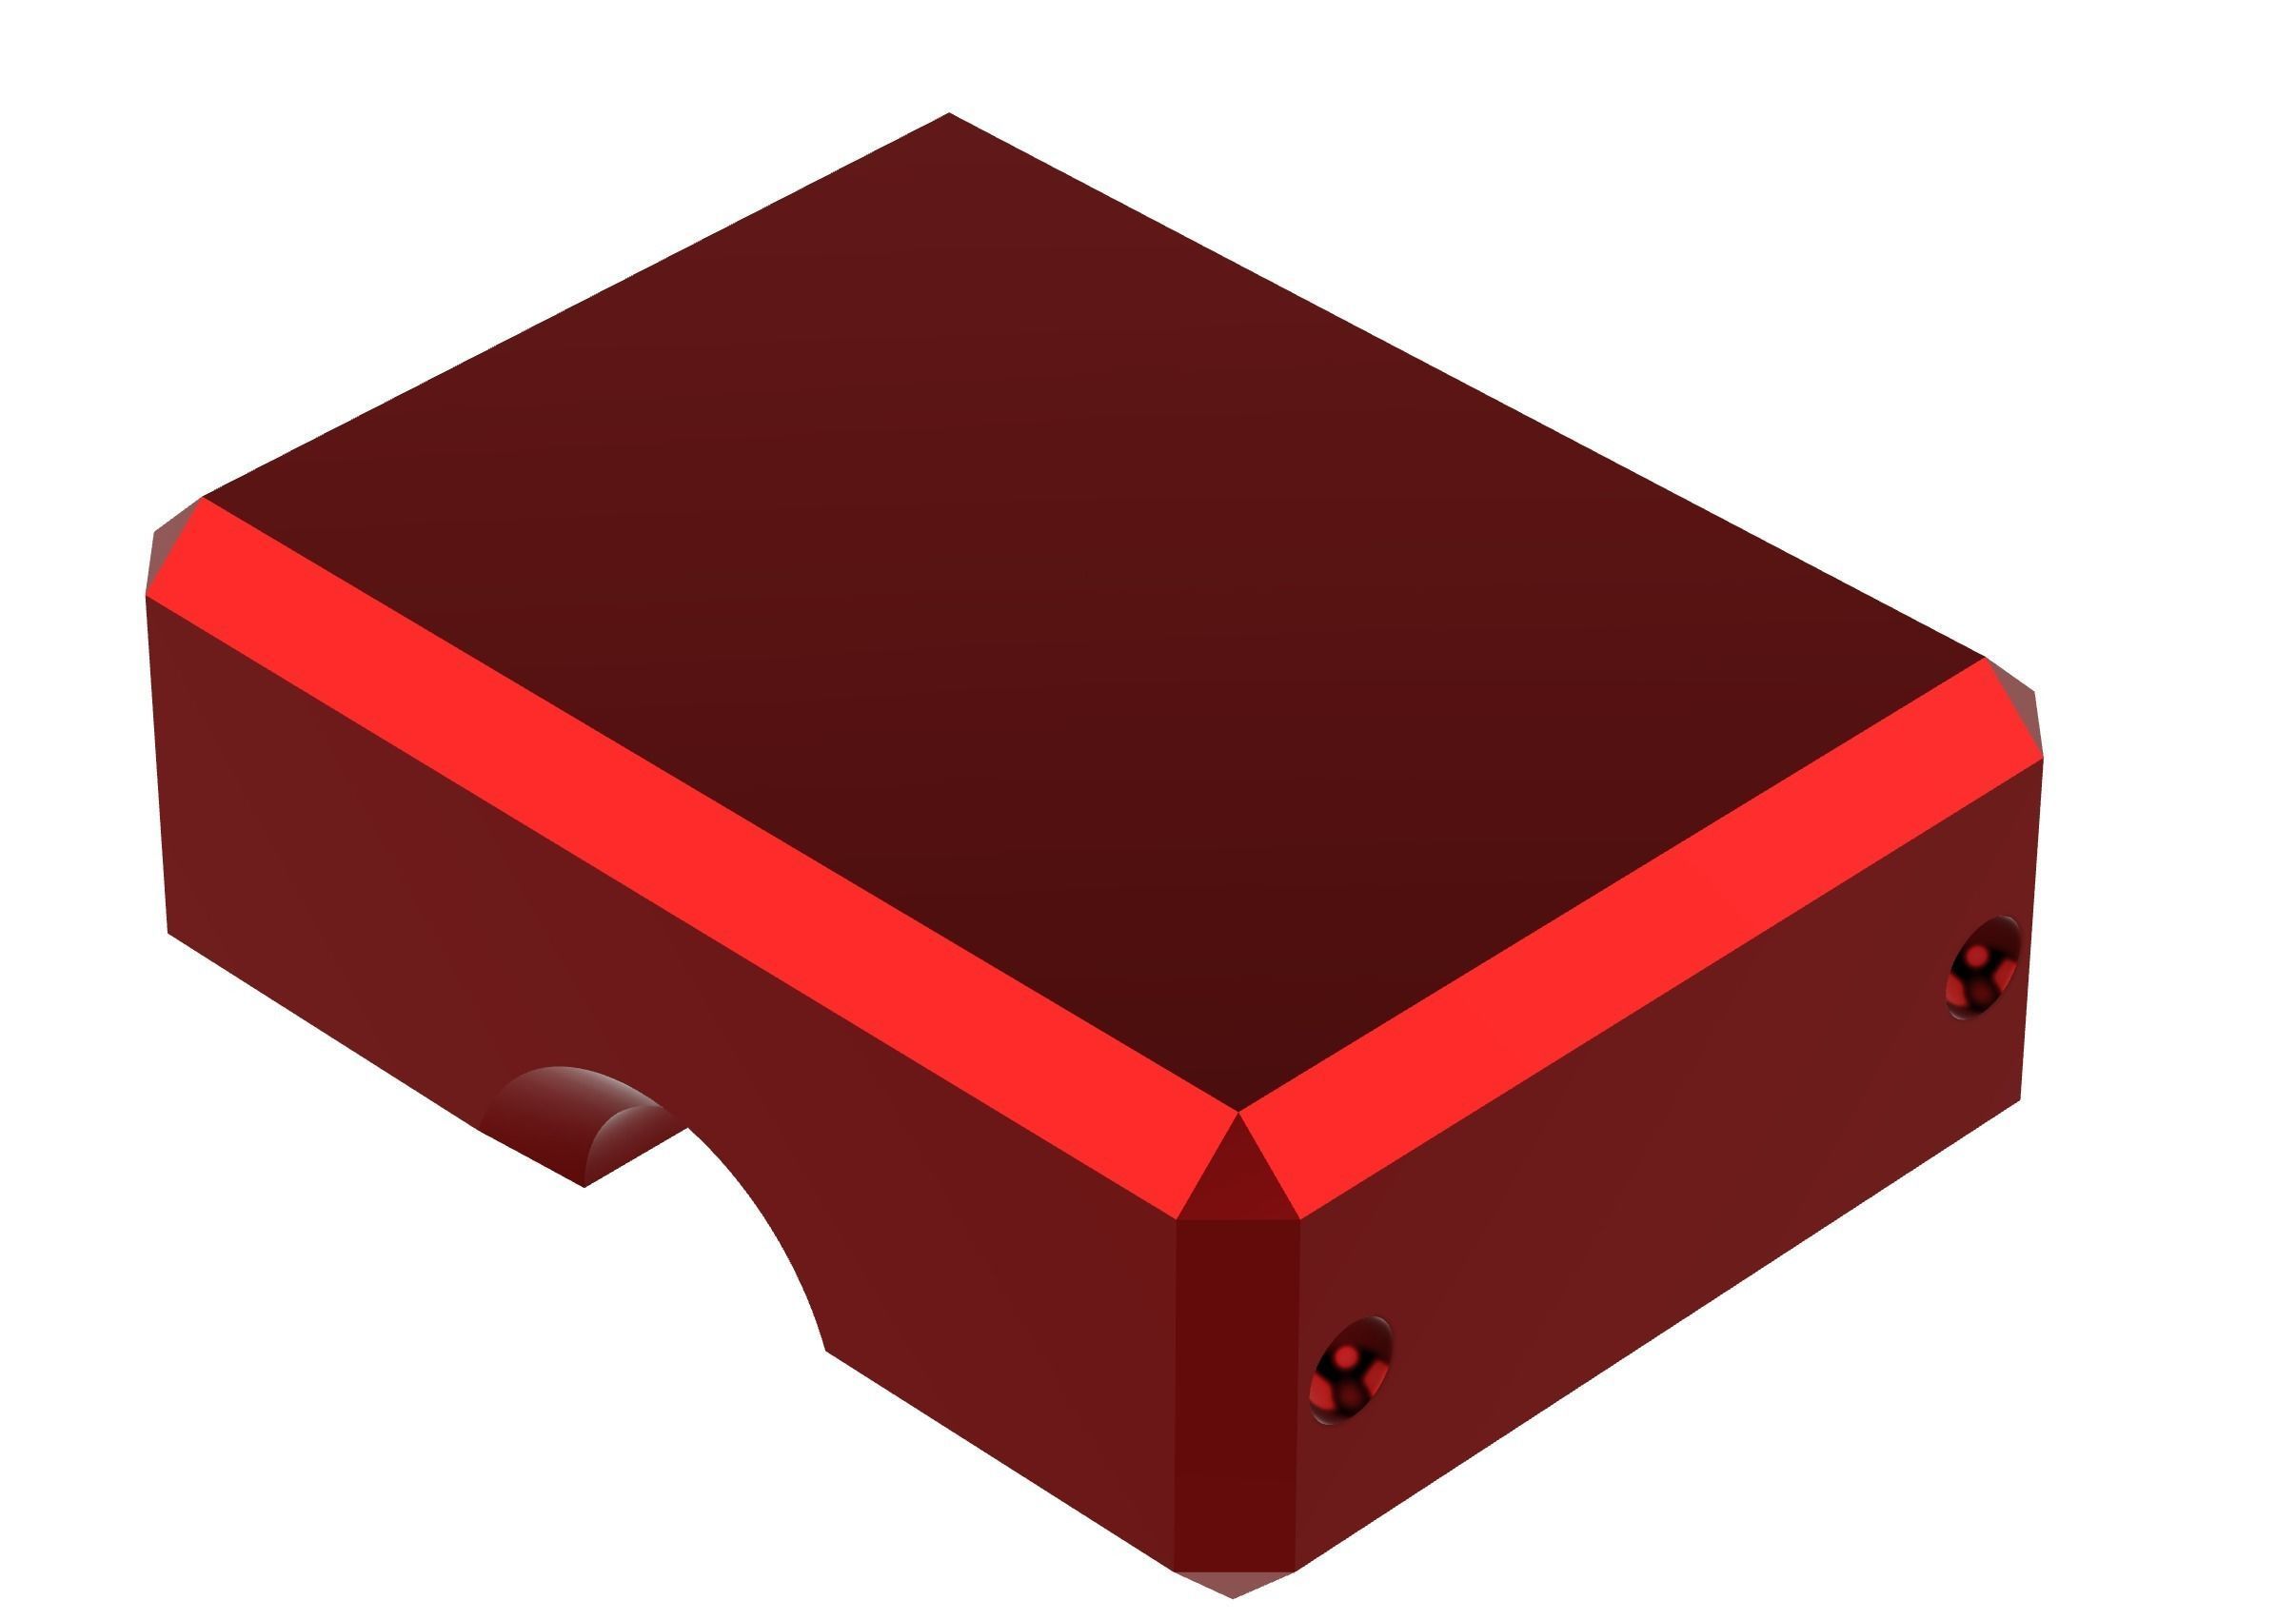
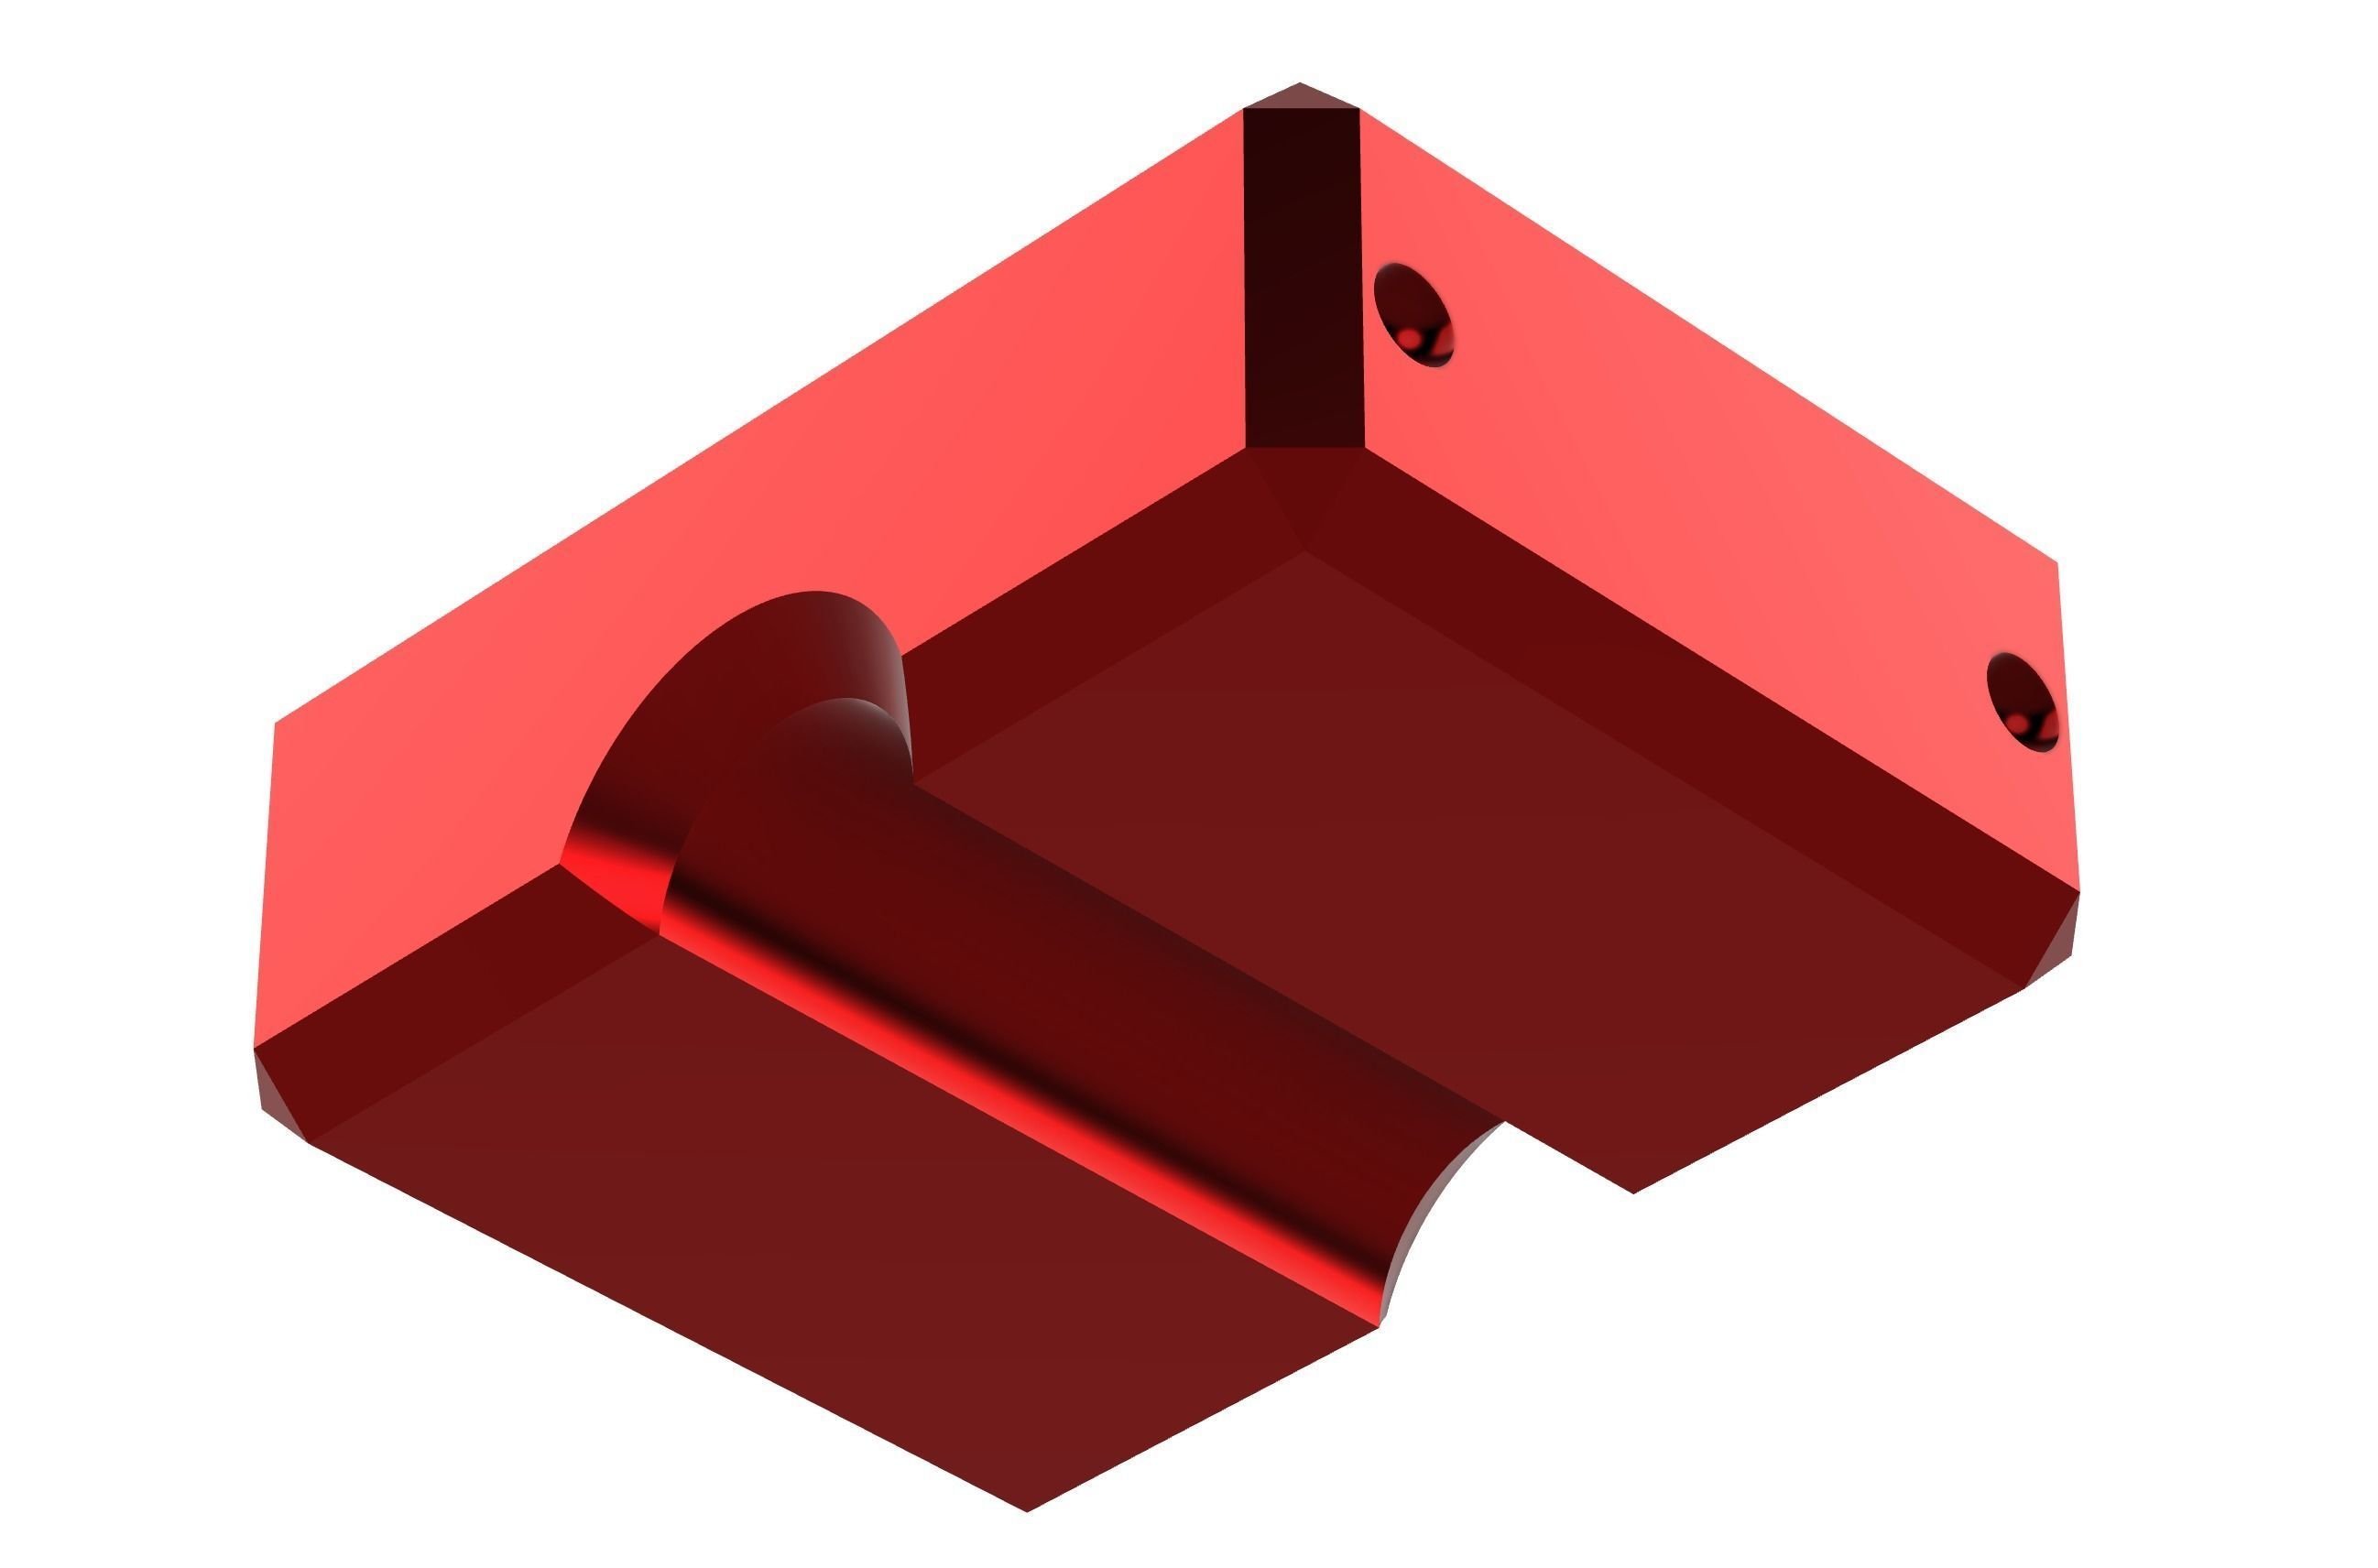
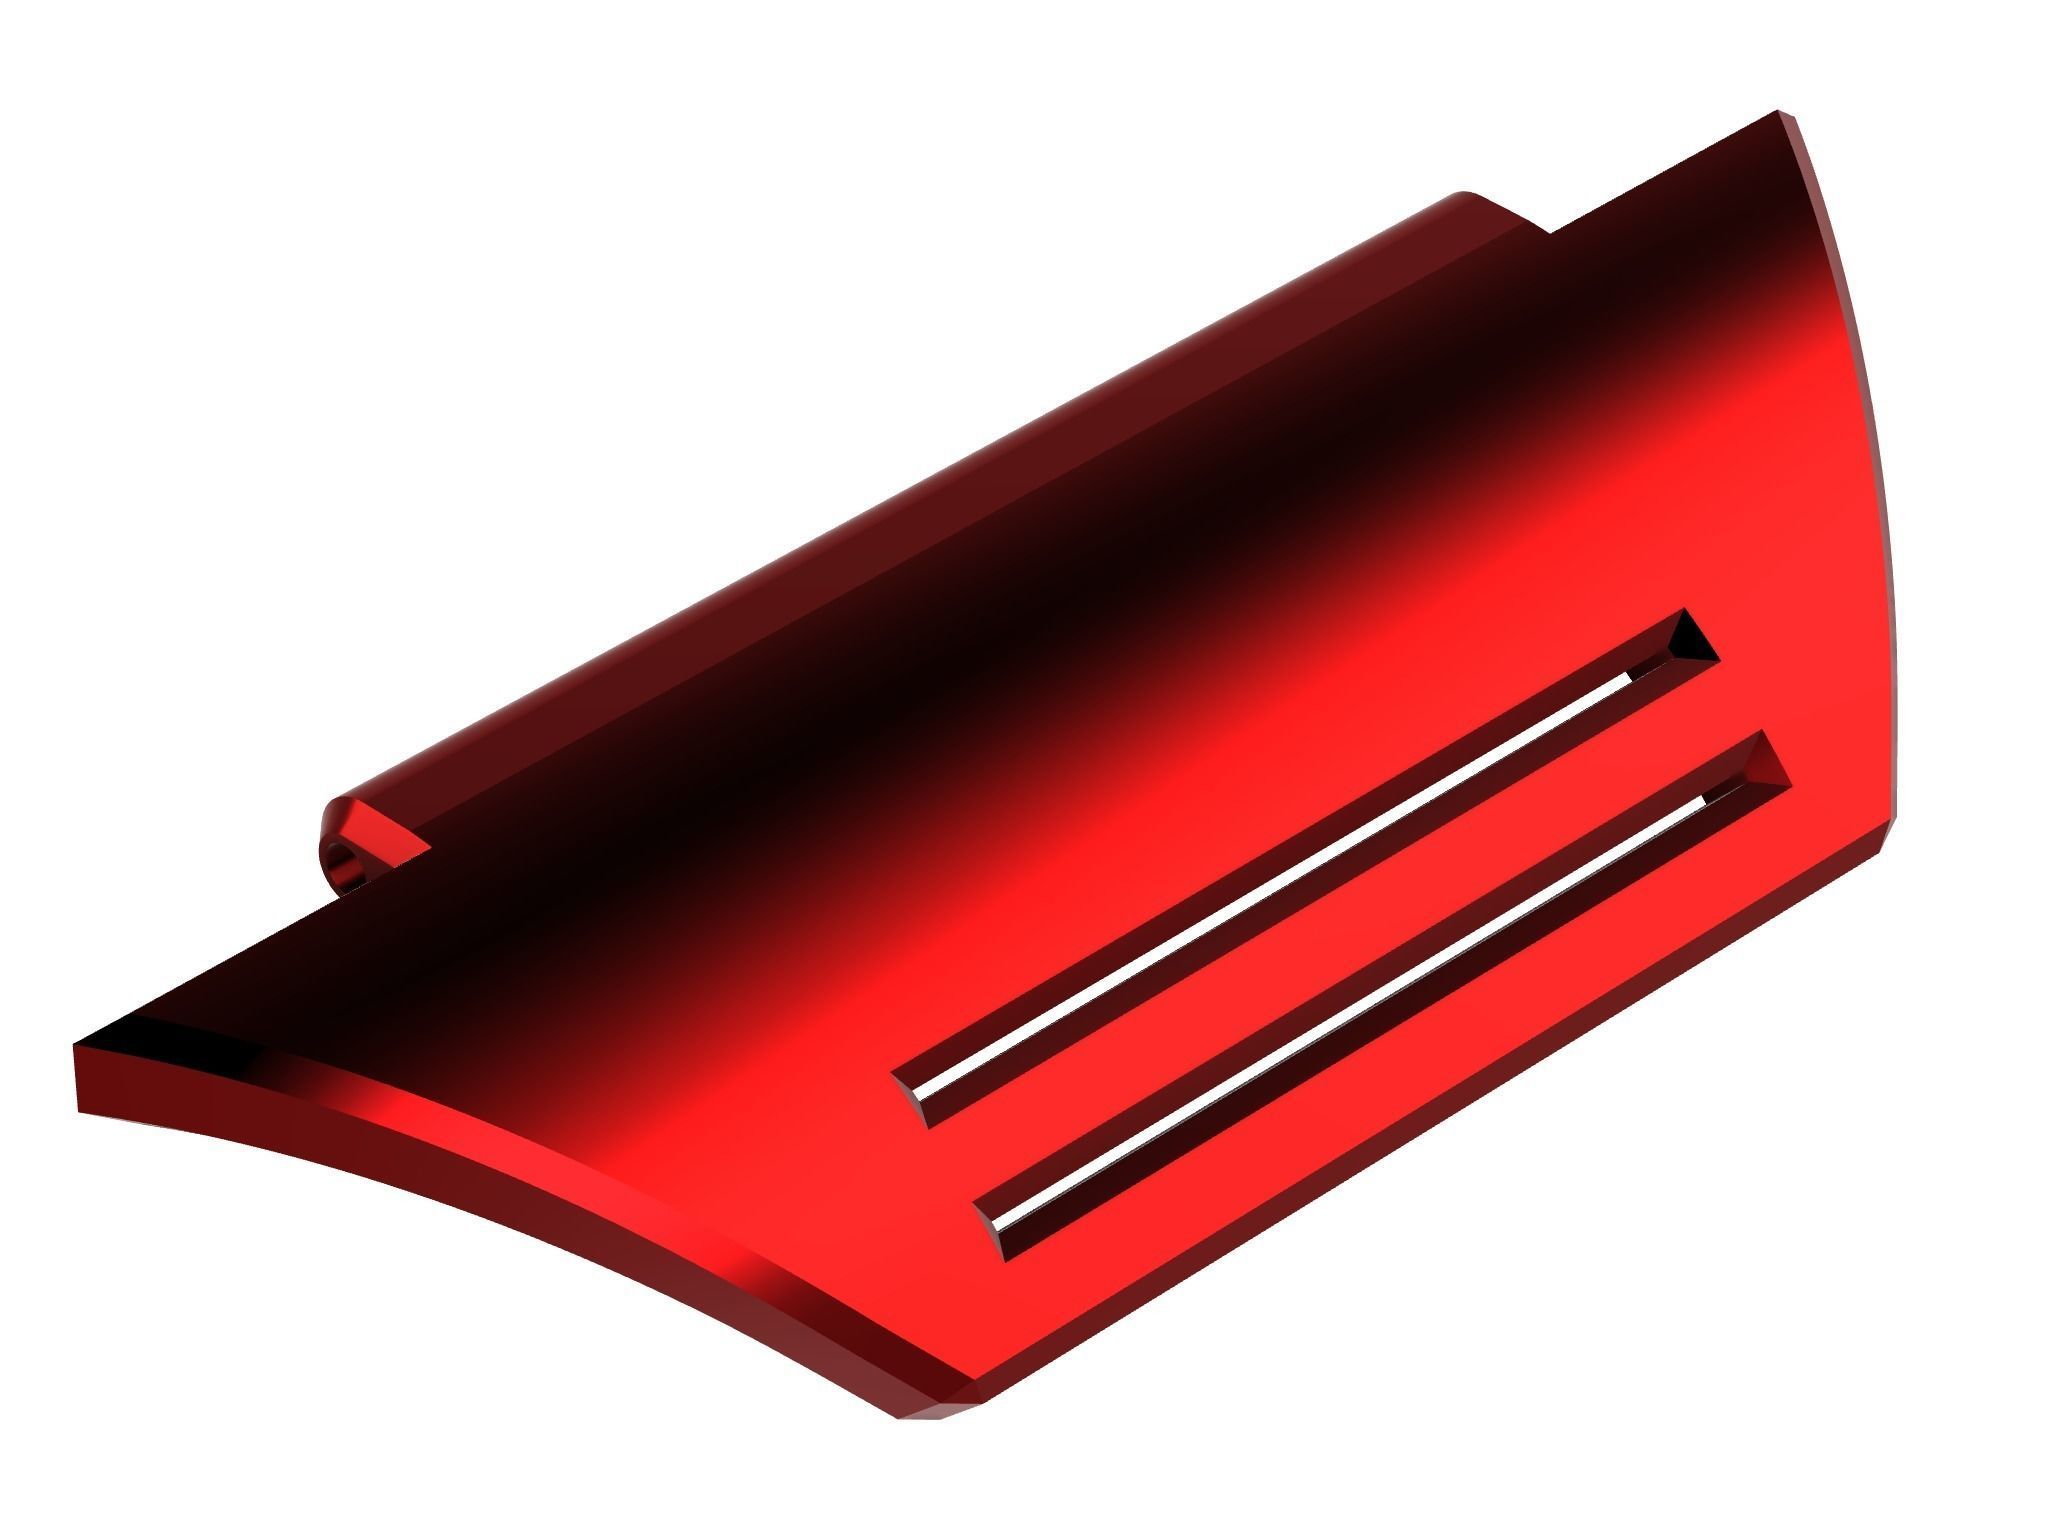
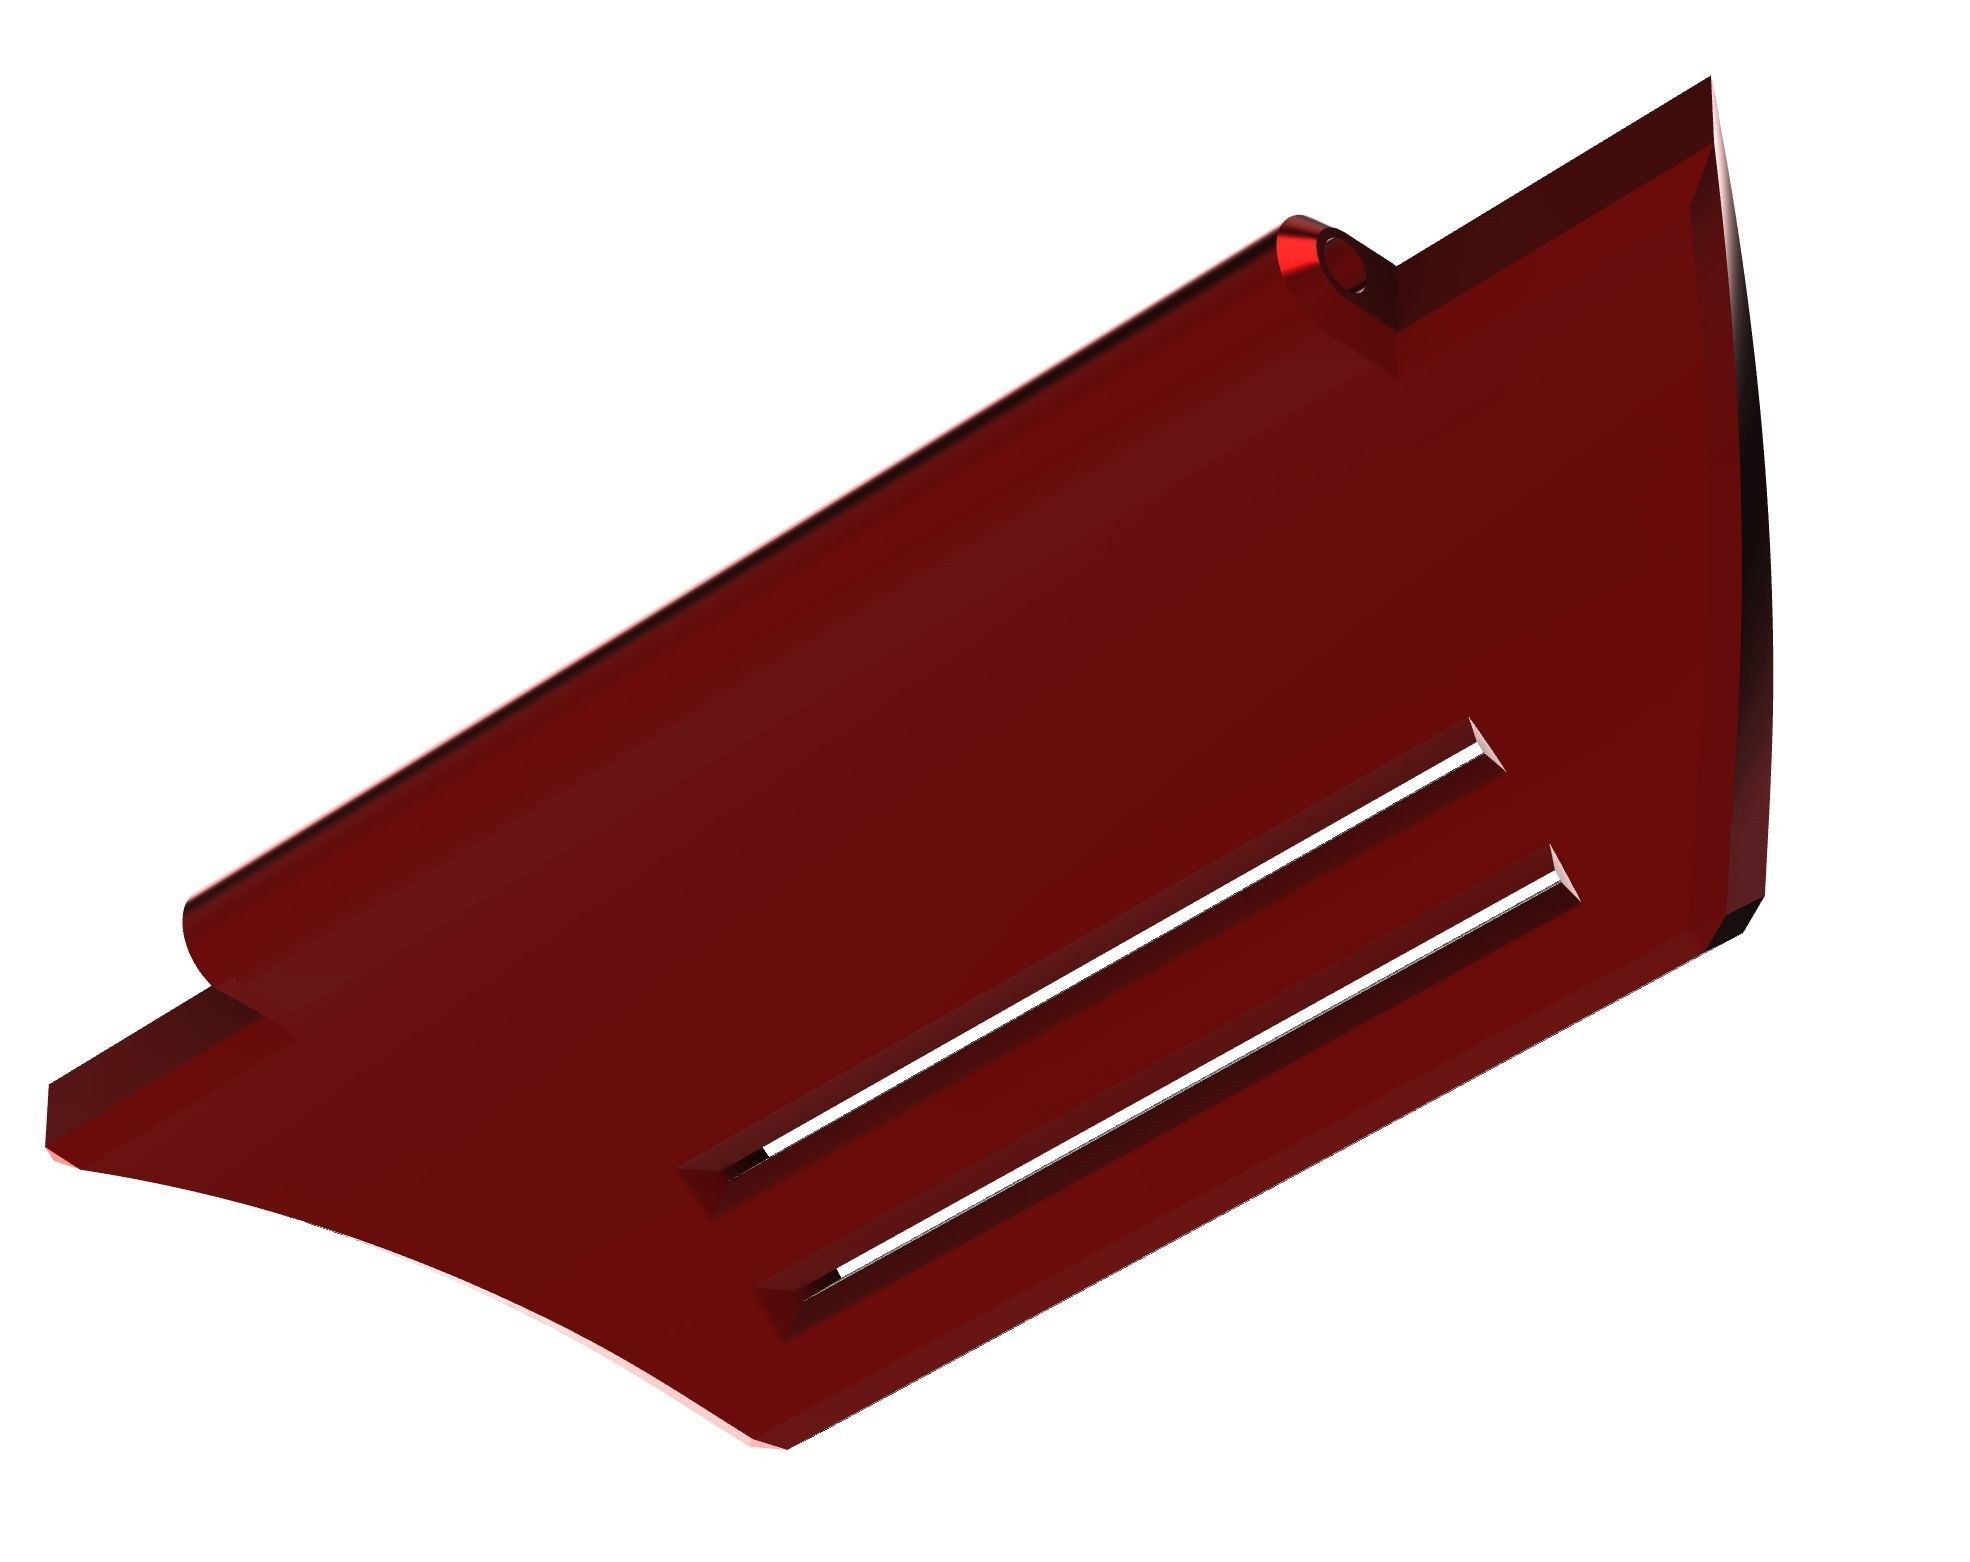
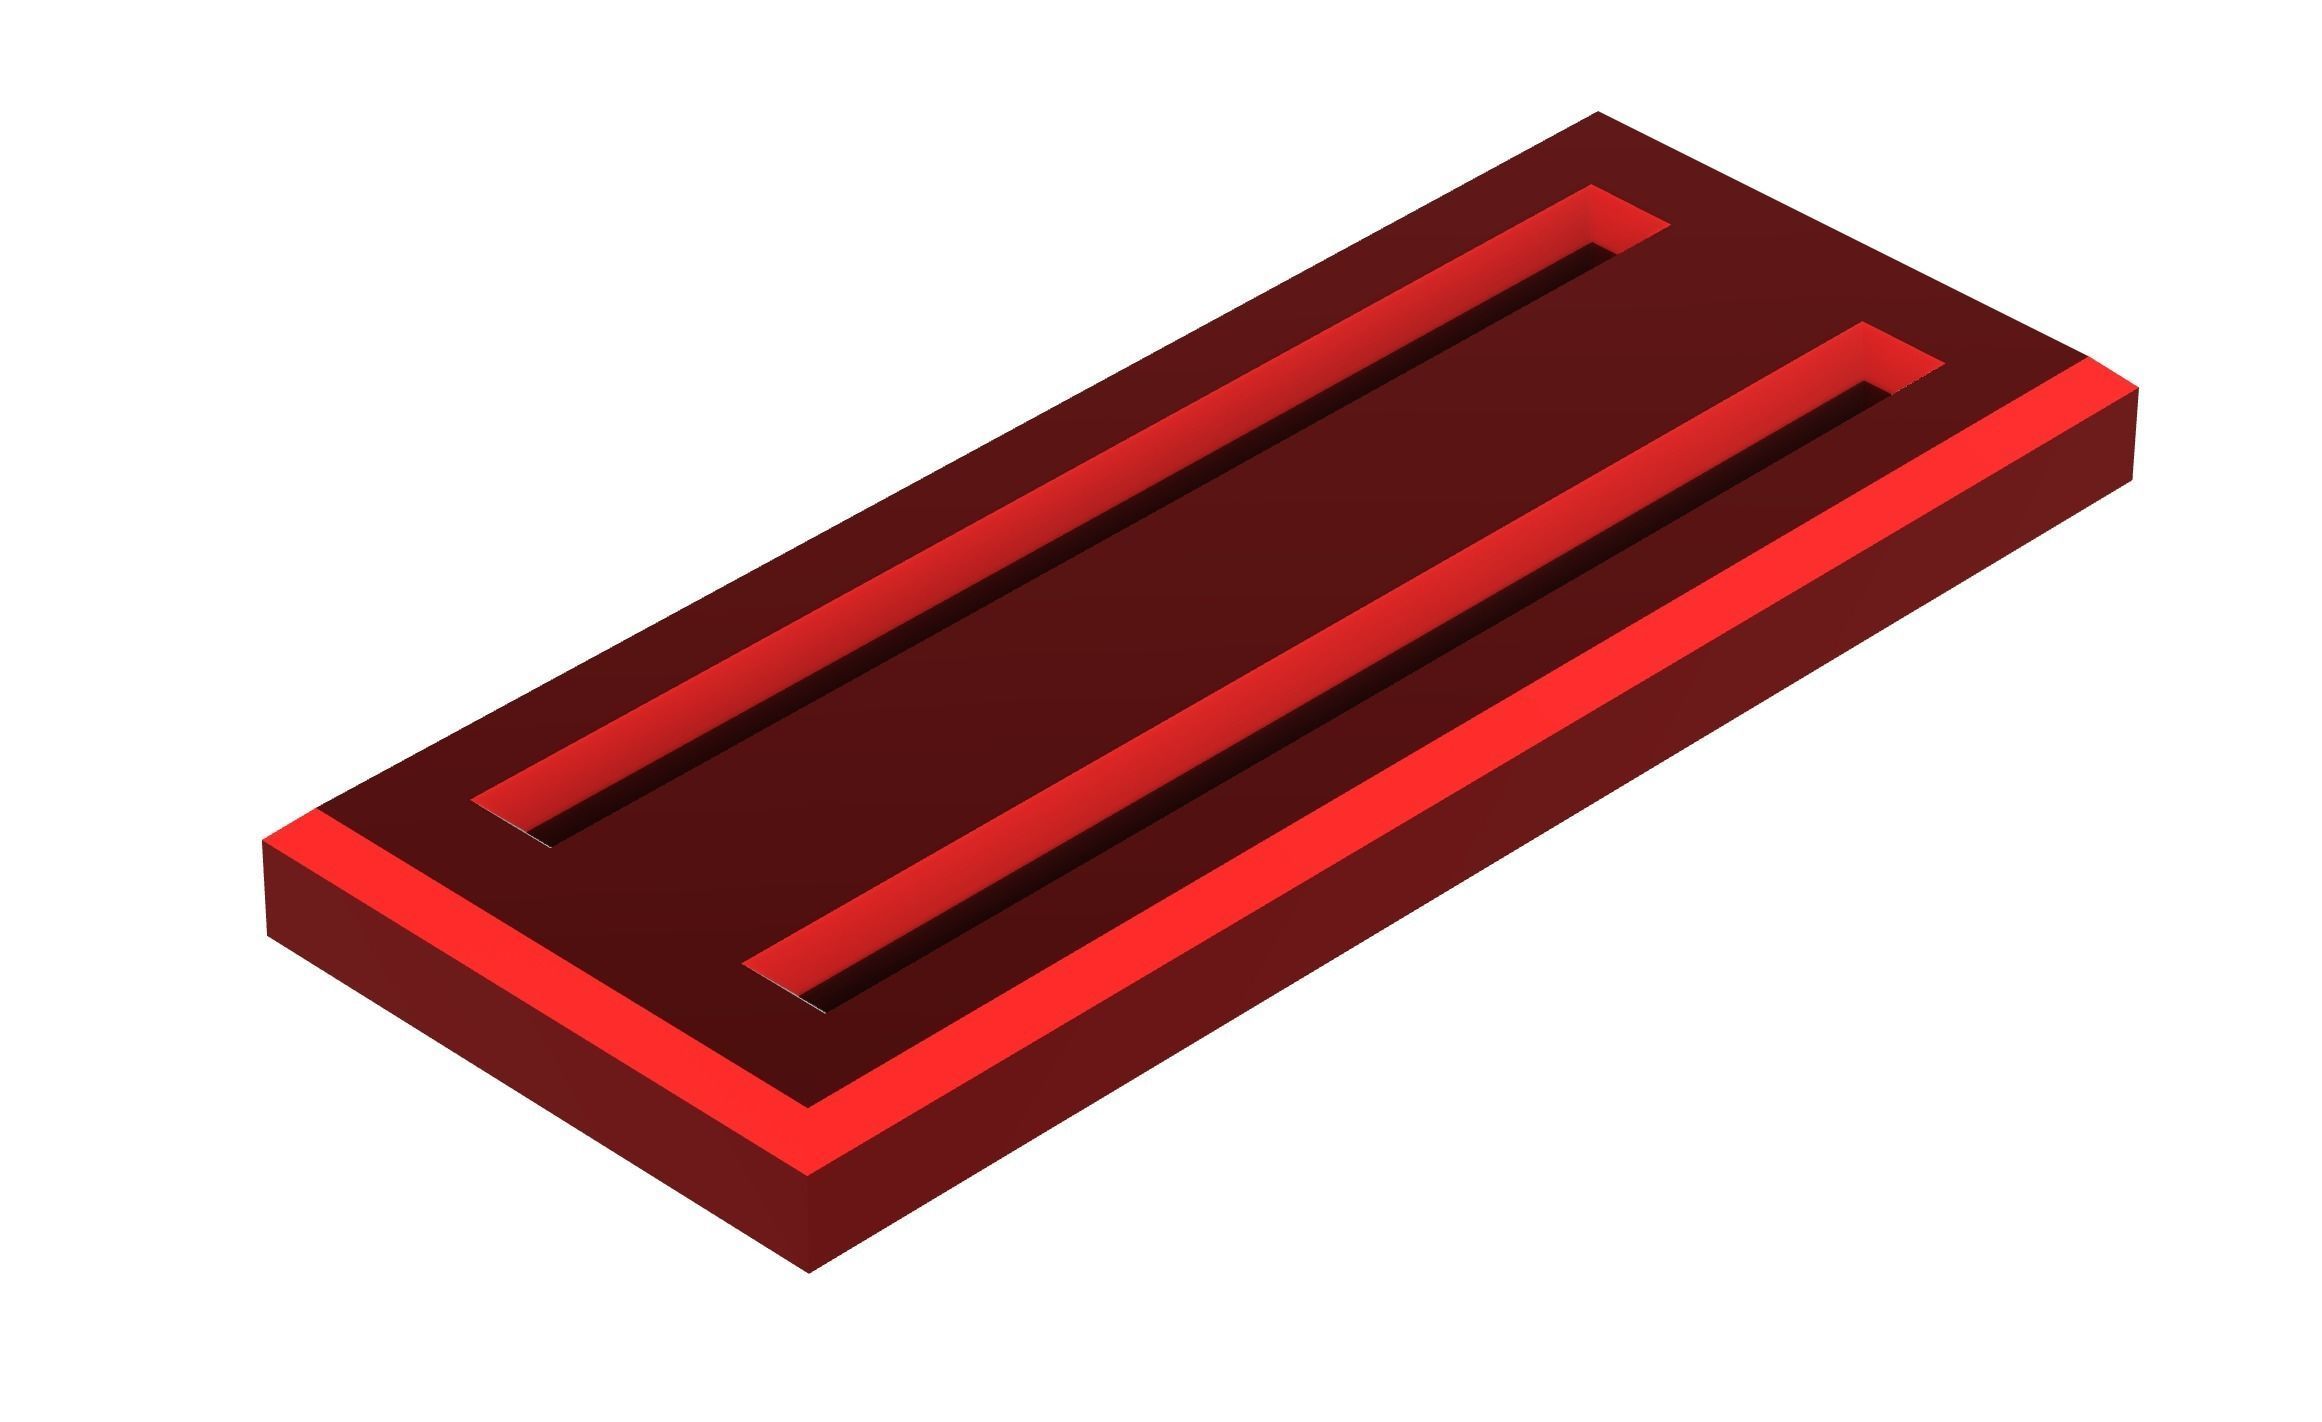
- Cover (included)
- Cartridge (included)
- Web Stopper (included)
- Dart (included)
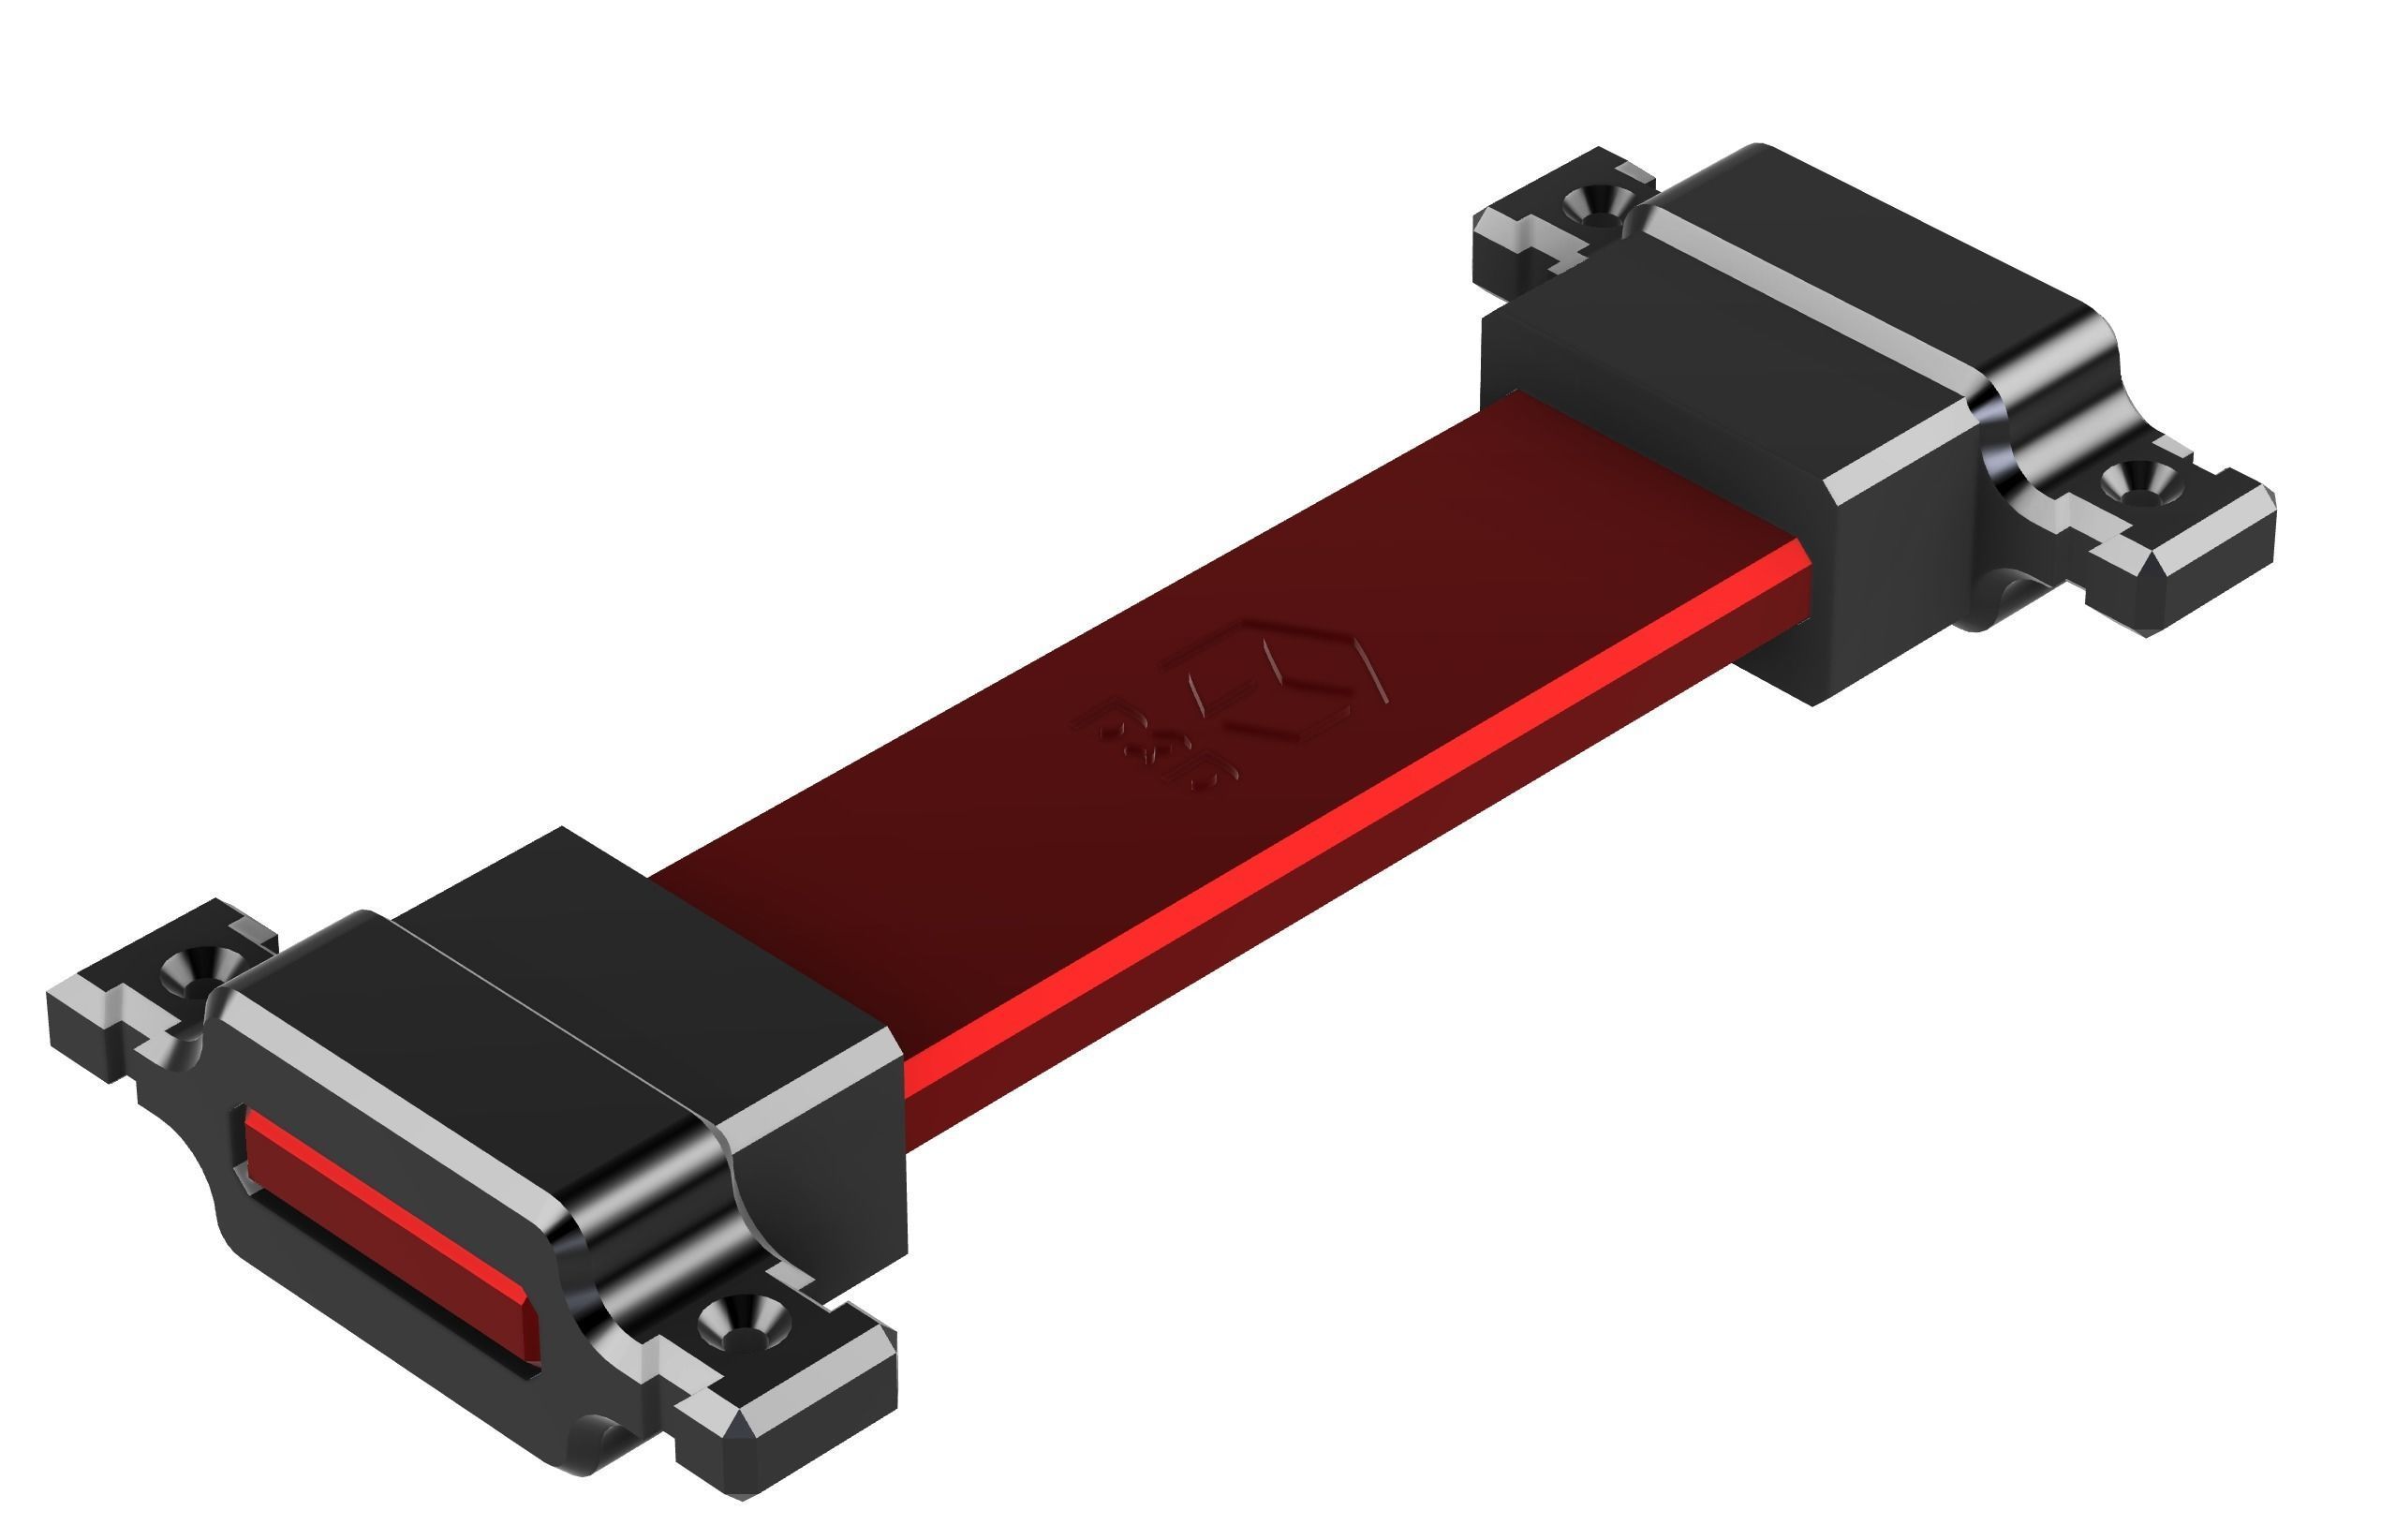
- Cuff (included)
- Clip (included)
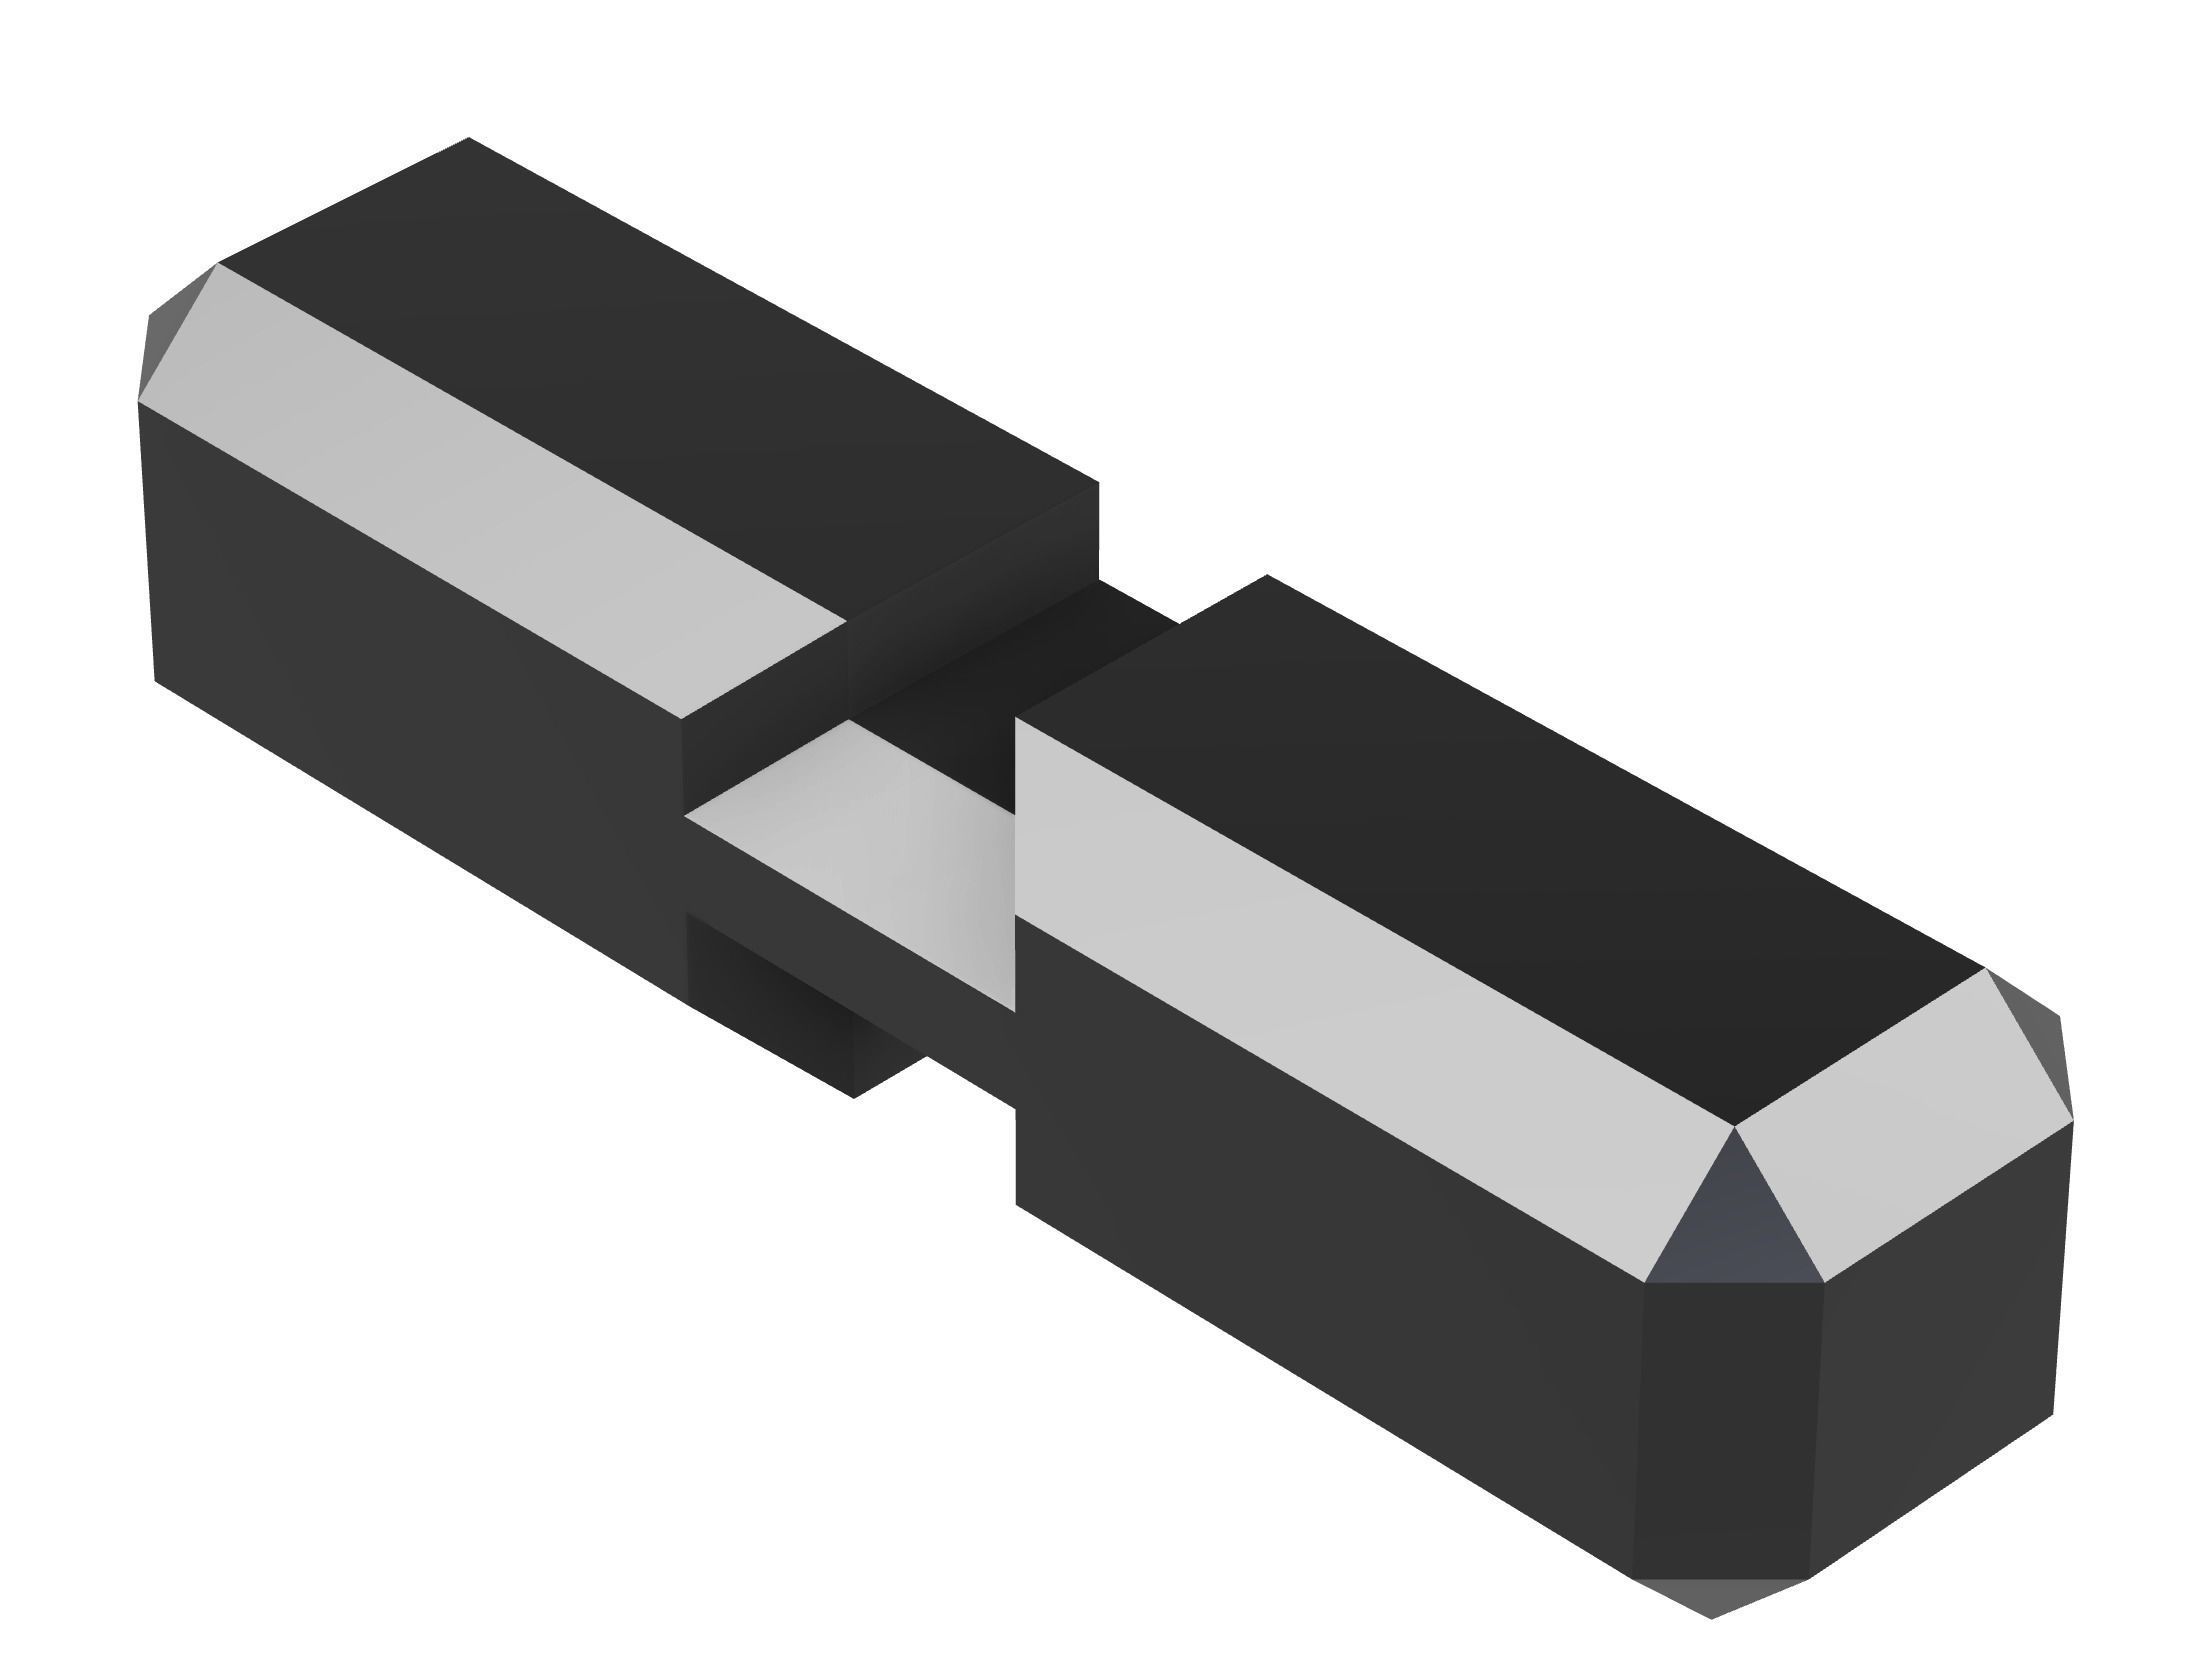
- Beam (included)
- Slider (included)
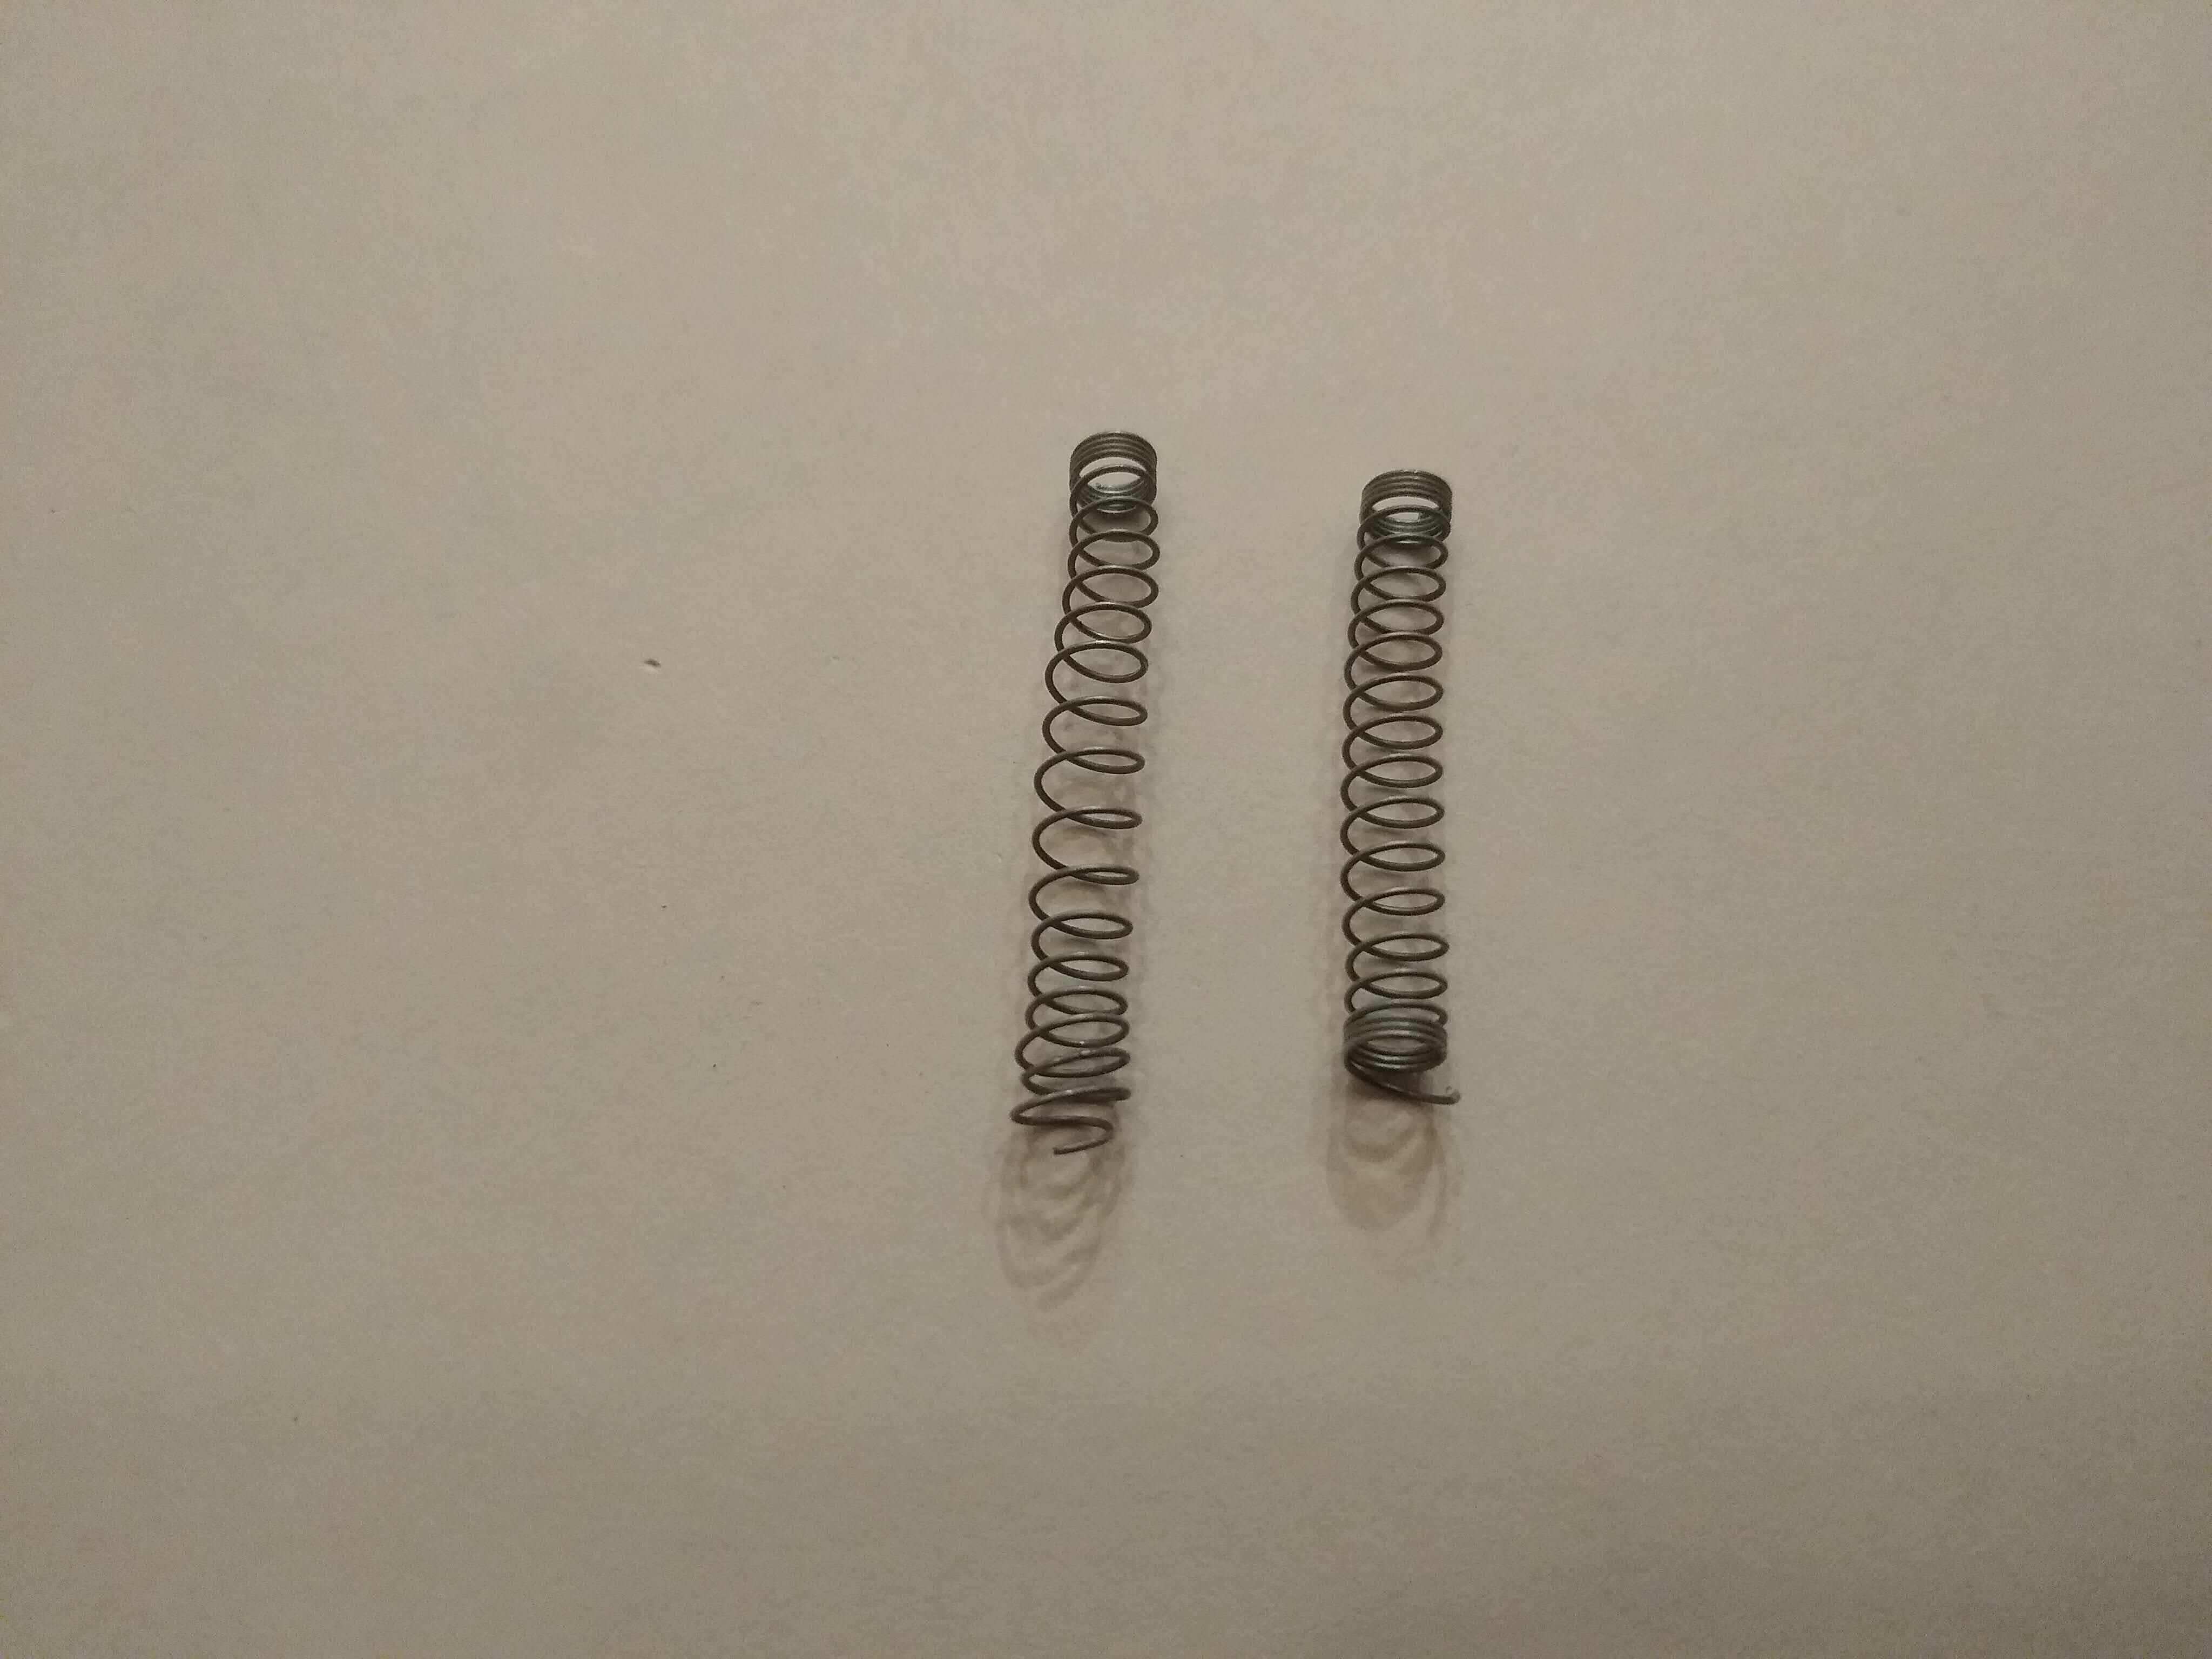
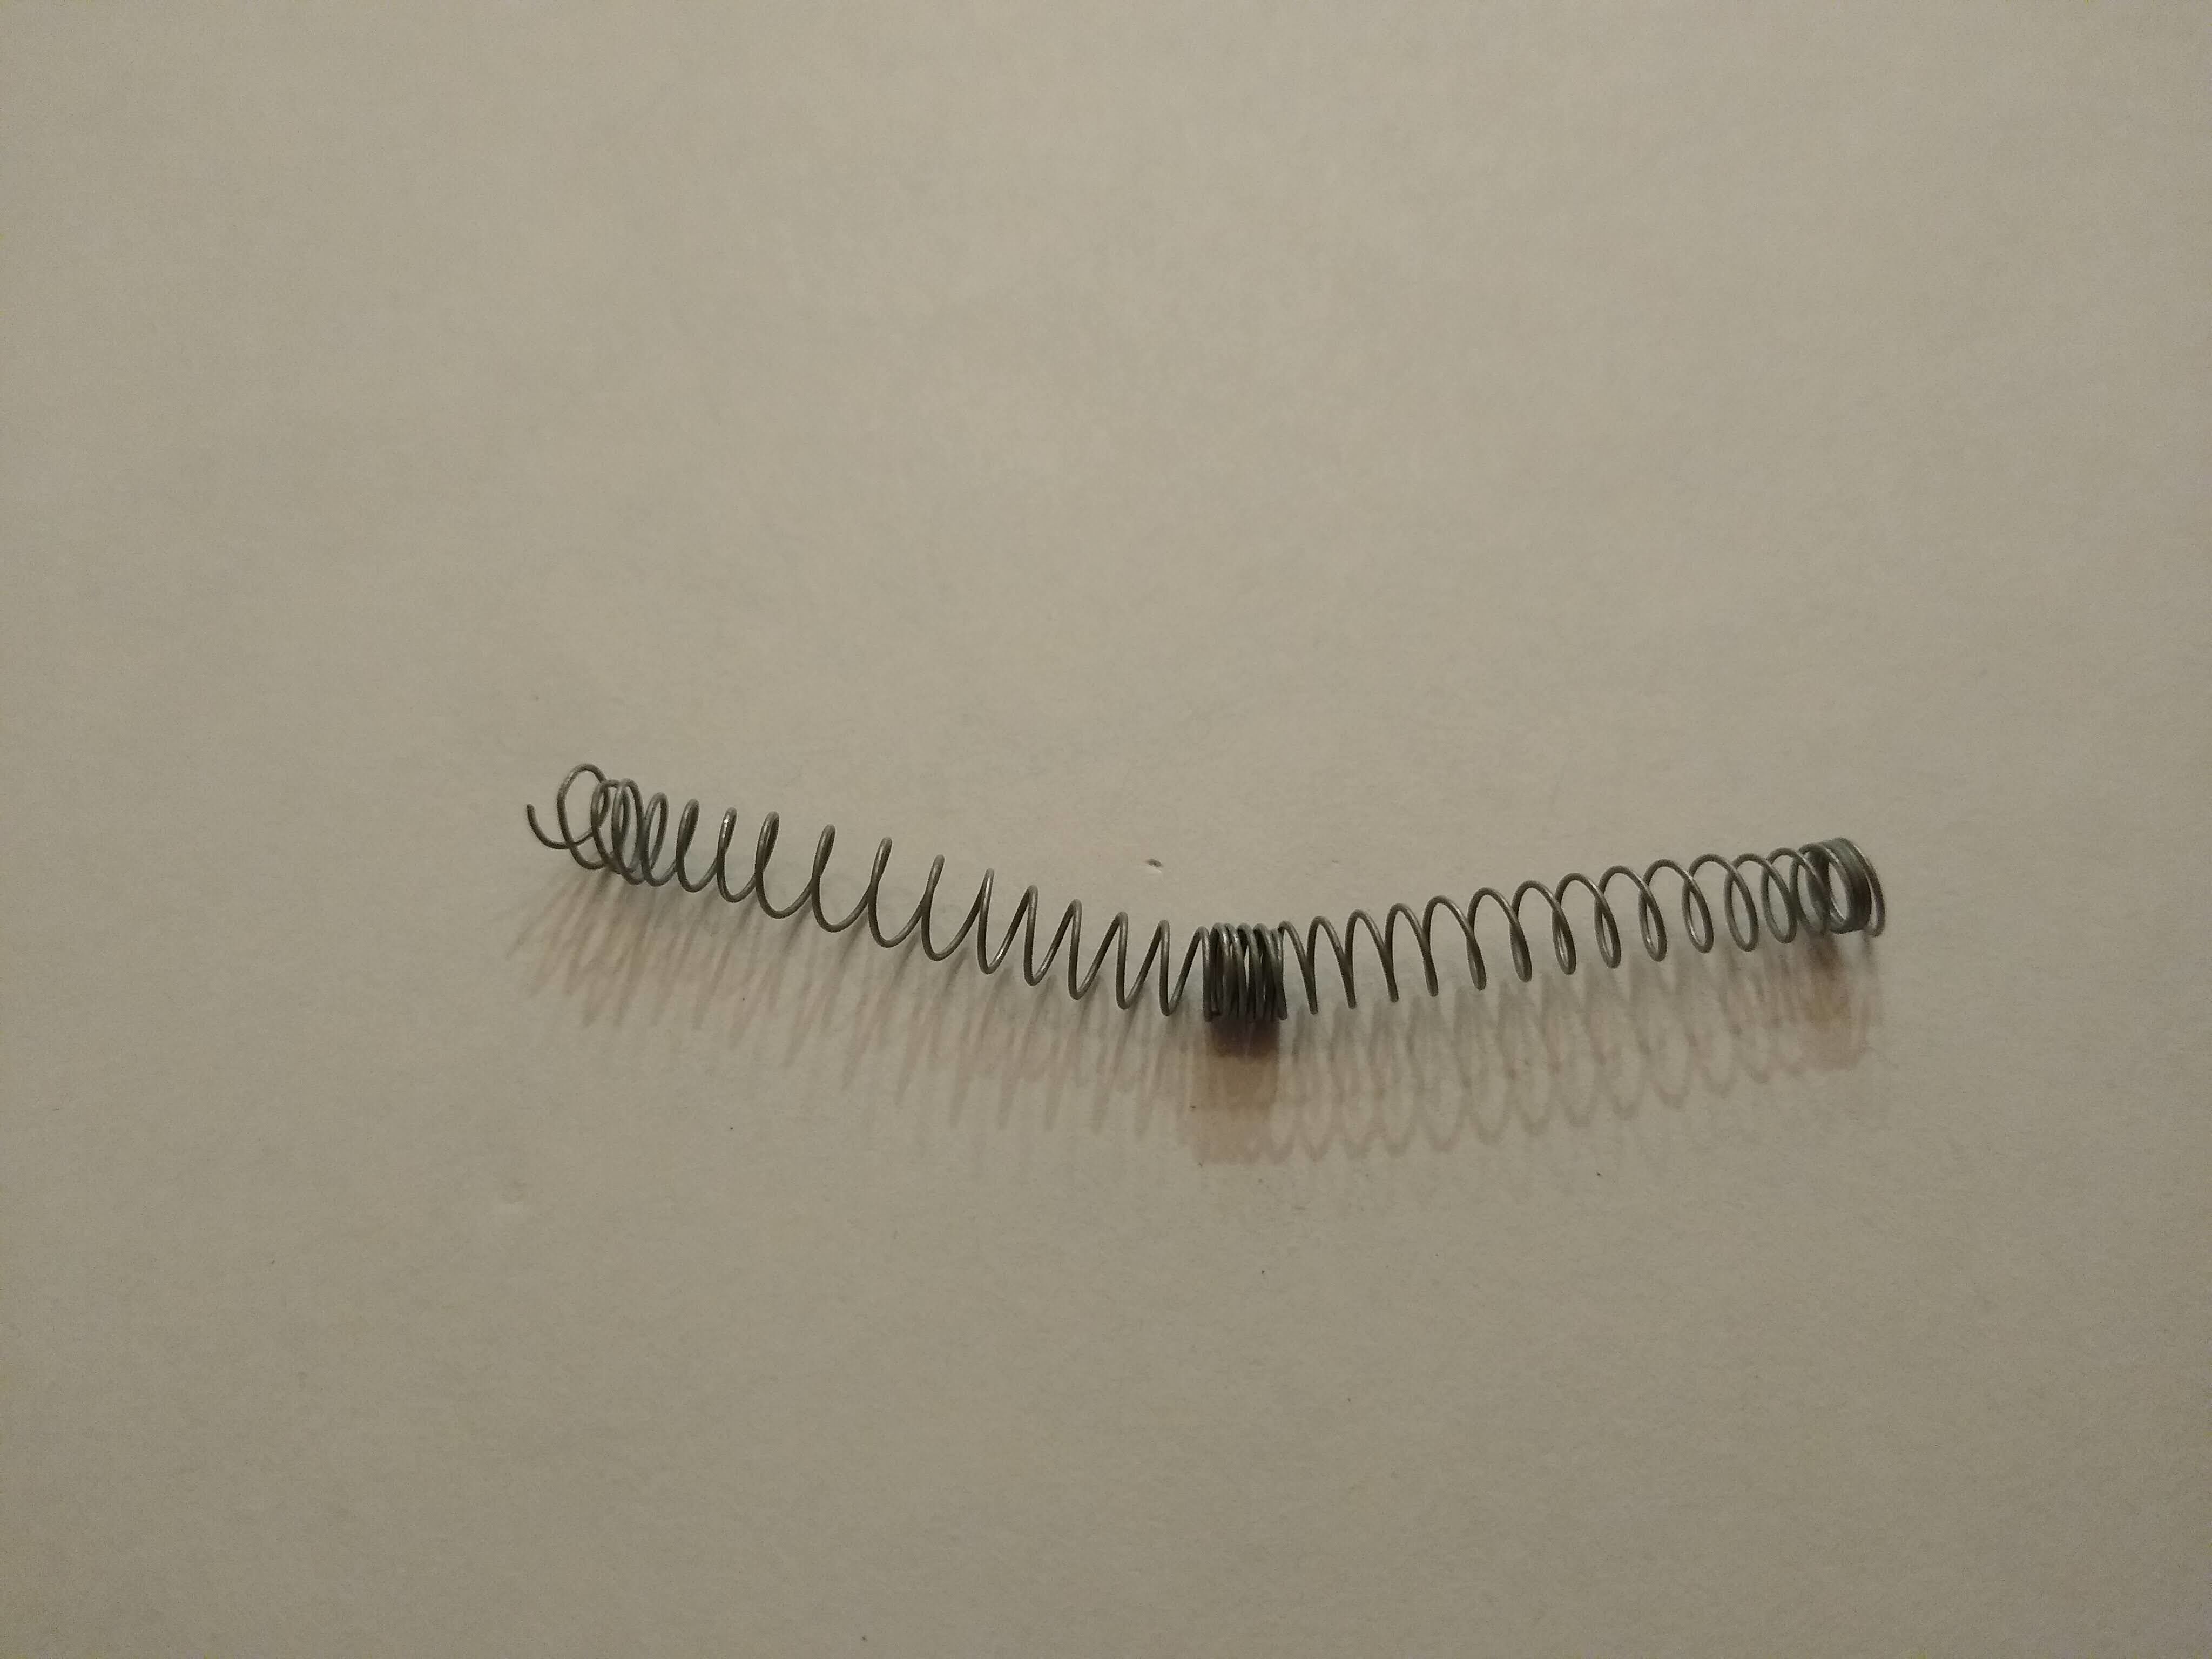
- 3 pen springs (any pen springs should work) (not included)
- Something capable of cutting the springs (flush cutters work) (not included)
- Raw unprinted film in scrap (not included)
- 4 to 5 magnets (5 mm in diameter by 2 mm thick) (not included)
- Sewing thread (not included)
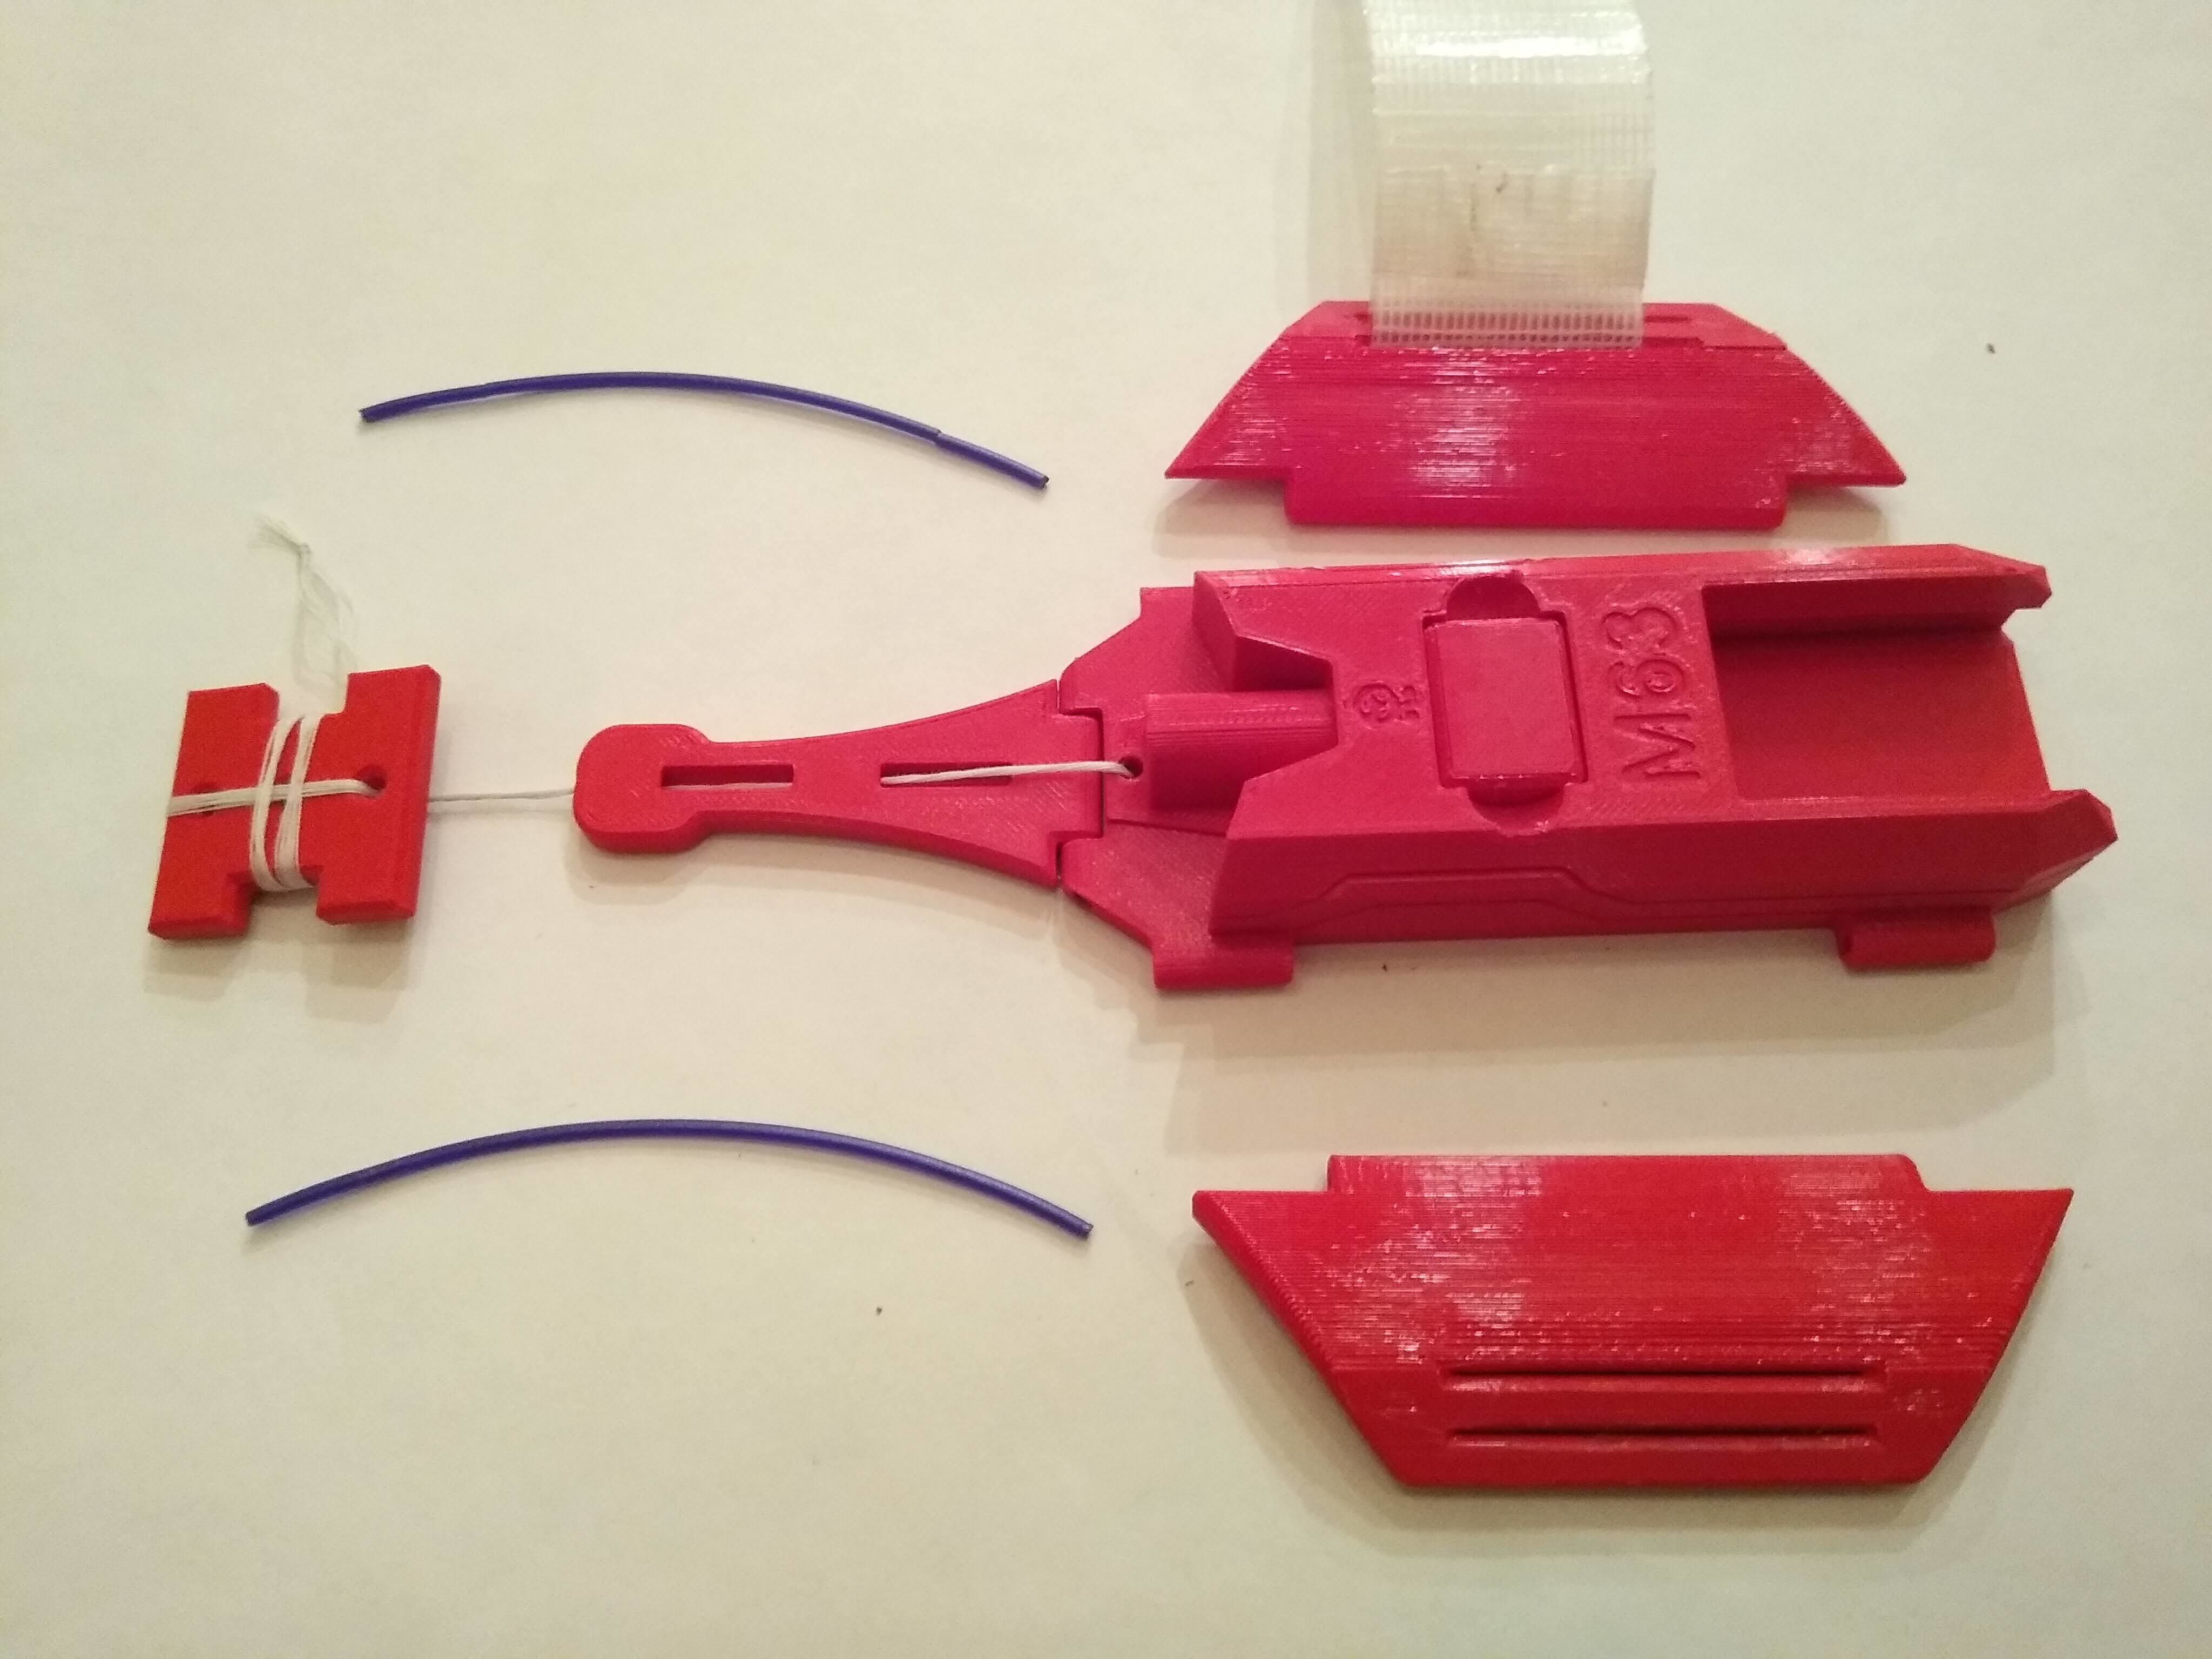
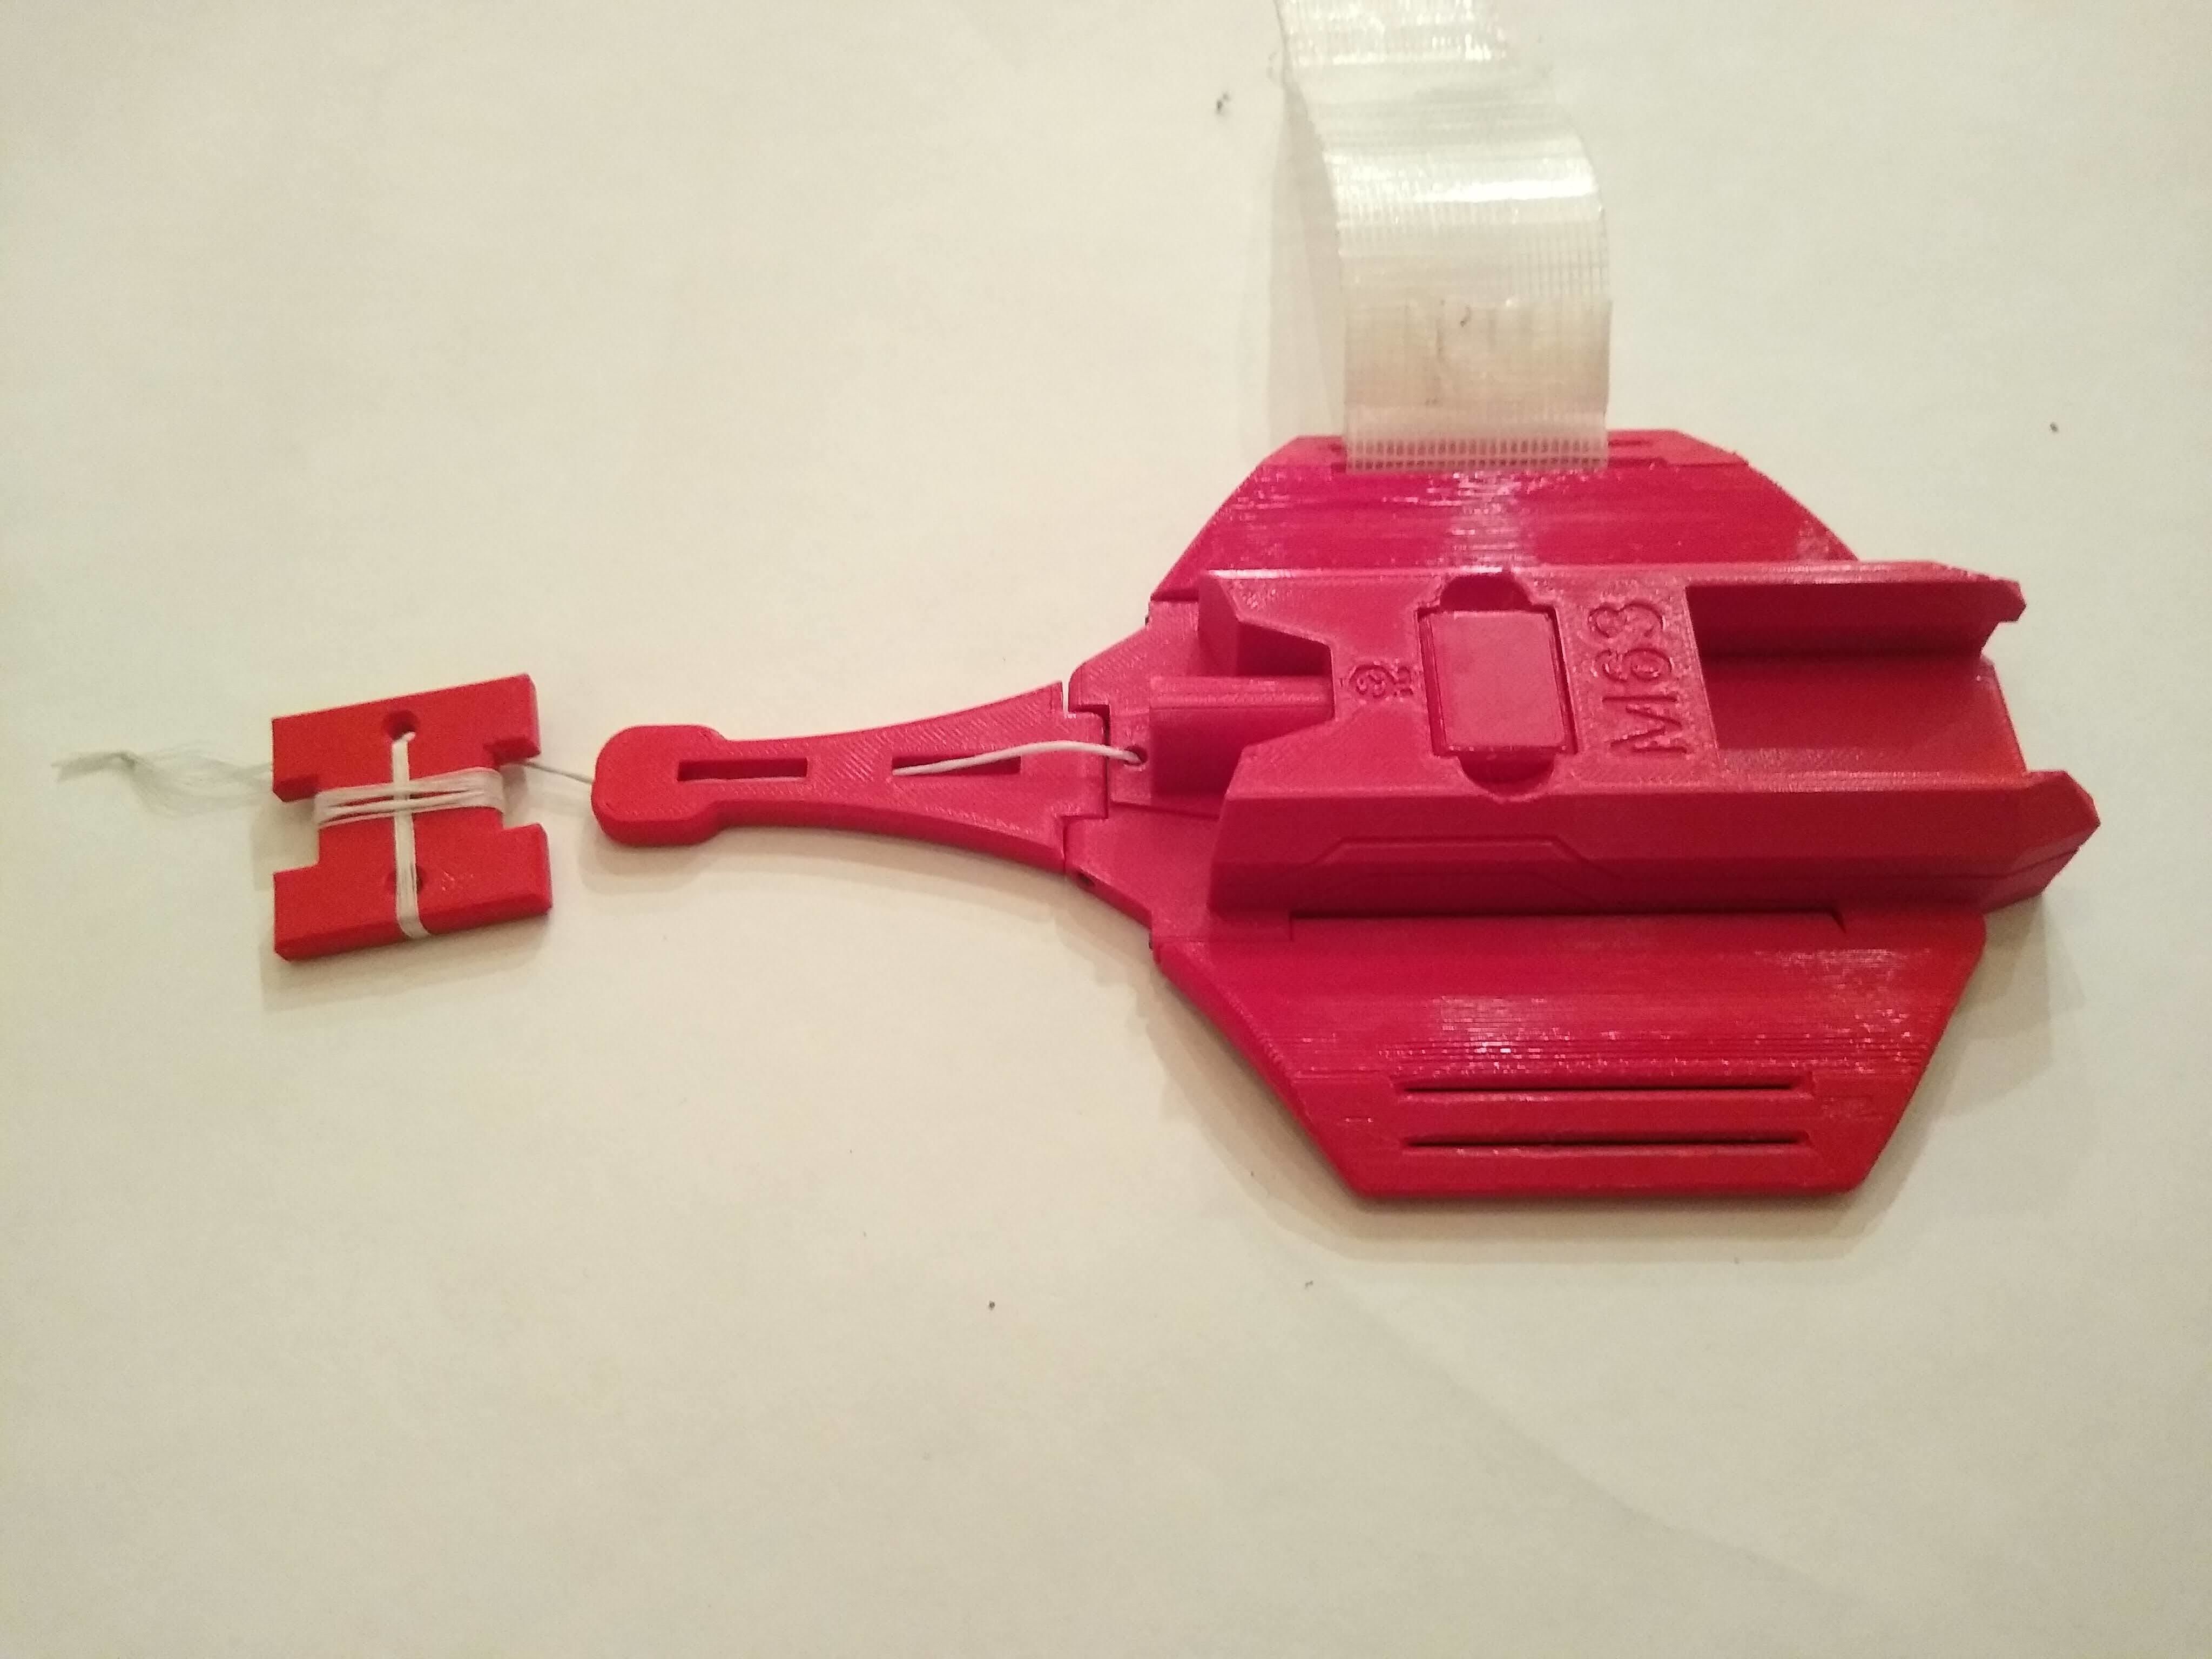
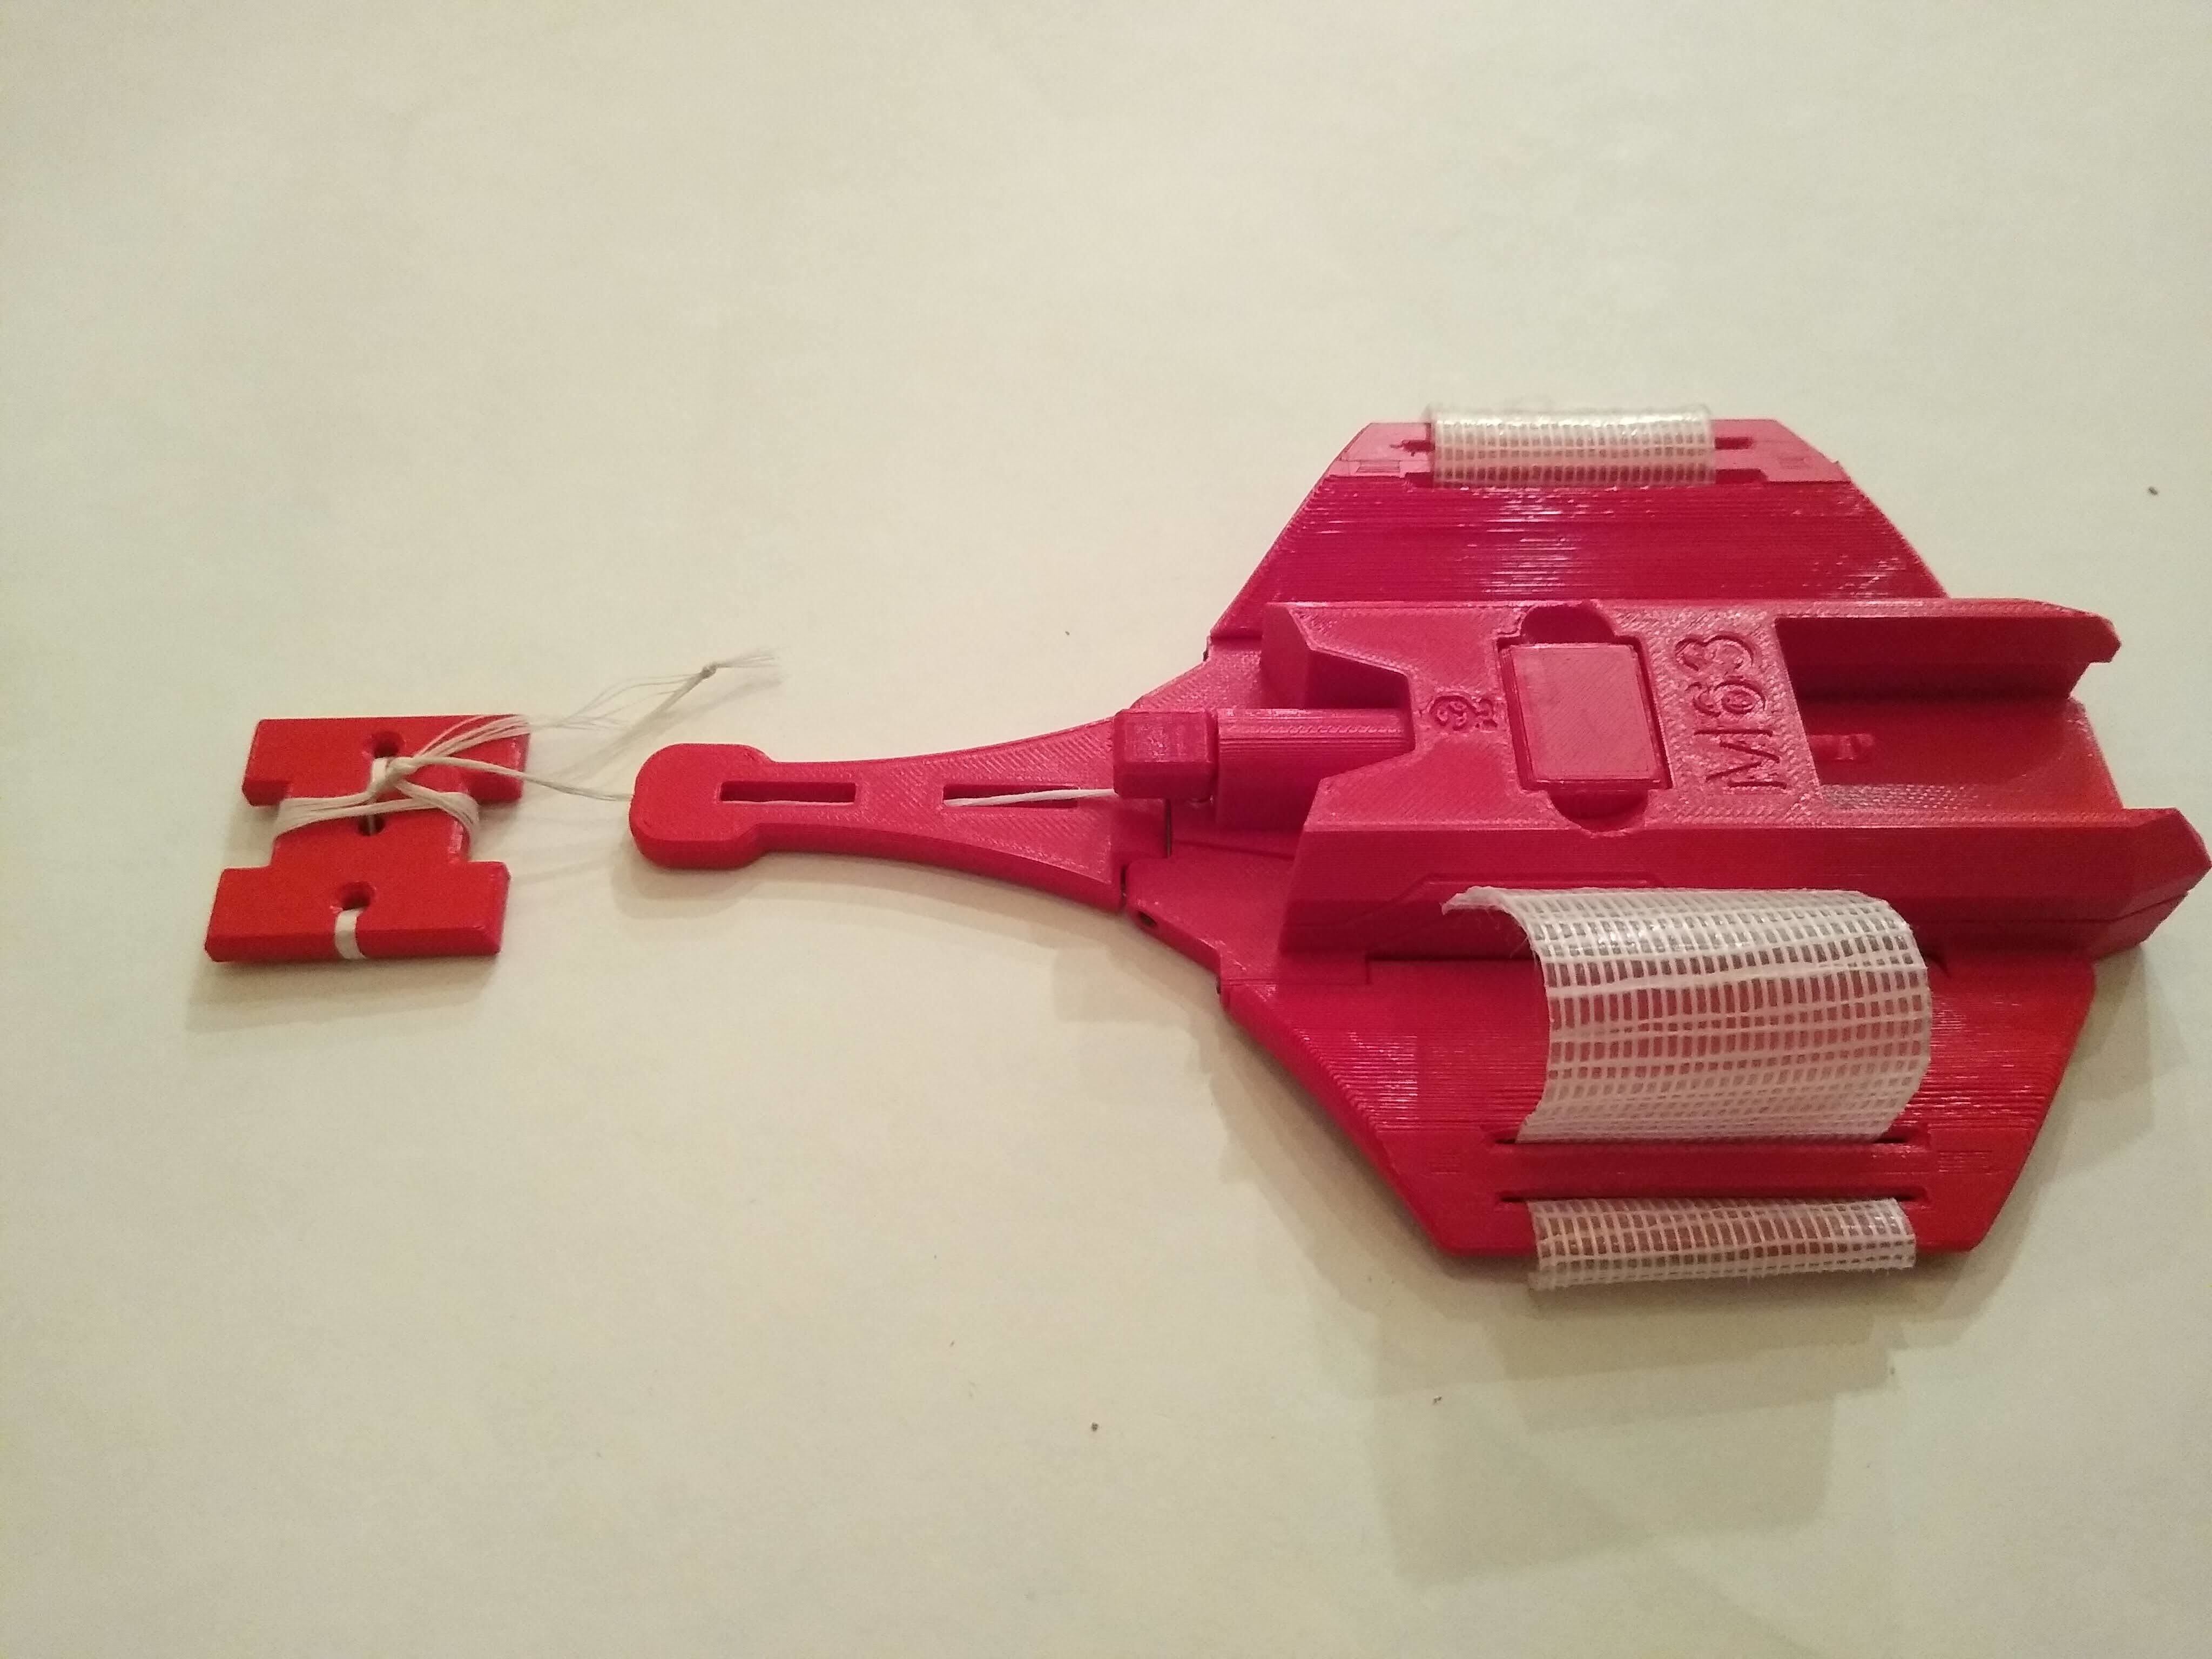
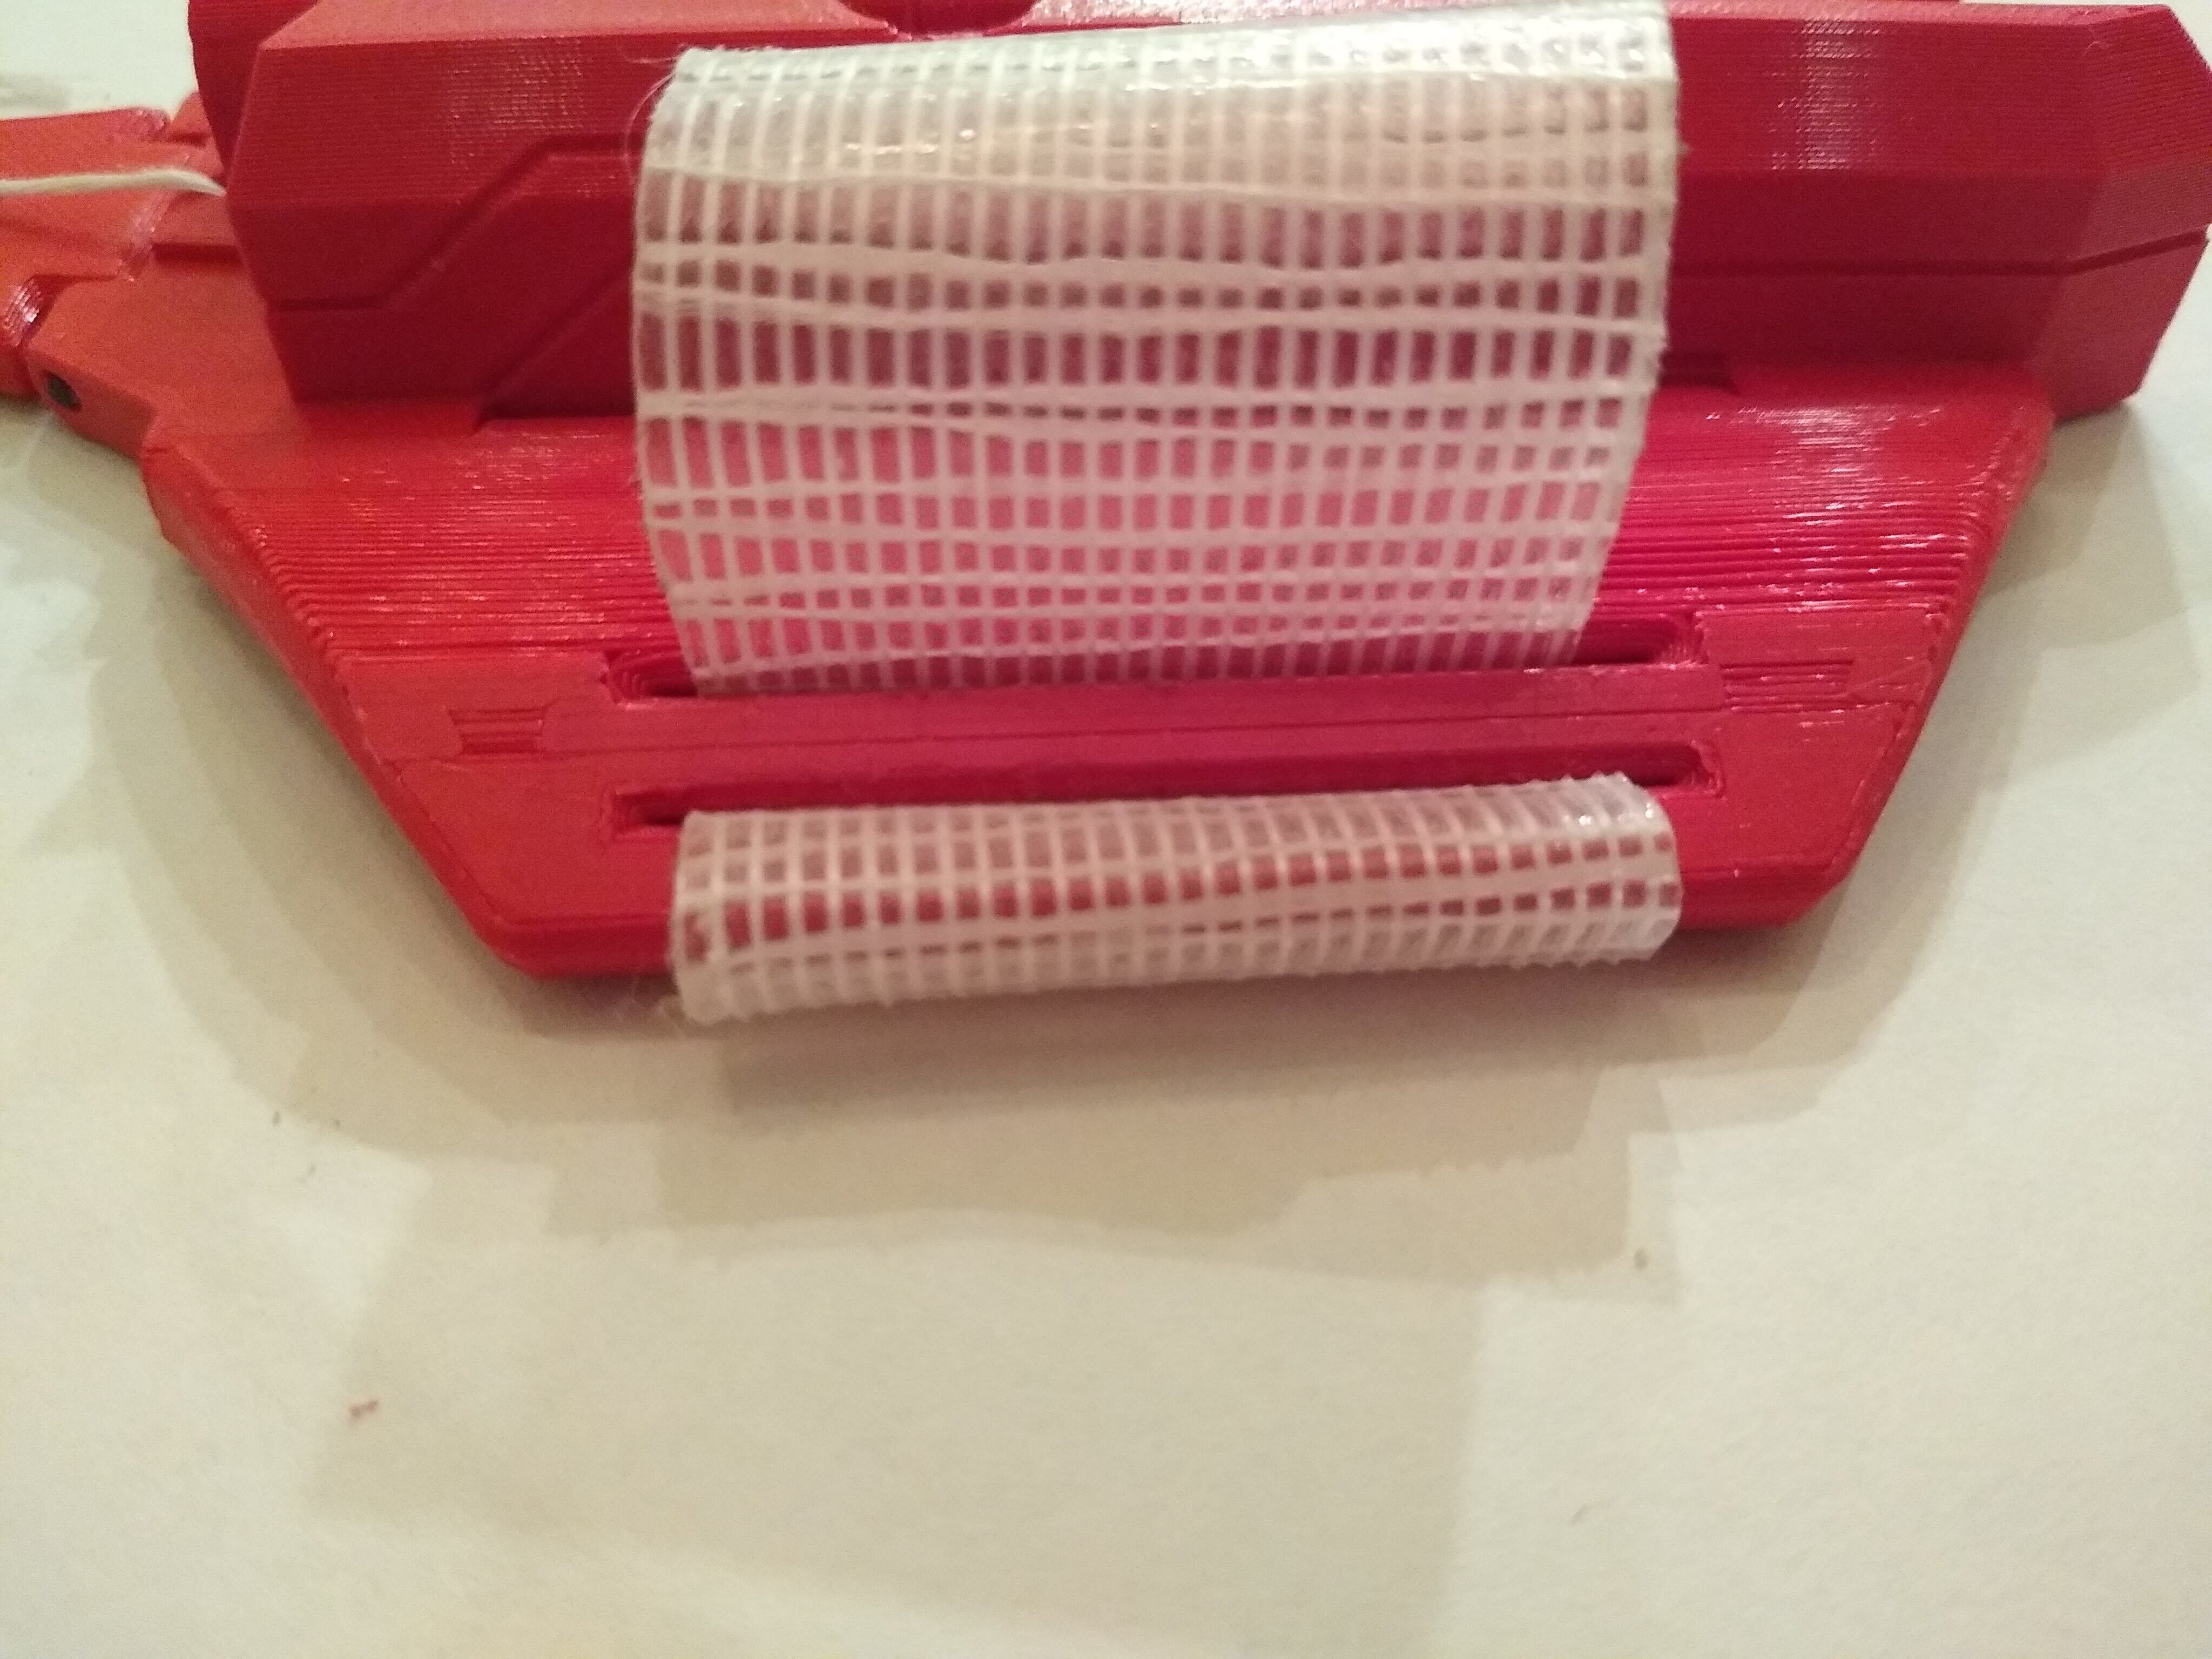
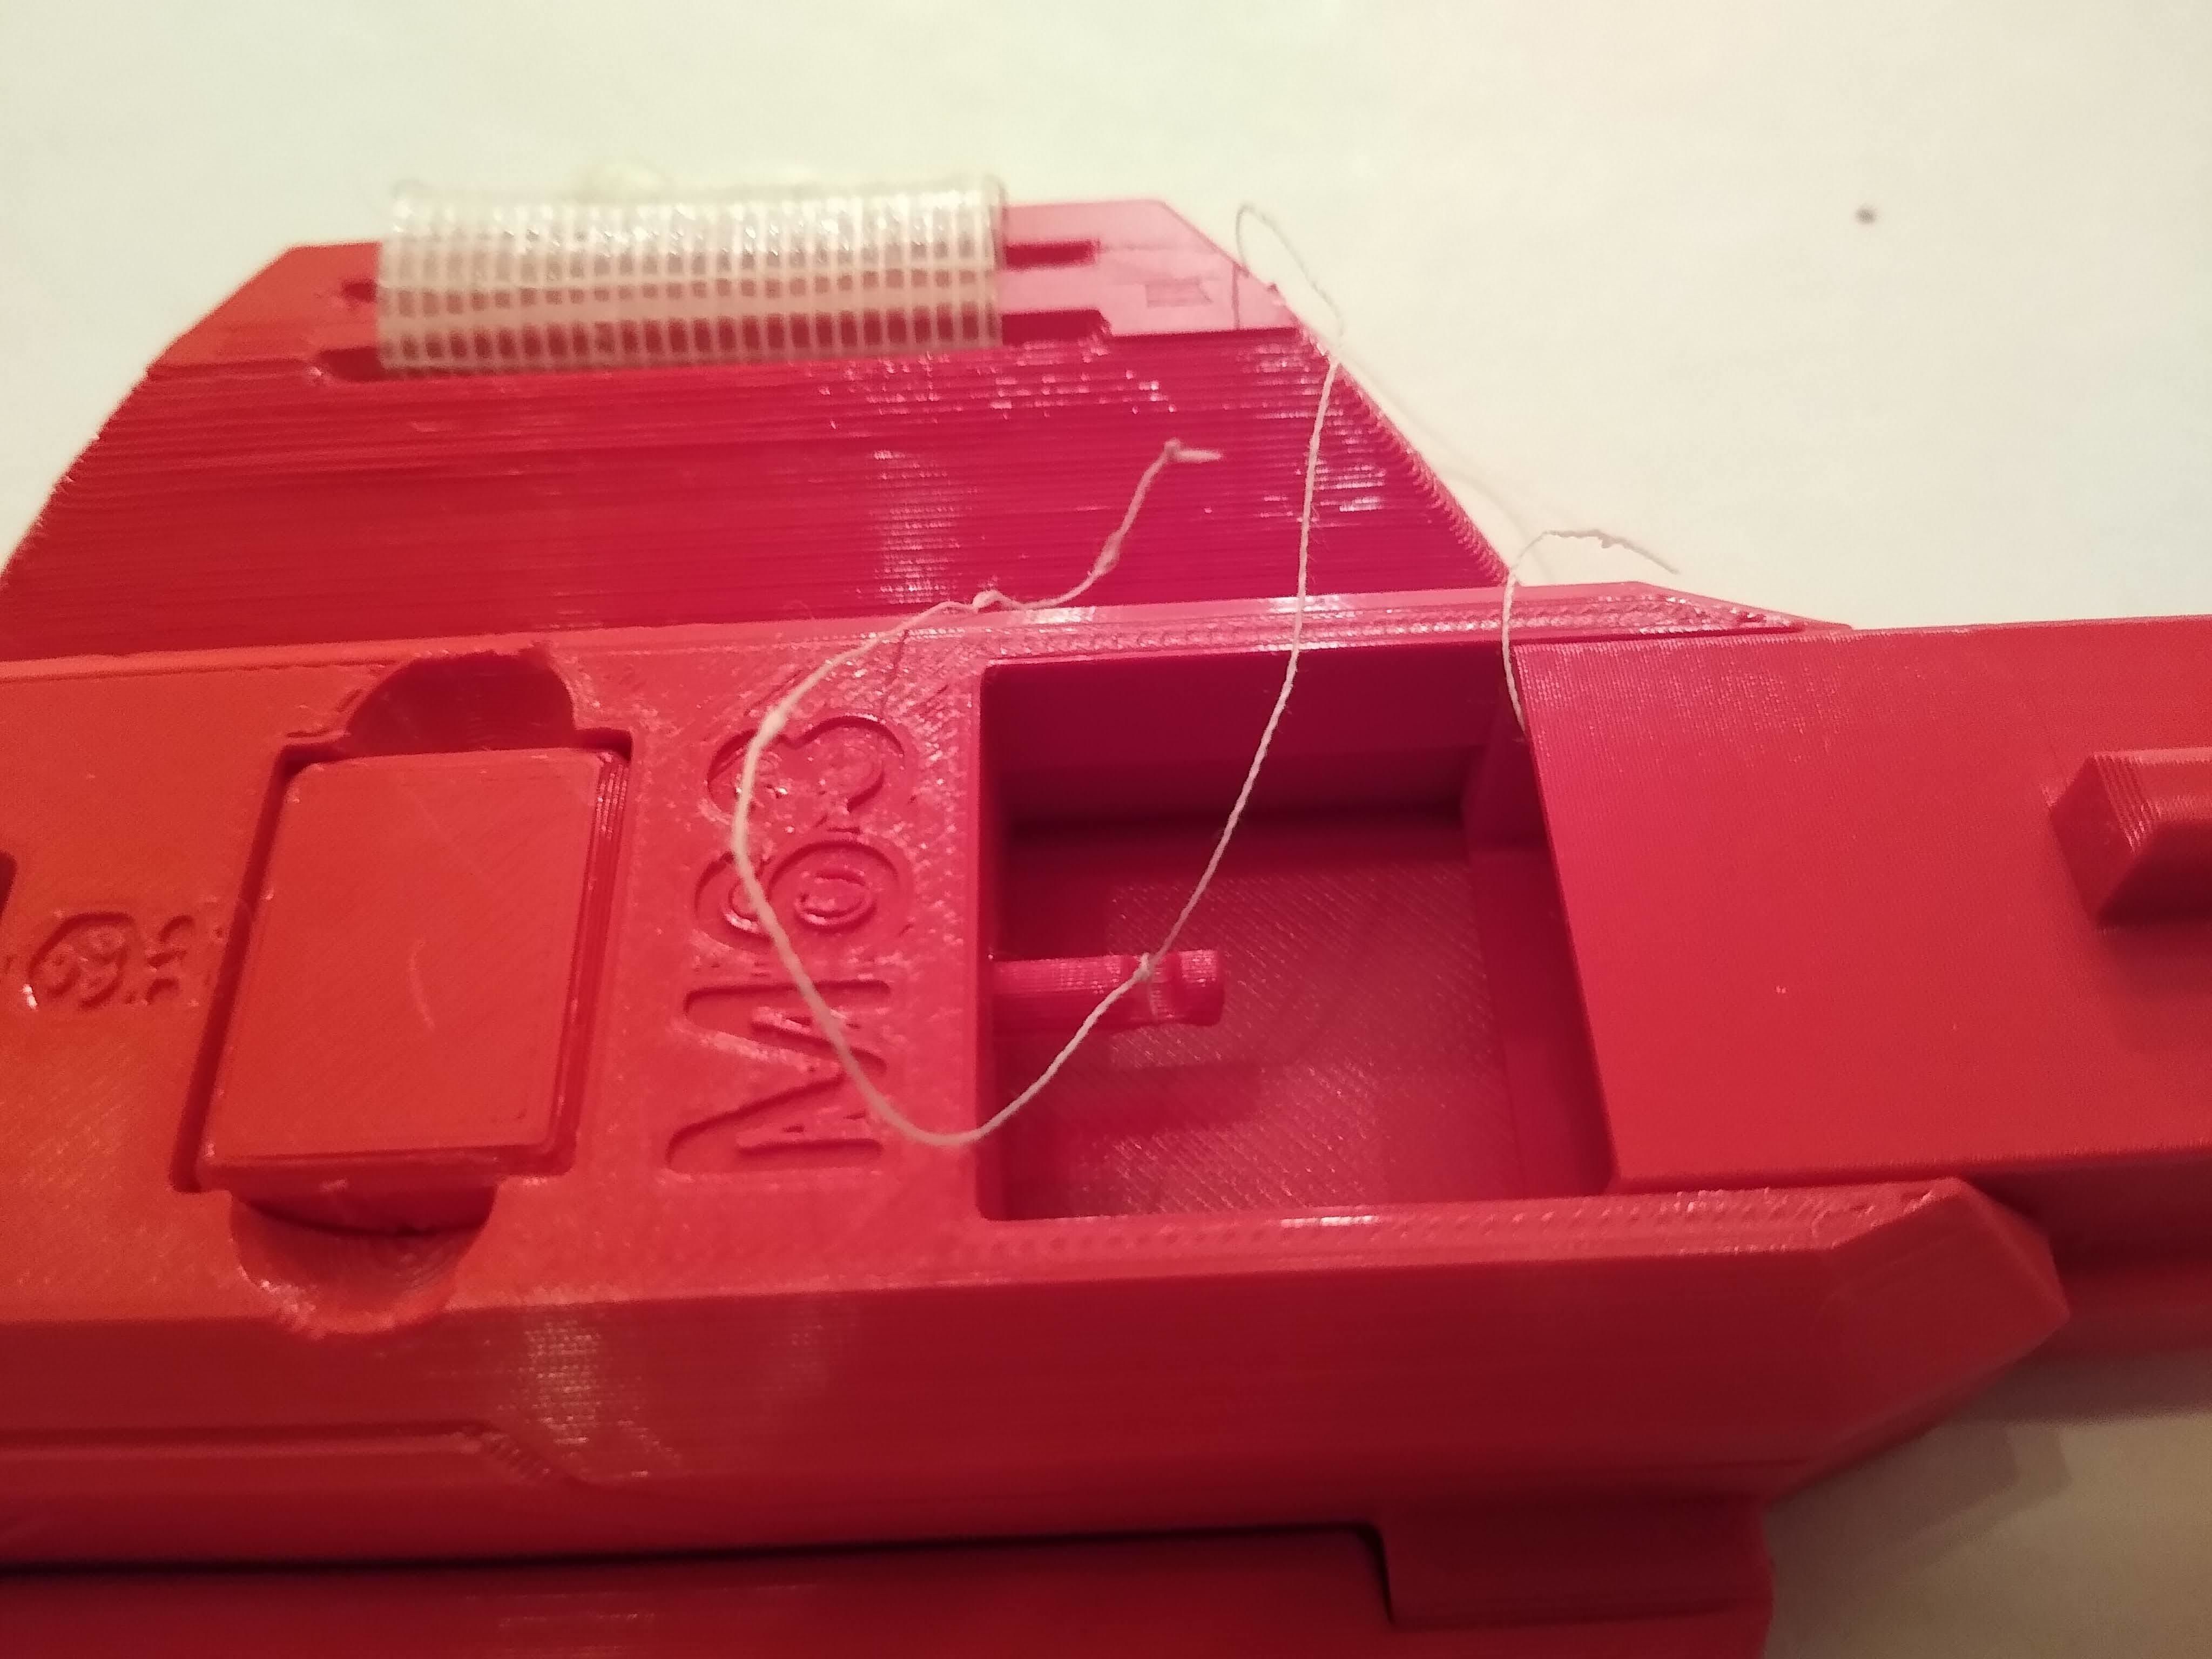
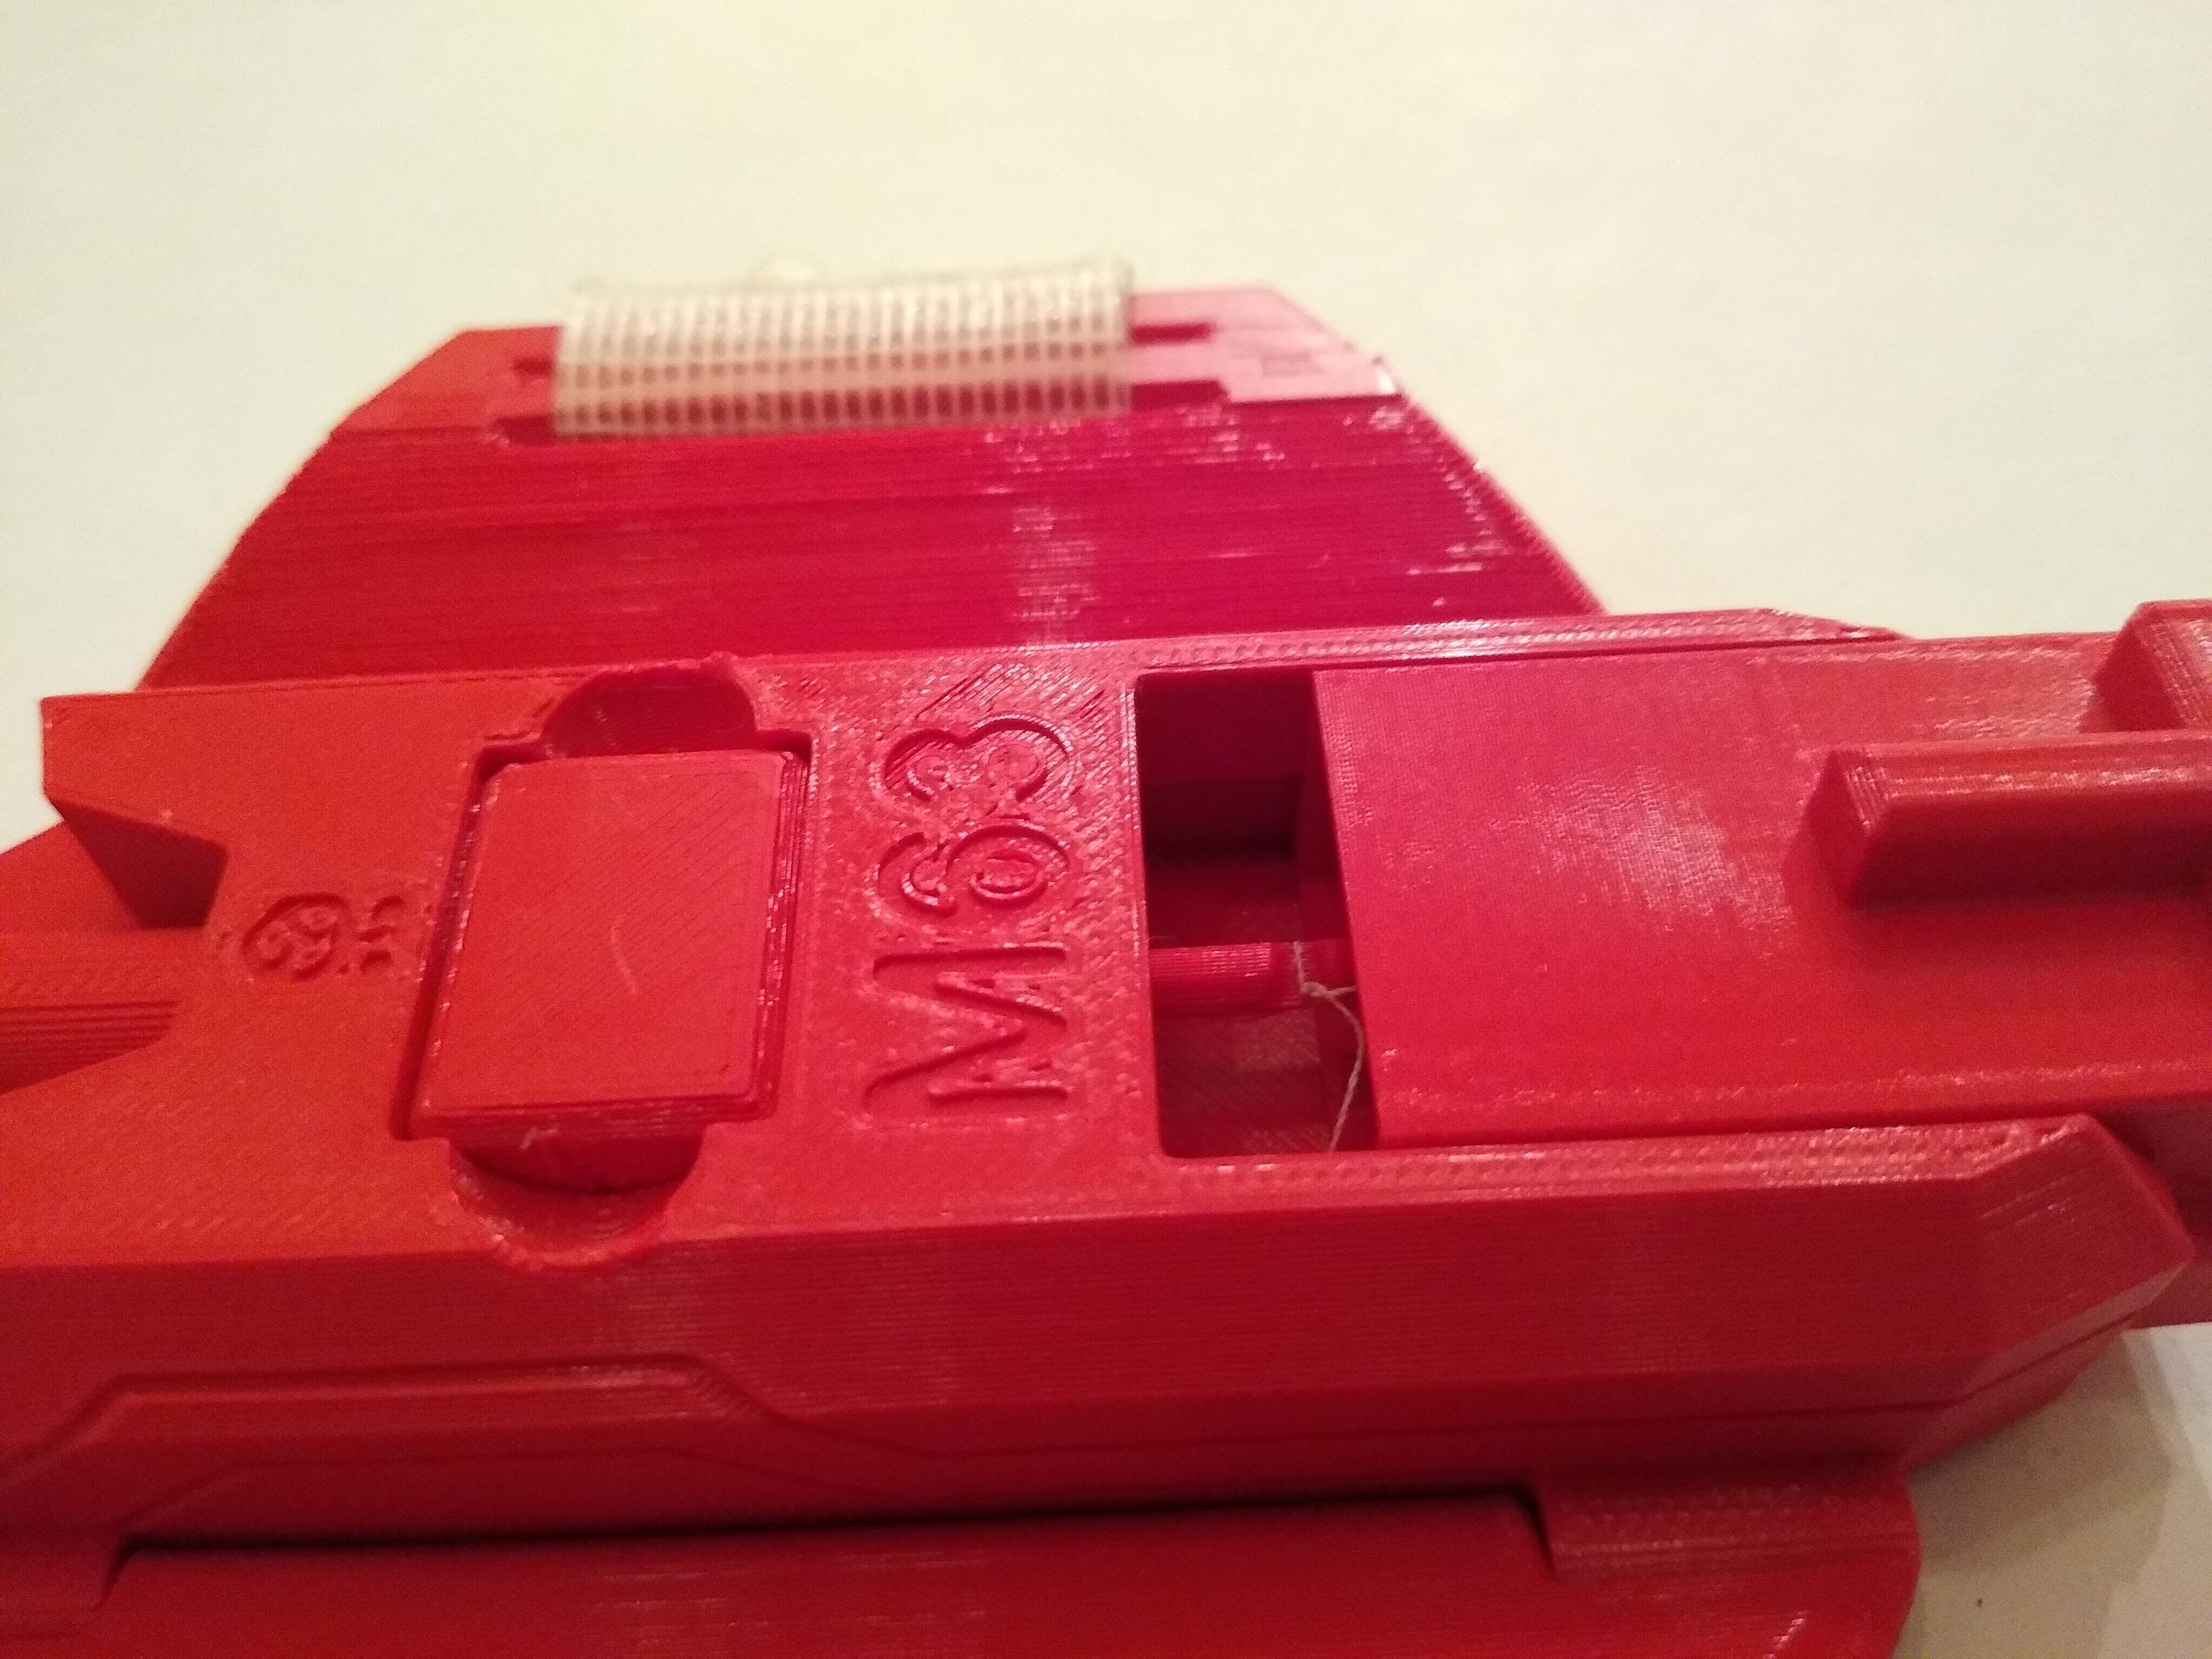
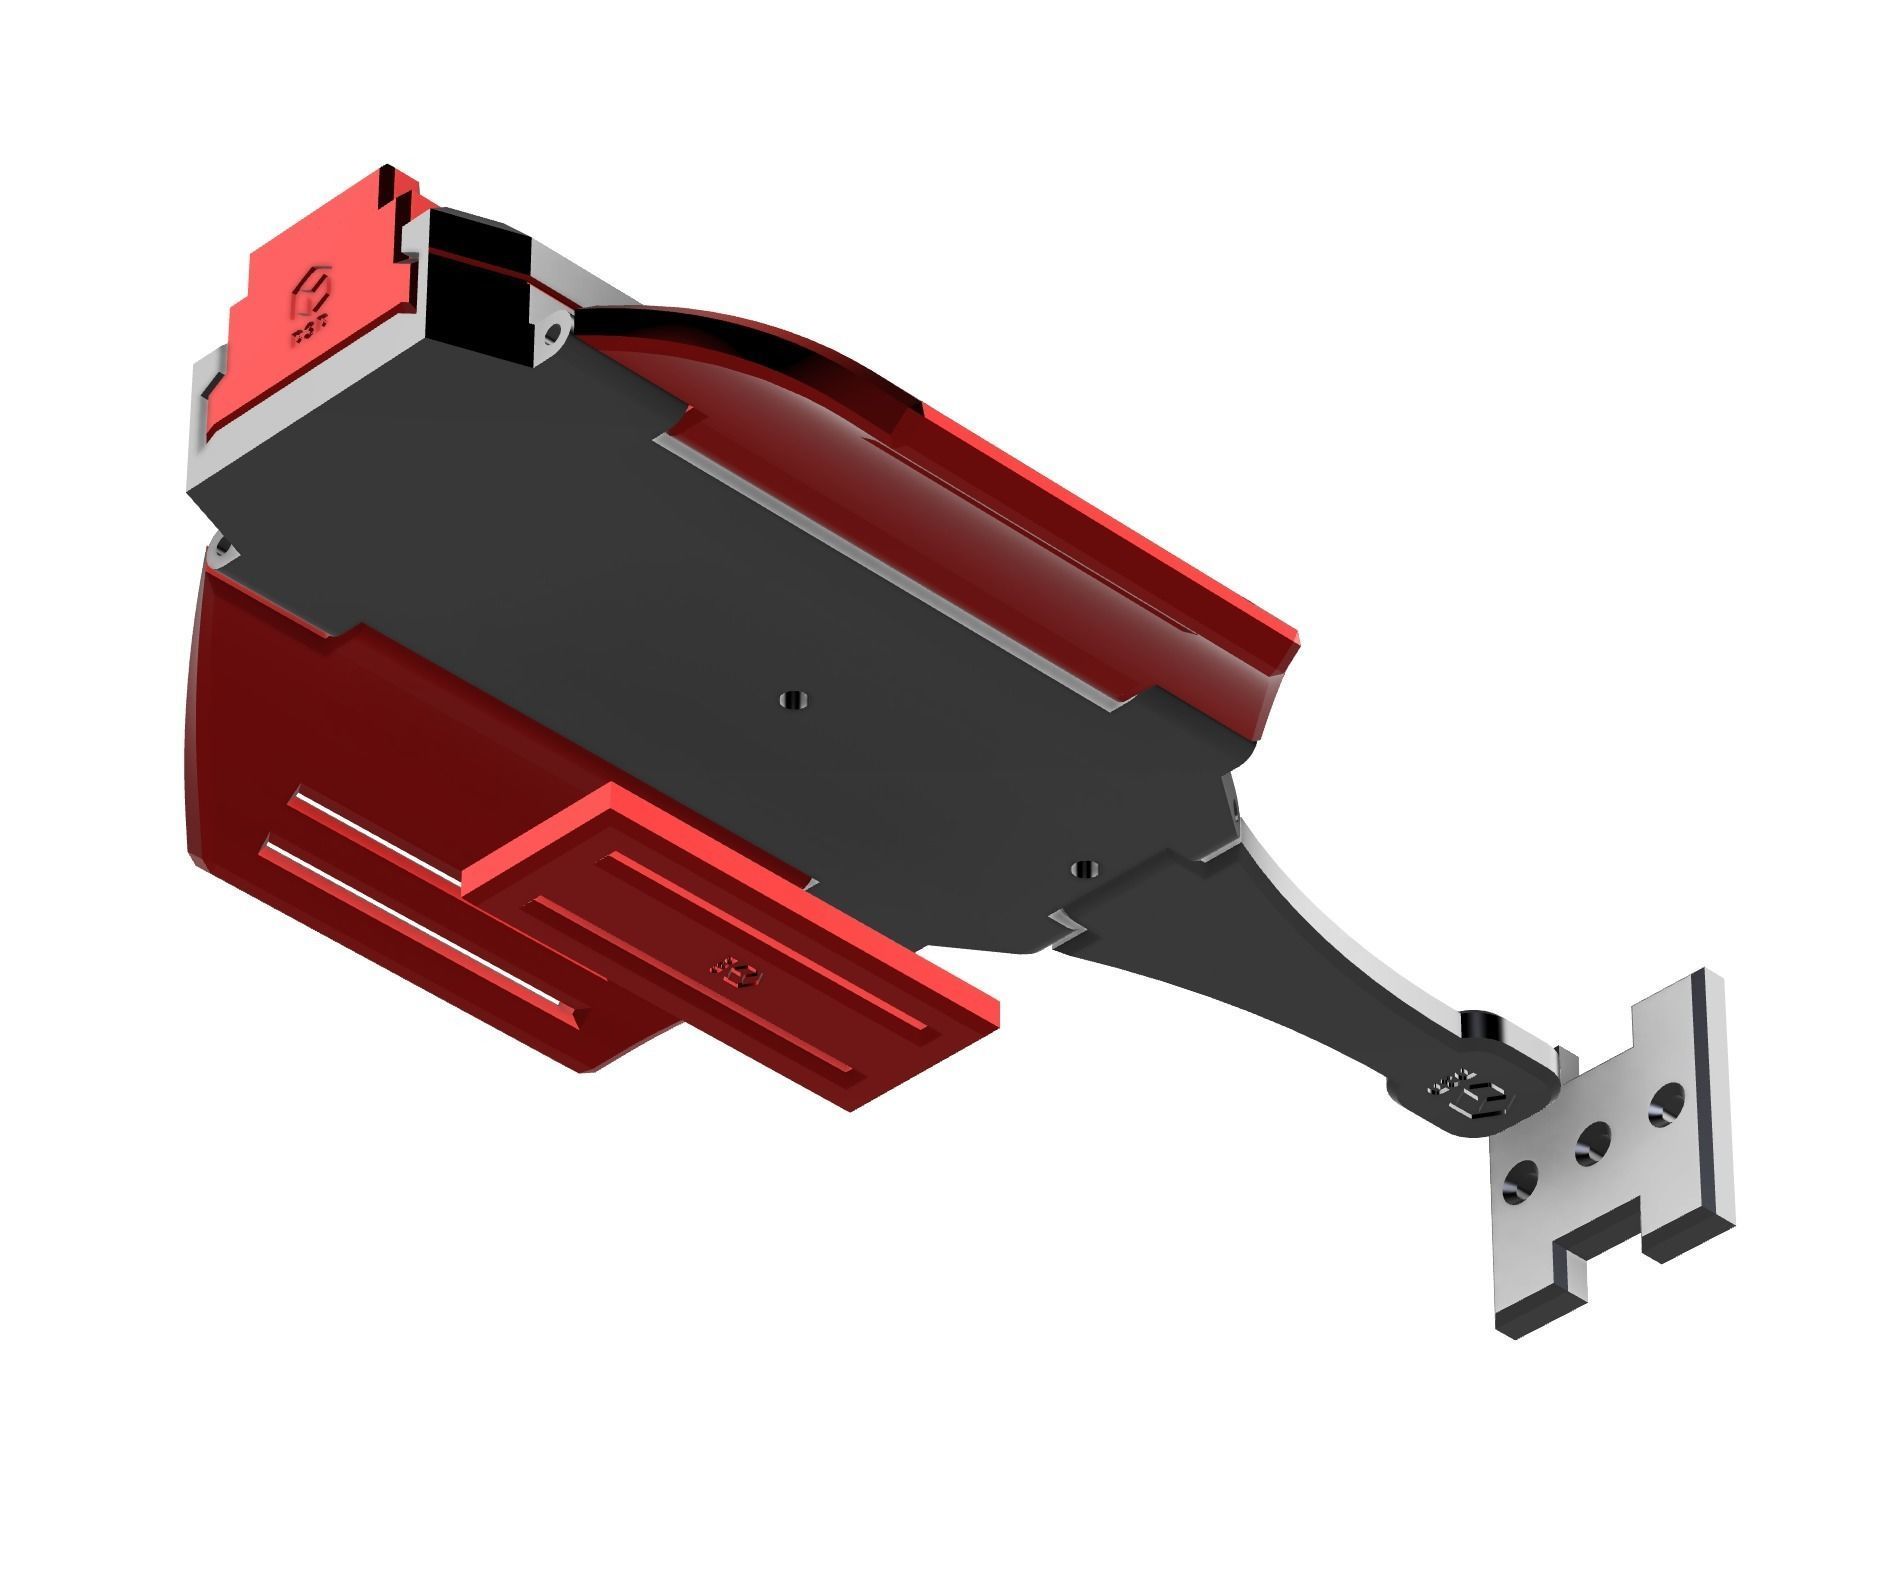
Assembly Note: this assembly process is pretty complicated and requires visual aids, so please see the photos for photos of the process
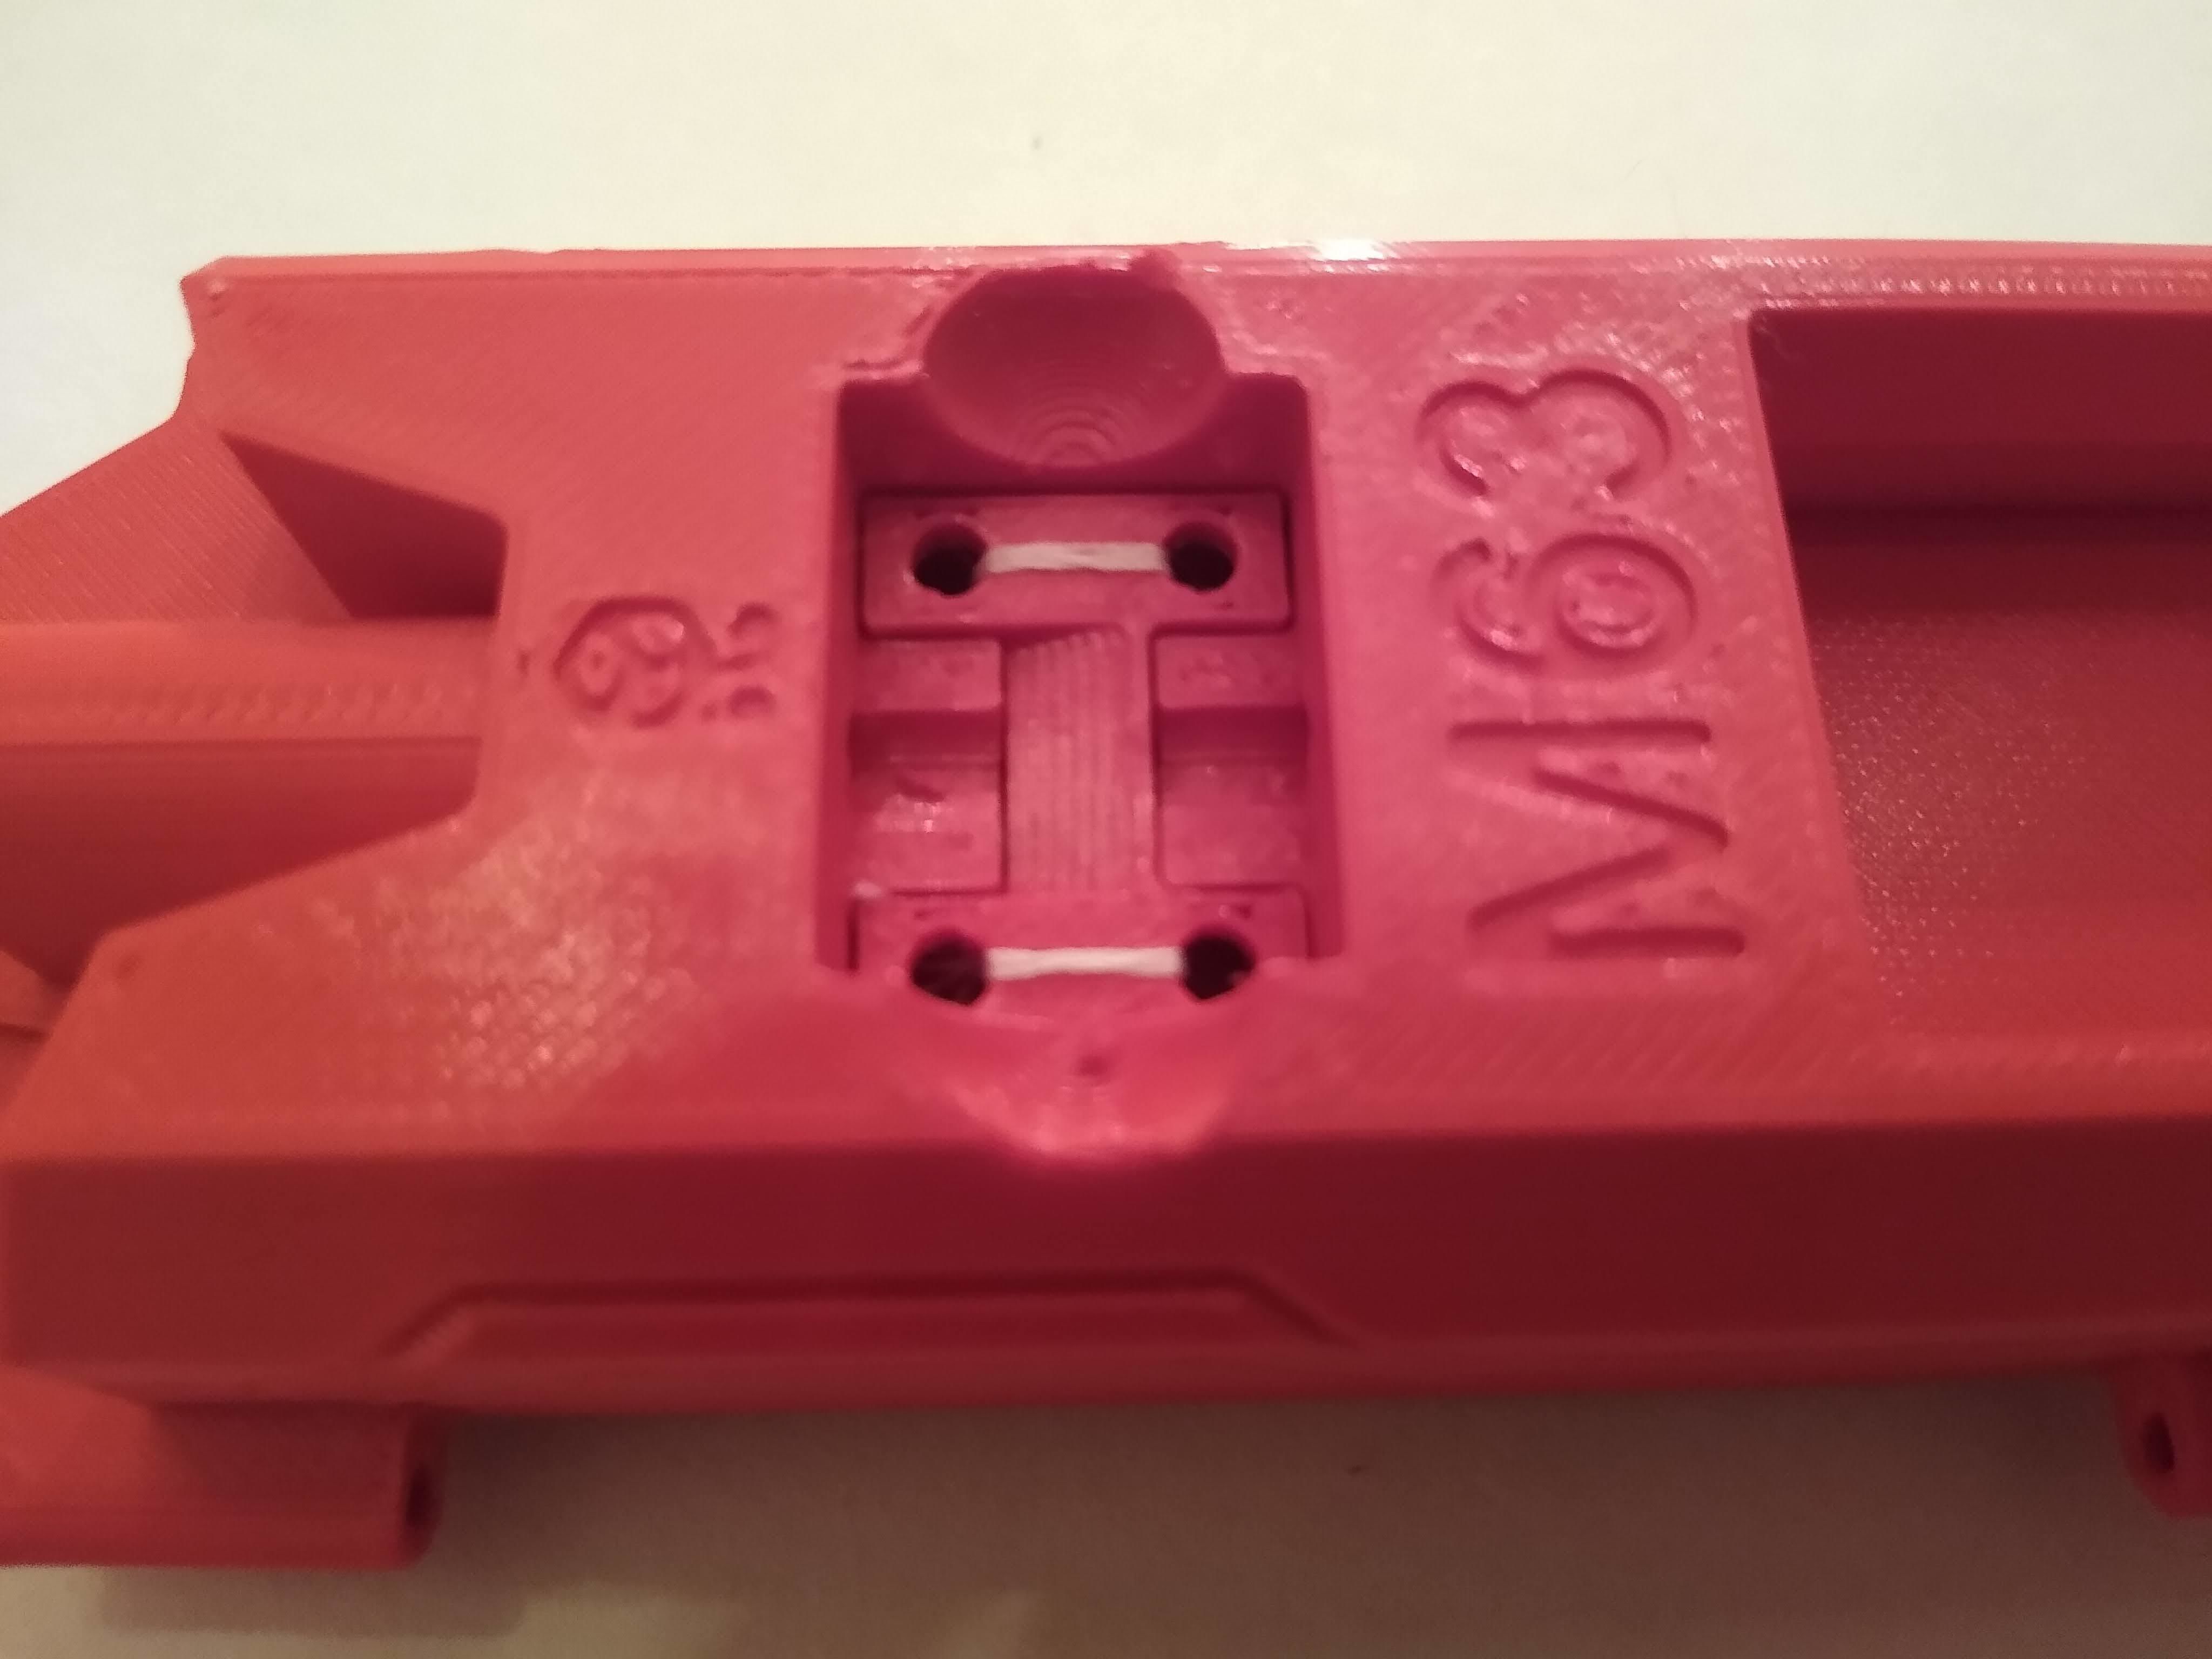
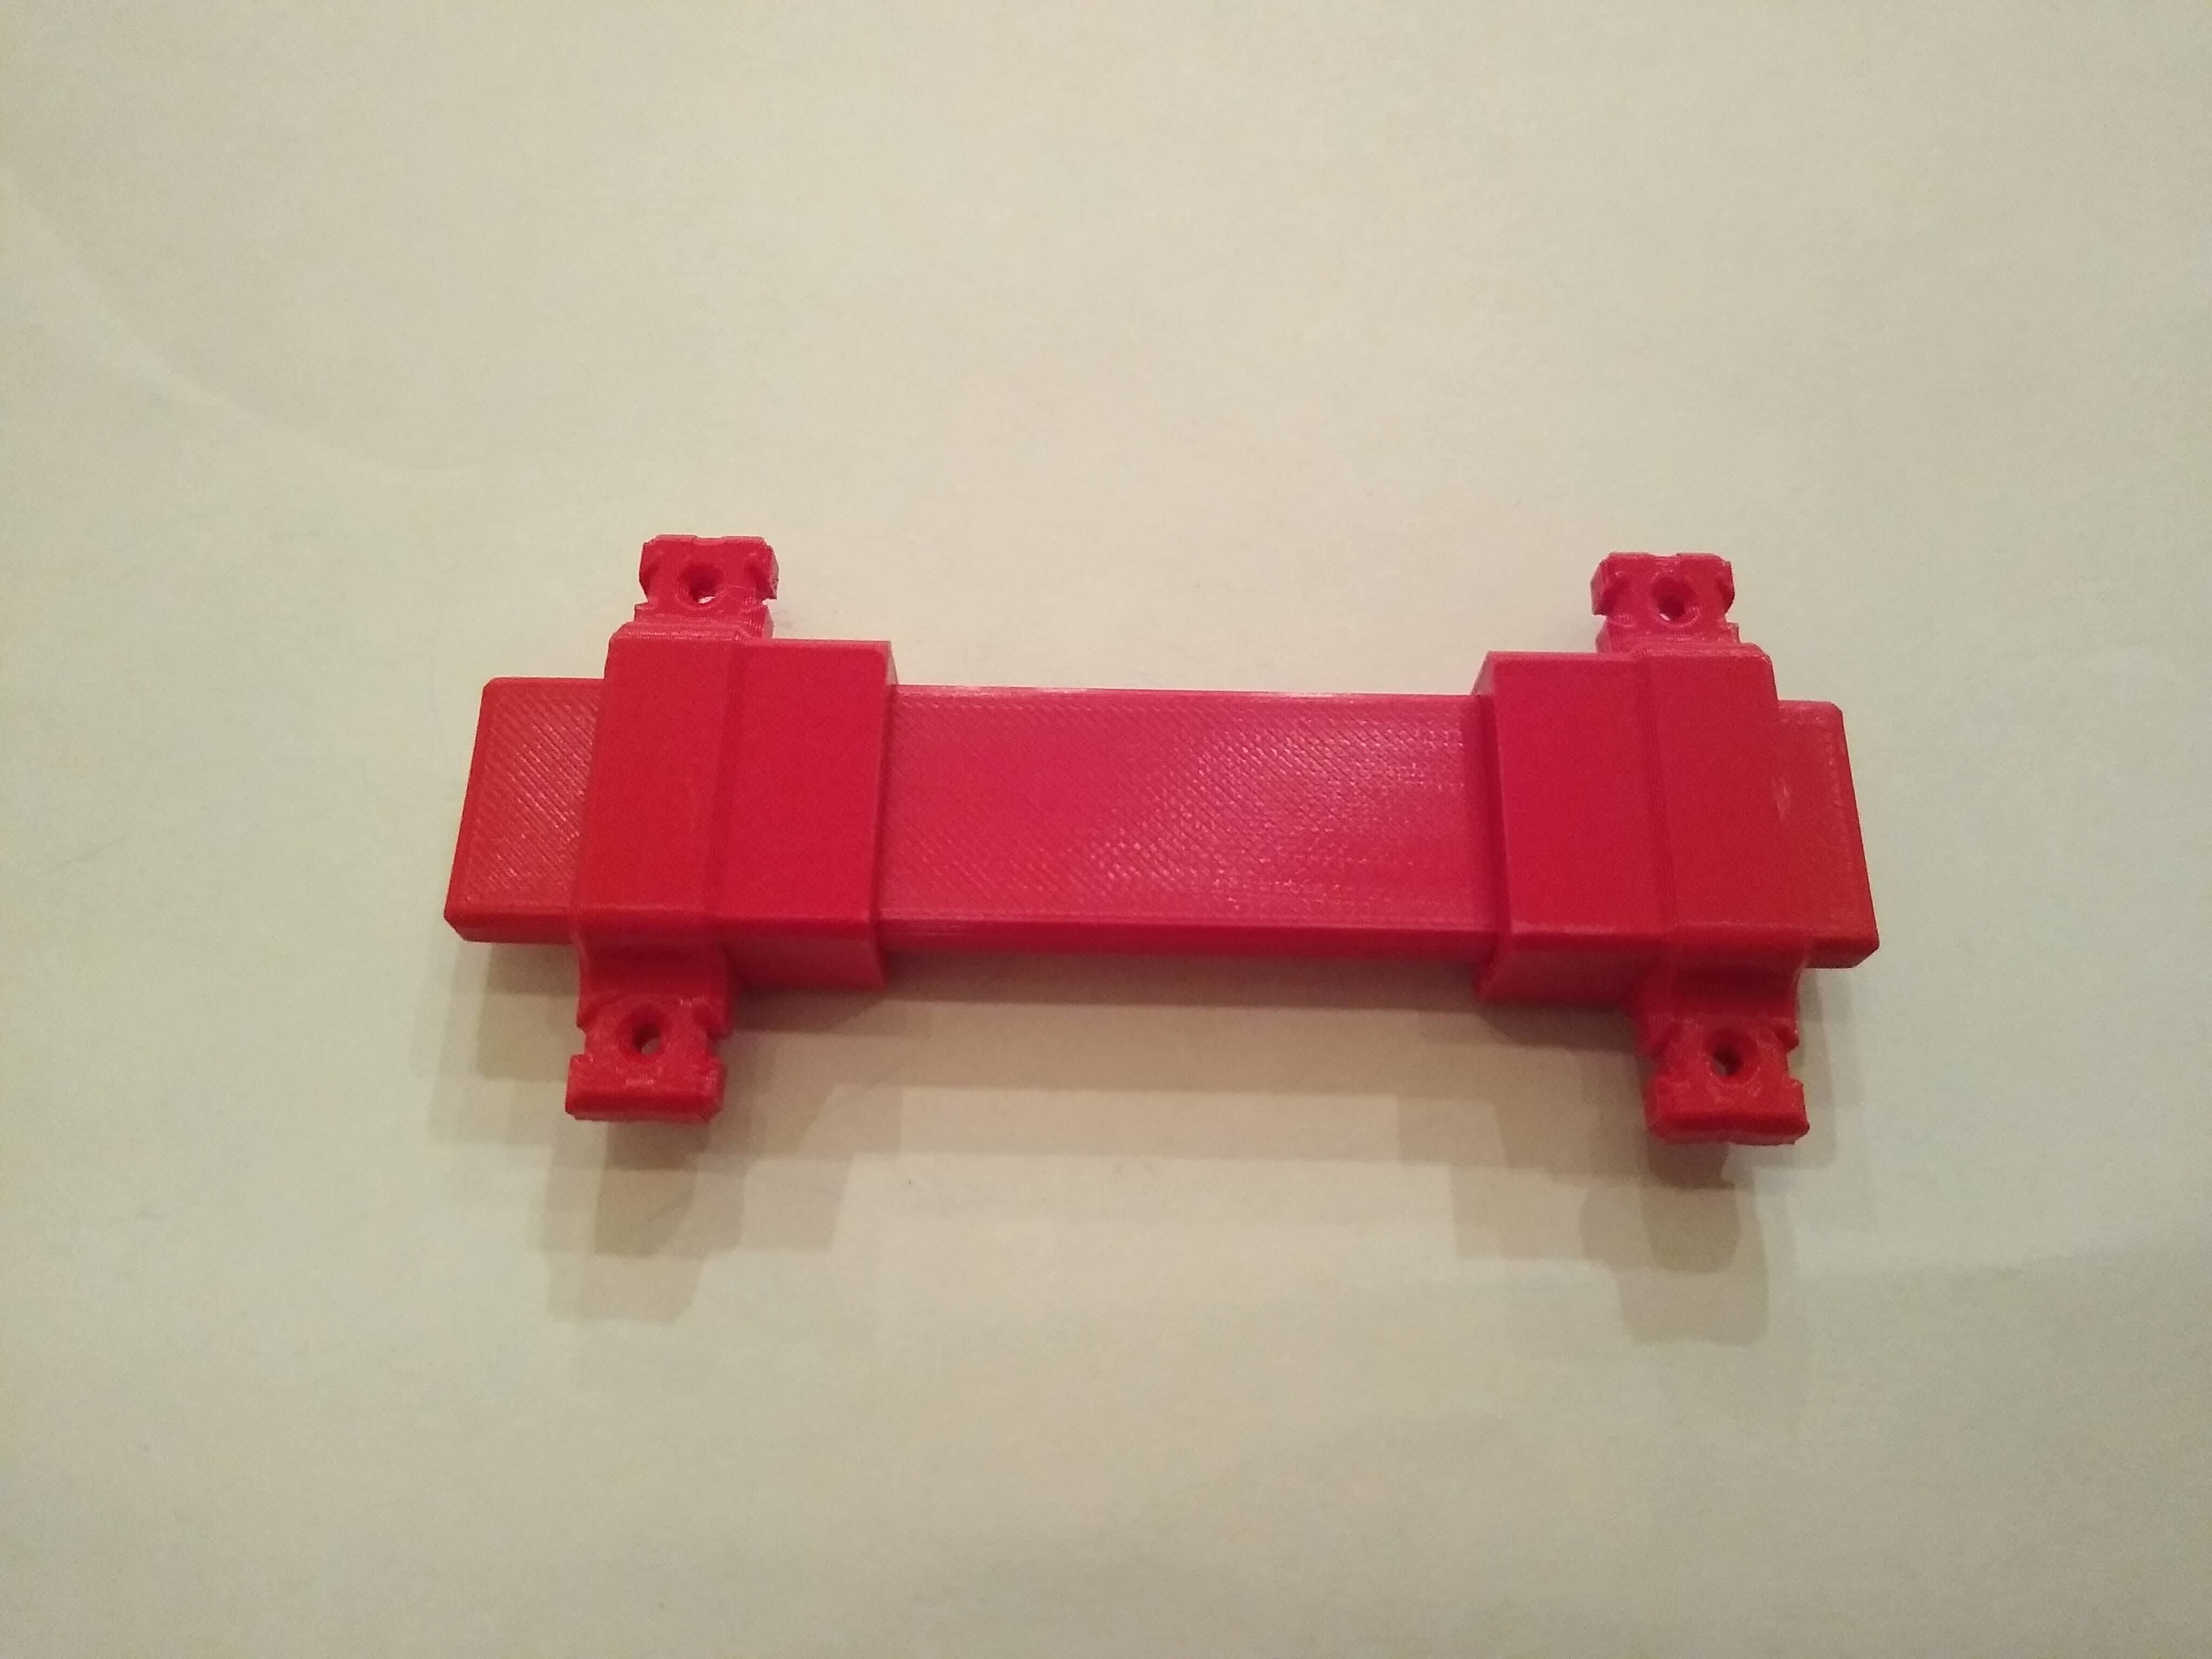
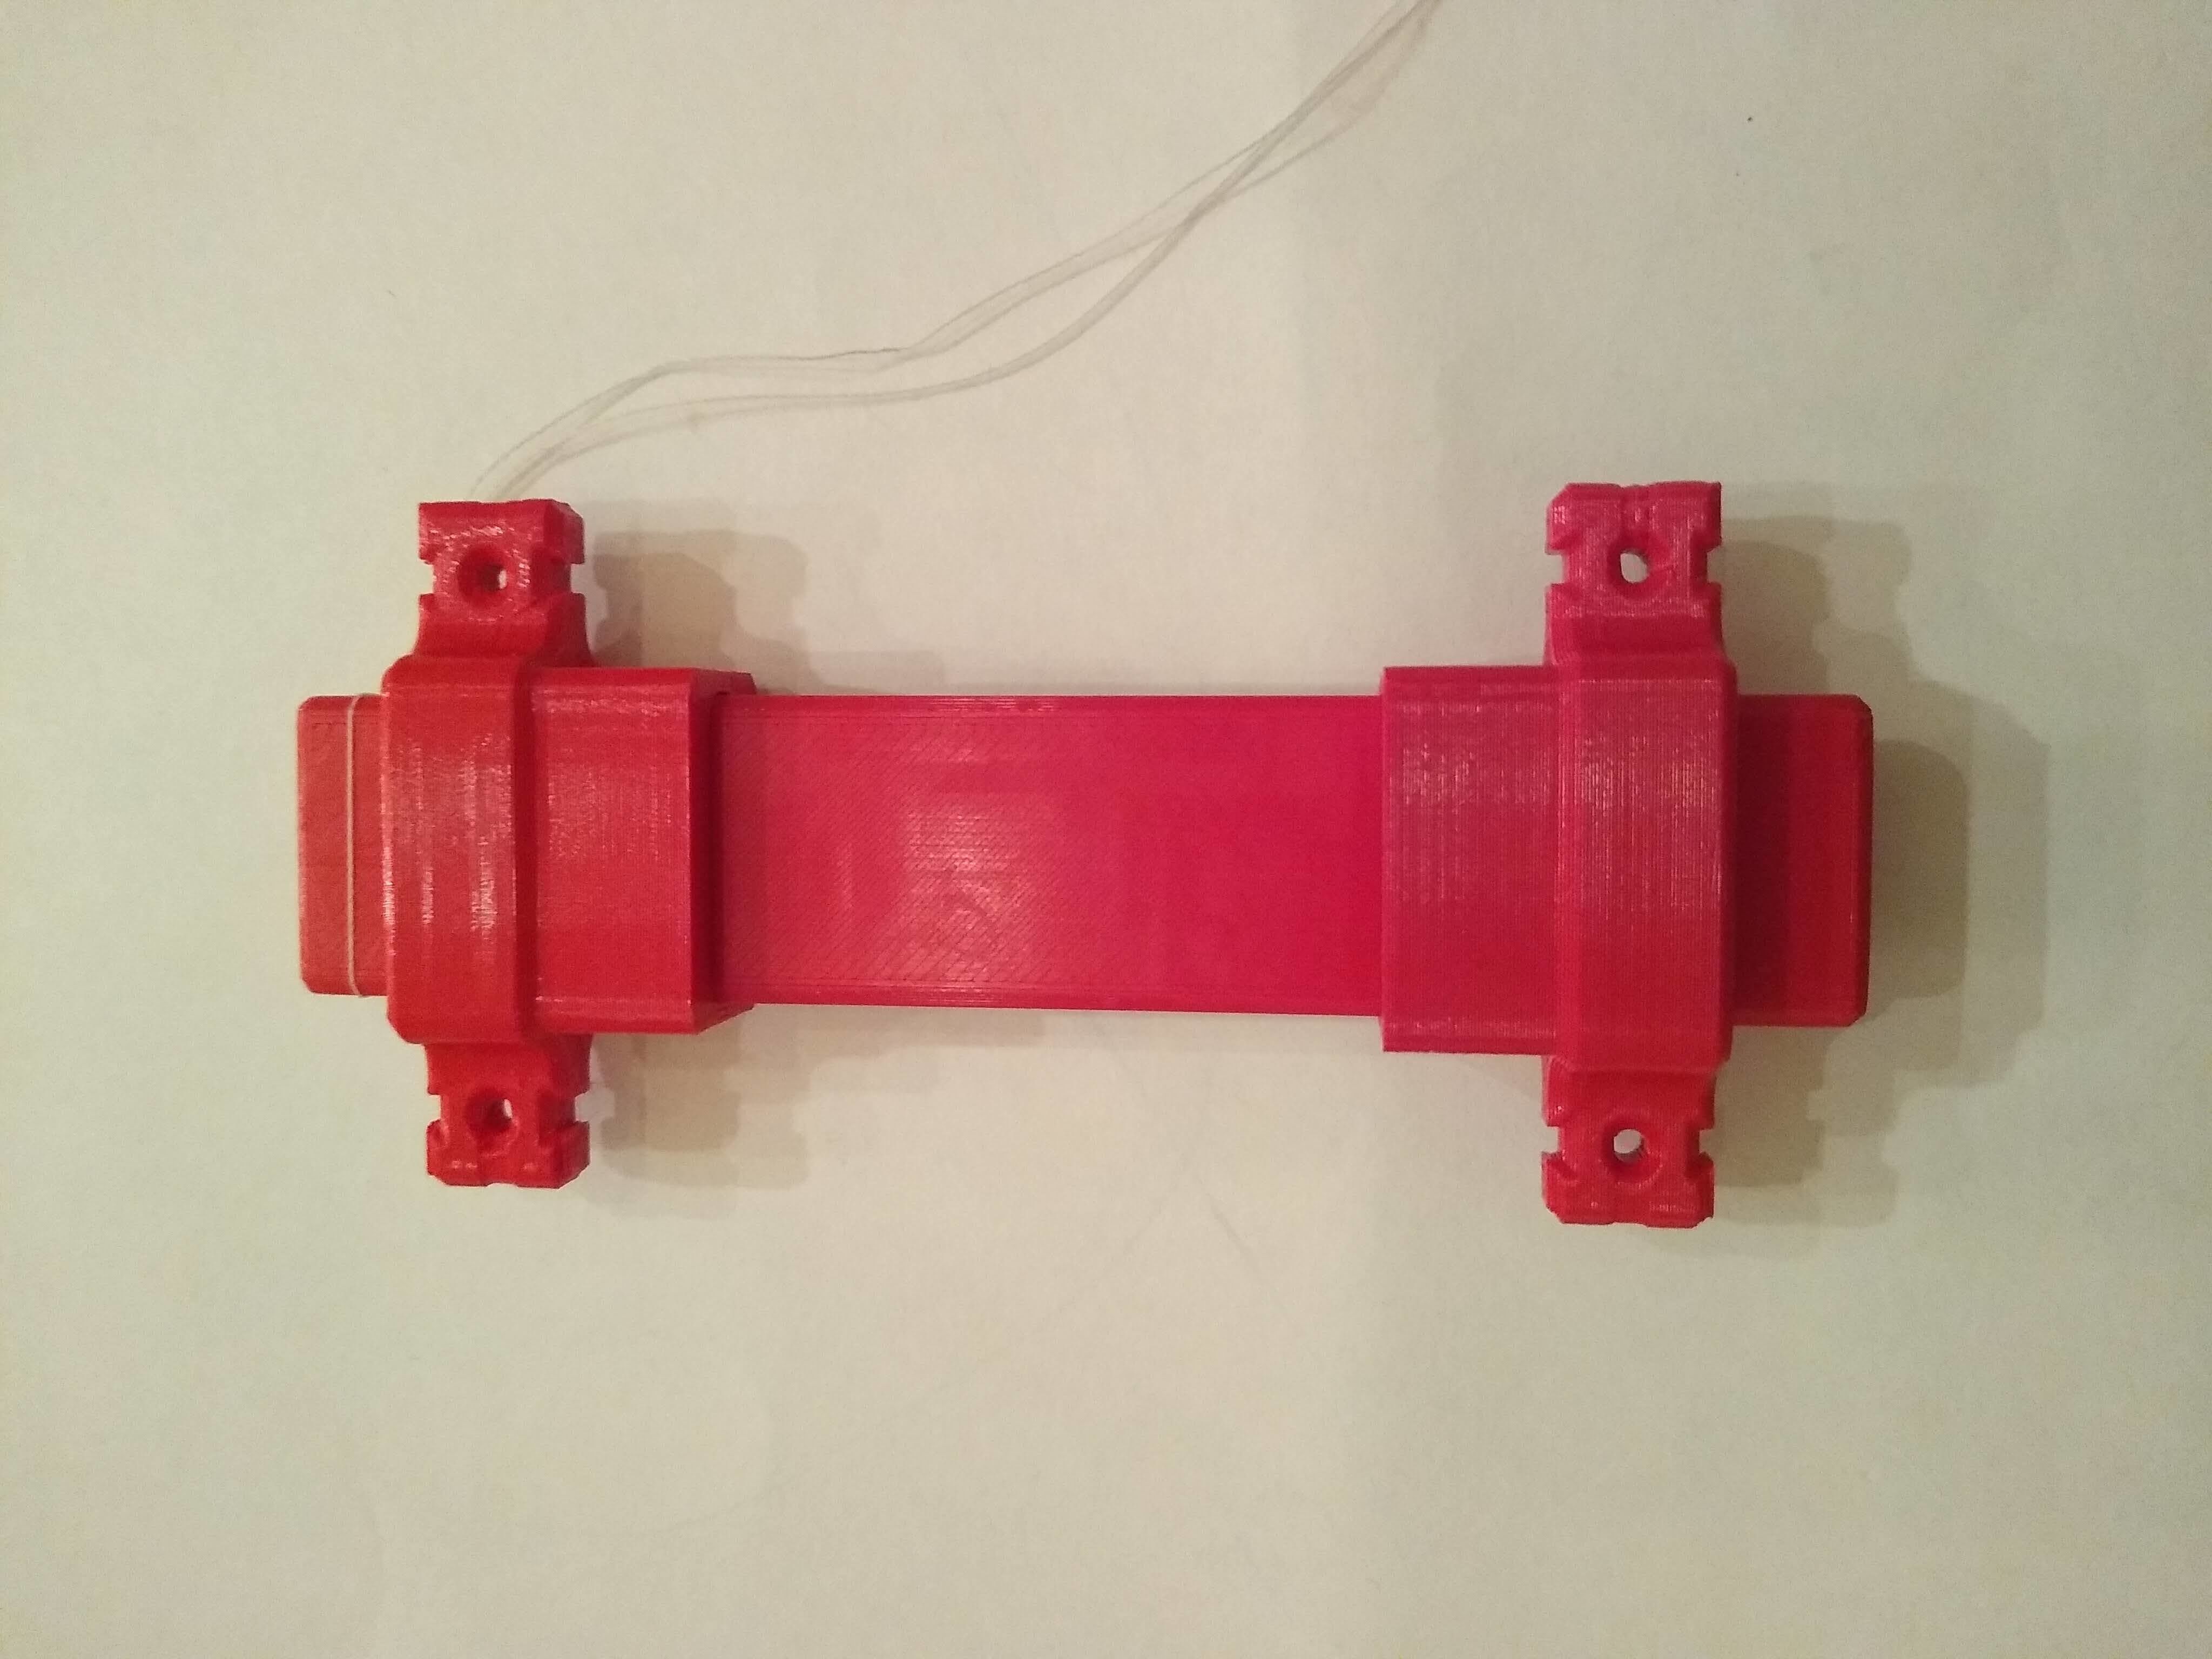
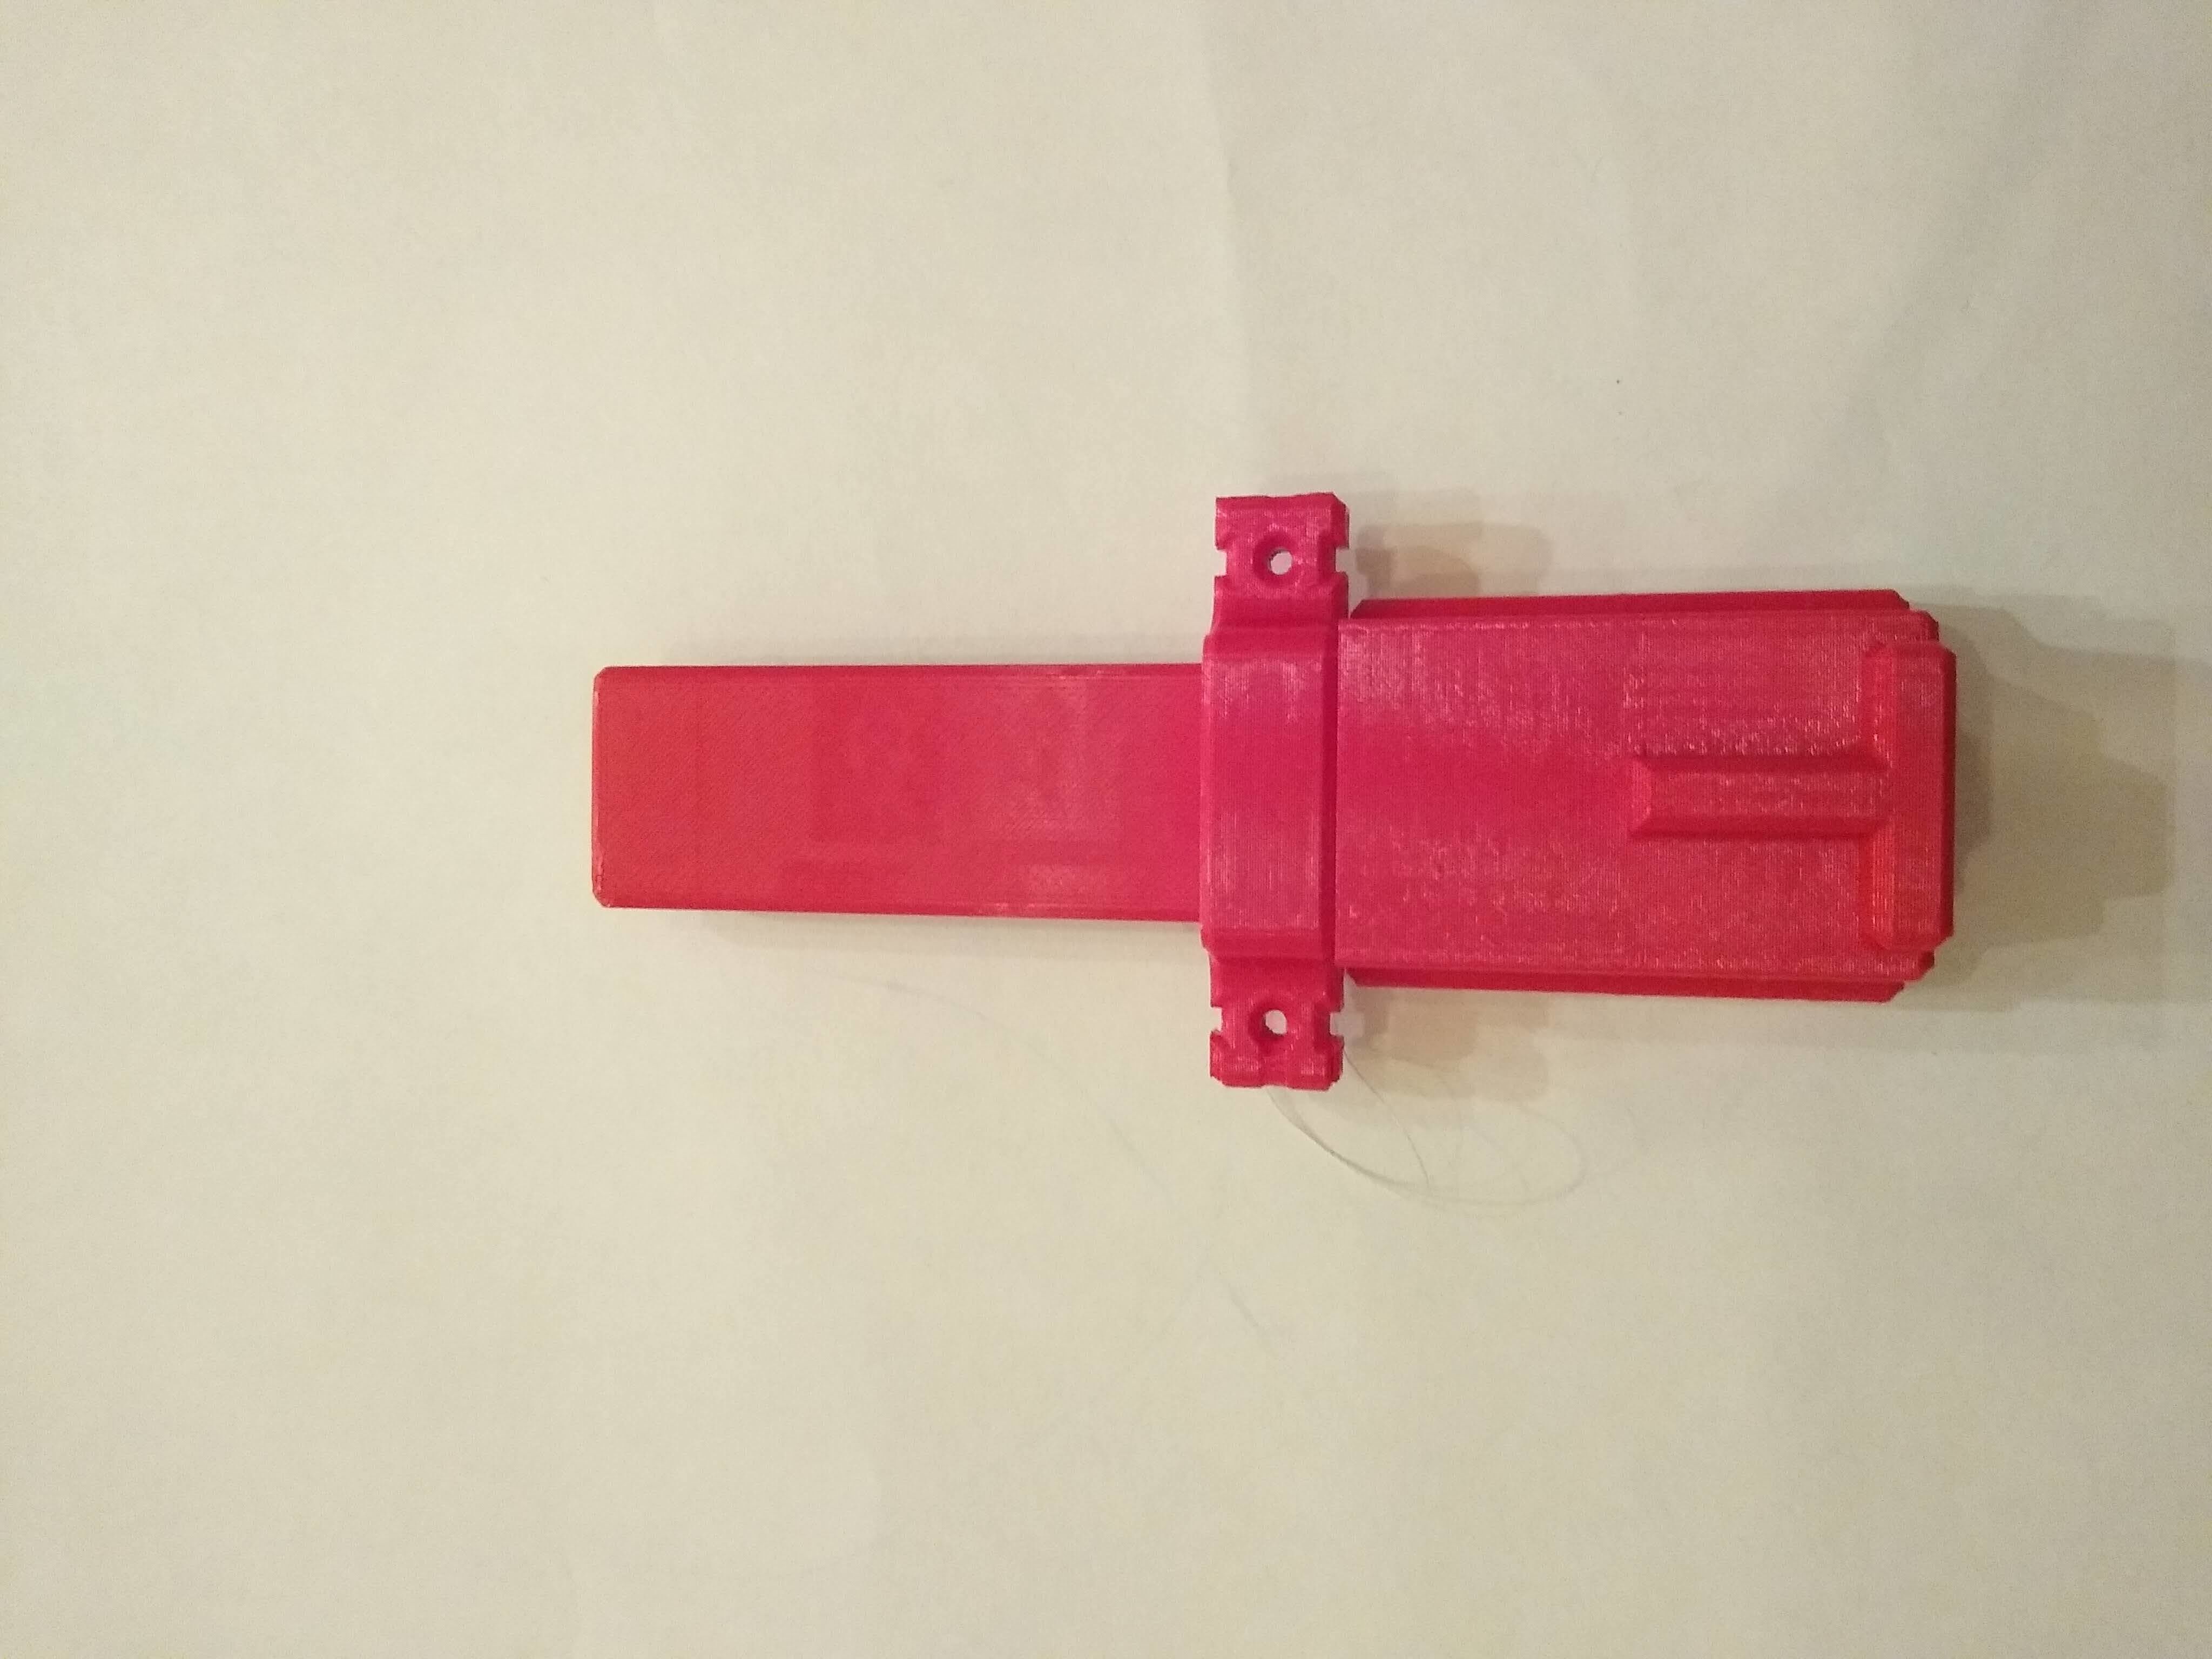
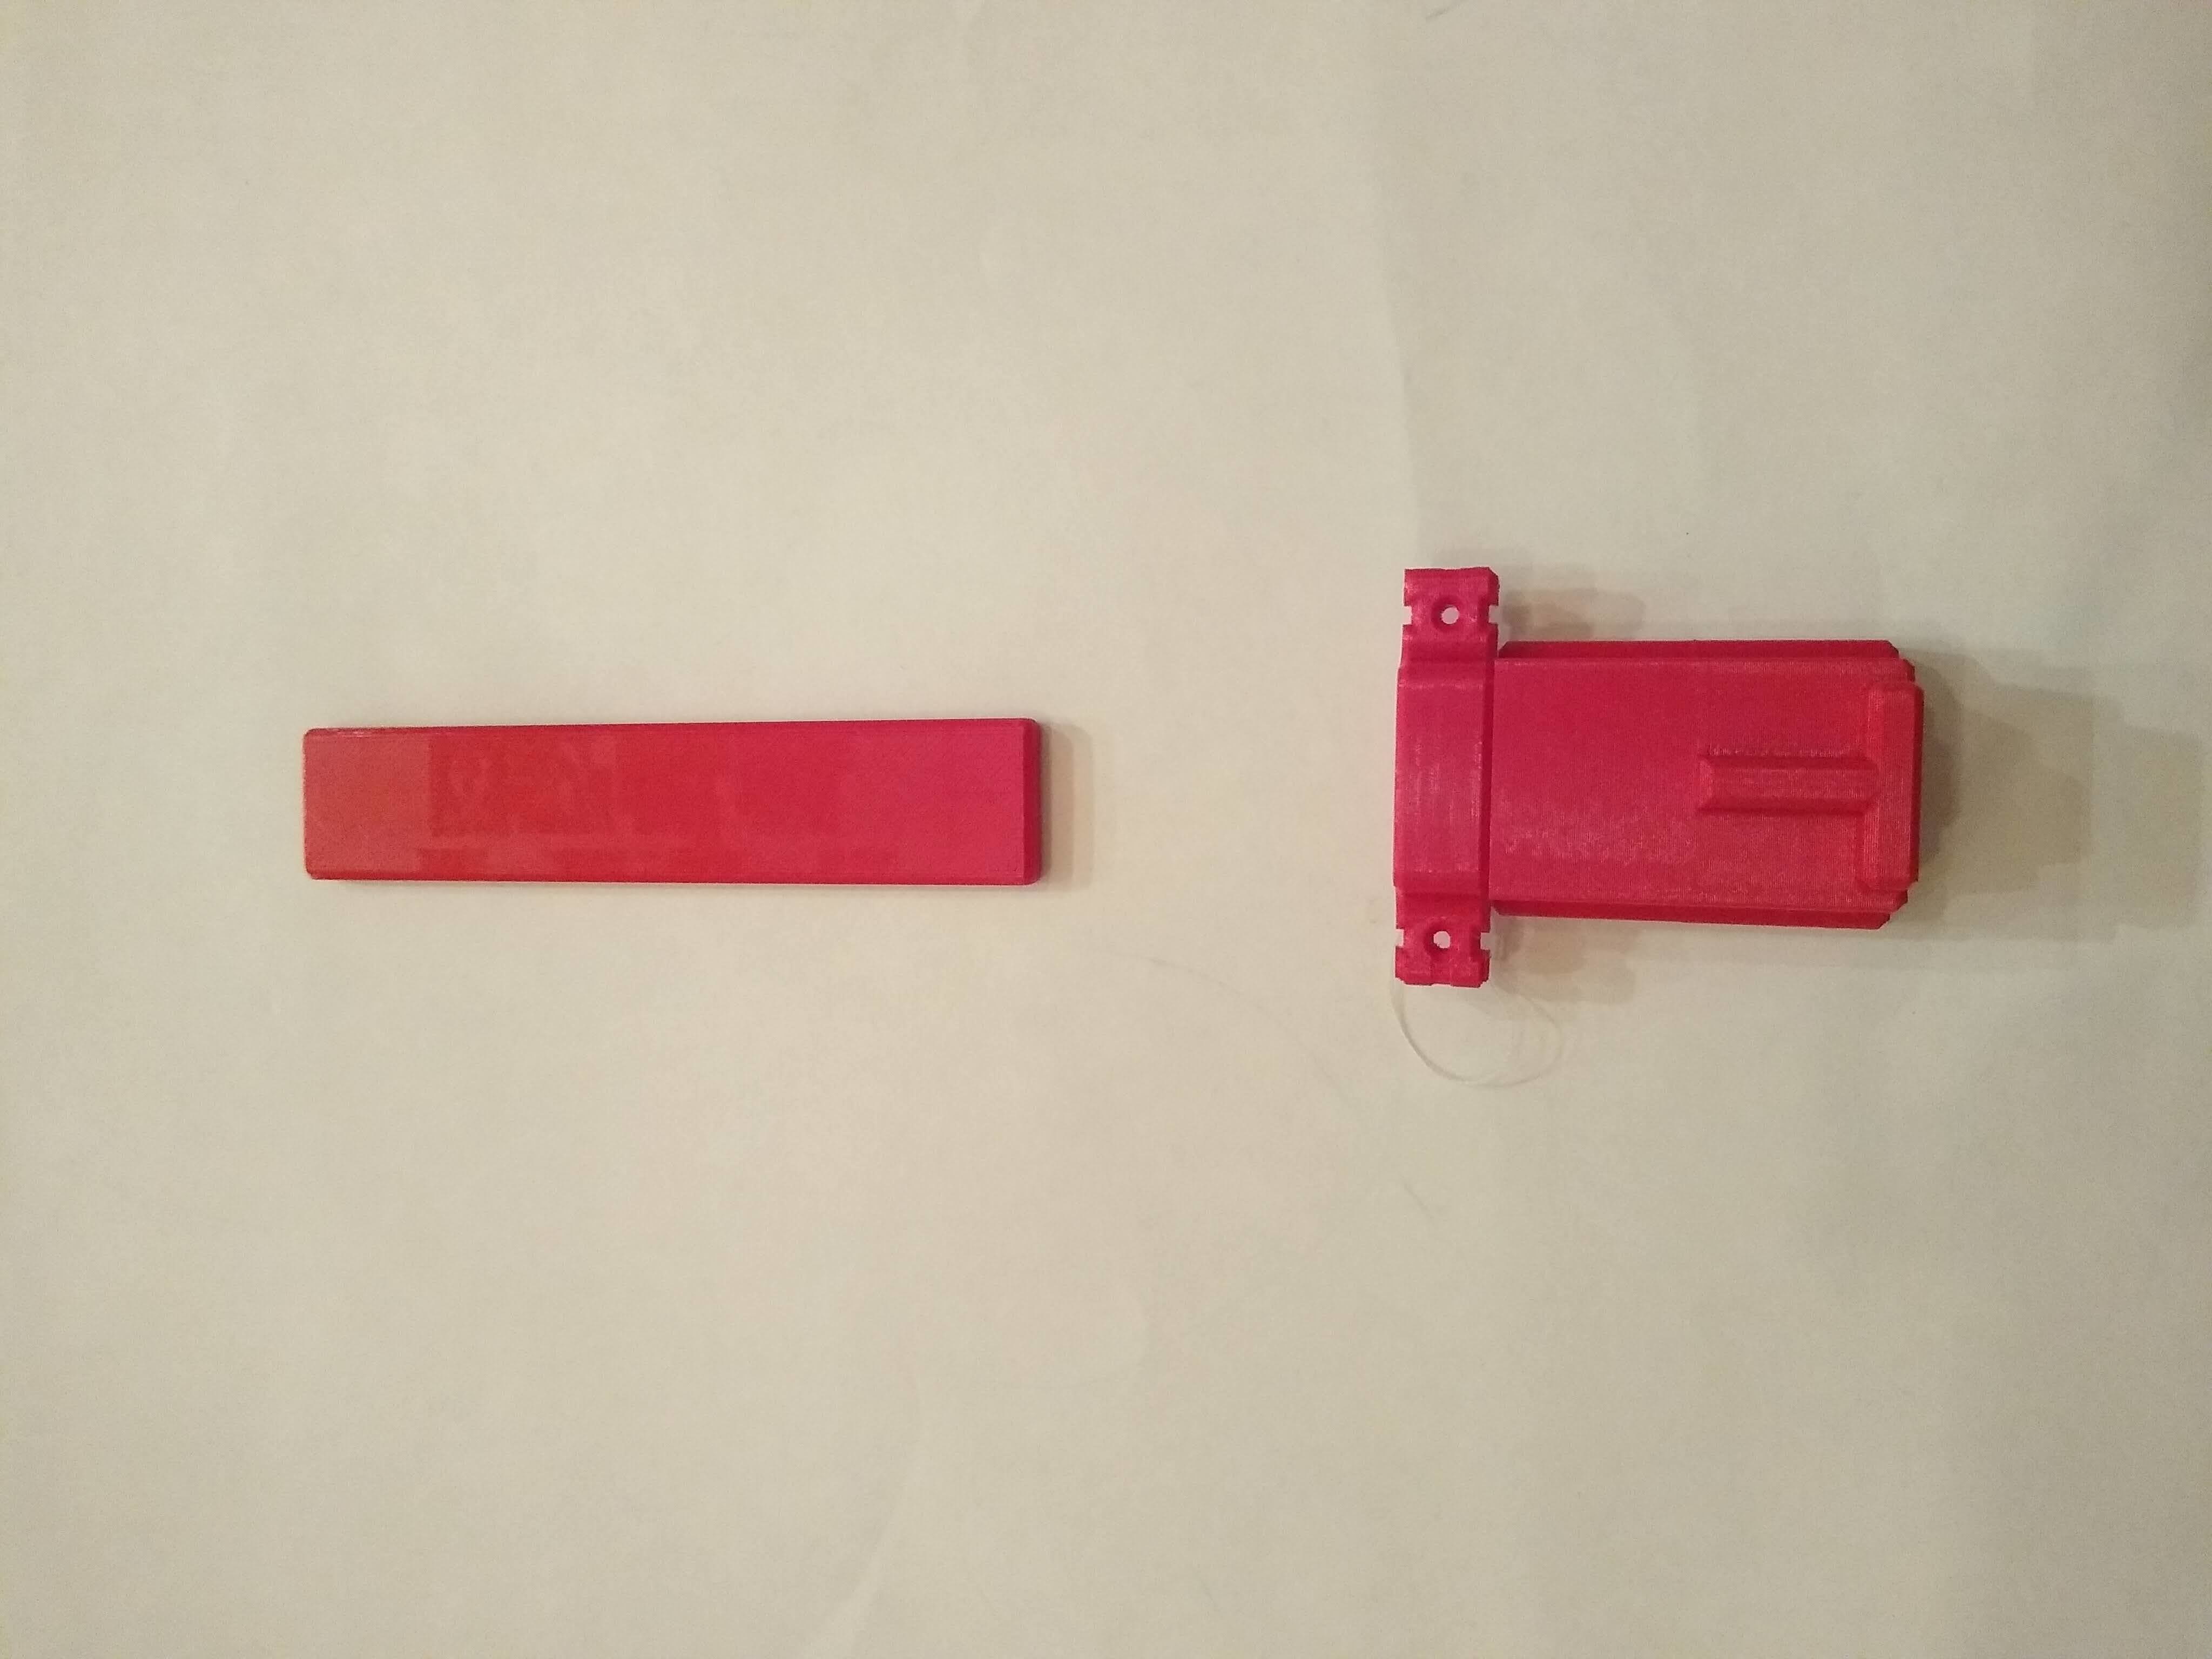
- Main body assembly
- The first step is obviously to print all the pieces and acquire all the non-printed pieces
- Take all the body pieces and assemble them by sliding the filament scraps into the pinholes
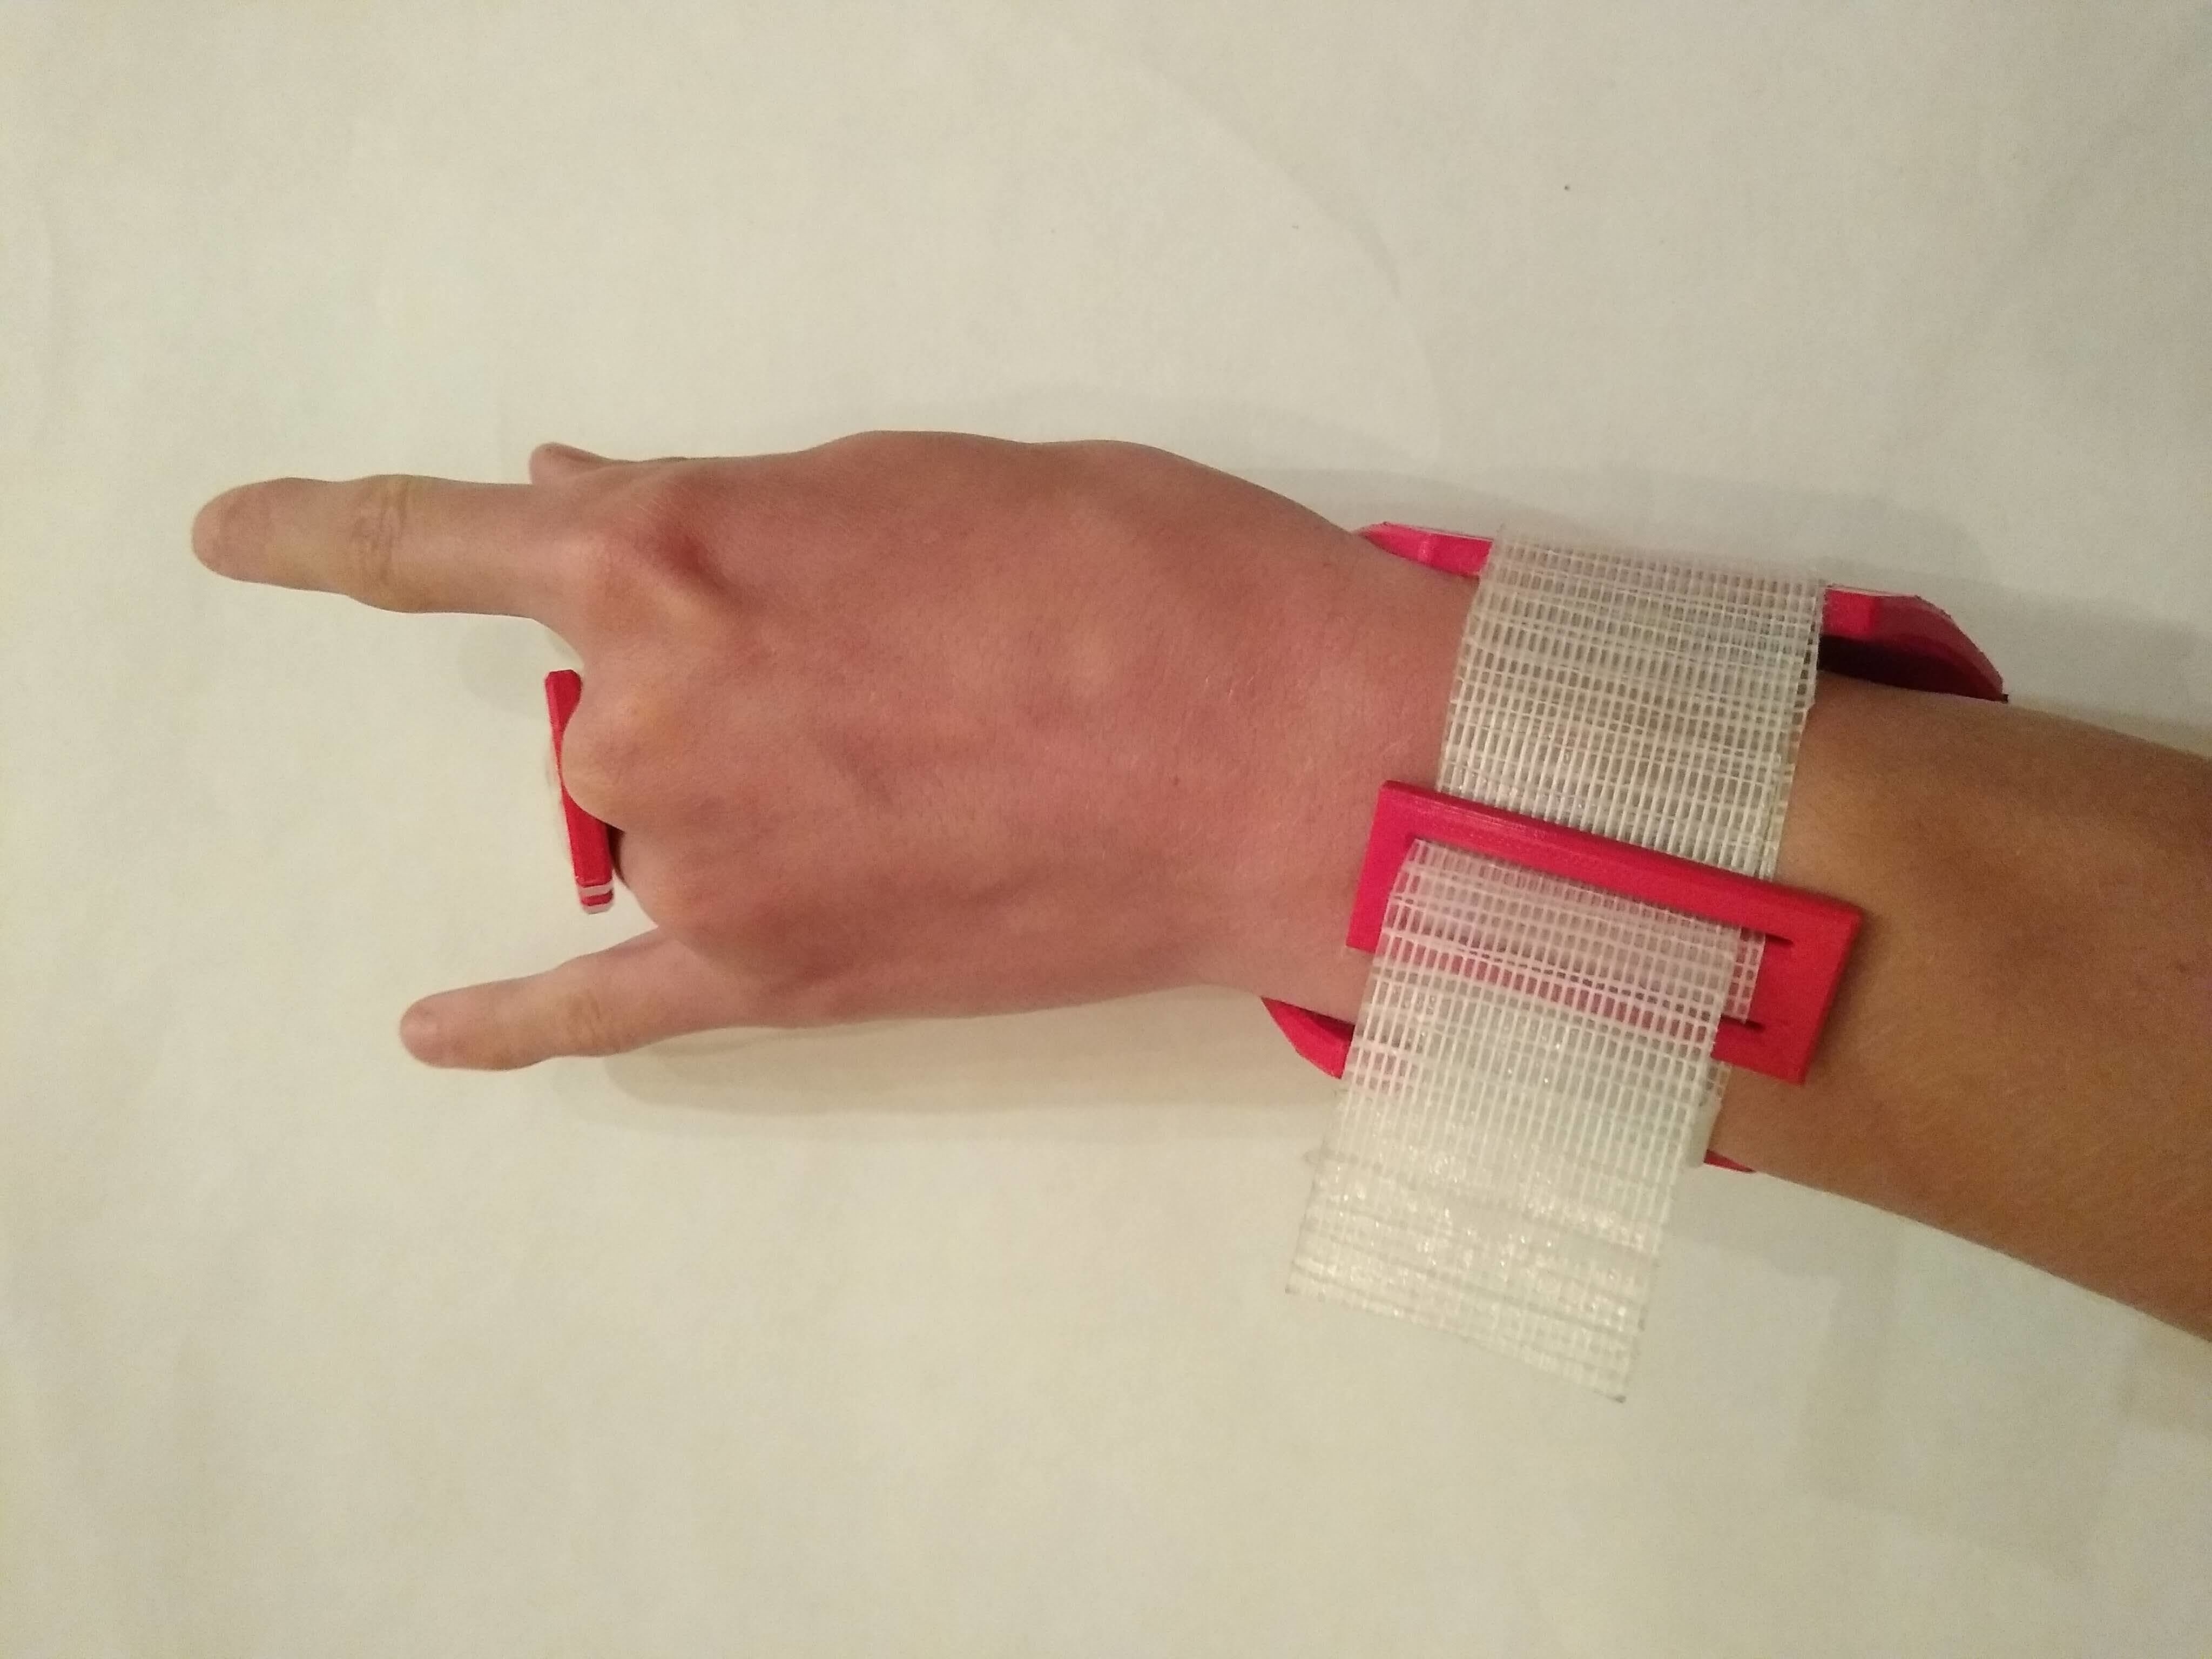
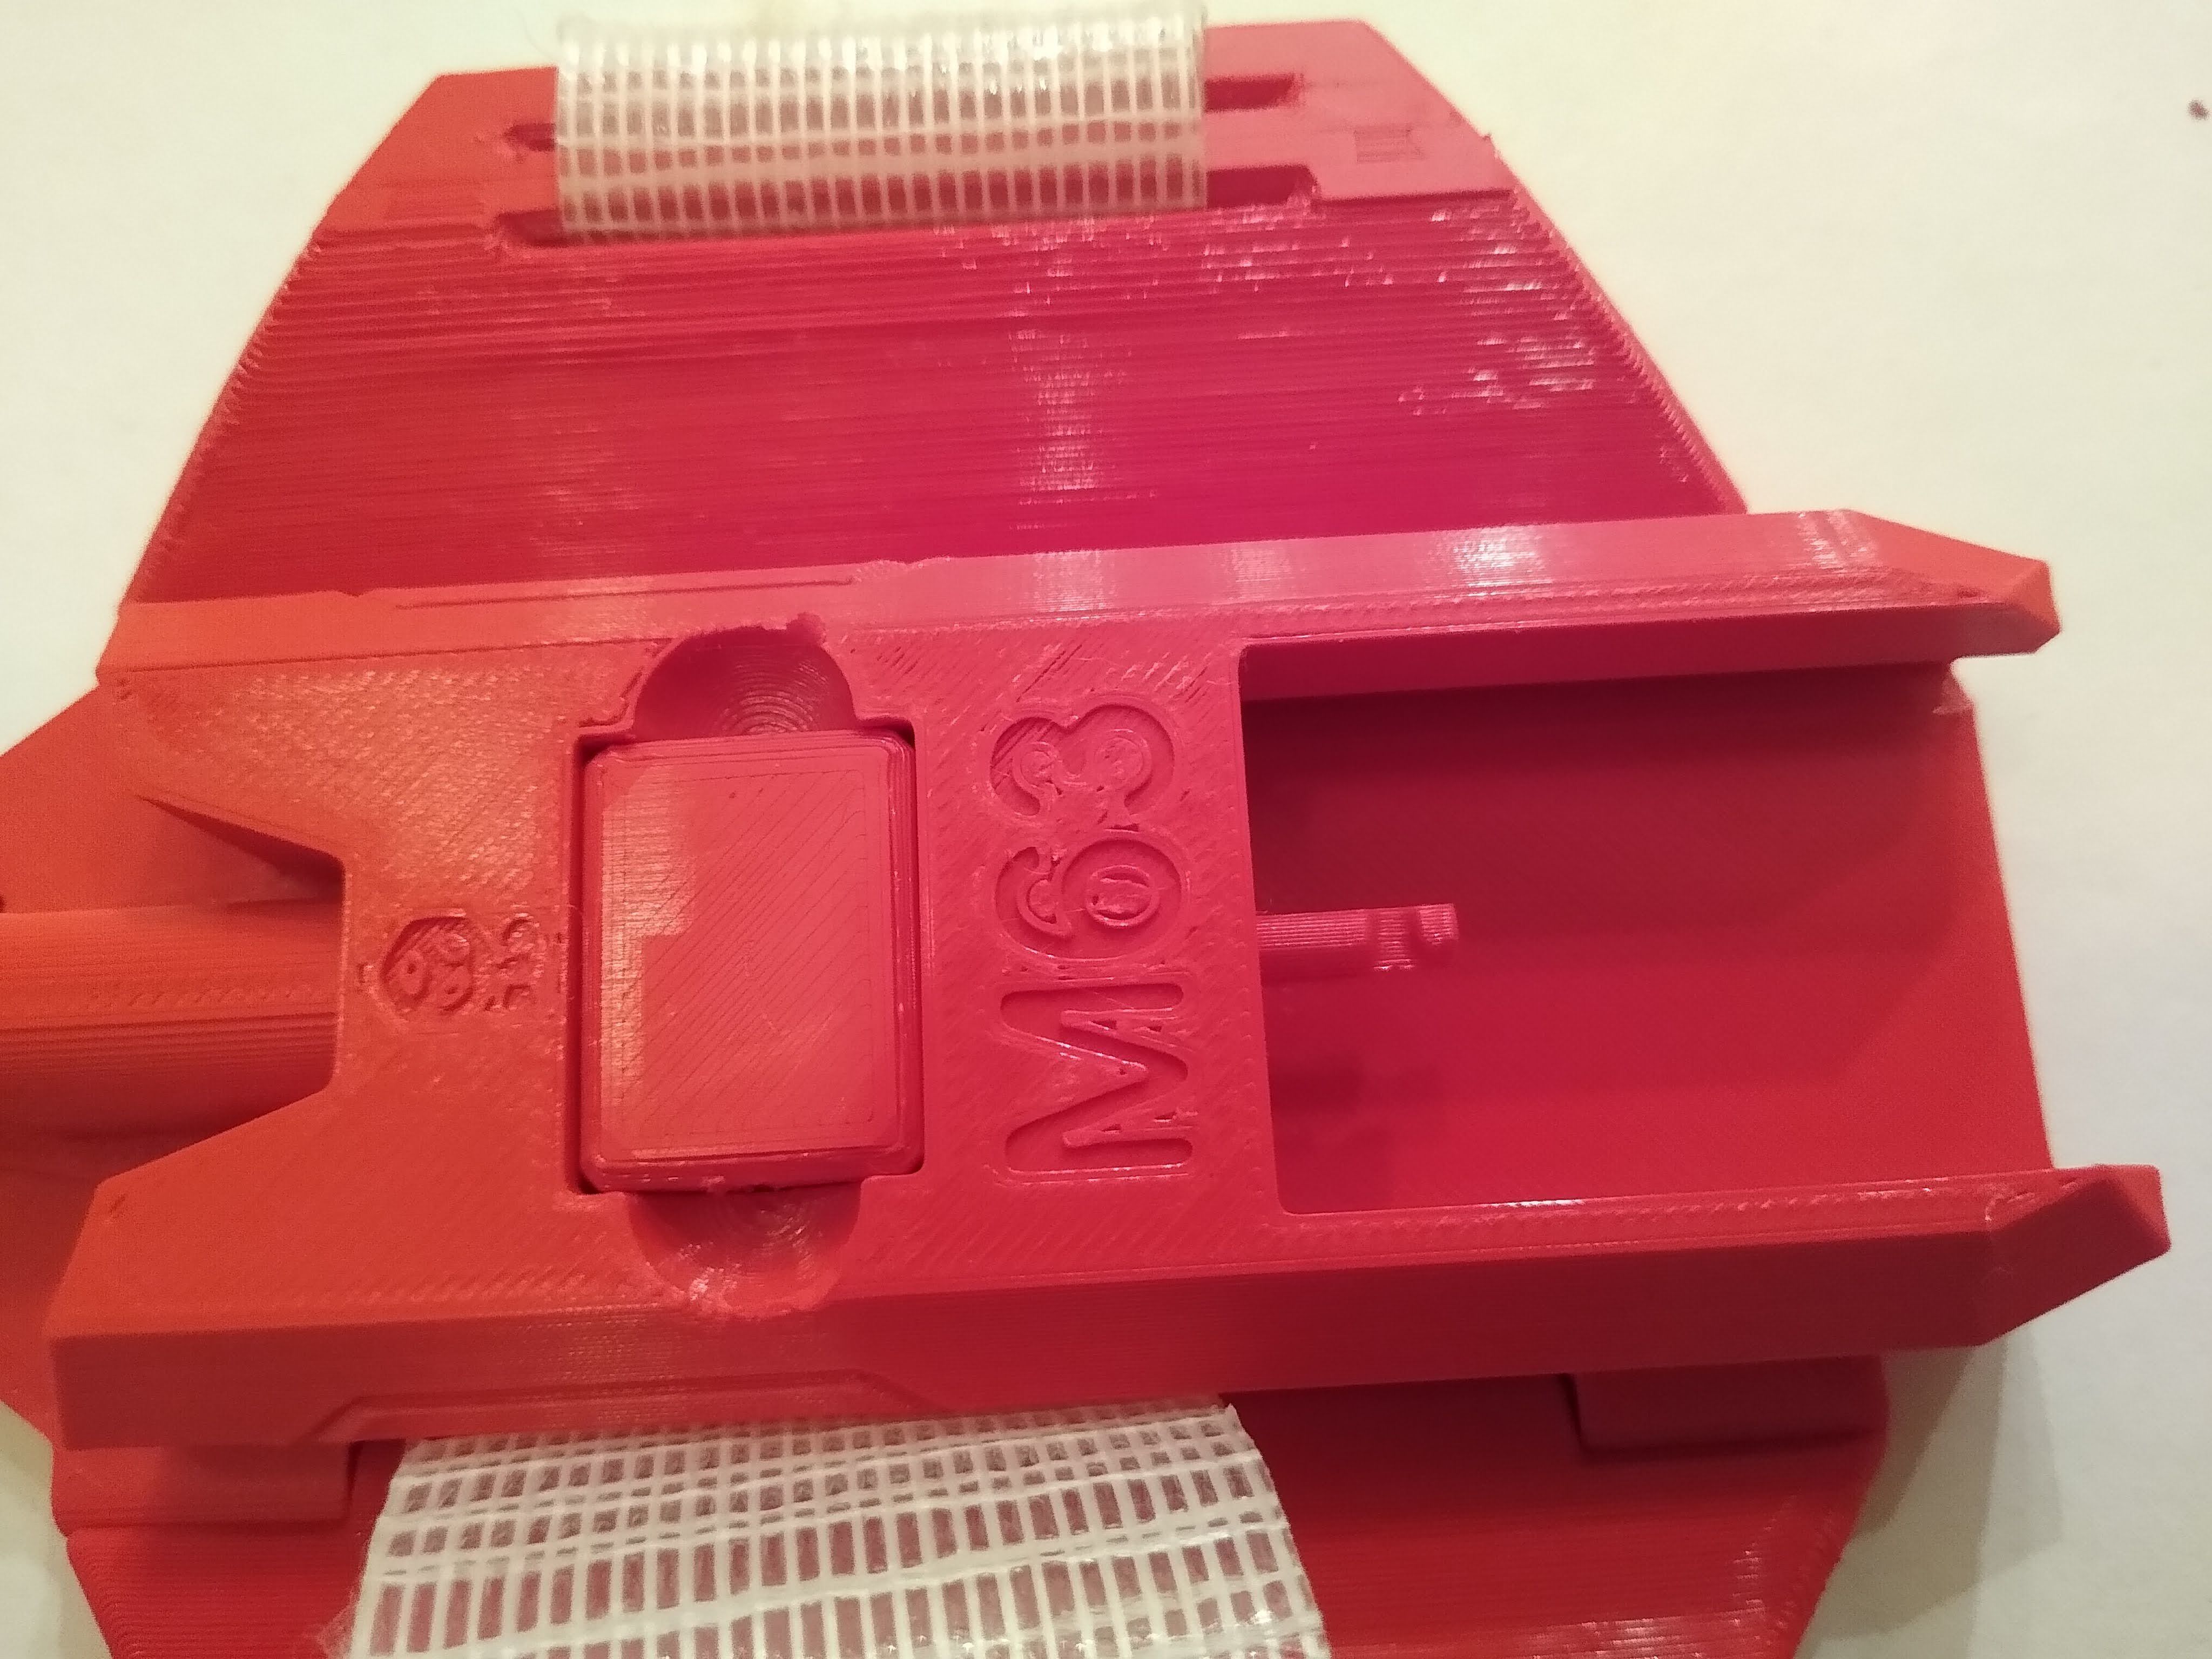
- Cuff assembly
- Next, take two pieces of duct tape, and put the sticky parts touching each other
- Cut the duct tape strip to width in order to fit in the cuff strap holes
- Use another piece of duct tape to secure the strap to one of the cuffs
- Then add the strap holder onto the strap
- After that, pull the loose end of the strap through the open cough and secure the strap
- Then trim the strap to the correct size
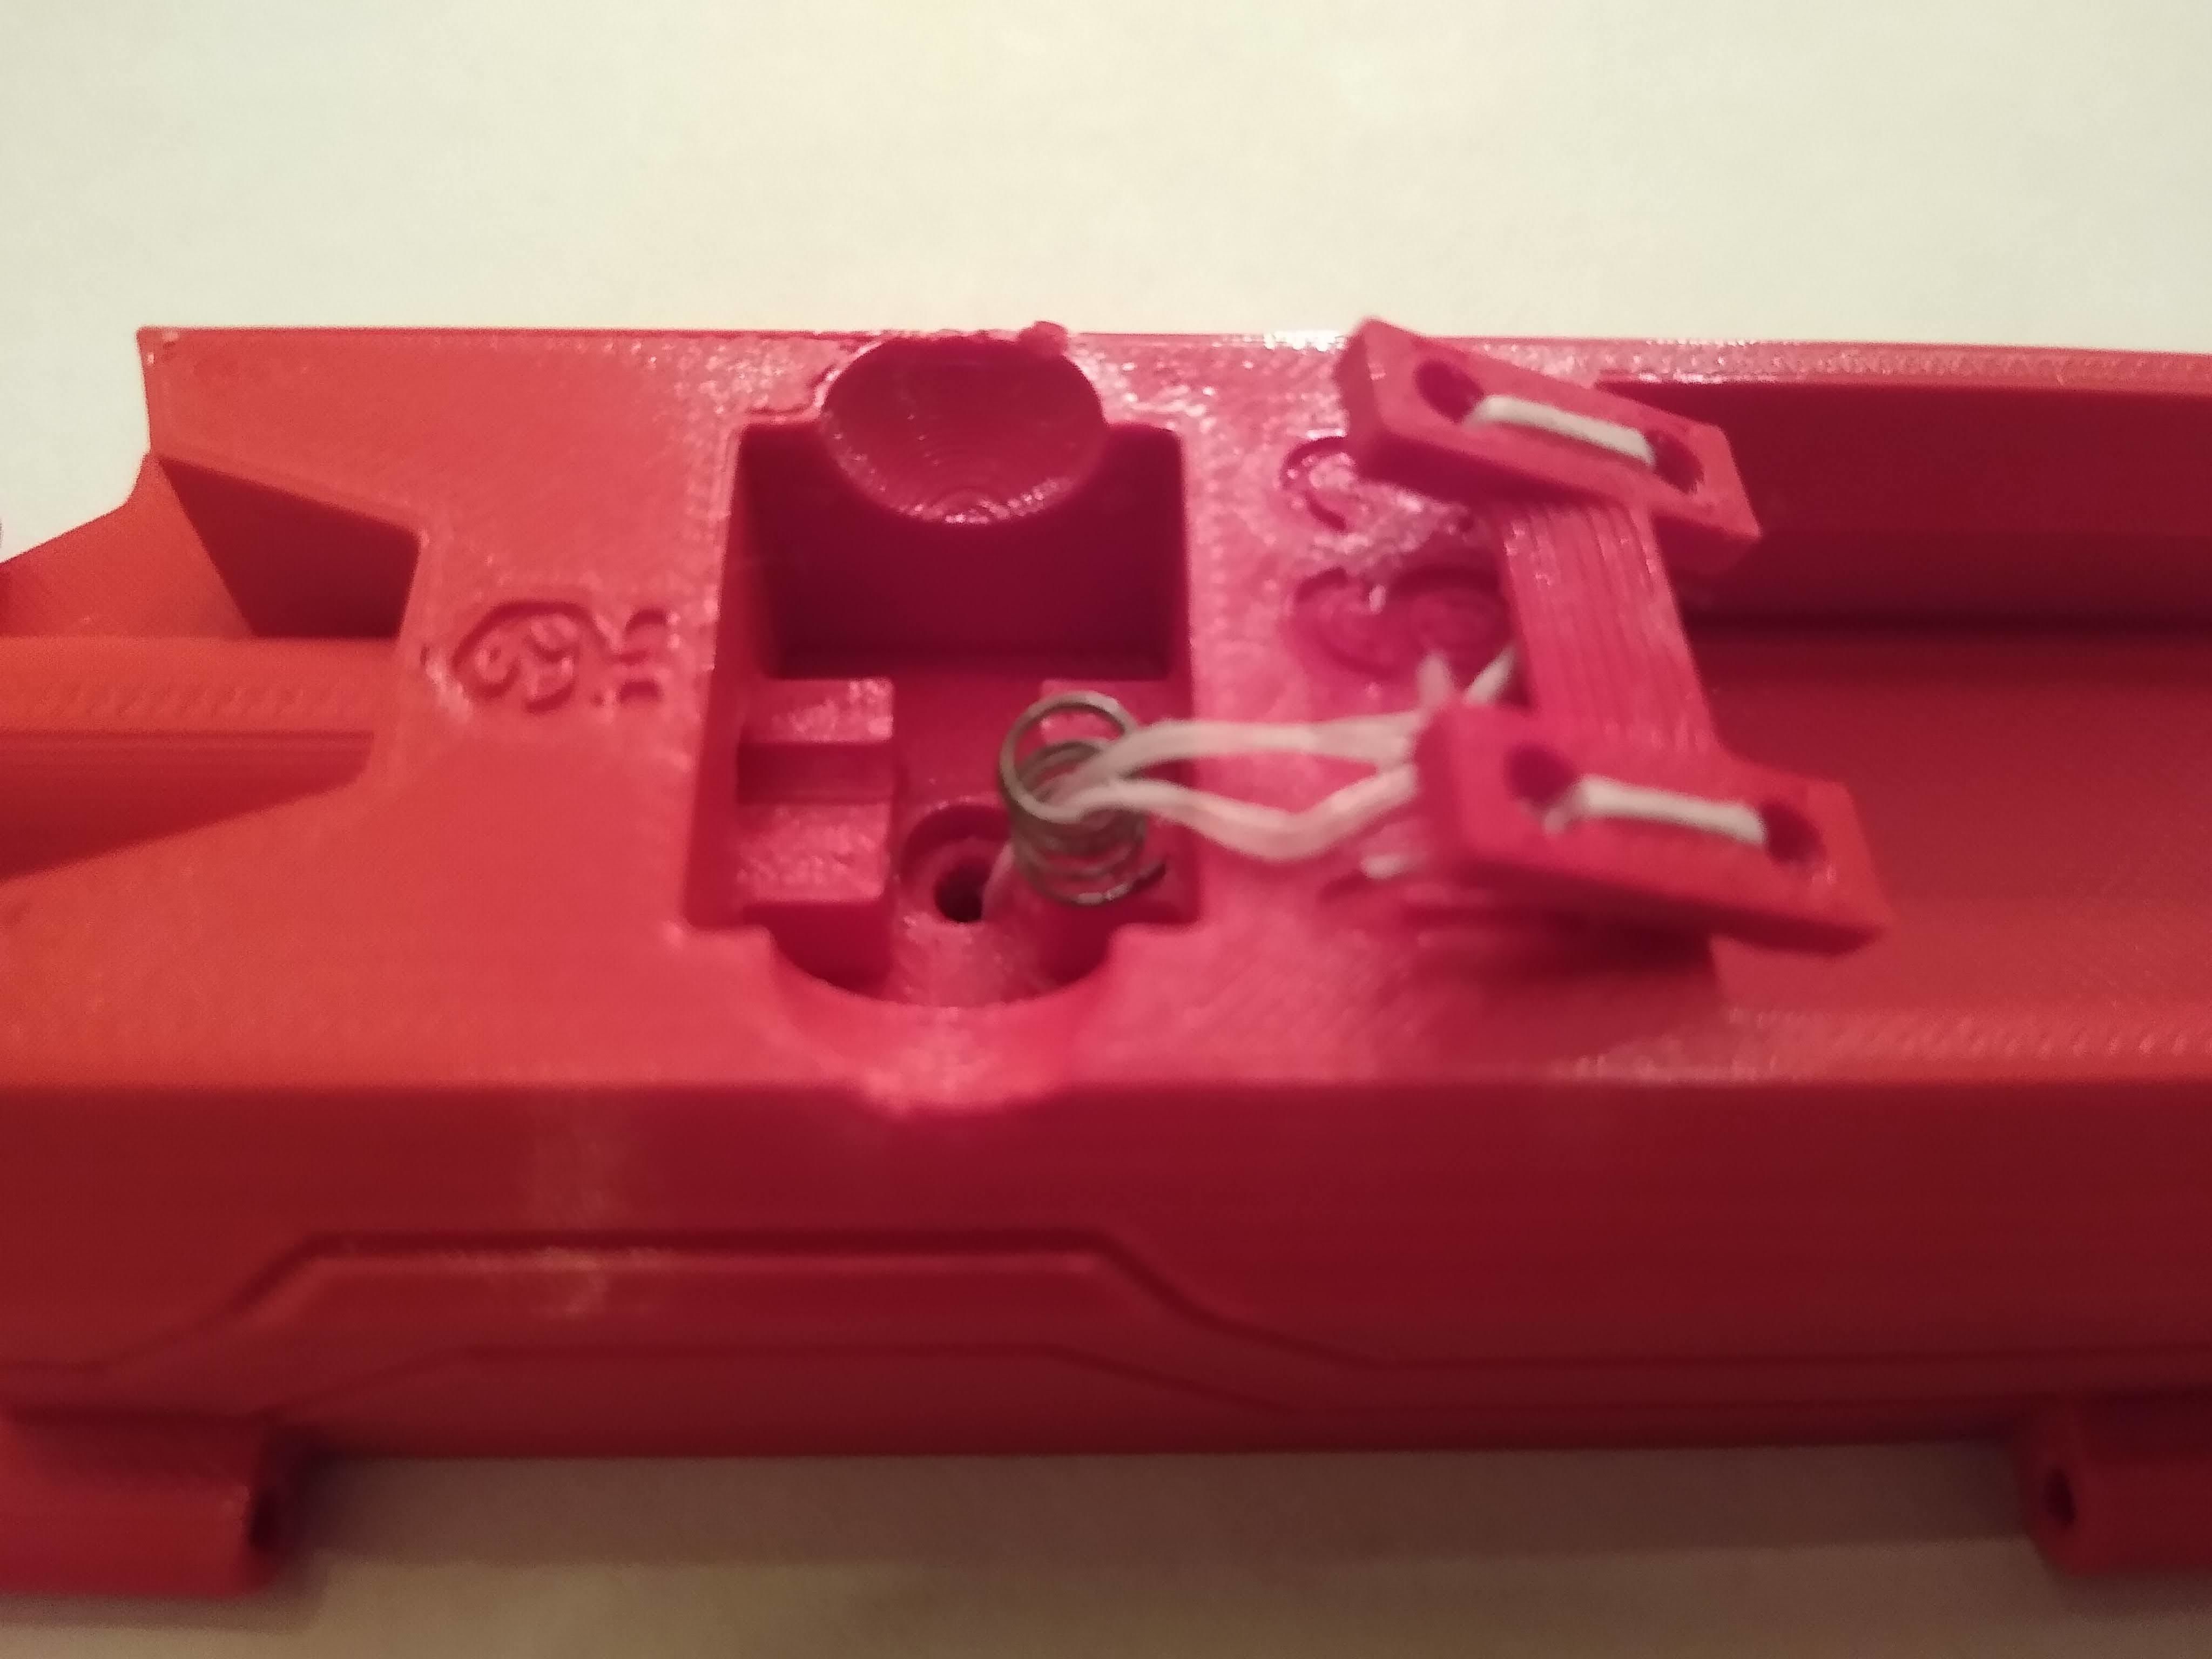
- Trigger assembly
- In order for this trigger to work you need a piece of string that is strong (just one piece of thread is not going to cut it so double or preferably quadruple your string, and then tie it off on both ends)
- Next tie one end of your string to the trigger block and then tie the other to the other side of the trigger block (so now you affectively doubled your string again)
- Next, cut one of your pen springs into fourths and place a fourth into the hole in the bottom of the trigger chamber of the main body of the web shooter
- Now put your thread that is attached to the trigger block through the spring and then through the hole in the bottom of the web shooter body
- Then push the trigger block into place making sure it is oriented correctly
- Next, thread the trigger string back up through the body and then through and out the trigger piece
- After that, tie on the trigger slider at the length that is comfortable for you
- Lastly, snap on the cover to secure everything in place
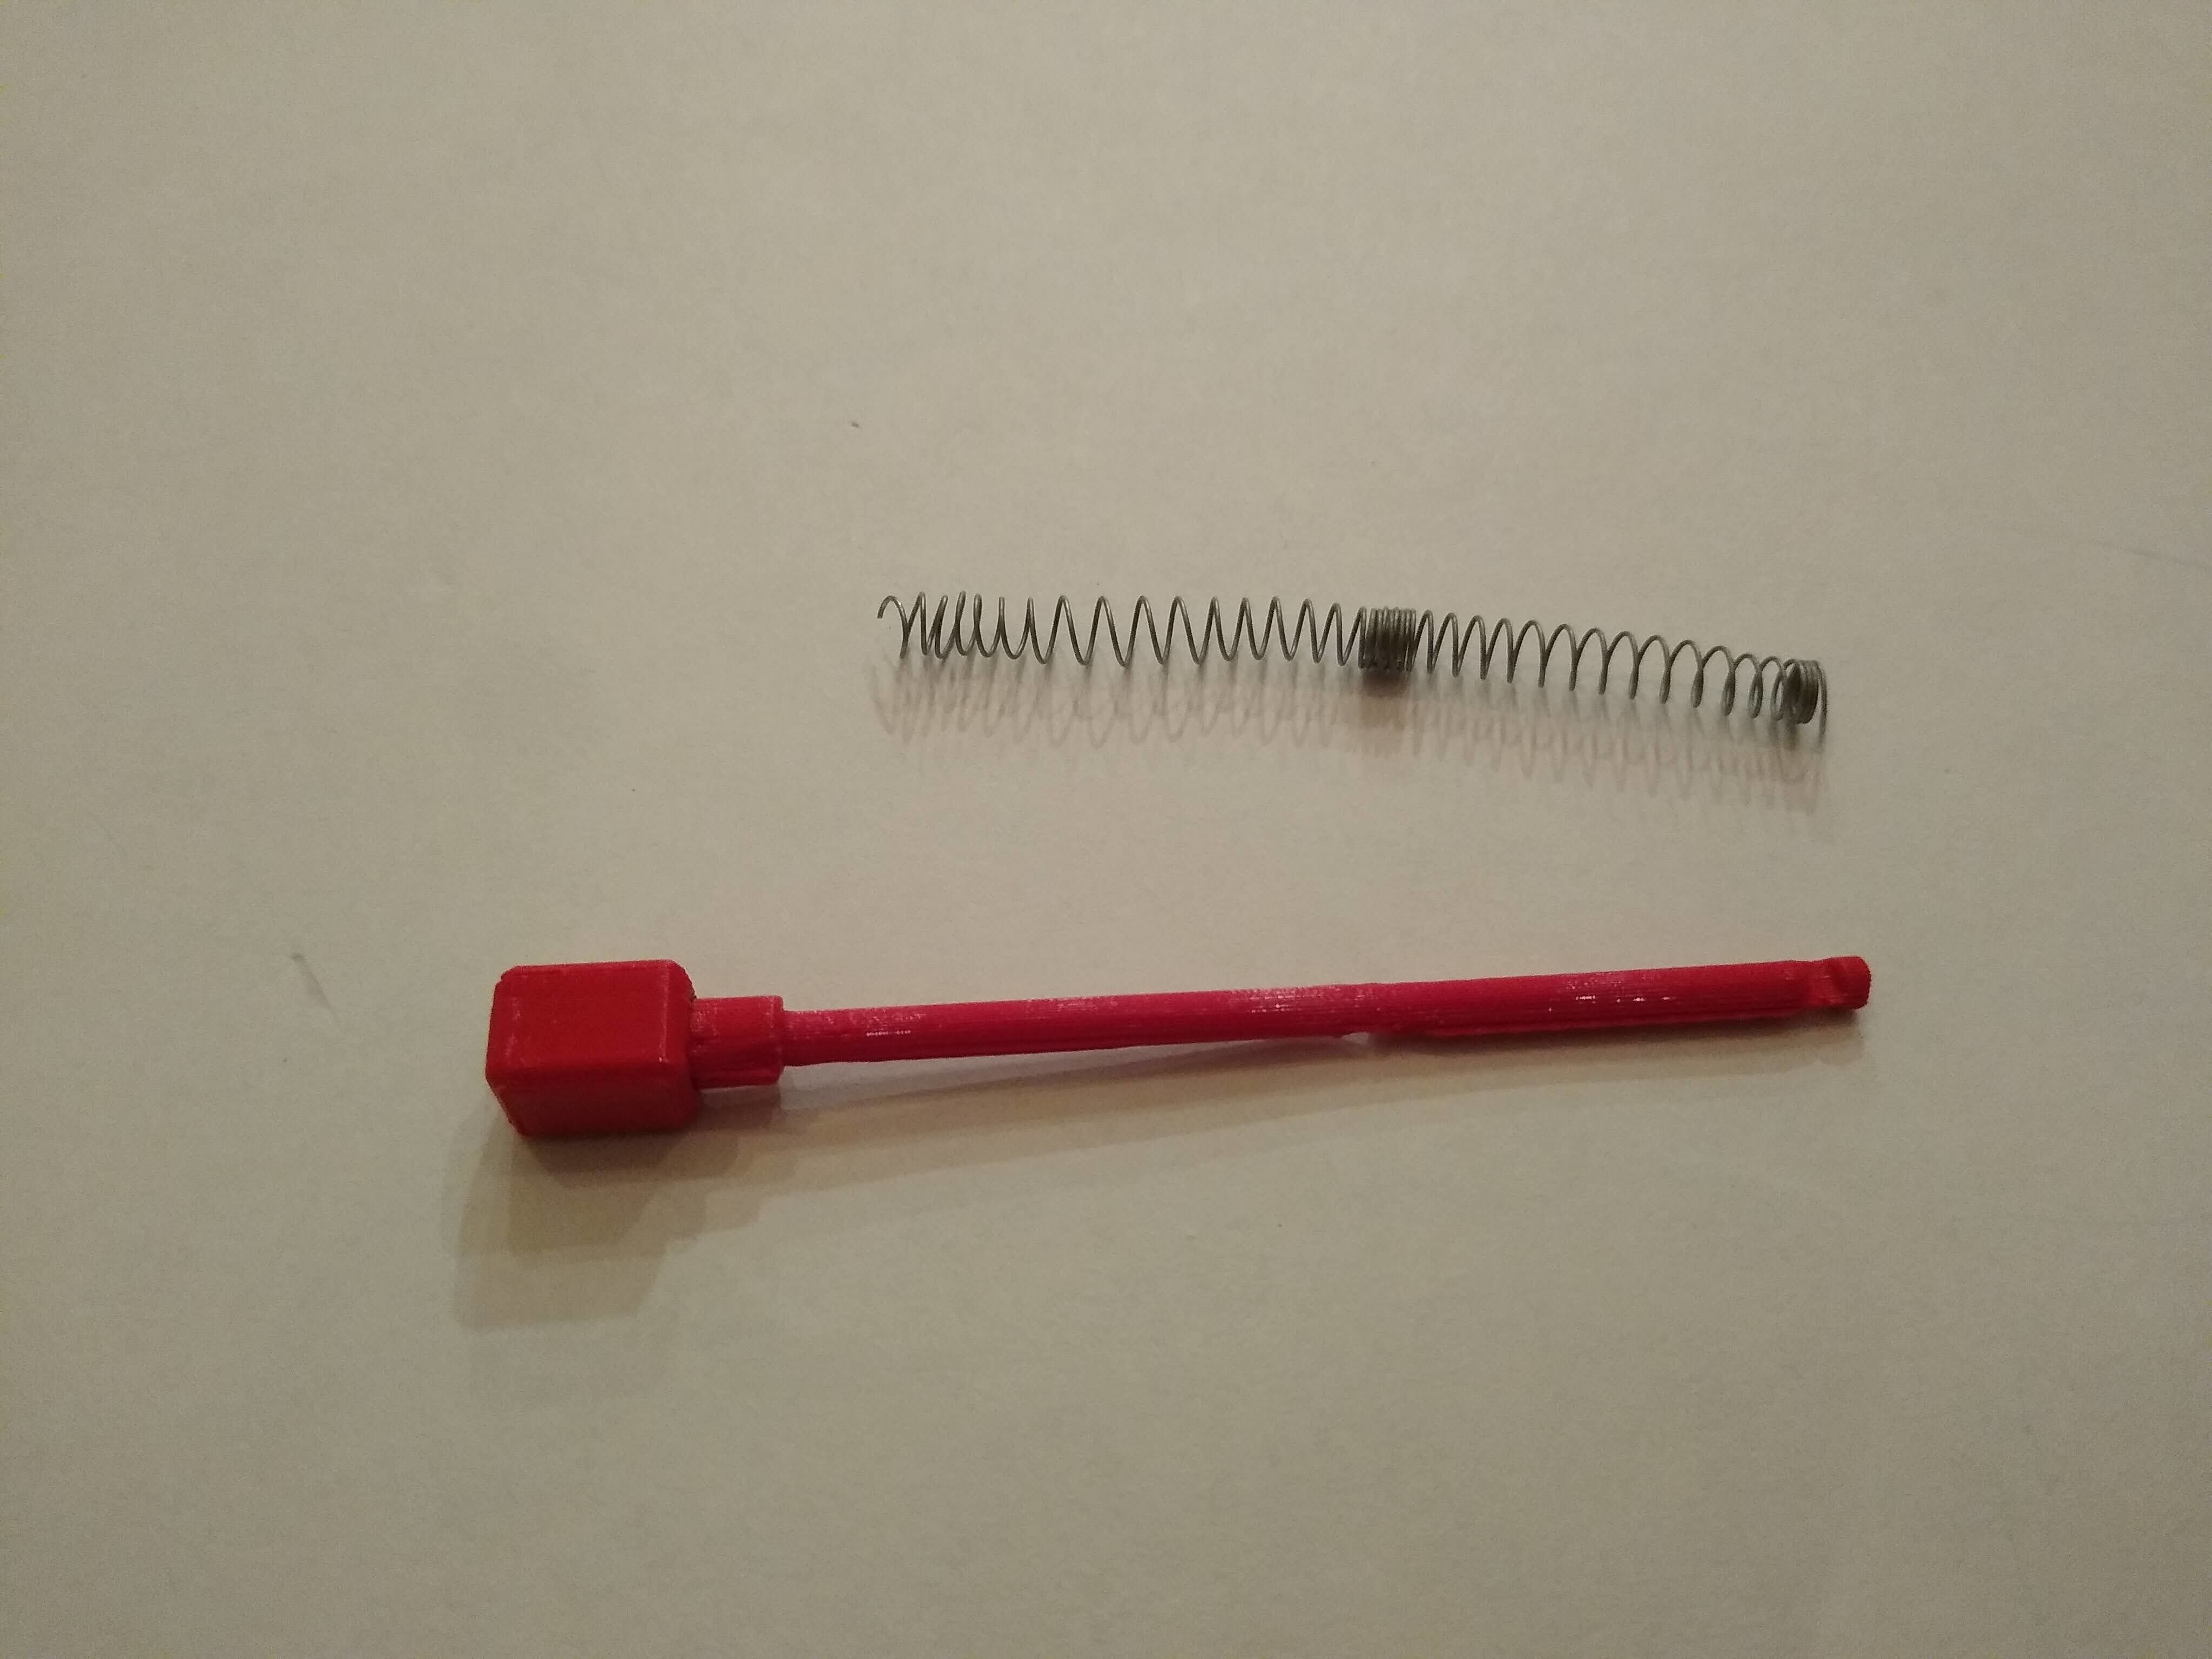
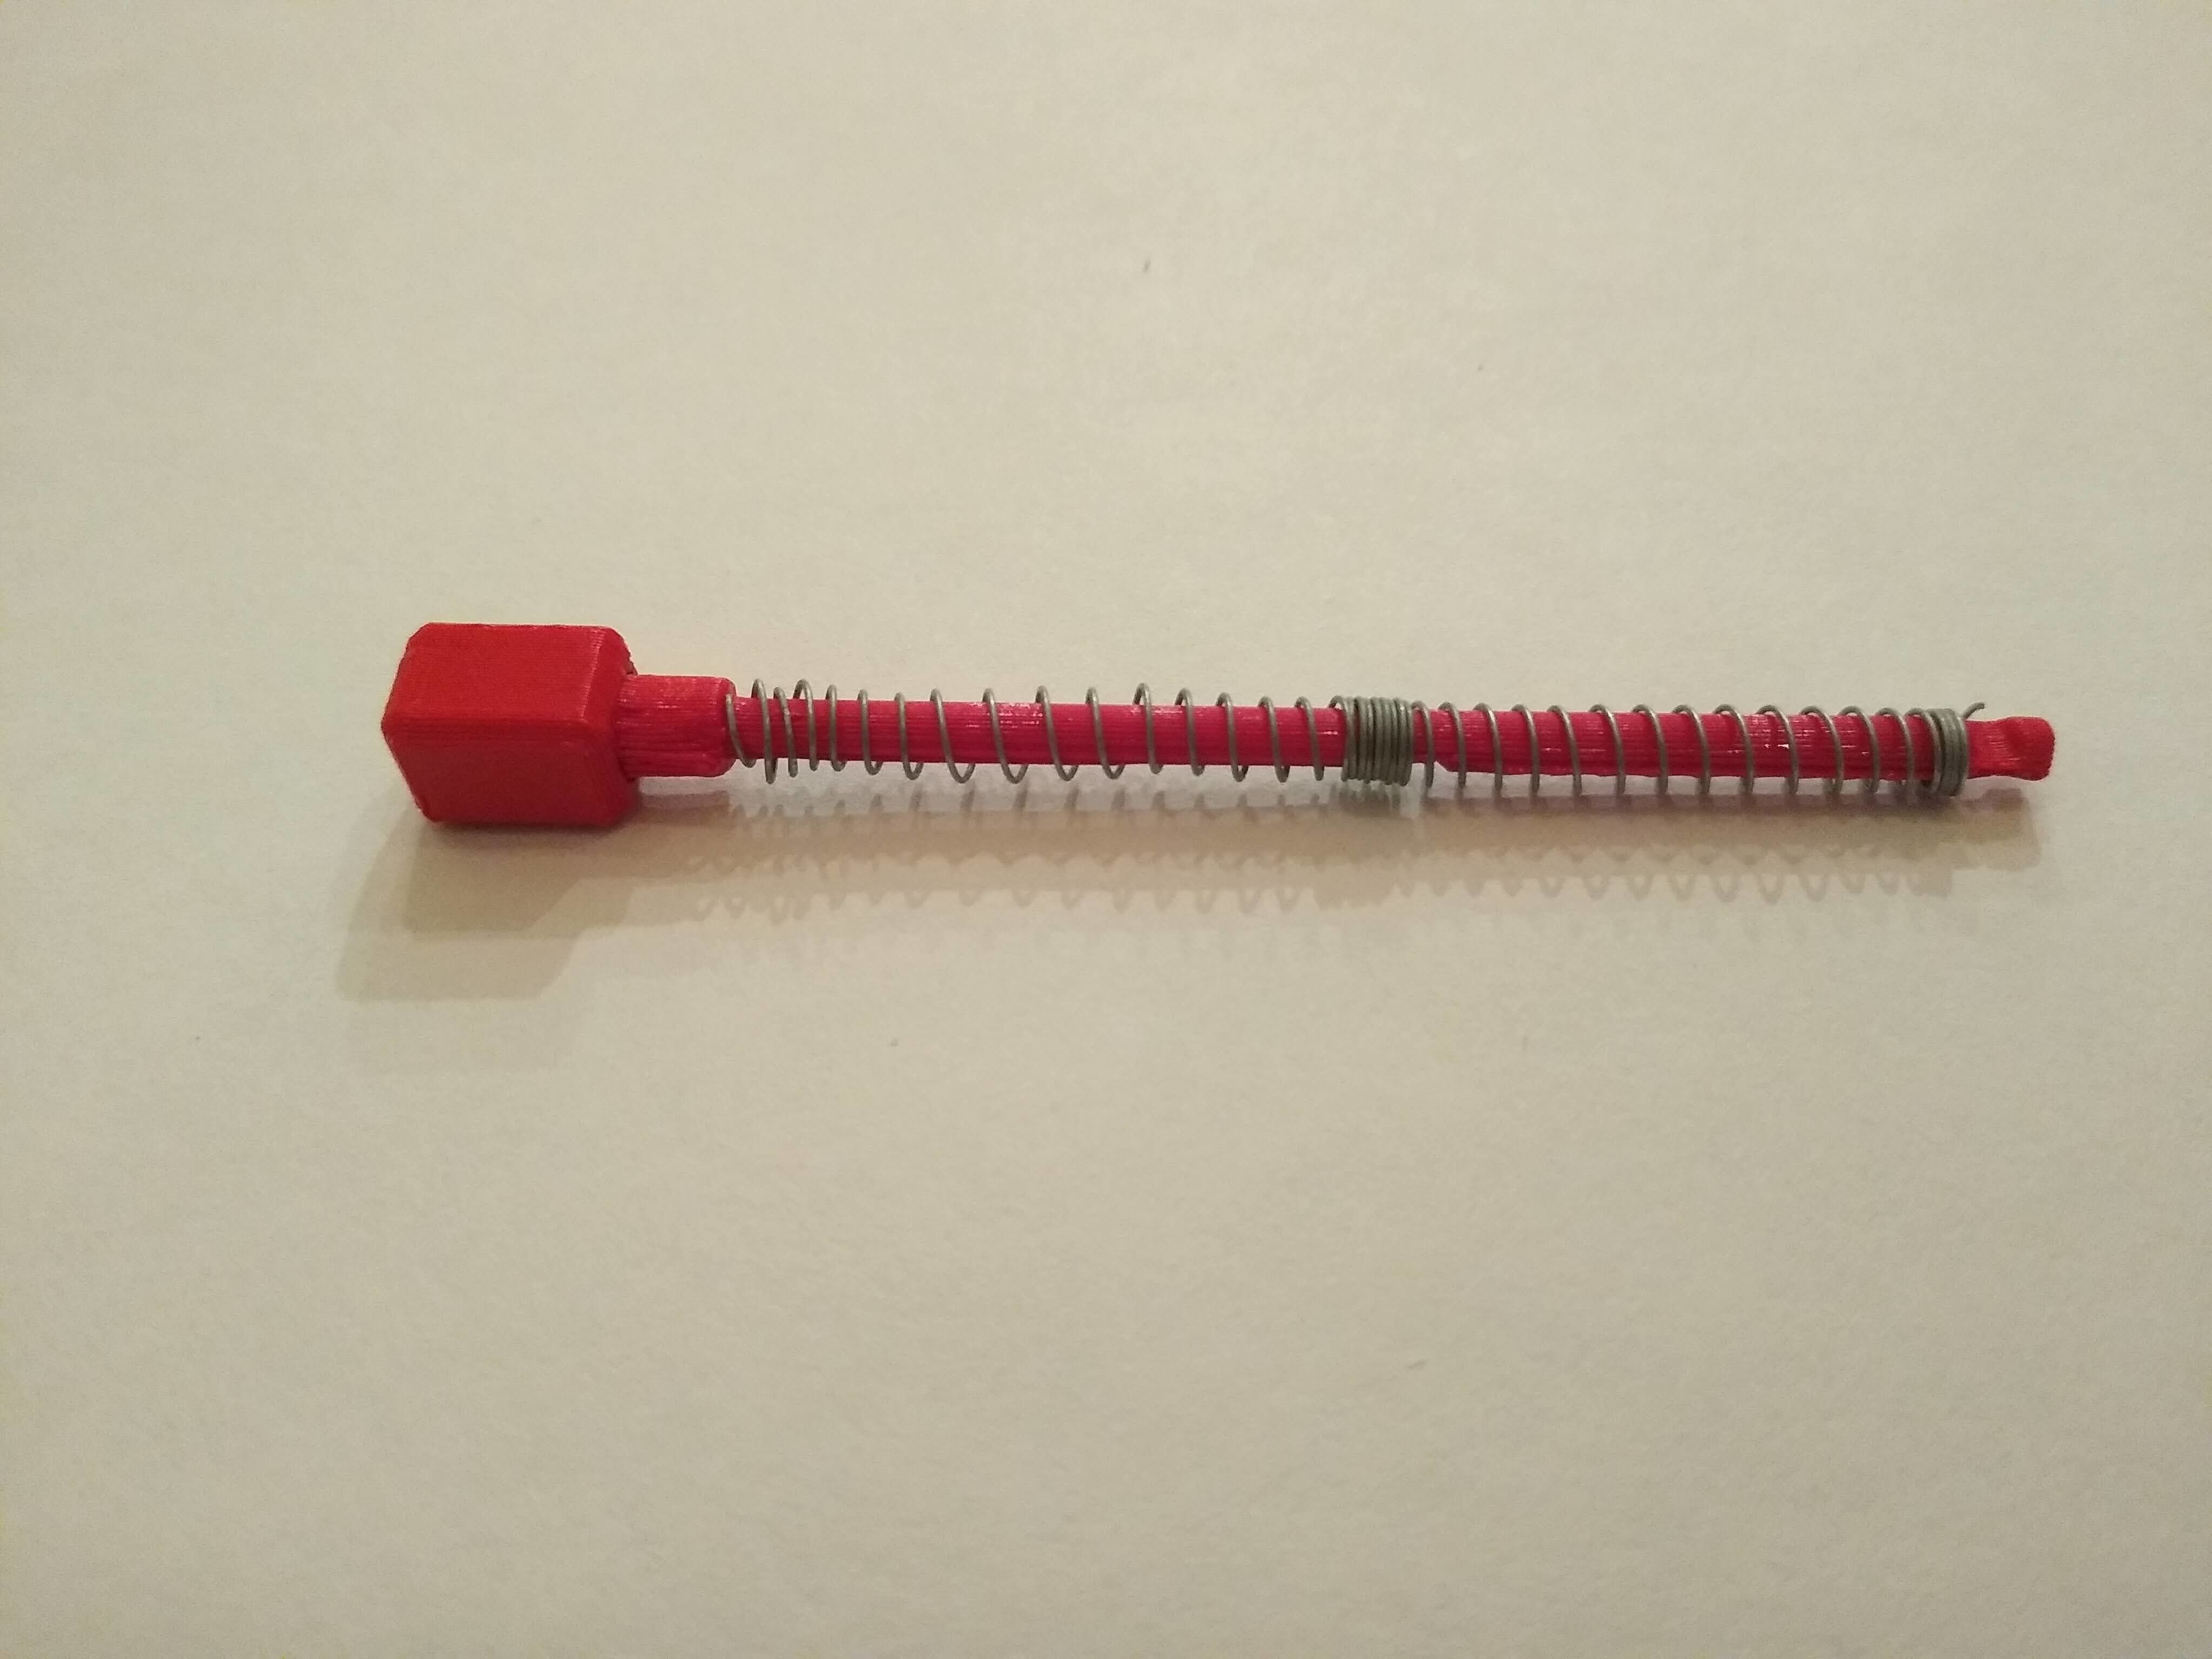
- Dart assembly
- Make sure to insert the magnets well the dart is printing
- Then connect two pen springs by pushing them together and put them on the dart
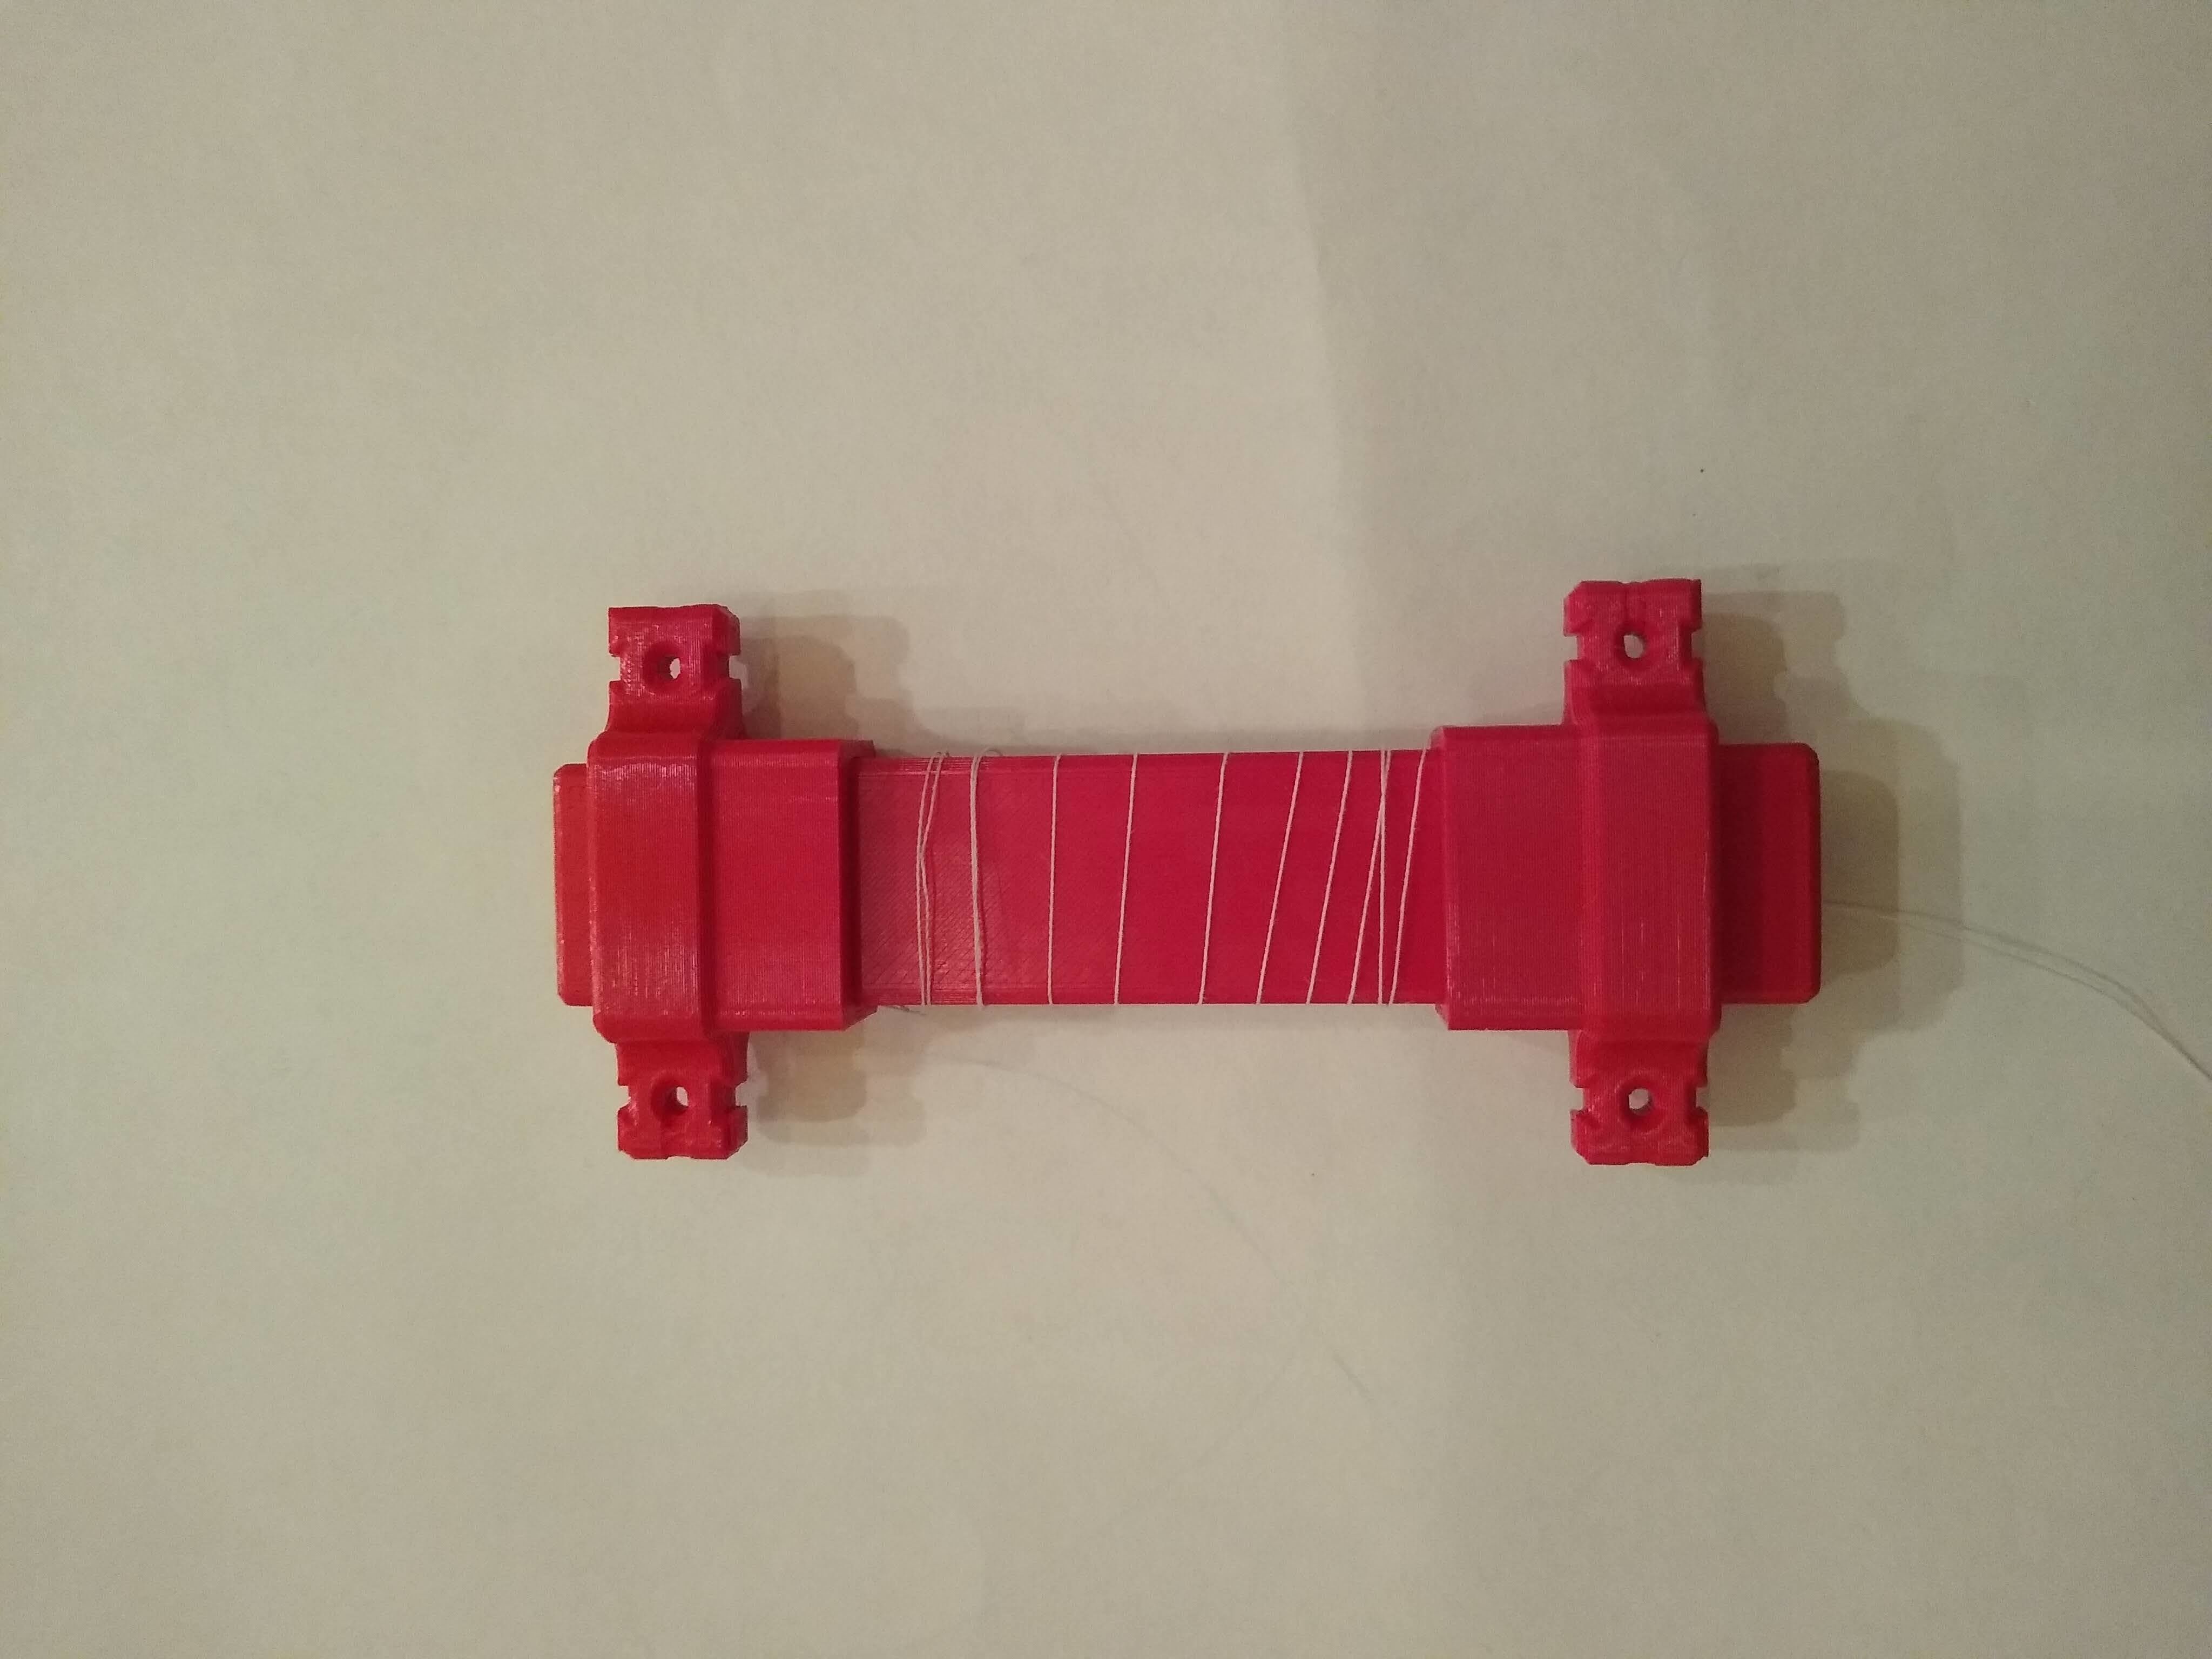
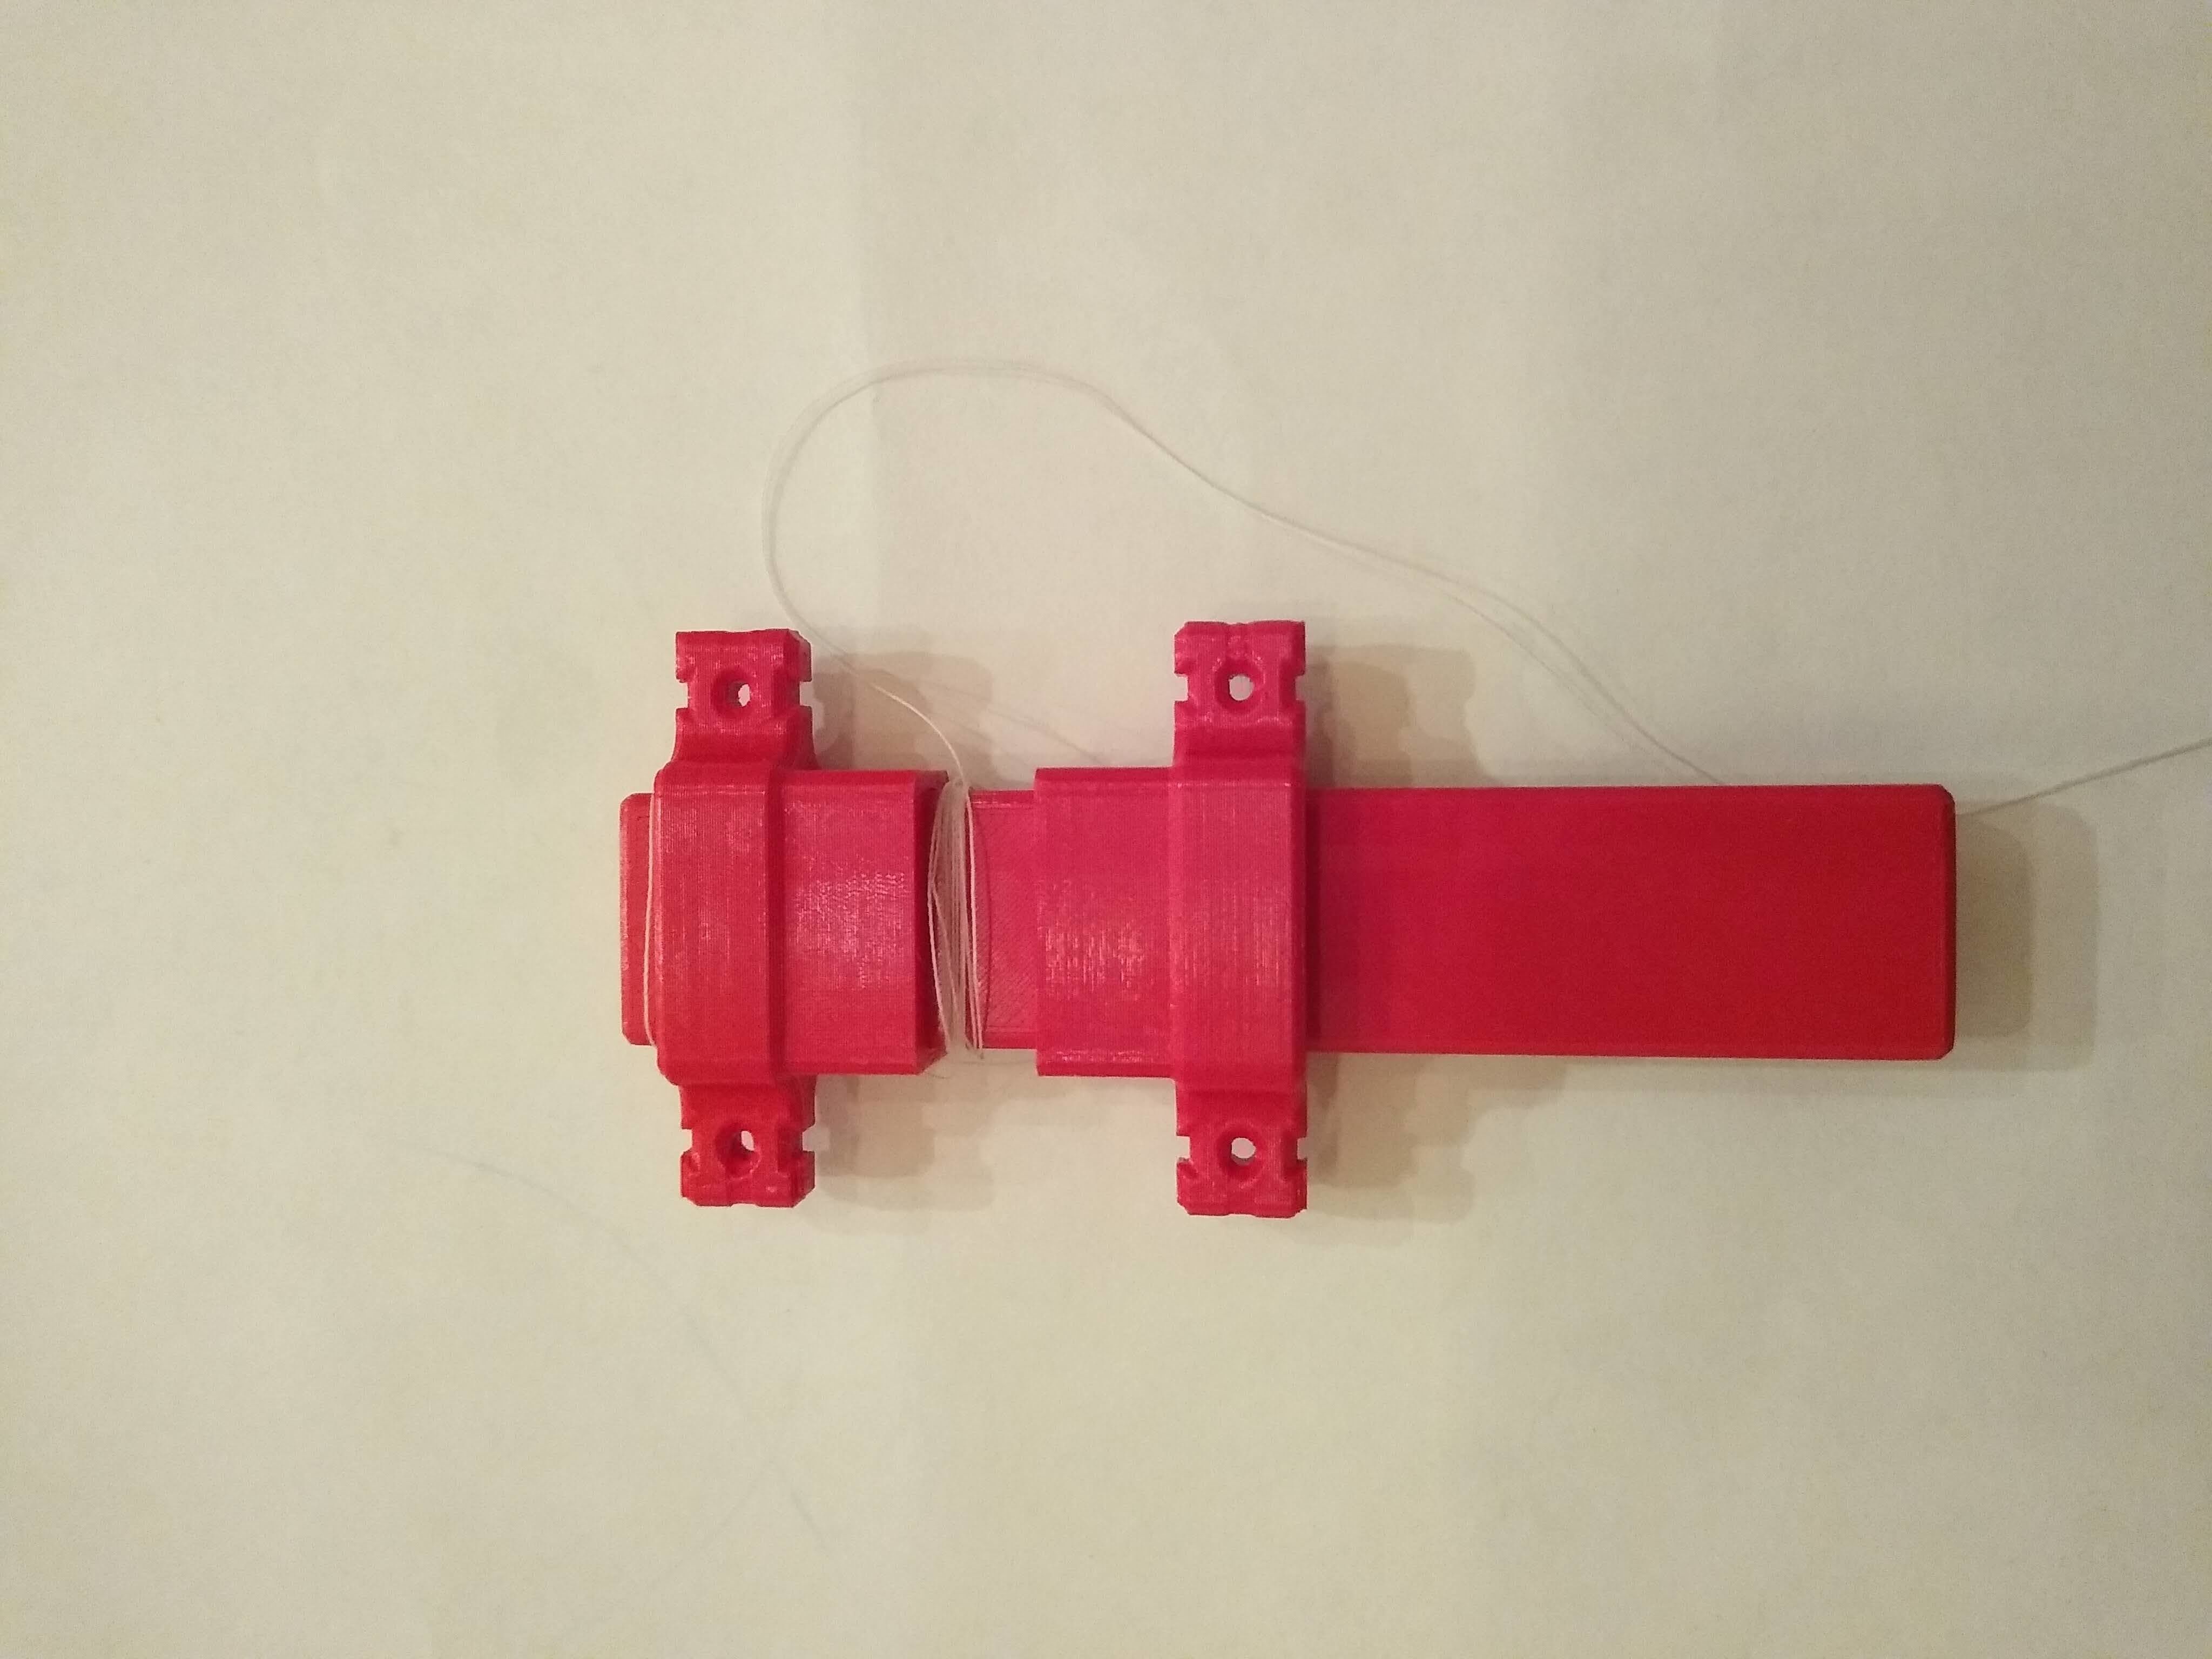
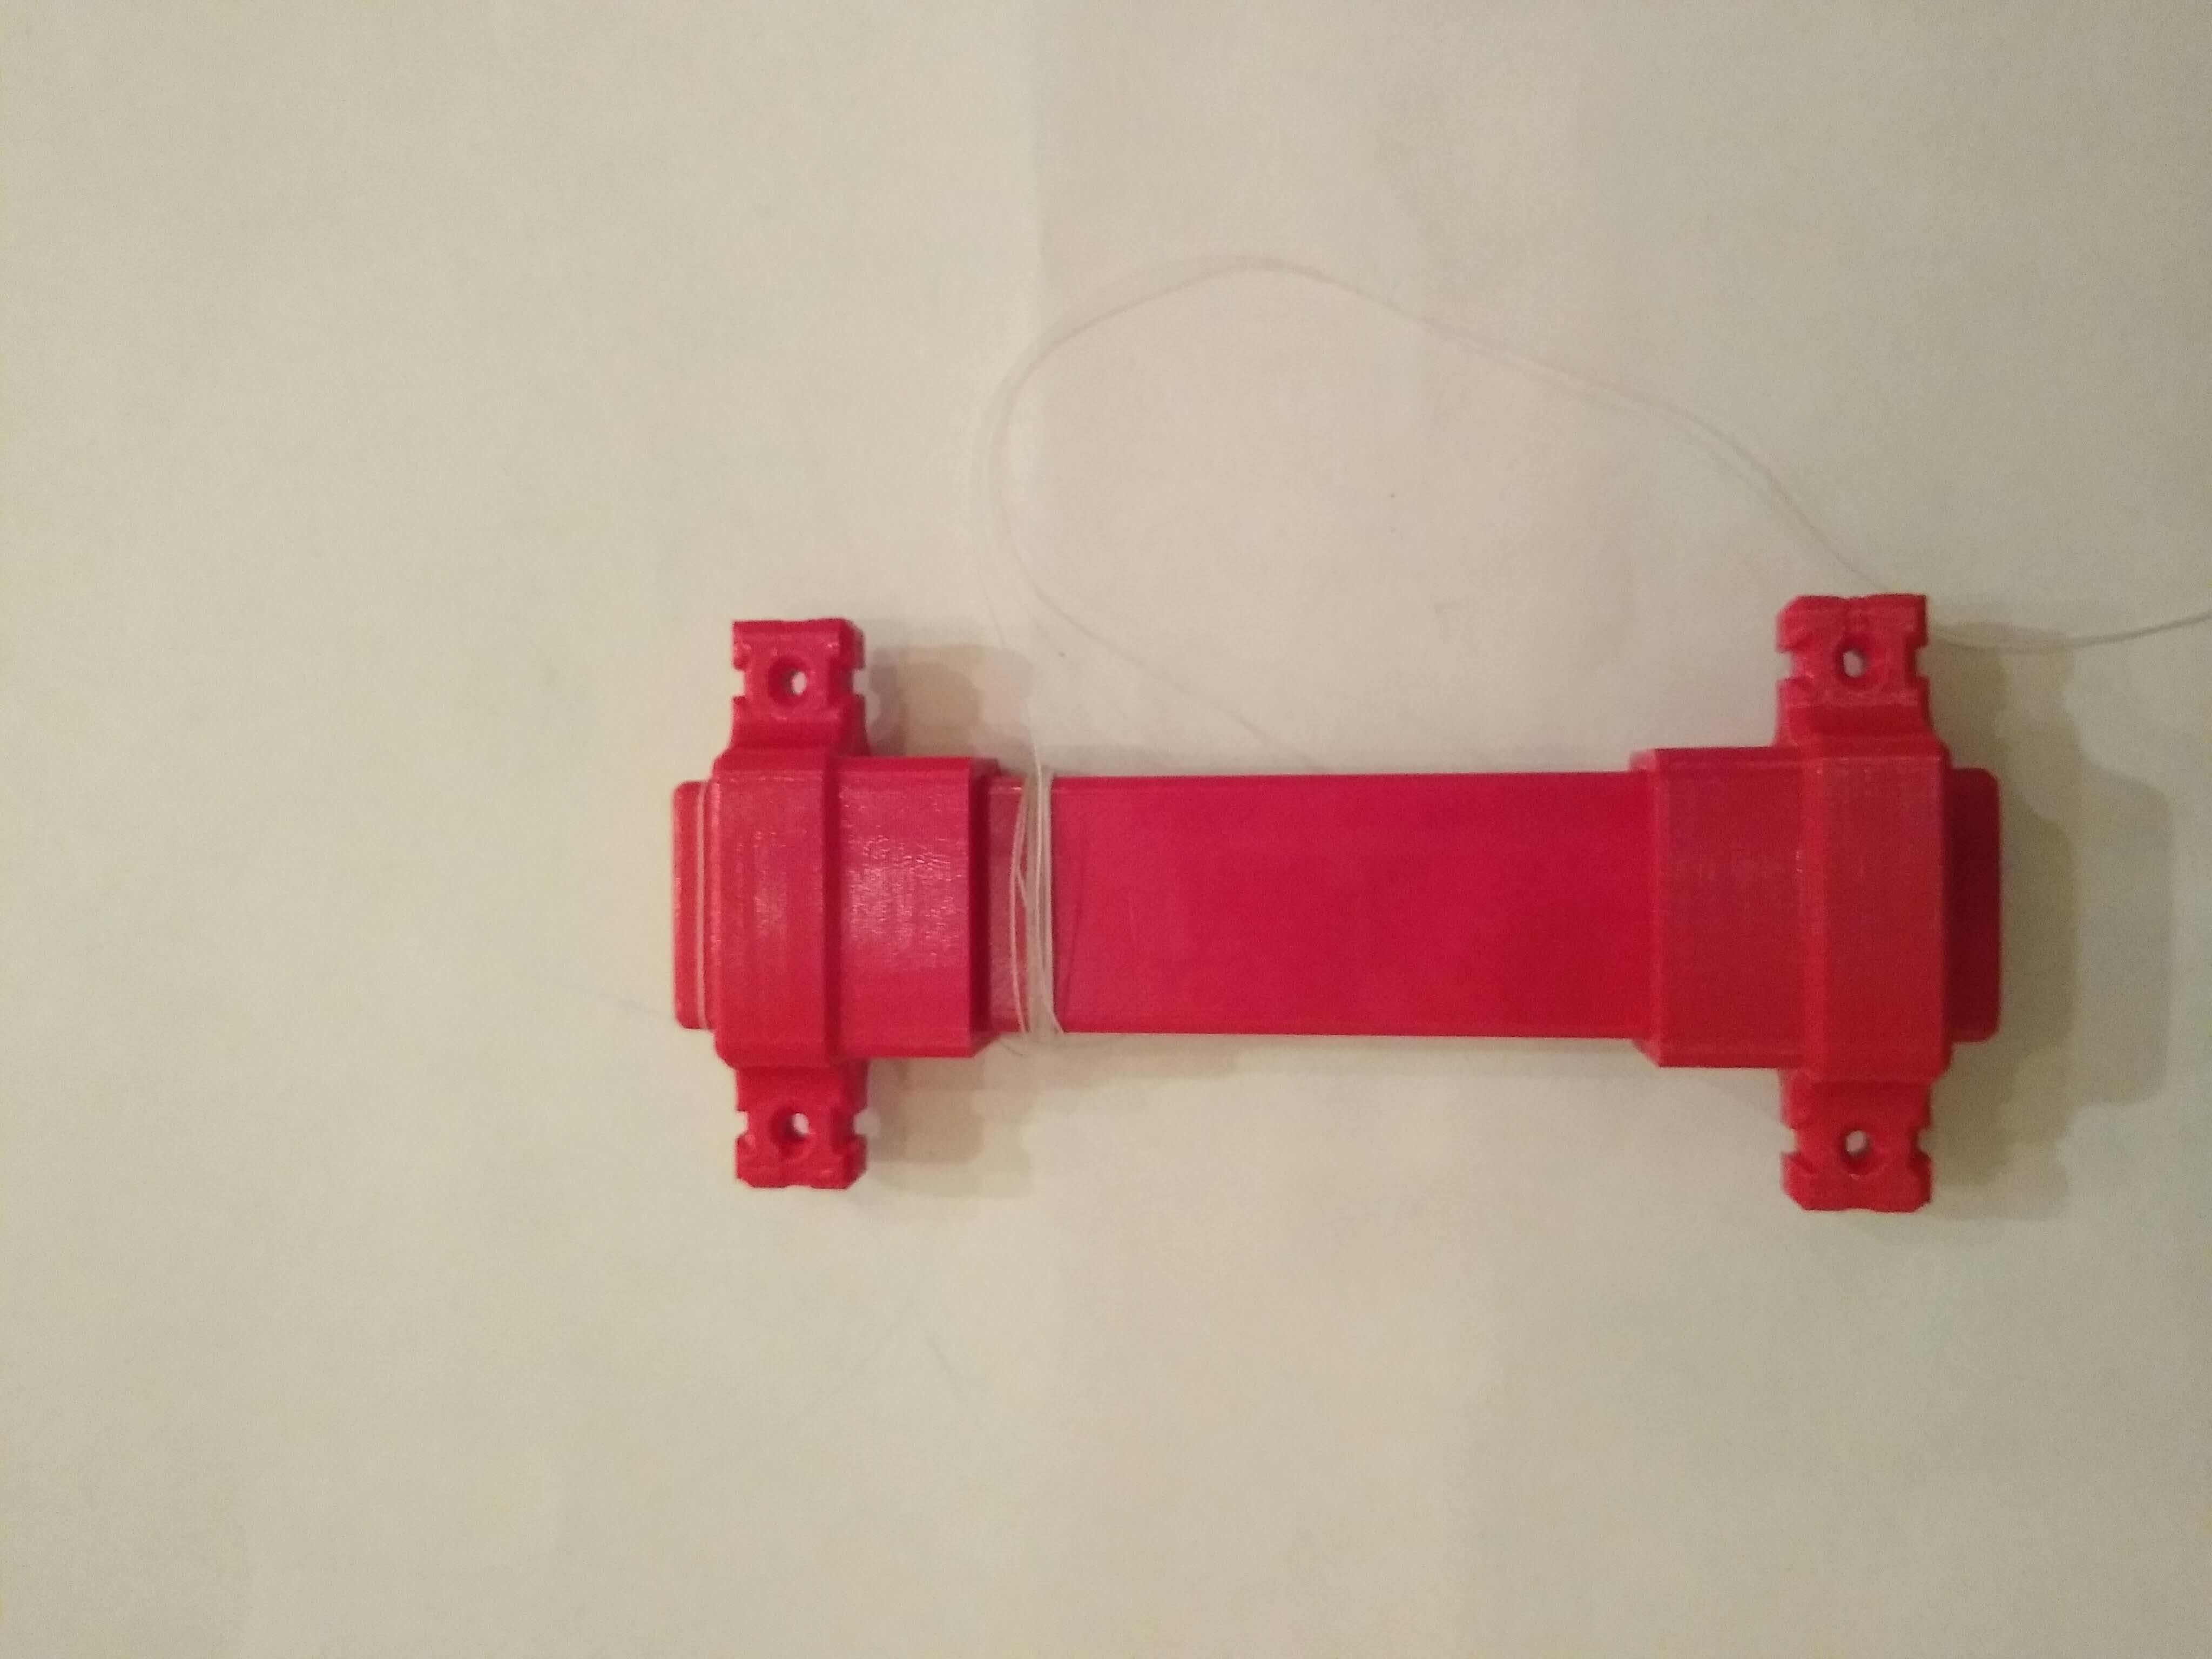
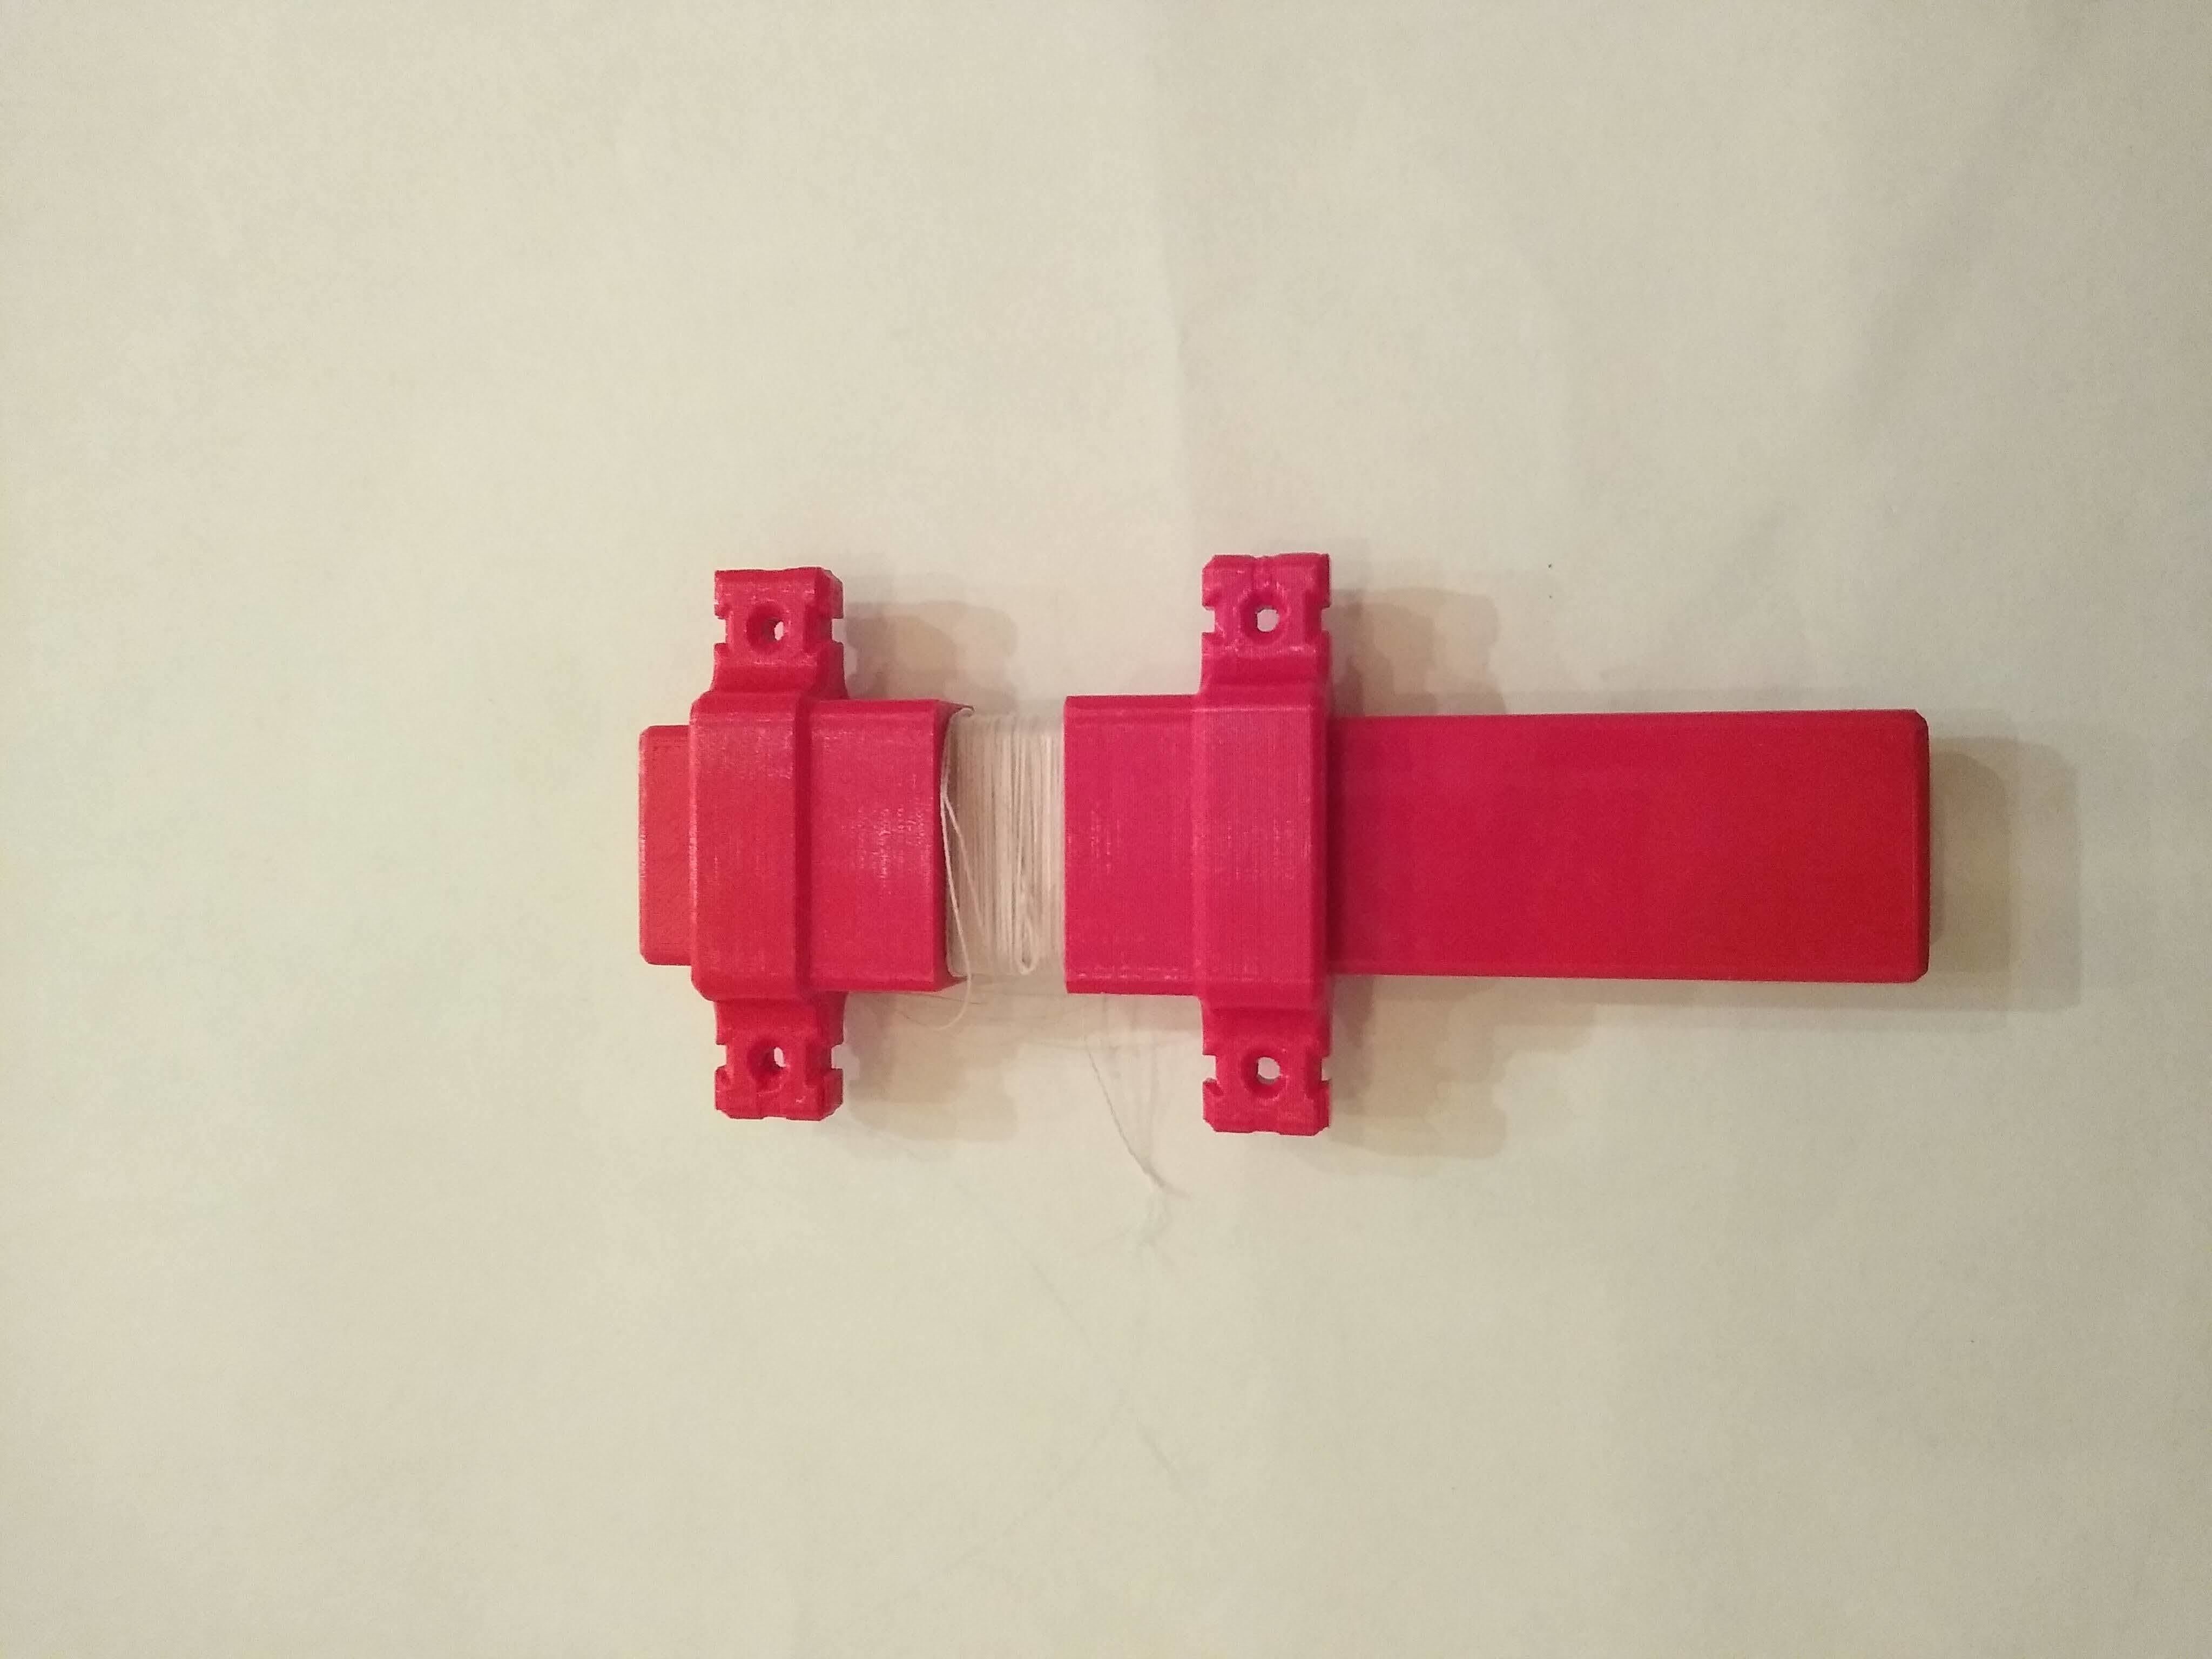
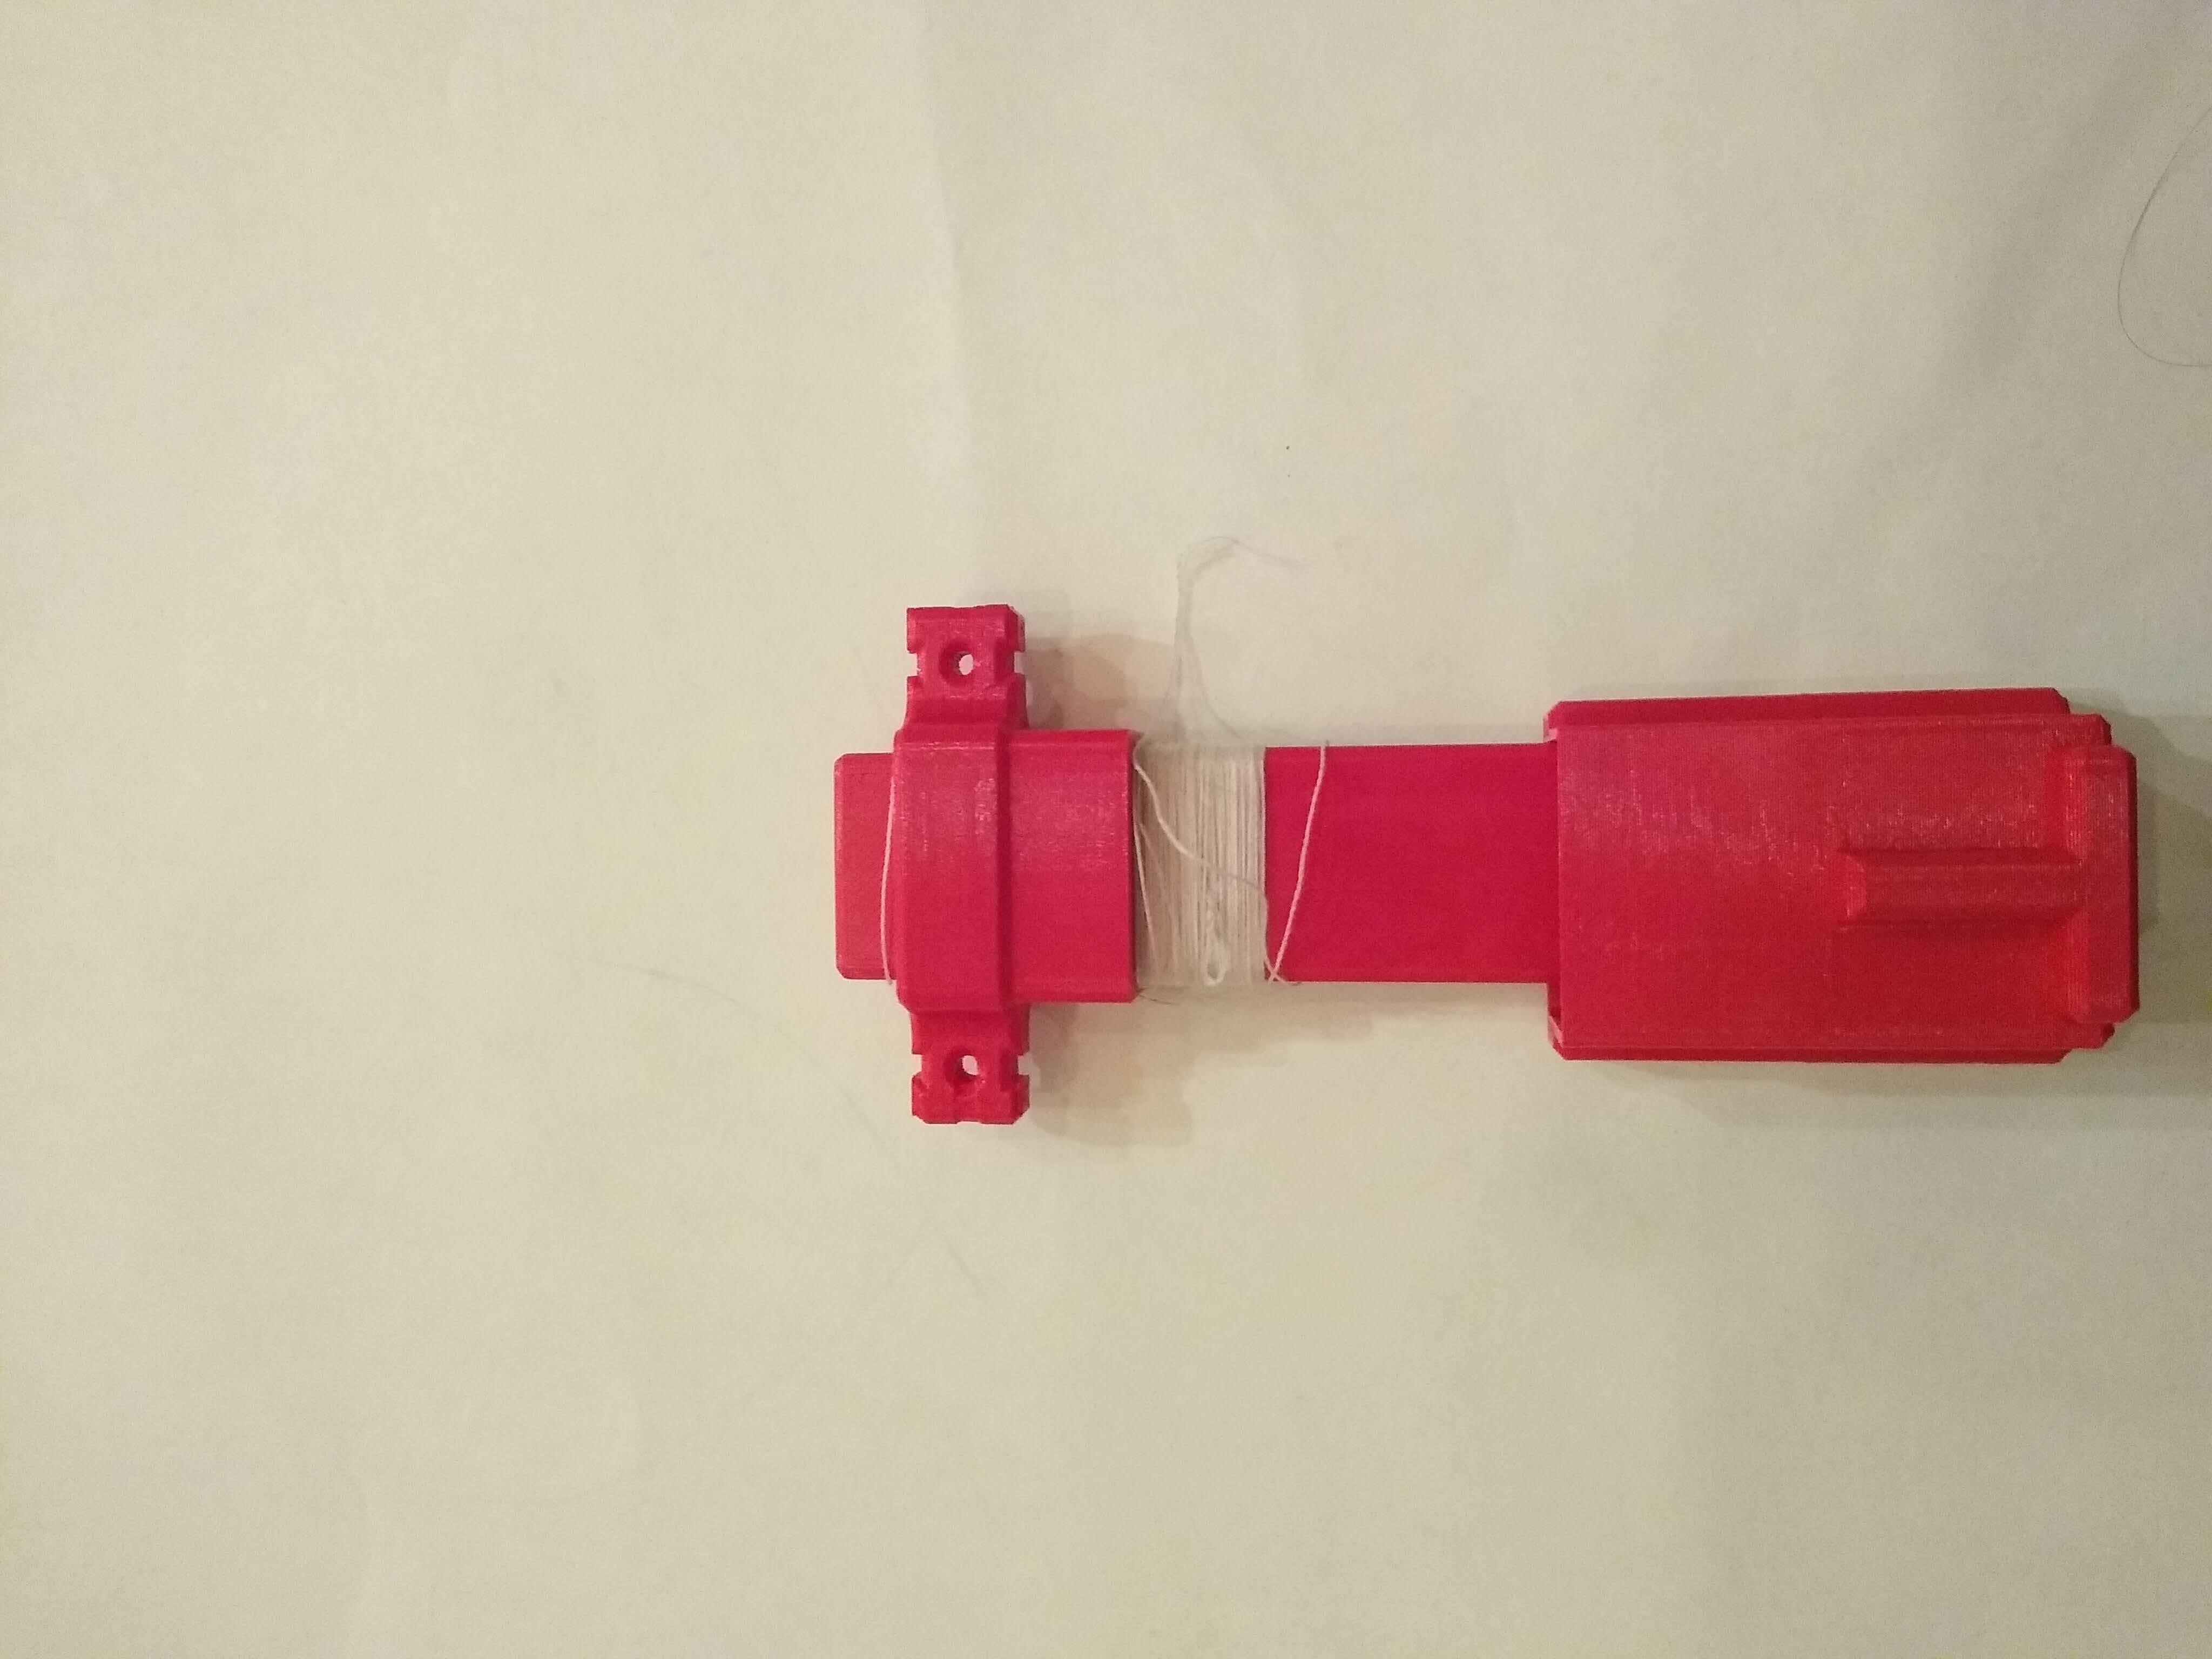
- Loading the web shooter
- First, make a slipknot on your thread and leave it hanging out
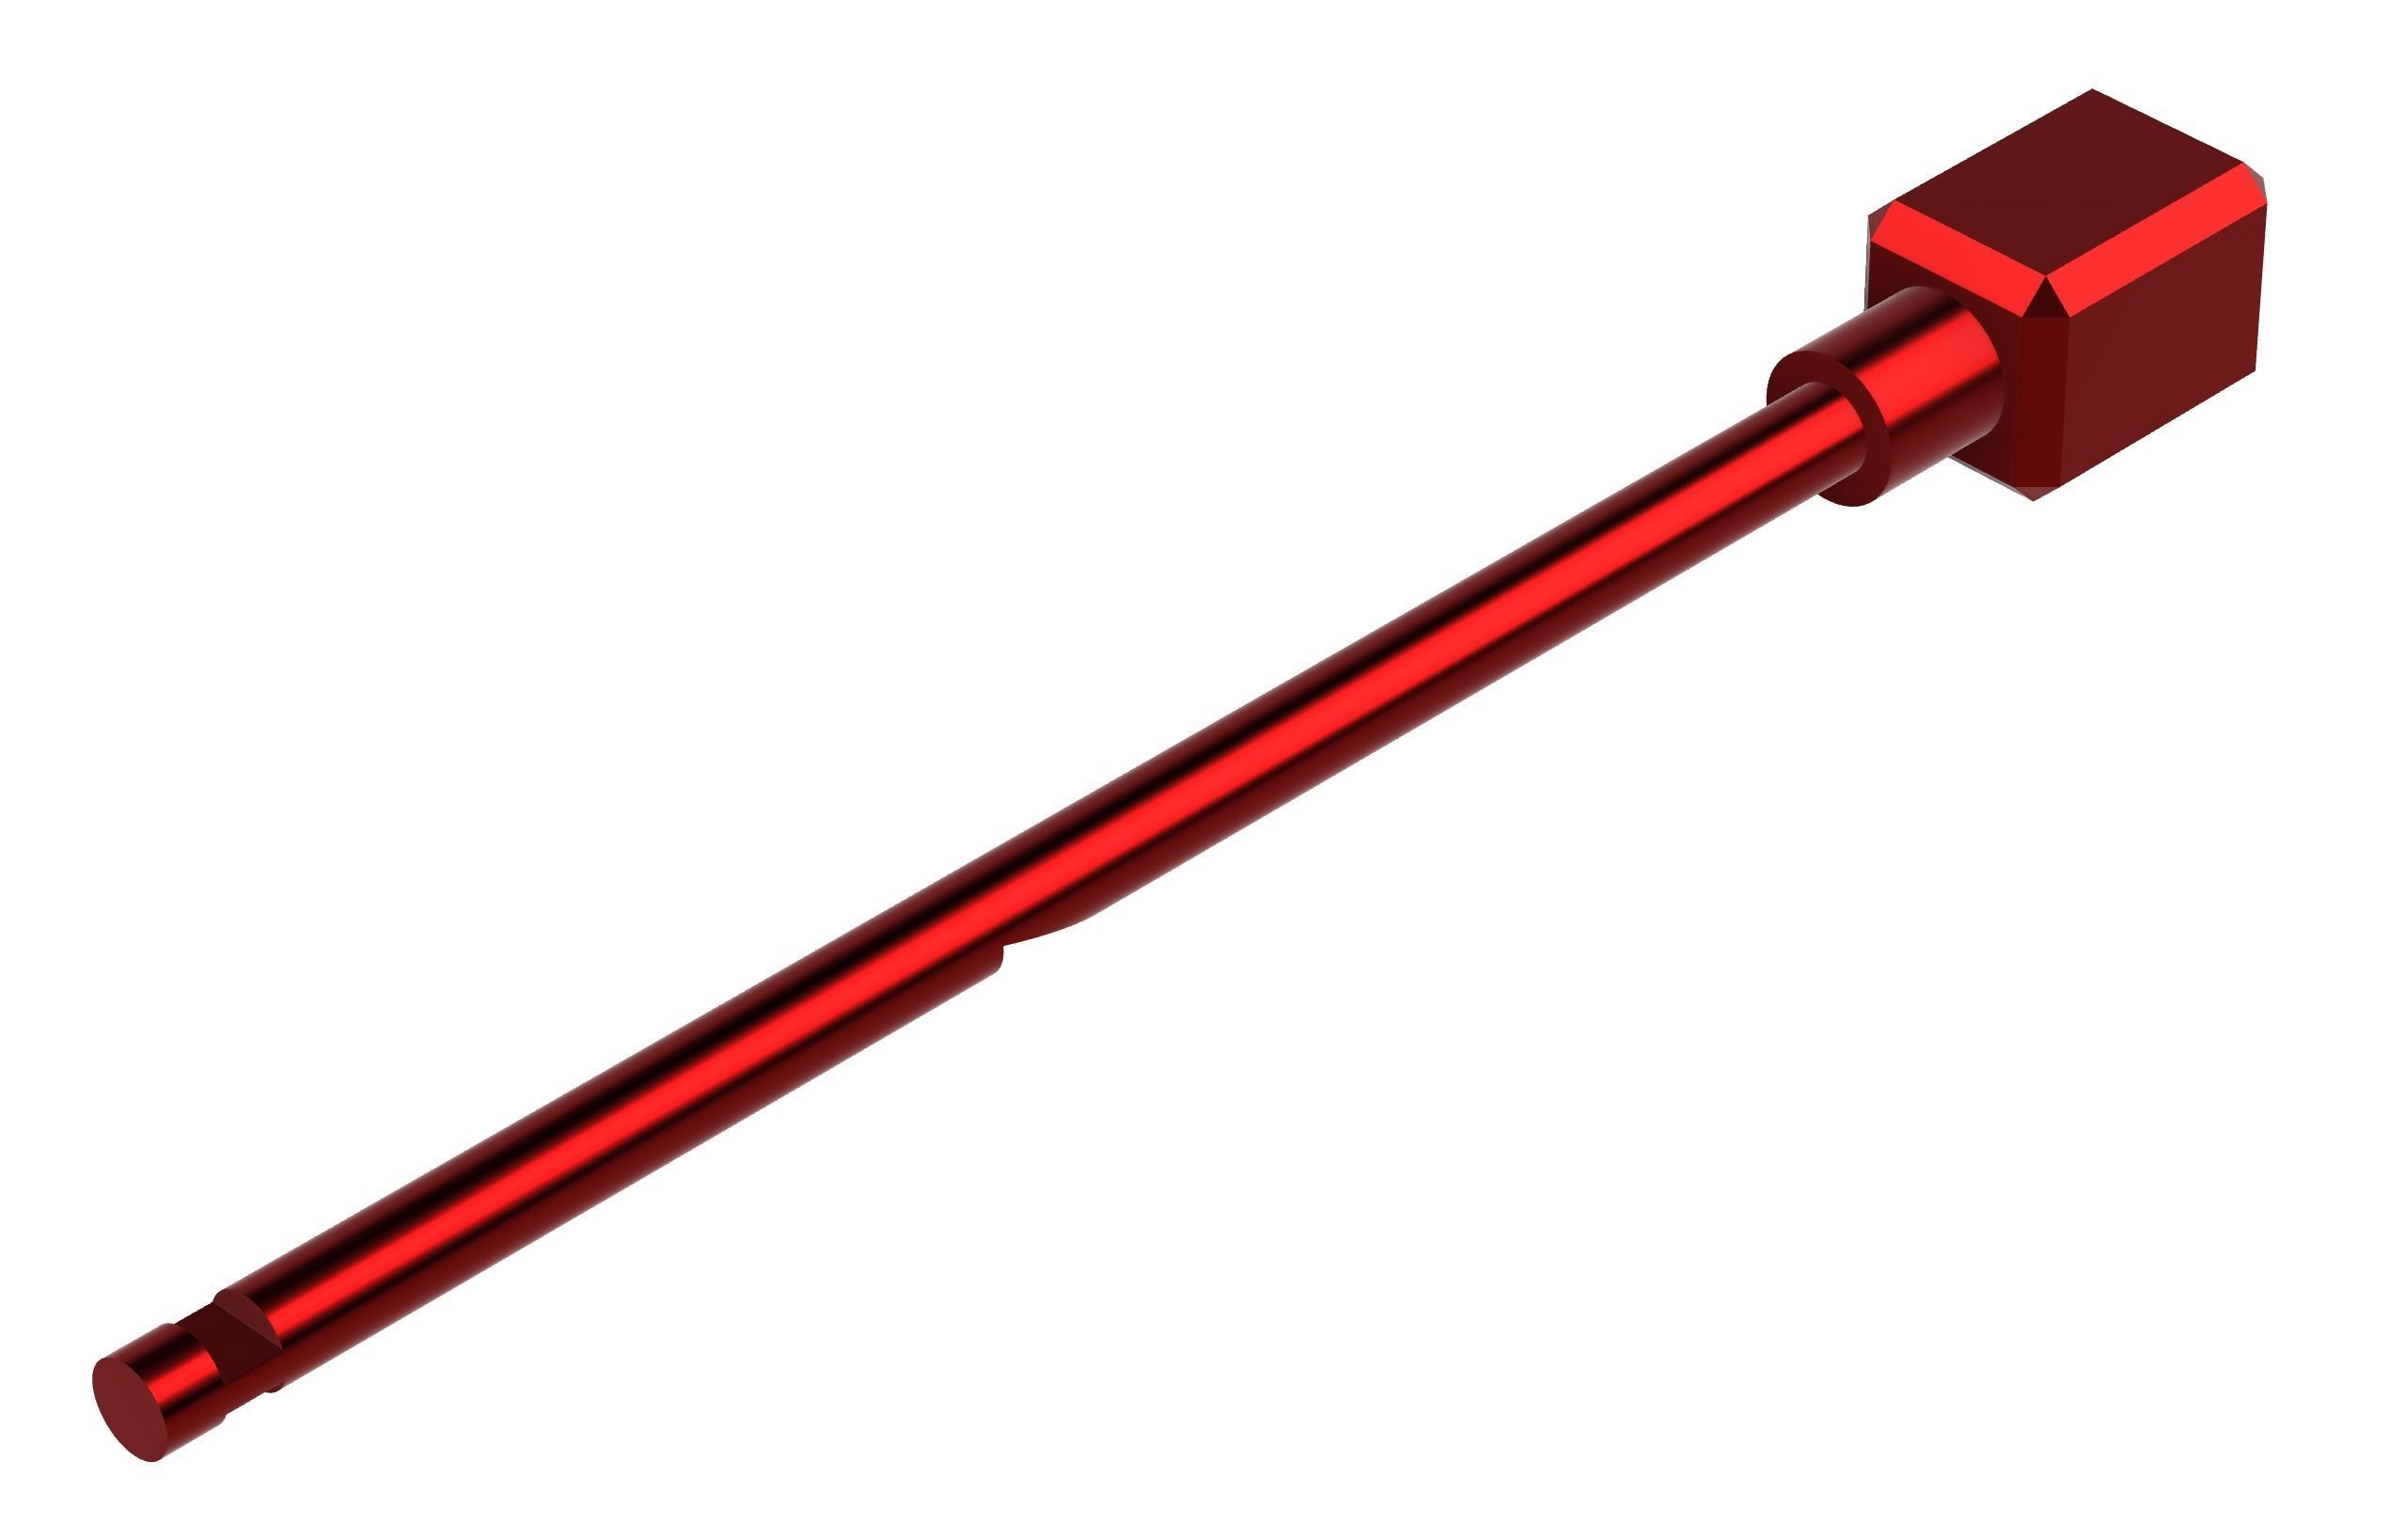
- Then wrap the string around the ramrod and use the loading pusher to squish it into a clump
- After that, place the bottom of the ram rod in a cartridge and use the loading pusher to ram the string into the cartridge (the loading pusher acts as a lid for the cartridge as well)
- Now push the dart into the hole in the front of the web shooter, ensuring it snaps into place
- Take the loading pusher/cartridge lid off the cartridge
- Place the cartridge into the spot for it in the body of the web shooter
- Attach the slipknot to the end of the dart
- Push any extra string back into the cartridge and snap it completely closed
Usage
To use this web shooter, simply strap it onto your wrist and use the trigger string to fire the dart. When you pull the trigger string forward, it in turn pulls the trigger block down, which fire is the dart.
Possible Problem
- Trigger problems
- If you have any trigger issues, your trigger spring is probably too long or too short, to fix this get a new one or shorten the one you already have.
- If you are having any other trigger issues, try shortening the distance that the finger stopper is attached, this will give you more leverage to pull the trigger.
- Increasing range
- If you want your dart to go further, stretch out the springs on the dart to give the dart more thrust.
If you enjoy this model, please leave a like and a comment. If you have any questions, concerns, or problems, please personally contact me.

3D Model formats
Format limitations
- 3D Manufacturing File (.3mf) (15 files)3.91 MB
- OBJ (.obj, .mtl) (15 files)7.57 MB
- Stereolithography (.stl) (15 files)11.1 MB
3D Model details
- Publish date2023-08-14
- Model ID#4705775
- Ready for 3D Printing
Similar Models

