3D model description
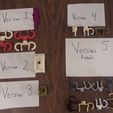
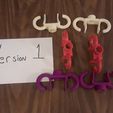
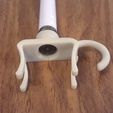
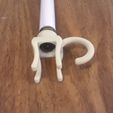
I originally came up with this idea in June of 2019 to hang decorations up on the gazebo at the Lion’s Park in Placerville, California for my 25th High School Reunion. Seeing as I am afraid of heights, and have never really trusted the rickety aluminum style ladders, I wanted a different solution. I wanted something that would not harm the structure. I also wanted it to be simple to install and remove. It had to be able to be screwed onto an ordinary broom/mop handle as well as a paint roller extension (which allow them to be placed in very high spots). I printed up six of the original version 1 files so the streamer could be attached to the four corners and two in the middle held the streamers along with balloons and a paper ball decoration.
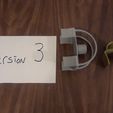
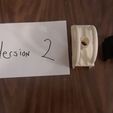
In versions 2 and 3 I was trying out a closed loop system, but found it rather difficult to pass things through it. For example, they were very difficult to pull Christmas lights or tinsel garland through them. (A note about using Christmas lights and these: make sure that the bulbs do not touch the 3D printed SafeThangRs. Depending on the type of lights they can produce enough heat to melt them.)
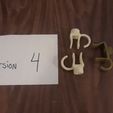
Version 4’s hooks were slimmed down in order to allow them to pass through standard grommets that are used on things like flags and banners. (Wind may become an issue. I do not have the equipment or resources to do proper wind-tunnel testing to give you a wind speed rating before failure. I would suggest that if the winds are above 15-20 MPH it would be a good idea to take them down if you are using them to hold something like a flag or banner.)
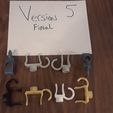
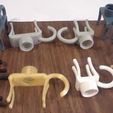
Version 5 was a small revision just to reduce the necessary amount of material. There two basic sizes of the SafeThangR: the standard one is to use on 2” by (whatever: 2x4”, 2x6”, 2x8”…) and one for 5/8 inch wide boards (mostly used as trim). For those of you that are outside the US that means they will fit at least 38 mm and at least 17 mm wide (they need to be slightly bigger than these to create the flex/clamping force). I was trying to see if I could find an international timber standard in metric, but it looks like each country or region has its own set of sizes. If you need other sizes, please let me know through Cult’s comments/messages and I will try to work on adding those.
I would also suggest moving these every few weeks. I can’t really speak to how they might work in a prolonged use situation. While they are non-destructive normally, they do create some clamping force onto your wood and could also damage the paint if left in one spot for too long.
By purchasing you are given the right to produce as many as you need. You are not given permission to re-sell these or use them in any other commercial manner. (Please contact me and we can try to come up with a contract if you wish to re-sell the physical items.)
YouTube Video:
https://youtu.be/A2n9l5xj6r8
3D printing settings
FDM Printing: I would suggest printing these at 0.2 mm layer height, at least 50% infill (solid would be strongest), and with supports. I also used an 8 mm brim on all prints. I would suggest printing them in ABS or PETG if you want longevity. PLA may work, but you may end up needing to re-print them occasionally.
DLP/SLA printing: I printed the two version 5 SafeThangRs in a grey ABS-Like resin at 0.05 mm layer height and with 15 seconds per layer exposure time. I would suggest staying away from white unless you are sure that it will not yellow.

/https://fbi.cults3d.com/uploaders/17008160/illustration-file/dd1d373e-cedc-4258-ae18-bec0e58dea3a/20210727_101803.jpg)
