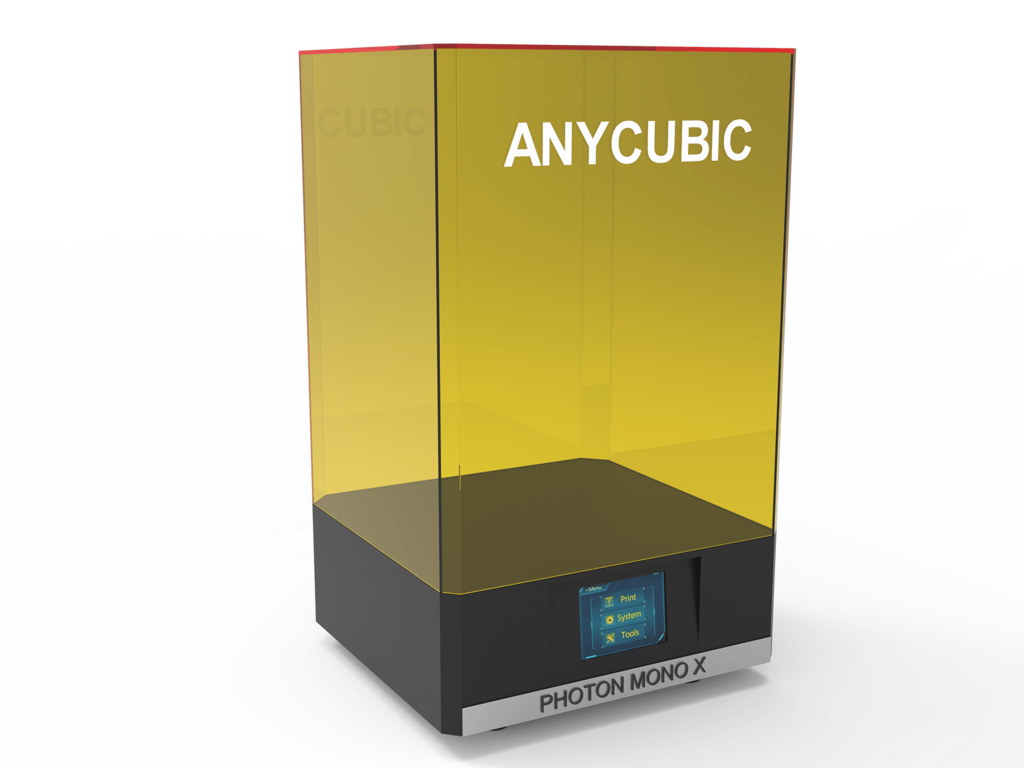
Filter system for Anycubic Mono X
Introduction
3D resin printers release particles called VOCs (Volatile Organic Compounds). In addition to their unpleasant odor, these particles are harmful to health.
Some of these particles can be filtered with expensive elements such as activated carbon and HEPA air filters.
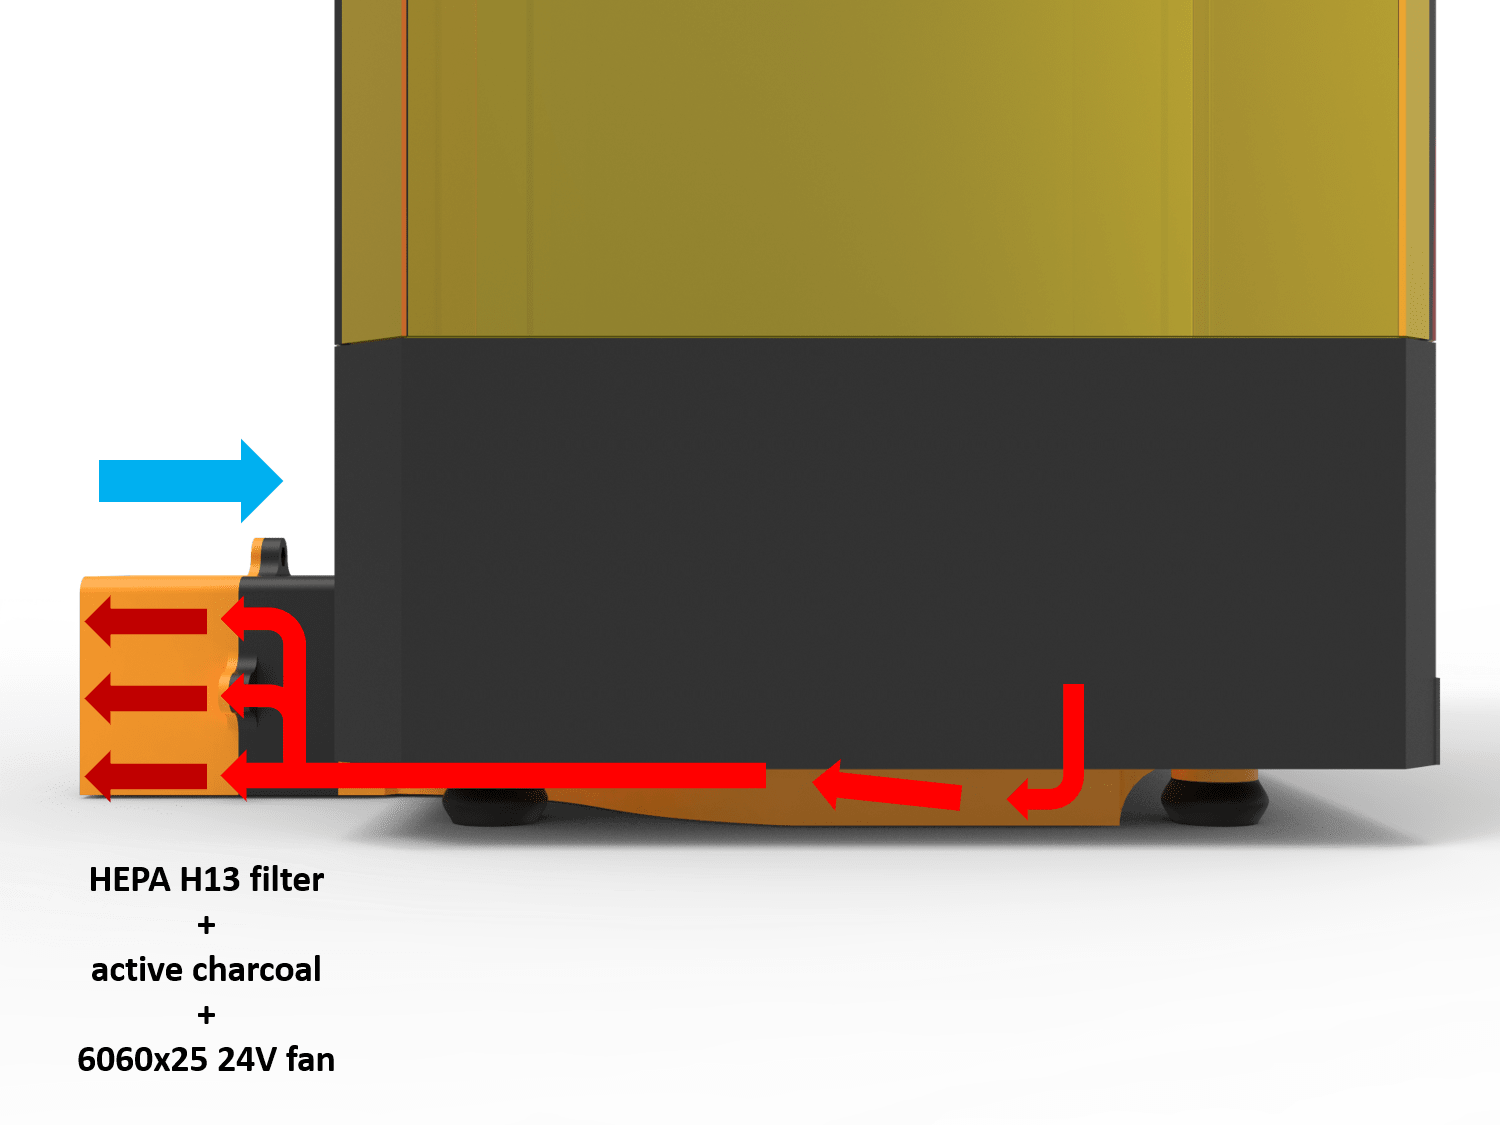
On this printer, the polluted air is normally extracted from the bottom, not being able to install a filtration system there, the air is led to the back of the printer, where it can be cleaned.
Composition of the system
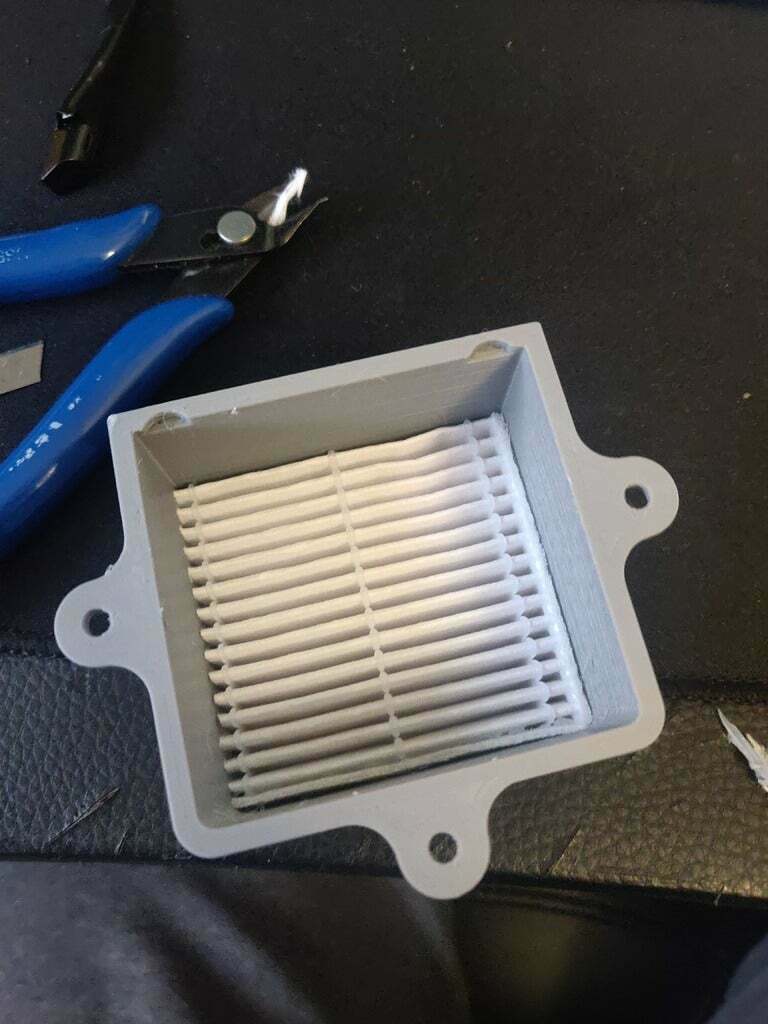
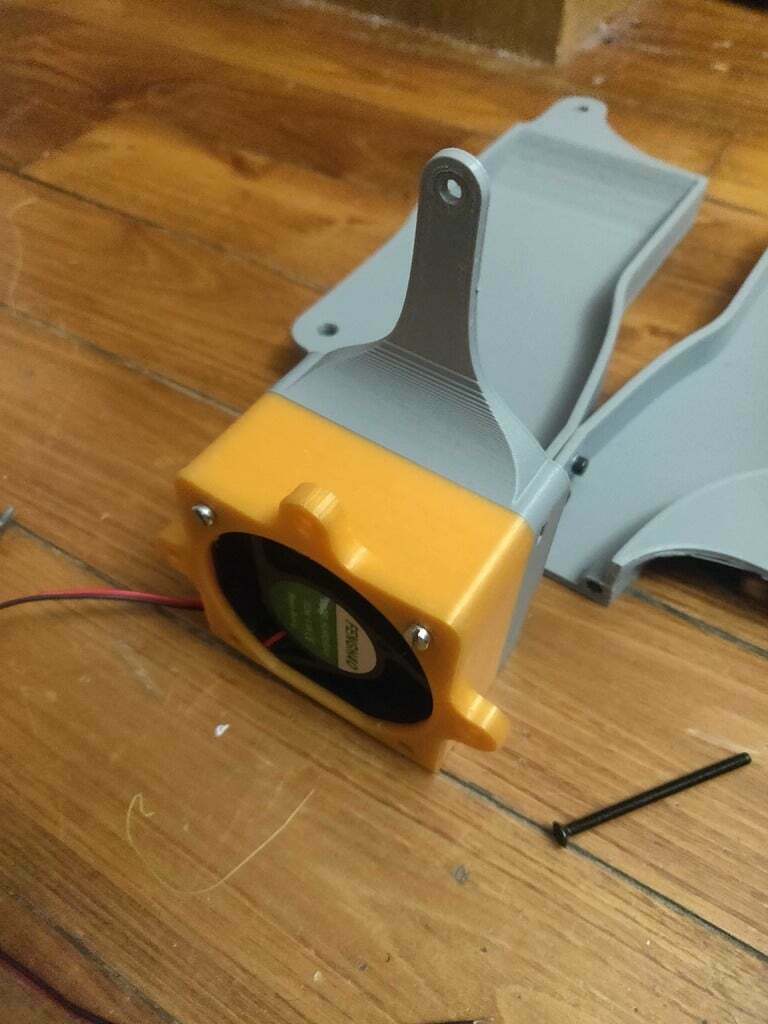
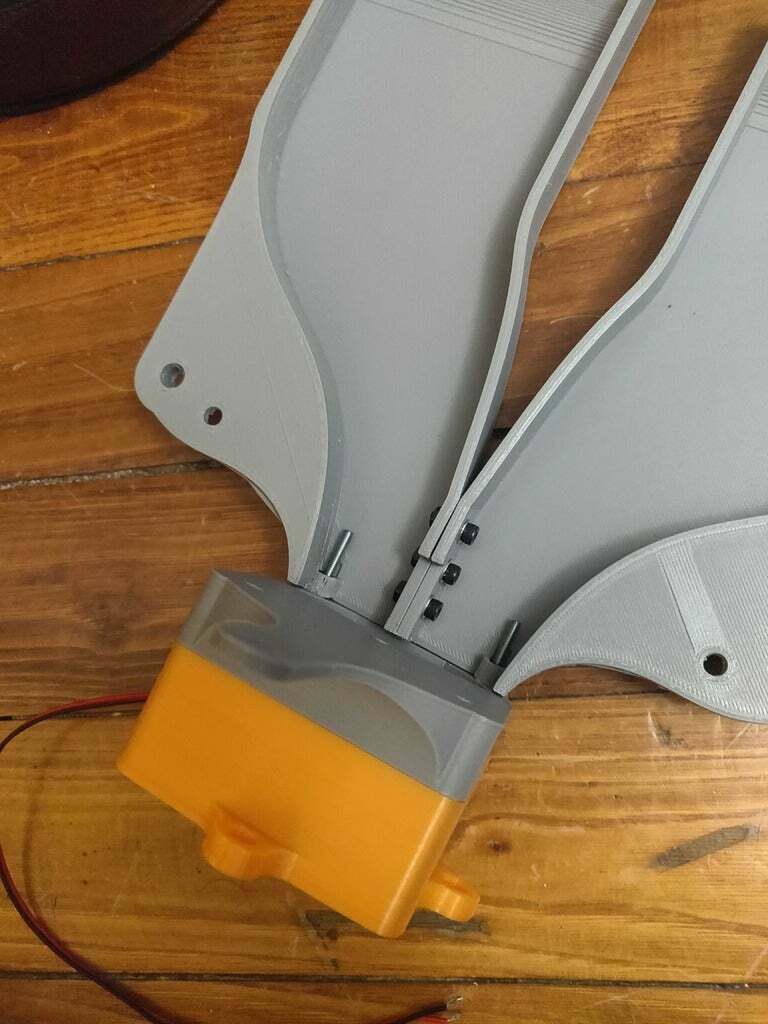
The filtration system consists of a HEPA H13 filter and activated carbon (in the form of capsules or foam). To facilitate the air outlet, a fan (60 x 60 x 25mm of 24V) is installed next to the filter elements.
Not wishing to disassemble the printer, and even less to change the direction of rotation of the cooling fans of the LCD screen, I wanted to model a filtration system requiring no modification of the printer. The power supply of the fan is carried out by ACDC converter.
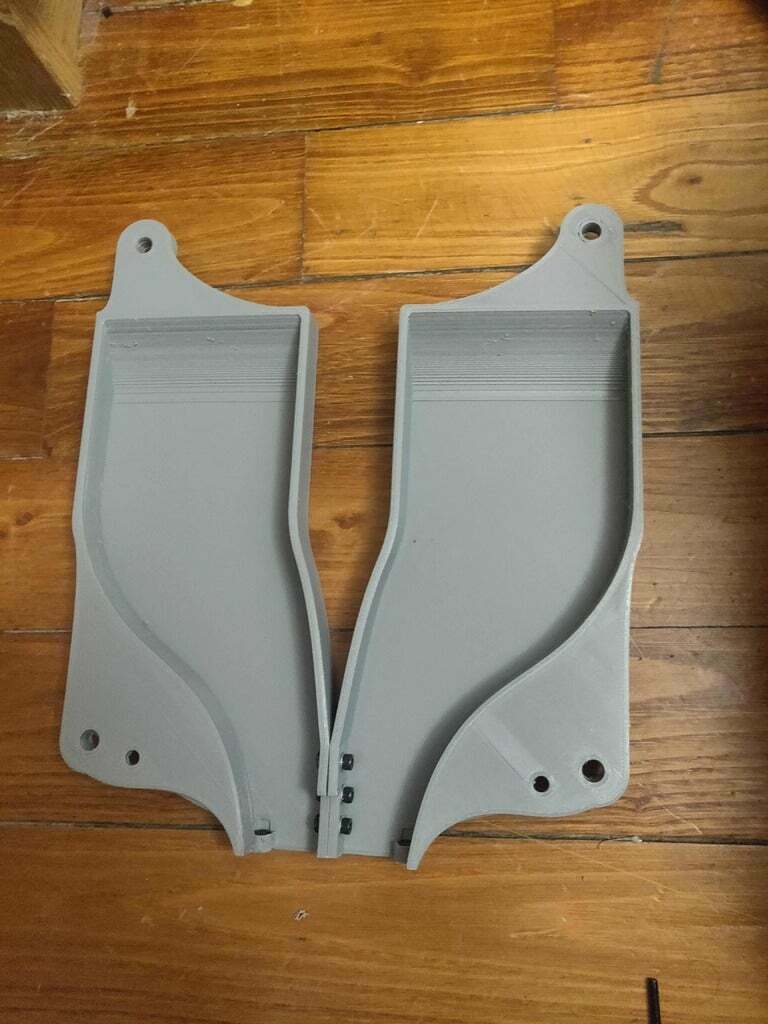
In addition to the STLs, all the design files are provided, in case you would like to make some modifications or if you have any doubts about the installation.
For the assembly, you only need M3 screws and nuts:
- 4* M3 x 8mm : link
- 2 * M3 x 35mm : link
- 2 * M3 x 50mm : link
Filtration: HEPA filter H13 + Activated carbon foam/capsules
HEPA filter H13 (take the "color" 1Pcs black filter)
link
Activated carbon foam: I have not tried this method, but it seems less restrictive (less opposition to air than with capsules, no need to print the carbon capsule holder) :
link
Carbon capsules if the foam option does not suit you (100g is enough):
link
Airflow
*Optional *
The whole suite is optional and concerns the DCDC box for the fan:
DCDC to 24V converter box with switch and LEDs
This is optional, I didn't have a 24V ACDC power supply, so I used a 12V ACDC power supply with a DCDC converter XL6019 set to 24V). If you don't need the voltage conversion (power supply and fan to 24V or both to 12V) you can still use the box for the switch and the indicative LED, otherwise you just have to connect your fan directly to the ACDC power supply.
DCDC converter XL6019 :
link
2.1 male jack connector :
link
2.1 female jack connector :
link
Système de filtration pour Anycubic Mono X
Introduction
Les imprimantes 3D résine libèrent des particules appelées VOC (Composé organique volatil). En plus de leur odeur désagréable, ces particules sont nocives pour la santé.
Une partie de ces particules peuvent être filtrées avec des éléments peux couteux comme du charbon actif et un filtre à air HEPA.
Sur cette imprimante, l’air pollué est normalement extrait par le bas, ne pouvant installer un système de filtration à cet endroit, on conduit l’air à l’arrière de l’imprimante, ou il pourra être dépolluer.
Composition du système
Le système de filtration se compose d’un filtre HEPA H13 et de charbon actif (sous forme de gélules ou de mousse). Pour faciliter la sortie d’air, un ventilateur (60 x 60 x 25mm de 24V) est installé à côté des éléments filtrants.
Ne souhaitant pas démonter l’imprimante, et encore moins changer le sens de rotation des ventilateurs de refroidissement de l’écran LCD, j’ai souhaité modéliser un système de filtration ne demandant aucune modification de l’imprimante. L’alimention du ventilateur est effectuée par convertisseur ACDC.
En plus des STLs, tous les fichiers de conception sont fournis, au cas ou vous souhaiteriez effectuer quelques modifications ou si vous avez des doutes sur le montage.
Pour l’assemblage, vous avez simplement besoin de vis et écrou M3 :
- 4* M3 x 8mm : lien
- 2 * M3 x 35mm : lien
- 2 * M3 x 50mm : lien
Filtration : Filtre HEPA H13 + Mousse/gélules au charbon actif
Filtre HEPA H13 (prendre 1Pcs black filter) :
lien
Mousse au charbon actif : je n’ai pas essayé cette méthode, mais elle semble moins contraignante (moins grande opposition à l’air qu’avec les gélules, plus besoin d’imprimer le support de gélules de charbon) :
lien
Gélules de charbon si l’option de la mousse ne vous convient pas (100g est suffisant):
lien
Ventilation
Optionnel
Toute la suite est optionnelle et concerne le boitier DCDC pour le ventilateur :
Boitier convertisseur DCDC vers 24V avec interrupteur et LED
Ceci est optionnel, je ne disposais pas d’alimentation 24V ACDC, j’ai donc utilisé une alimentation ACDC 12V avec un convertisseur DCDC XL6019 réglé sur 24V). Si vous n’avez pas besoin de la conversion de tension (alimentation et ventilateur en 24V ou les deux en 12V) vous pouvez toujours utiliser le boitier pour l’interrupteur et la LED indicative, sinon, il vous suffira de brancher votre ventilateur directement sur l’alimentation ACDC.
Convertisseur DCDC XL6019 :
lien
Connecteur jack 2.1 male :
lien
Connecteur jack 2.1 femelle :
lien
:format(webp)/https://fbi.cults3d.com/uploaders/16349720/illustration-file/5fcf9d65-e66f-41a1-96ea-d04ea542b5d1/-monoxiso.23-min.png)


/https://preview3d-images.cults3d.com/variants/bhemh0yn38utxyyuijm5ad2bjjmk/9ce1a1278a90847fe525f7bdea66ae6081035e320afa813bf6efbbbe4c5d9f85)
/https://preview3d-images.cults3d.com/variants/kmhatl9mnbbsgymvc1dwh2uzjebc/9ce1a1278a90847fe525f7bdea66ae6081035e320afa813bf6efbbbe4c5d9f85)
/https://preview3d-images.cults3d.com/variants/x1bgq8kr59m41froc3farvlnrdo5/9ce1a1278a90847fe525f7bdea66ae6081035e320afa813bf6efbbbe4c5d9f85)
/https://preview3d-images.cults3d.com/variants/255bgfn6en6oh96t6acmu0eo9gpa/9ce1a1278a90847fe525f7bdea66ae6081035e320afa813bf6efbbbe4c5d9f85)
/https://preview3d-images.cults3d.com/variants/yp9sxpuo0x4ekbld16c8tejj5i60/9ce1a1278a90847fe525f7bdea66ae6081035e320afa813bf6efbbbe4c5d9f85)
/https://preview3d-images.cults3d.com/variants/uwcsc0sf5em316eridvo84ffd9e6/9ce1a1278a90847fe525f7bdea66ae6081035e320afa813bf6efbbbe4c5d9f85)
/https://preview3d-images.cults3d.com/variants/2dqkeu4eiygpvjdite5bq4sc3c0f/9ce1a1278a90847fe525f7bdea66ae6081035e320afa813bf6efbbbe4c5d9f85)


