Prusa MK3 Pen Plotter


Prusa MK3 Pen Plotter
Published 2018-12-25T04:50:32+00:00
Prusa MK3 Pen Plotter
This submission is part of the Pimp my original Prusa design competition.
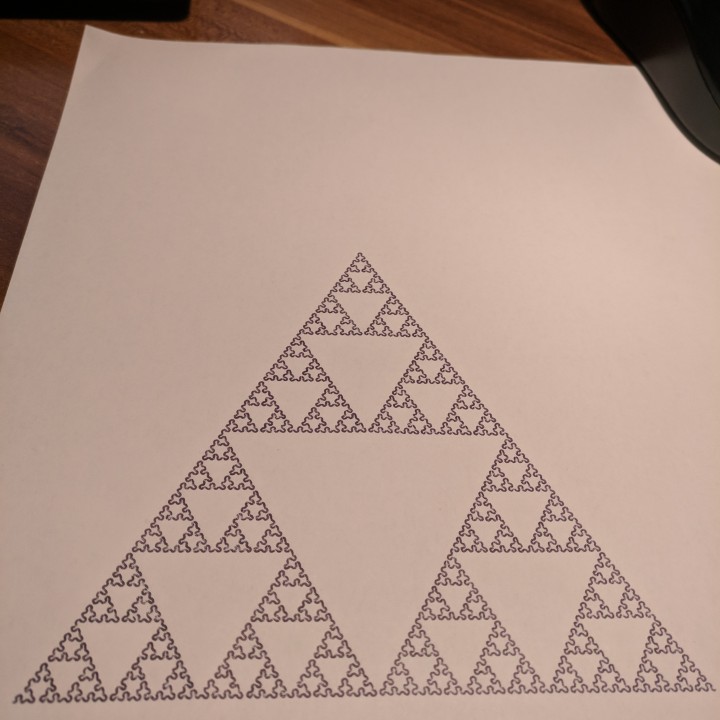
For Christmas, I have decided to automate the tedious task of writing holiday cards. With a pen plotter, such as the AxiDraw machine ranging between $475 and $800, I decided that my Prusa can do just the same.
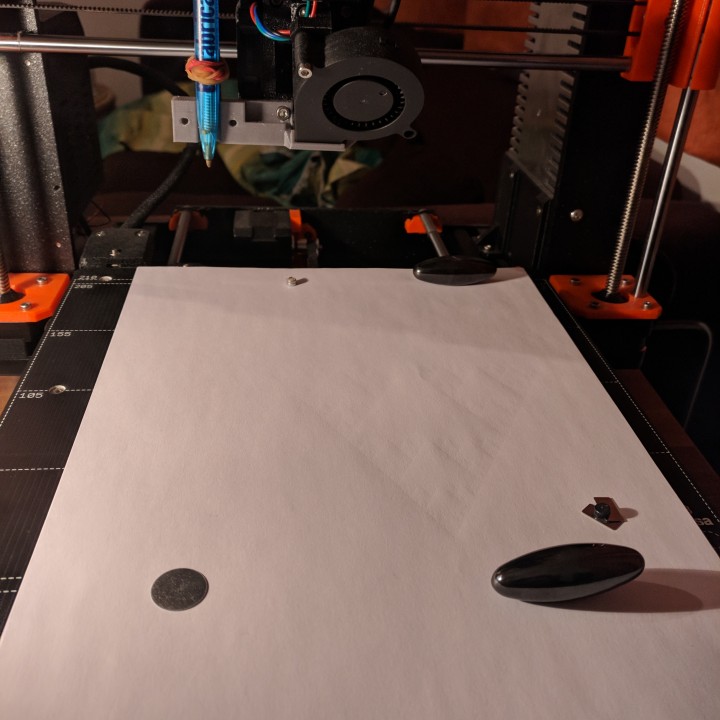
The purpose of this mod was to be able to use the Prusa as both, an FDM printer and a pen plotter without making major changes to your printer or when switching between the 2 printing modes
Modfication
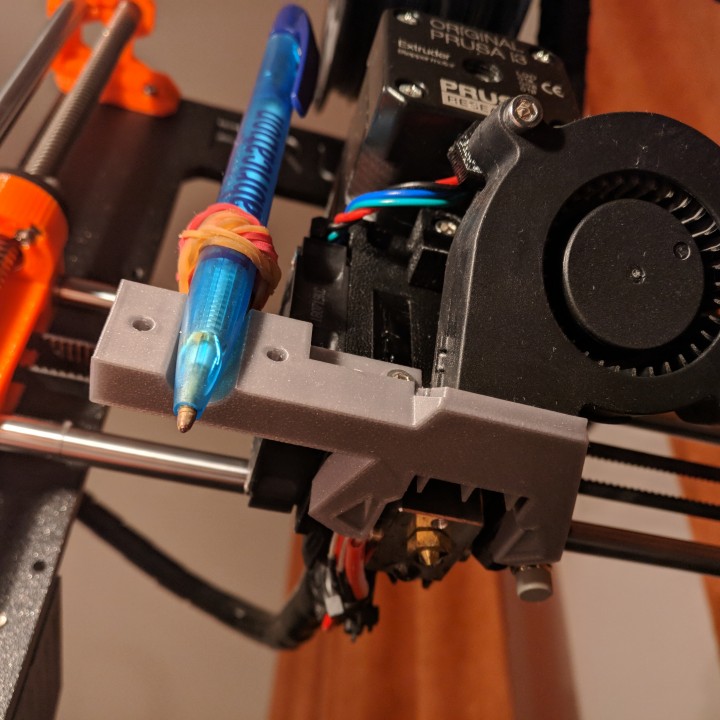
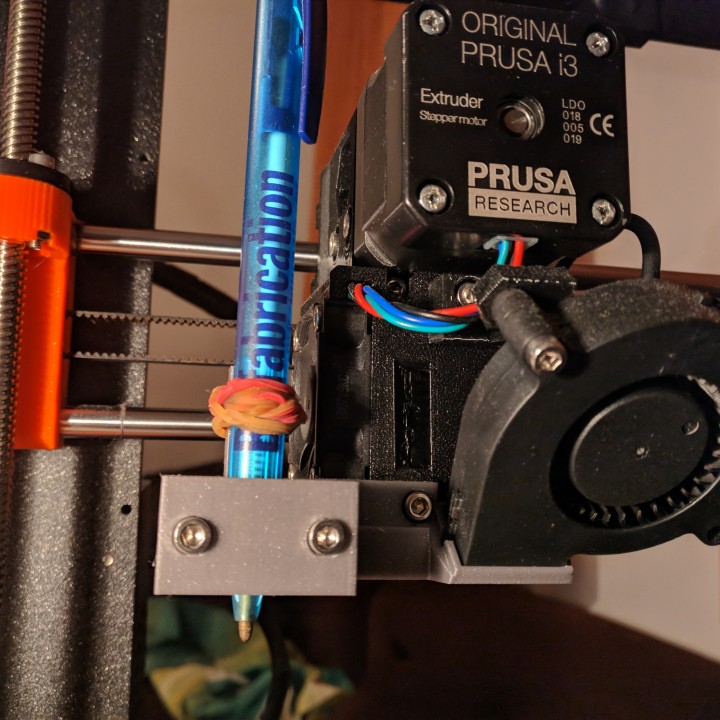
Fort his mod, the nozzle fan plate was modified based on the latest revision (R3/B7) of the extruder parts offered on the Prusa website.
This way, only a single screw must be unscrewed to fit the new part. The location won’t interfere when switching printing modes while still providing enough mechanical stability to hold the pen.
Remarks
The smaller part holds the pen in place with 2 M3 screws and nuts. However, I have found that 2-3 rubber bands work just as well. Especially at the beginning, you might want to use these instead to avoid damaging crashes between the pen and the print bed until you familiarize yourself with the setup.
How to use your new plotter
- Open Inkscape and set the document size to 210 x 210 mm (File > Document properties)
- Drag your image into Inkscape and choose Path > Object to Path (or Stroke to Path depending on your initial image)
- Go to Extensions > Gcodetools > Path to Gcode…
- Under Preferences, set your file name (e.g. test.gcode) and set a path. Then go back to the first tab and click apply
- Turn on your printer, start Repetier-Host and click on Connect (Prusa will reboot)
- Remove the PEI sheet, place several sheets of paper on the printing area and fix them with magnets.
- In the manual control tab, send the G-code “G28 W” to home your printer
- Use the jog controls to slowly bring the Z-height down and move in X/Y until you see some pencil marks on the paper. Then send “G92 Z0” to set this as your new Z home position.
- Move the printhead to the bottom left corner and send “G92 X0 Y0” to set your new X/Y home position.
- Remove the top sheet of paper, load your Gcode file into Repetier-Host and "print" it!
Image sources
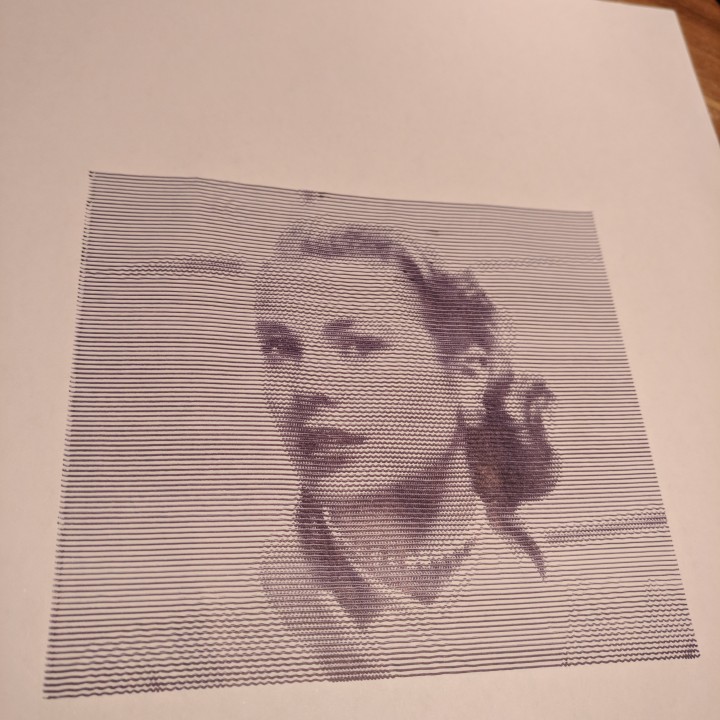
AxiDraw provides some examples which work flawlessly using the method described above. In their Wiki, they describe how to use StippleGen or TSP art to recreate some of their examples.
When using this approach with text, Hershey fonts or other single-stroke fonts are well-suited. For a font based on your handwriting, check out Calligraphr.
Other stand-alone and open-source possibilities to generate Gcode exist too, such as 3DWriter and hf2gcode.
Happy Drawing :)


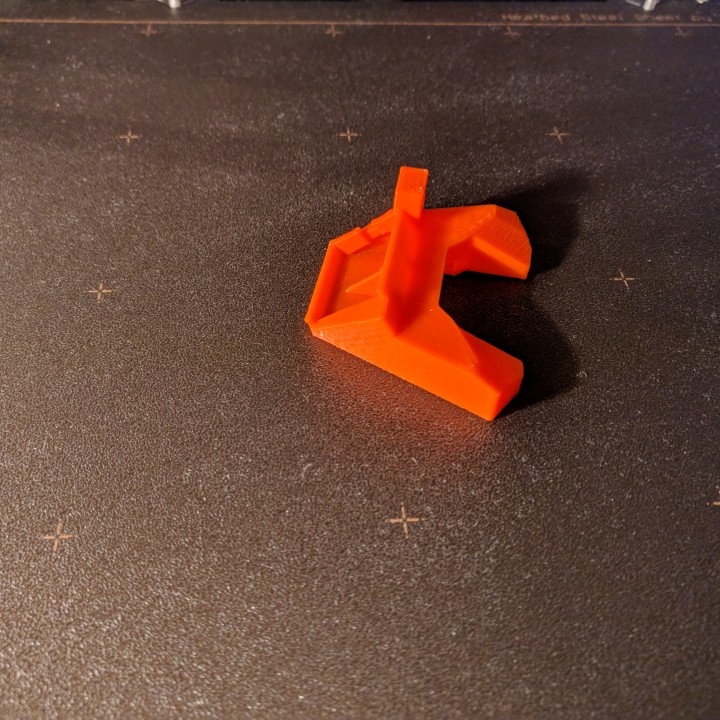
The parts were printed at 0.15 mm layer height, 20% infill and without supports.
| Date published | 25/12/2018 |
| Time to do | - 110 minutes |
| Material Quantity | 14 grams |
| Dimensions | 80x10x40 mm |
| Support Free | YES |