Flower Iris Box V2


Flower Iris Box V2
Published 2018-08-15T16:28:25+00:00
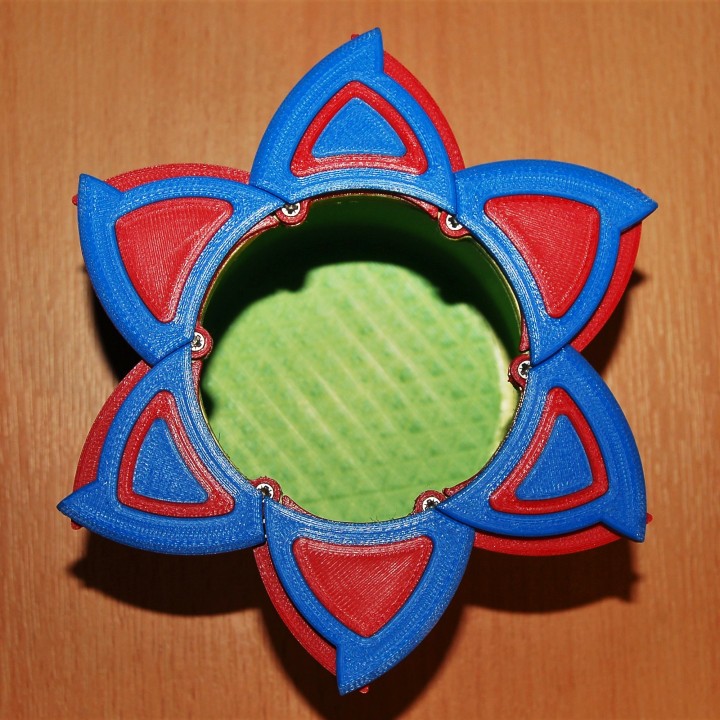
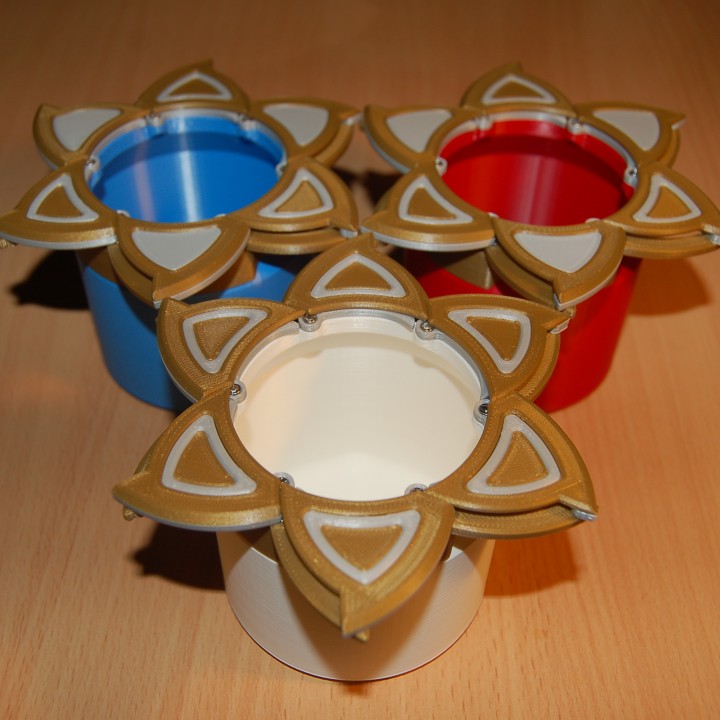
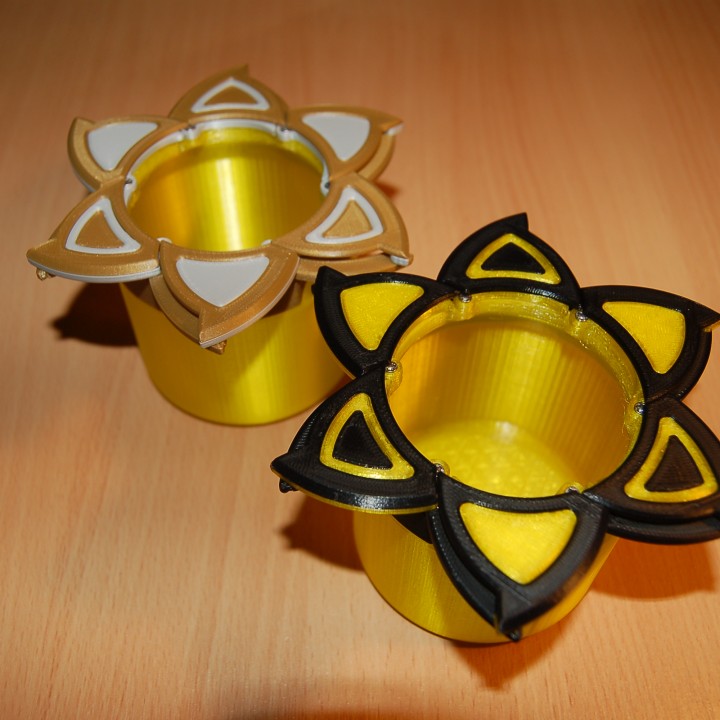
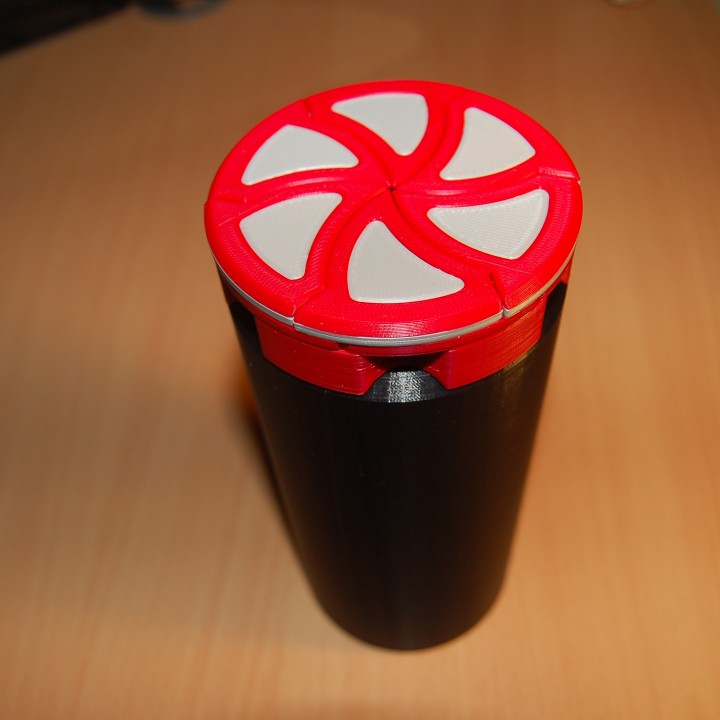
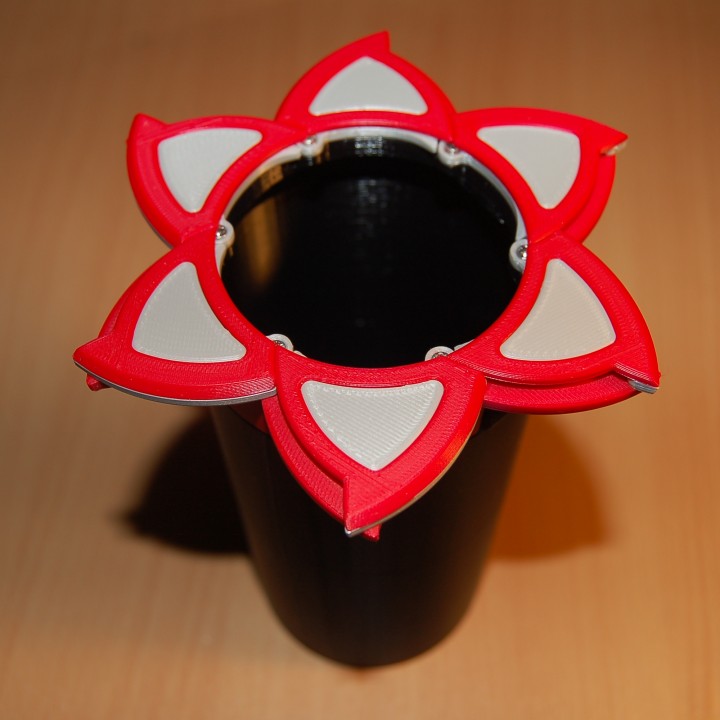
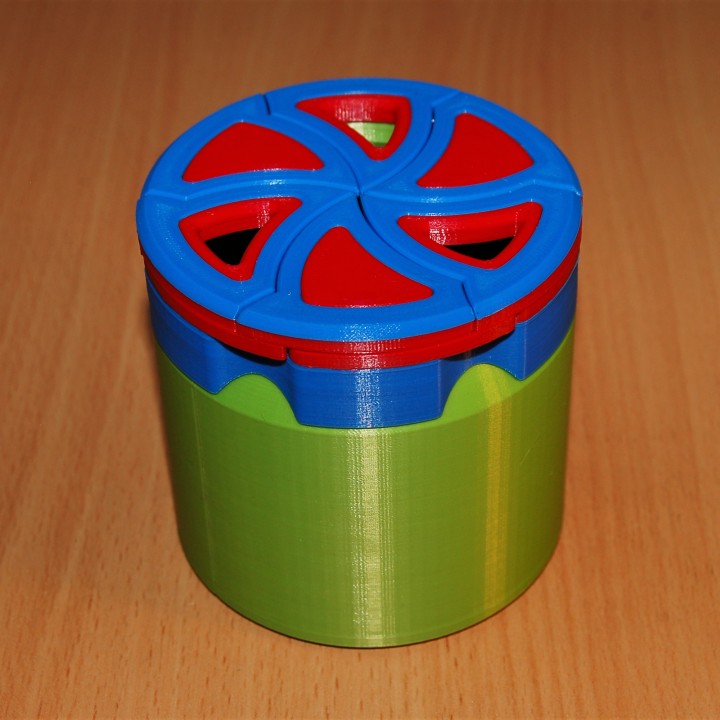
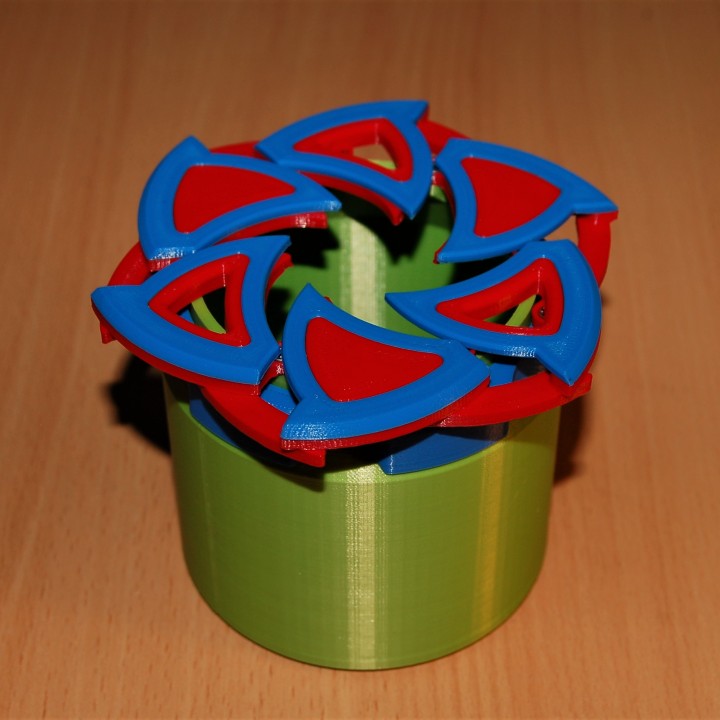
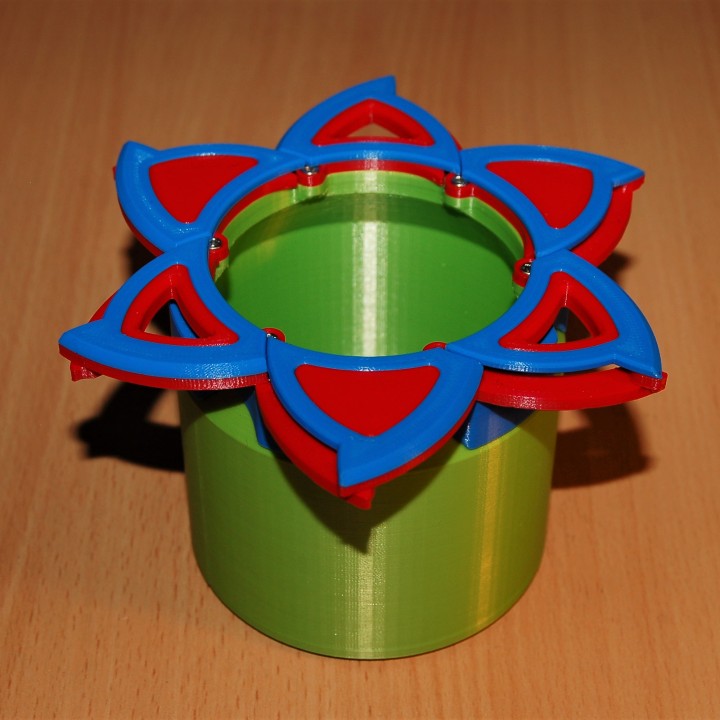
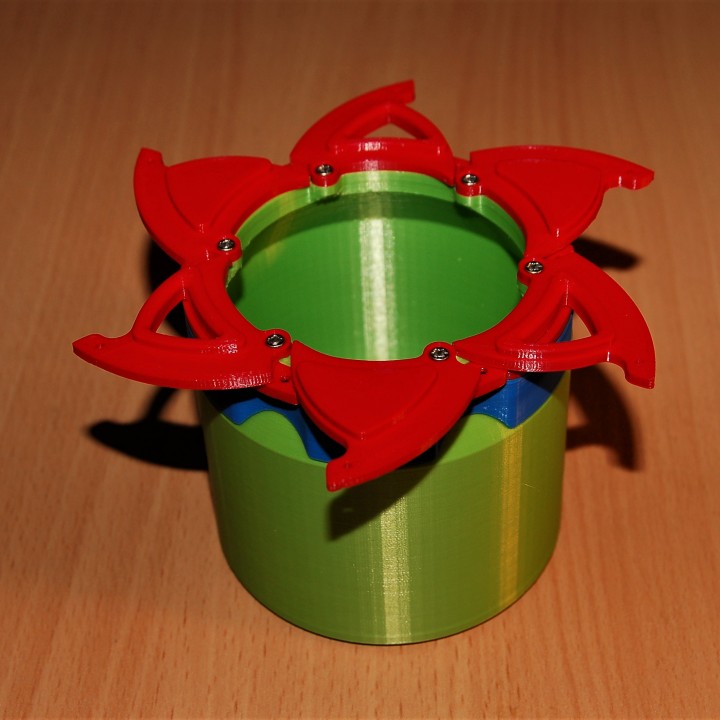
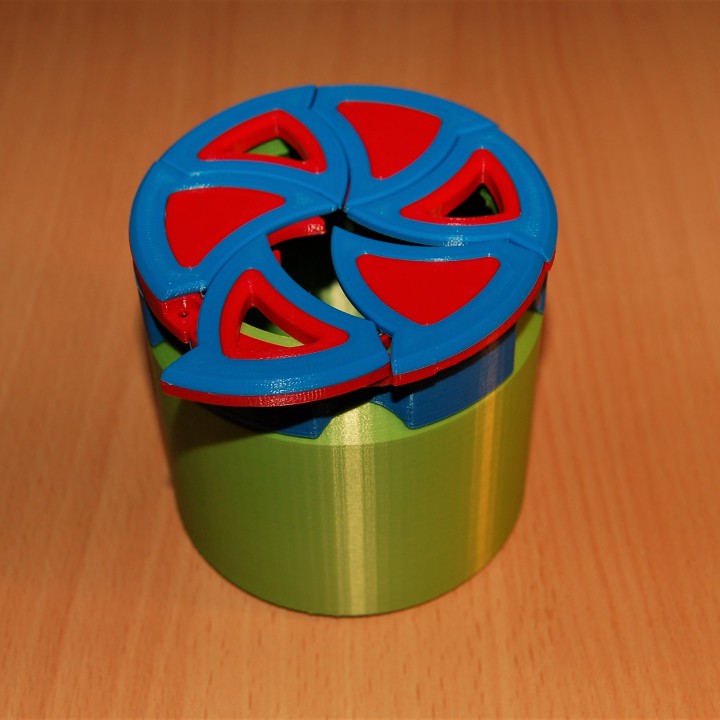
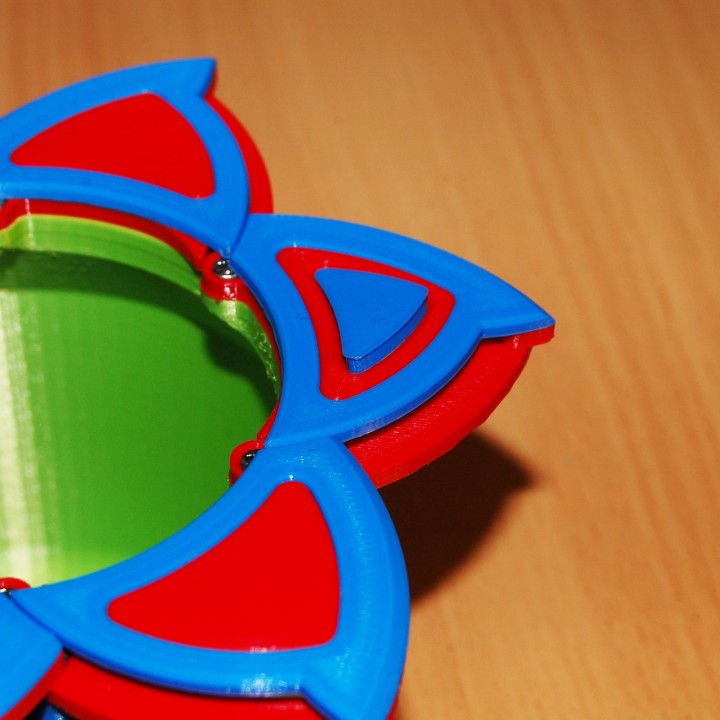
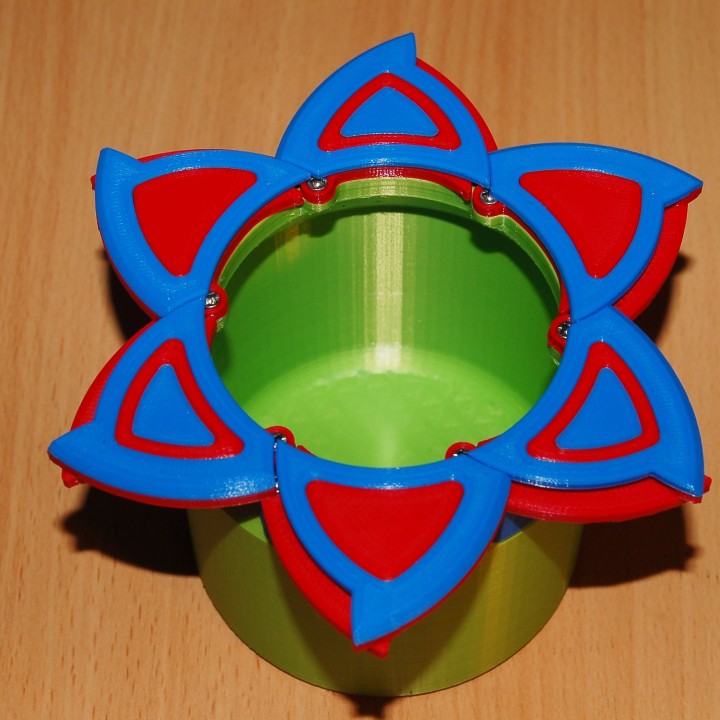
This is the second version of my first iris box design, the Flower Iris Box. This design has been updated, as with my other designs, to use countersunk screws instead of 3D printed pins which makes it far easier to print and assemble. The box is opened by twisting the collar in an anti-clockwise direction. No supports are required for this design.
I have many other iris box designs which you can find on my profile page. I have also produced a general Instructable guide on how to print my iris boxes to a high quality.
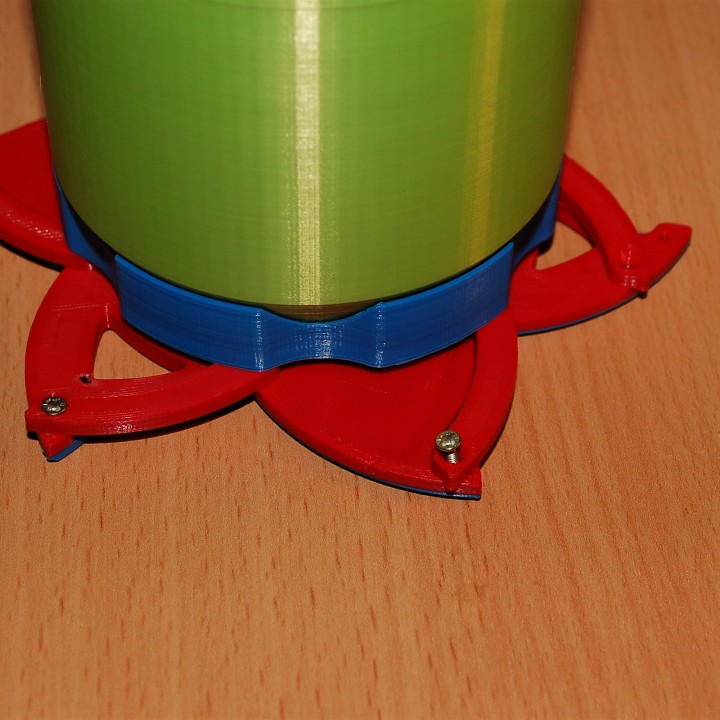
The part files are designed for M2x6 countersunk/flathead screws such as these (as with all my other designs); 18 screws are required in total for the box. The parts can be scaled to use larger or smaller screws e.g. M3x8 screws at 150% scale.
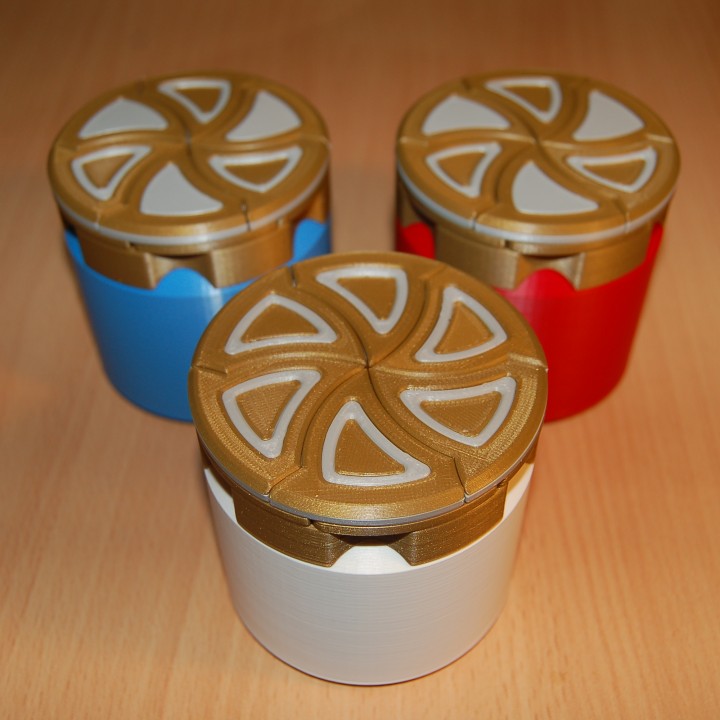
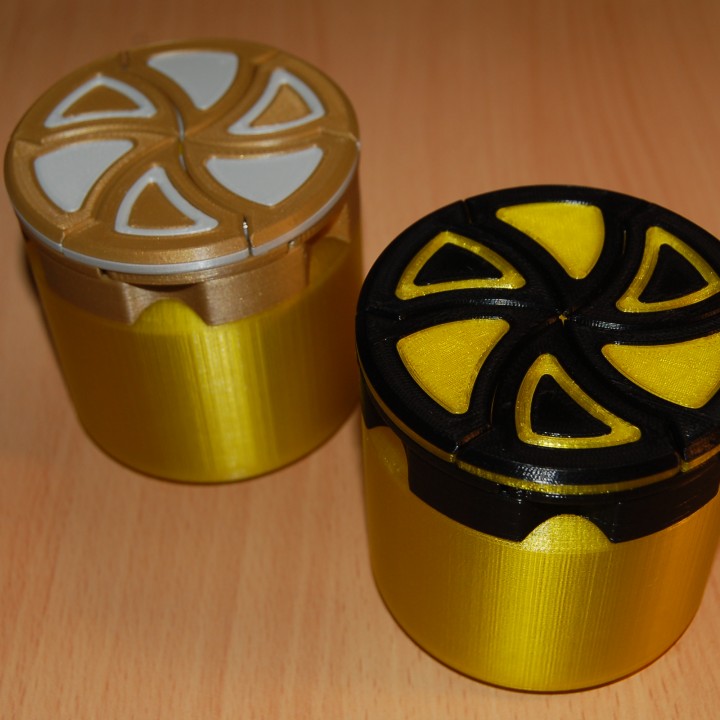
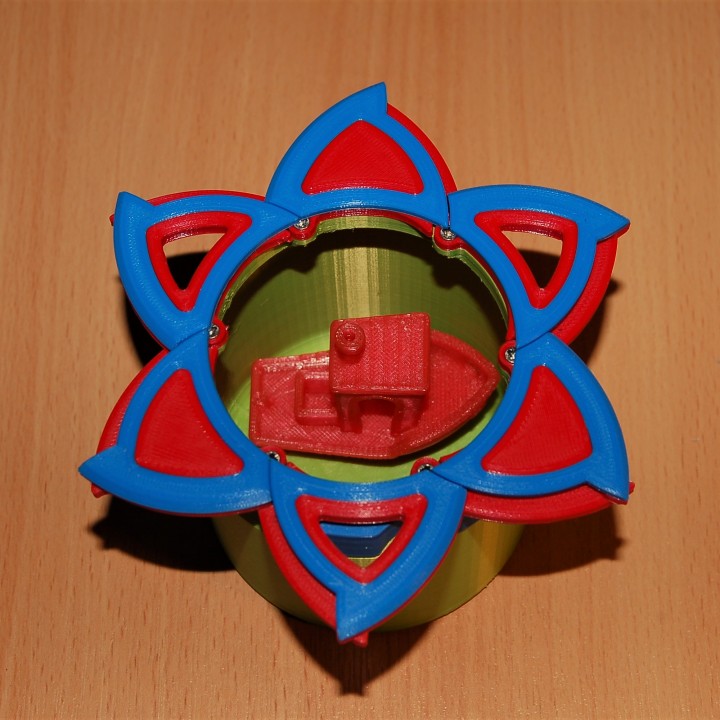
The standard size box is approximately 80mm tall, 80mm in diameter with a 62mm container opening. There is also a tall container which is around 190mm tall, useful for storing pens and pencils.
Part testing
Firstly print one 'Petal Base' . Test the holes on this part to make sure the screws fit correctly. They should freely rotate in the large countersunk hole, and fix tightly in the other hole. You may need to use hole xy compensation (ideamaker is a free slicer which does this) to get a good fit.
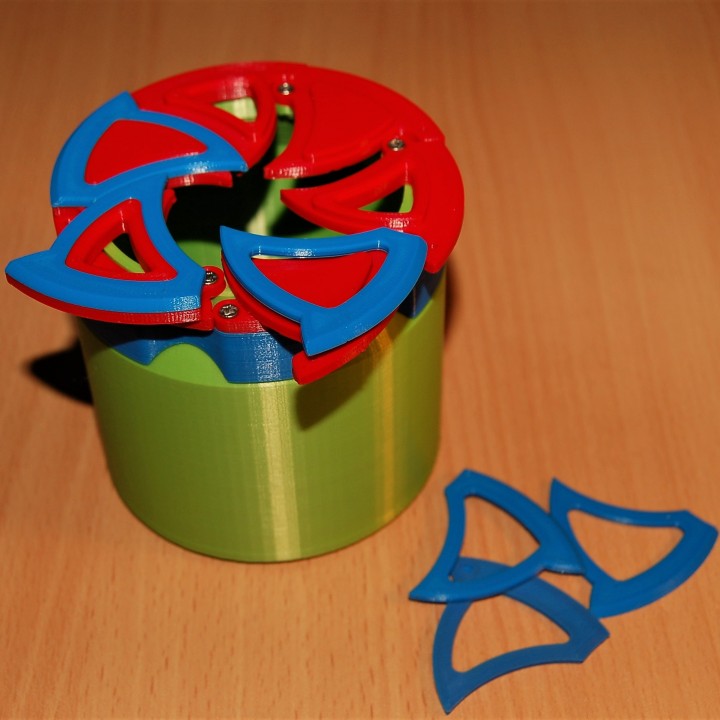
The 'Petal Top' and 'Petal Base' join together using a press fit, for this reason I have included two versions of the 'Petal top' with different tolerances. 'Petal top 1' has an 0.1mm gap and 'Petal top 2' has an 0.2mm gap for the press fit. Using hole xy compensation, varying the layer height and extrusion multiplier can also affect the press fit i.e. thicker layer heights will produce a tighter press fit. Beware of elephants foot on the parts as that will also affect the fit; you may need to trim this carefully with a craft knife.
There is also the 'Petal base hole' part which is the same as 'Petal base' but with a hole cut through it (3 are used on the red/blue/green printed example). If using the 'Petal base hole' you can also use the 'Petal fill' part which press fits into the hole for an additional colour/layer option. Again there are two versions for the press fit: 'Petal fill 1' with an 0.1mm tolerance and 'Petal fill 2' with 0.2mm tolerance.
Printing and assembly
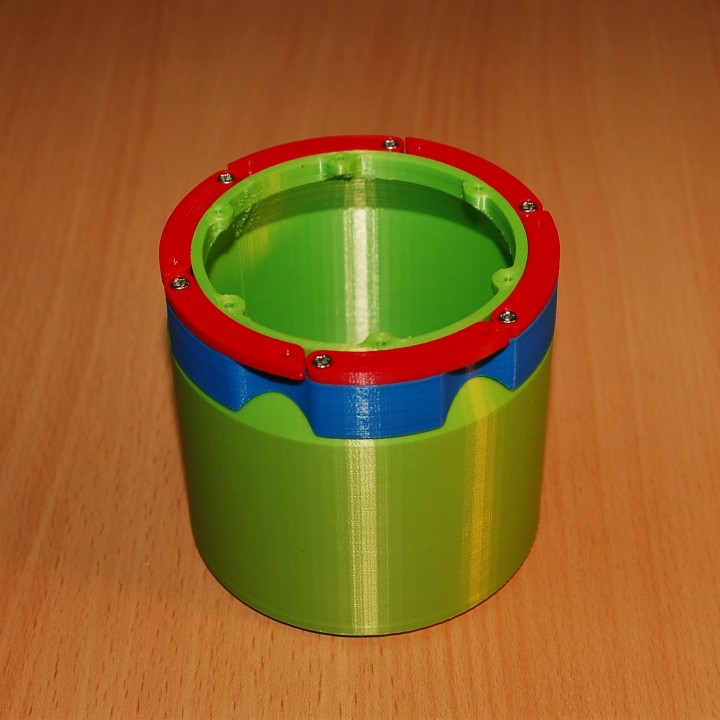
Once you have settings which allow the screw joints and press fit joints to work correctly, you can print all the other components required for the box: 1x 'Container', 1x 'Collar', 6x 'Link', 6x 'Petal base' (either type can be mixed together) and 6x 'Petal top'.
To assemble the box, firstly screw the none pointed end of the links to the collar, making sure the screw heads sit flush in the countersunk holes and the links can rotate freely. Then place this collar assembly onto the container.
Next screw the 'Petal Base' parts into the holes in the container. This should also hold the collar assembly onto the container securely but it should still be able to rotate freely.
Now press fit the 'Petal top' parts onto the 'Petal base' parts on the box, you may need a gripping tool to do this.
Finally screw the other end of the links to the petals making sure the joints can rotate freely and the countersunk screws are flush.
Now you should have a working Flower Iris box! Let me know if you are having trouble with this design, i'll be happy to help ;).


I recommend at least 3 shells wall thickness with an 0.4mm nozzle, particularly on the container as this makes sure the walls are solid. I tend to use 0.2mm layer heights as this gives a good balance between strength, print quality and print time.
| Date published | 15/08/2018 |
| Dimensions | 80mmx80mmx80mm |
| Support Free | YES |