

Introduction: My Instructables Robot


I got my Instructables 123D print robot in the mail today, he/she was a little worse for wear from transportation but I can work with that.
Step 1: Arrg the Horror


The doorbell rang and I opened it to find a courier standing there holding a box about six inches square and a sign in sheet, “Package for Josehf Murchison.” he said.
“That’s me,” I replied as I signed for the package and took it from him. Returning to my laboratory I retrieved a knife from my workbench and opened the box.
“Arrrg,” came a metallic voice from within the box, I moved aside the packing to find him wrapped in packing paper lying there in pieces he was missing an antennae and he had separated from his wheels and base.
He didn’t have a name when he arrived at my door and he looked and sounded like a boy robot so I called him Robby. “Robby what happen to you?”
“Having a cybernetic brain I can remember the first moment I was activated sir. The first thing I can remember is awaking in some kind of a liquid in a dark box being showered by laser lights. After a while a worker opened the box and there was a worker standing there, he airbrushed me off and coated me with some kind of clear liquid and placed me on an assembly line with hundreds of other robots drying on a shelf.
One day a worker started putting us in boxes; this worker placed me in a box with no air holes to let in air and light. It was dark in there the box moved and bounced and there was nothing to do but wait. There was a big bump and I felt a pain in my feet and head, some time later you opened the box and found me sir it was horrible sir just horrible.”
I told Robby he could call me Joe and I would fix him.
Step 2: Surgery


The surgery took 18 hours his mechanical heart stopped pumping data twice and I had to use my defibulator to start it pumping data again before he stabilized but I got him repaired.
I have done work like this before; many years ago I worked for a printing company that did photoengraving. The plates never came out perfect so little adjustments needed to be made to make them perfect.
The tools needed are simple a knife, a brush, a lighter, and a pair of scissors.
The supplies needed are wire and glue.
Start by scraping lose any defects with the knife.
then brush away all the lose pieces.
After I cleaned Robby I glued the robot to his feet on the base and held it in place until the glue set.
I did not think he could hear well with just one antennae so I started by taking a wire of the same diameter as the one antennae he still had and burned off the insolation with my lighter.
When the wire was cleaned of the insolation I cut the wire the same length as the other antennae and glued it in place.
Now Robby is completely assembled and functioning properly.
Step 3: I'm Naked


“I am naked sir, what am I to do my bits are showing.” Said Robby.
“Don’t worry Robby I can fix that it will take a bit so be patient.”
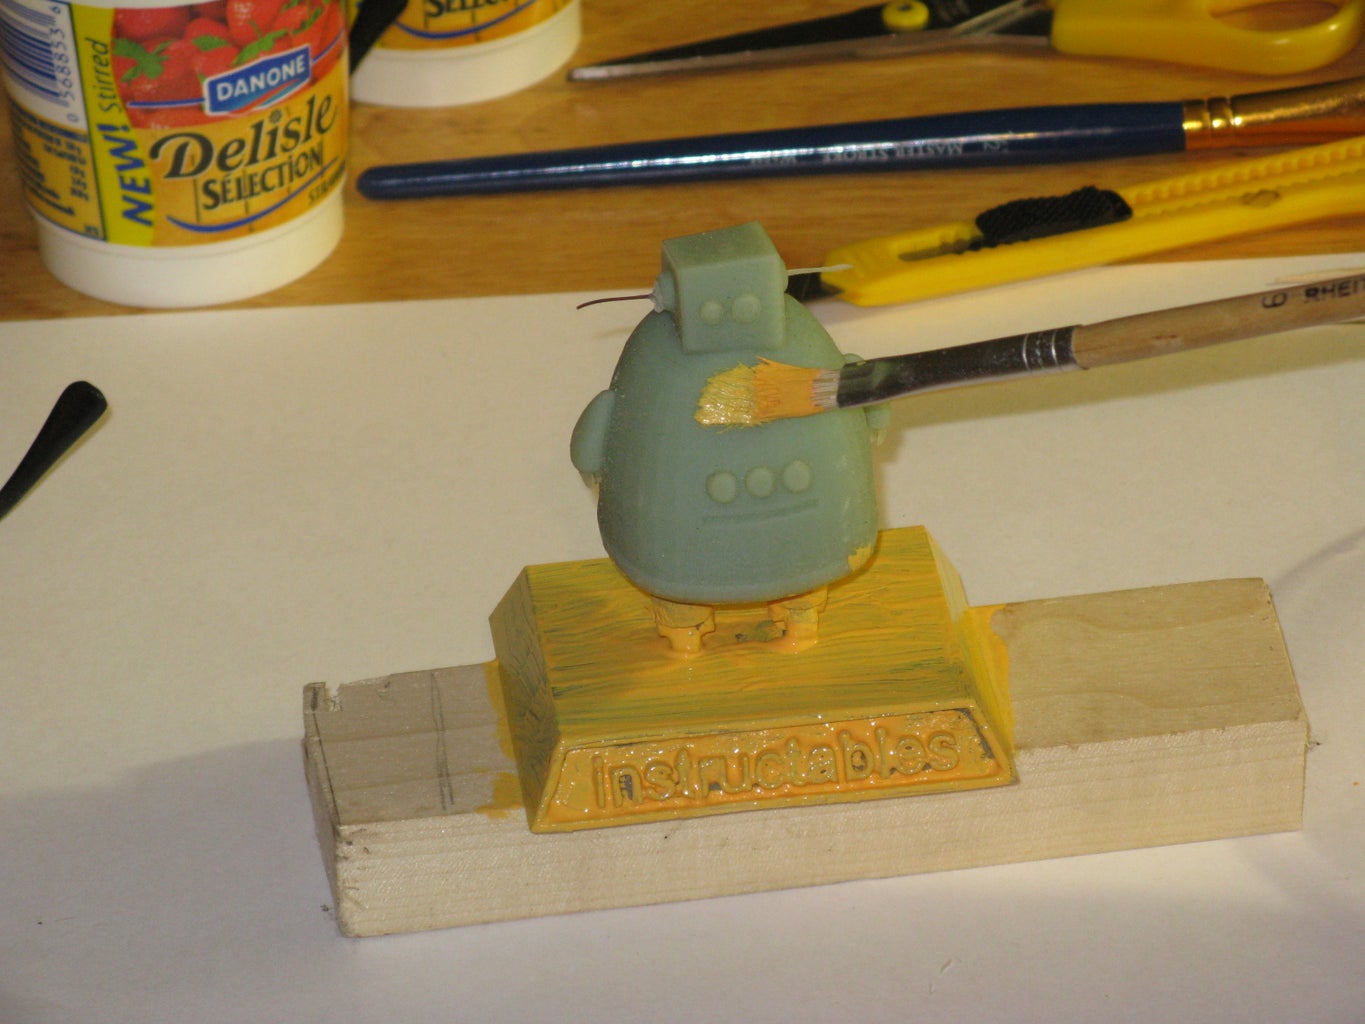
I started by giving Robby a coat of yellow paint and let it dry.
I repeated the yellow coats of paint until he was completely covered and you couldn’t see his bits.
Then I colored his different parts this my take a couple coats also.
Step 4: I Am Done

“Well sir I do believe this will suffice sir, now how shall I help you in the lab sir?”
“You can start by calling me Joe Robby, just Joe.”

Participated in the
Hack It! Contest

Participated in the
Fix & Improve It Contest

Participated in the
Hurricane Lasers Contest


