Skip to content

Rotating Lamp Shade Base

Advertising
Advertising
?
Creation quality: 5.0/5 (1 vote)
Evaluation of members on the printability, utility, level of detail, etc.

  • 1.5k views
  • 2 likes
  • 13 downloads

License
3D design format
Folder details Close
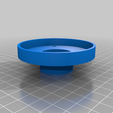
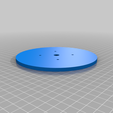
  • Bottom_Base_v2.stl
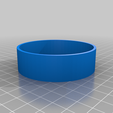
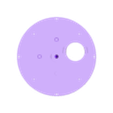
  • Case_Lid.stl
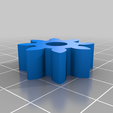
  • Drive_Gear_v8d.stl
  • Feet_4x.stl
  • Rotating_Plate_Gear.stl
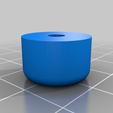
  • Stem_Base.stl
  • Stem_Cap_v2.stl
  • blank_stem.stl

Learn more about the formats

Publication date 2022-09-11 at 16:43
?
Published to Thingiverse on: 2021-01-26 at 17:59
Design number 841170

3D printer file info

3D model description

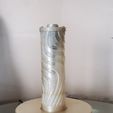
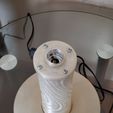
After looking around i couldn't find a rotating Lamp base for a lampshade i printed. So to solve this problem i decided to design my own..

Video: https://youtu.be/d0e4p7-MZIo

If you find this useful please take the time and buy me a cup of coffee or too using the donate button above. Thank you


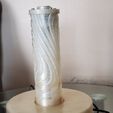
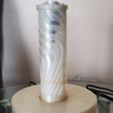
Make your own Stem , using Lamp Shade Maker on lithophanemaker.com , i used a Lines Pattern height will depend on your Pipe Height **See Below for some starting settings

or use Blank Stem and Resize Z to your required height

Diameter MUST BE 64.5 , verify size before printing in your slicer, X and Y should be 64.5


Required Parts
1/8 Lamp Pipe ALL THREAD - How Tall is your Stem That you are printing?
Motor - https://www.amazon.com/gp/product/B07TFDPZP7/
Lamp Socket - https://www.amazon.com/Aplstar-Pendant-Plastic-Standard-Resistant/dp/B07CHHG7V6/

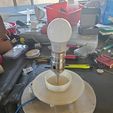
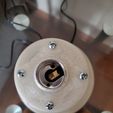
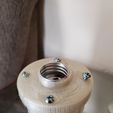
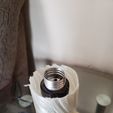
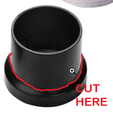
Take Light Socket Apart and Cut Above Threads See Photos

  1. Tread Lamp Pipe into Bottom Base v2

  2. Screw 4x feet into bottom f Bottom Base v2 (Little Holes)

  3. Press Small Gear on to motor make flush with motor shaft

  4. Screw motor gear up onto Bottom Base v2 "gear up"

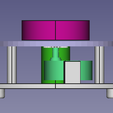
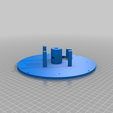
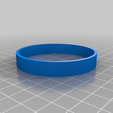
  5. Put "Stem Base" on "CUSTOM STEM" Place "Rotating Plate Gear" on top Insert 4x Screws should be snugged up agaist "CUSTOM STEM" inside wall making a pressure fit wont get tight with out all 4 screws

  6. Place Stem Assembly teeth down over motor aligning center hole

  7. feed lamp wire through pipe down to base, install Socket on pipe , screw on cap after cut (see pictures)

  8. Place Stem Cap on stem use 4x sceews same as bottom

  9. feed power cord through hole on lid Tie knot so can not be pulled out

  10. Wire Motor and Lamp to powe rcord

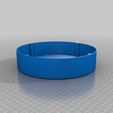
  11. Slide Lid over pulling power cord back out

  12. 4 sceews in bottom for lid

Custom Stem Settings
if your not lighting the stem, decrease max and min to like .6 and 1.5 for faster print

Height Control: Crop Photos Equally
Lithophane Resolution: 0.25
Top Diameter: 64.5
Bottom Diameter: 64.5
Number of Half-Waves: 1
Size of Waves: 0
Height: 100 (HOW TALL IS YOUR STEM?)
Base Width and Height: 1.7
Overhang Angle: 45
Maximum Thickness: 1.7 (Adjust to Liking Smaller Prints Faster)
Minimum Thickness: 0.6 (Adjust to Liking Smaller Prints Faster)
Spacing Between Pictures: 10
Spacing Brightness: 0

Frame Options: Ledge Interface
Ledge Diameter: 27.6
Ledge Height: 2
Cylinder Diameter: 58
Cylinder and Ledge Thickness: 2
Spoke Thickness: 0
Spoke Depth: 0

3D printing settings

-

Advertising


Issue with this design? Report a problem.

Would you like to support Cults?

You like Cults and you want to help us continue the adventure independently? Please note that we are a small team of 3 people, therefore it is very simple to support us to maintain the activity and create future developments. Here are 4 solutions accessible to all:

  • ADVERTISING: Disable your banner blocker (AdBlock, …) and click on our banner ads.

  • AFFILIATION: Make your purchases online by clicking on our affiliate links here Amazon.

  • DONATE: If you want, you can make a donation via Ko-Fi πŸ’œ.

  • WORD OF MOUTH: Invite your friends to come, discover the platform and the magnificent 3D files shared by the community!


Sharing and downloading on Cults3D guarantees that designs remain in makers community hands! And not in the hands of the 3D printing or software giants who own the competing platforms and exploit the designs for their own commercial interests.

Cults3D is an independent, self-financed site that is not accountable to any investor or brand. Almost all of the site's revenues are paid back to the platform's makers. The content published on the site serves only the interests of its authors and not those of 3D printer brands who also wish to control the 3D modeling market.

100% secure payment by credit card, PayPal, Apple Pay, Google Pay, etc.
View all payment options.