Designed by
riskable


Prints (0)
-
No Prints Yet
Be the first to upload a Print for this Design!
Description
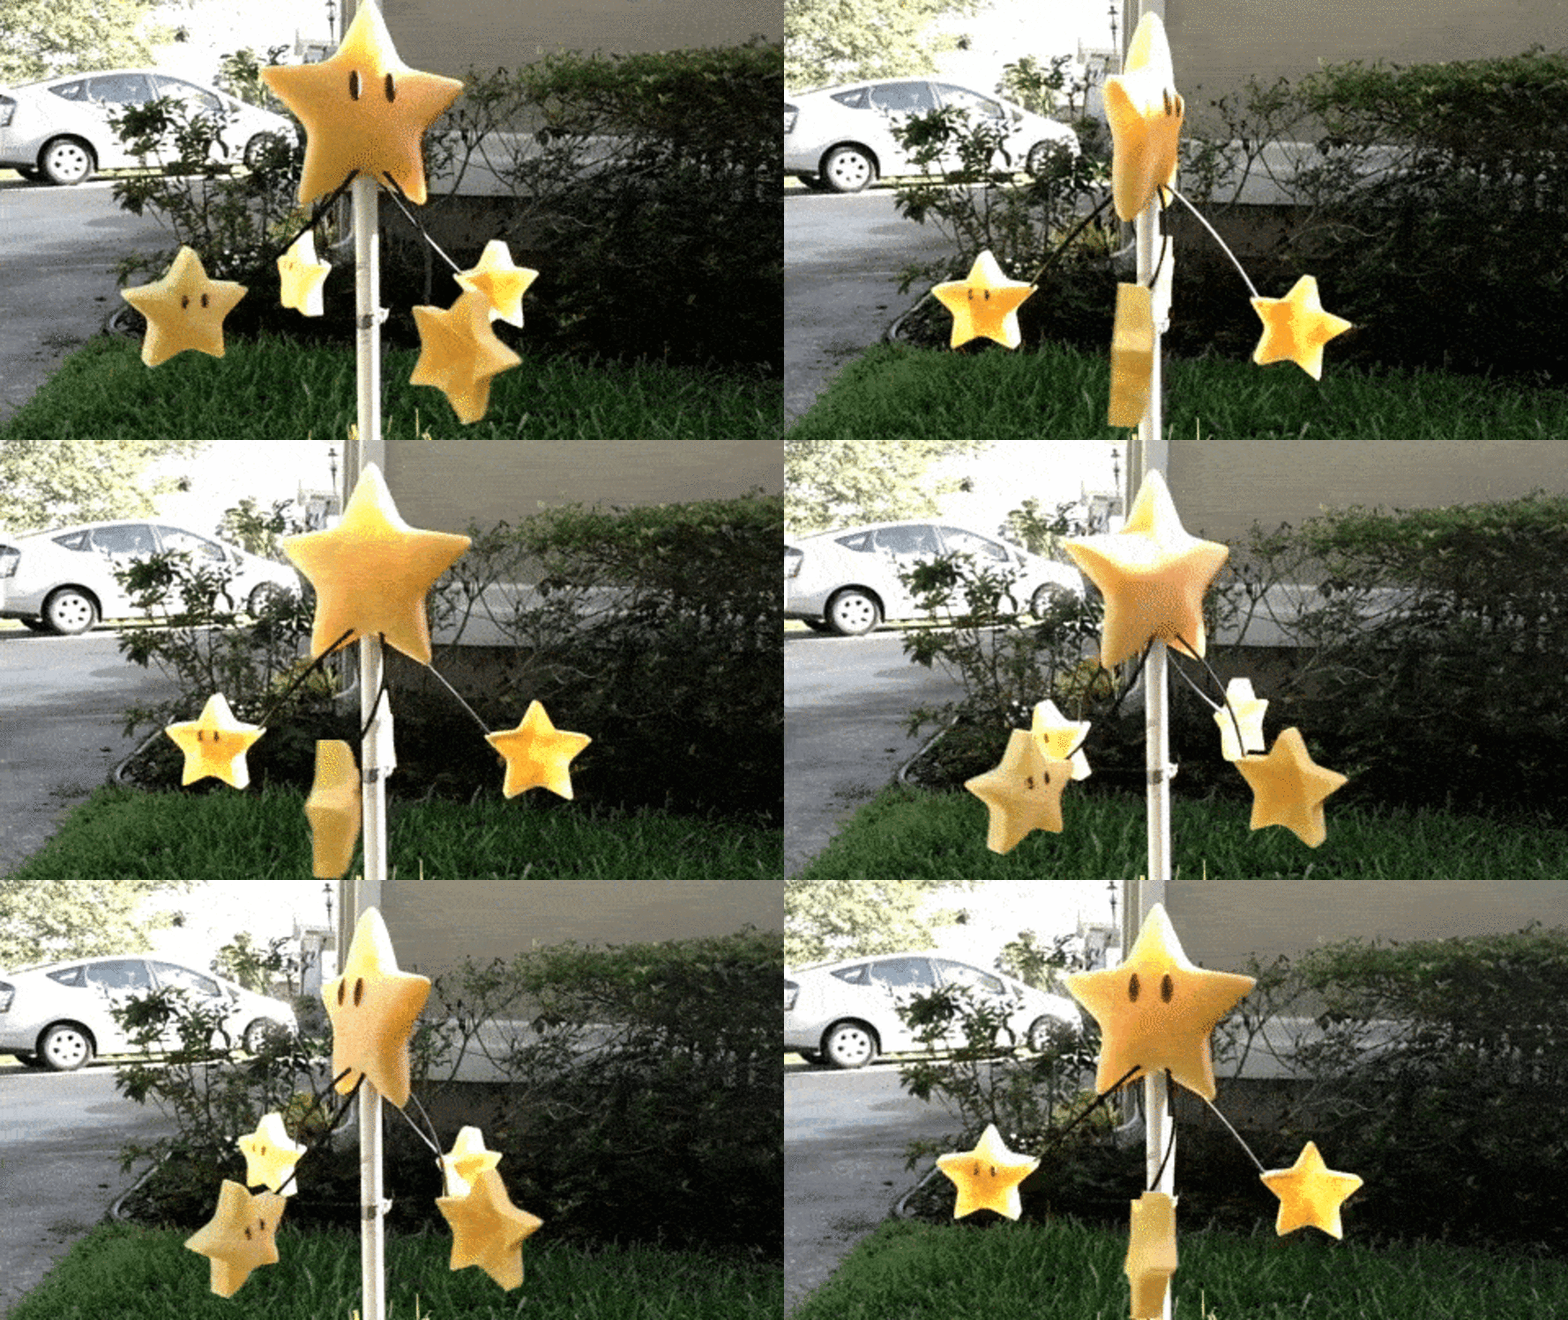
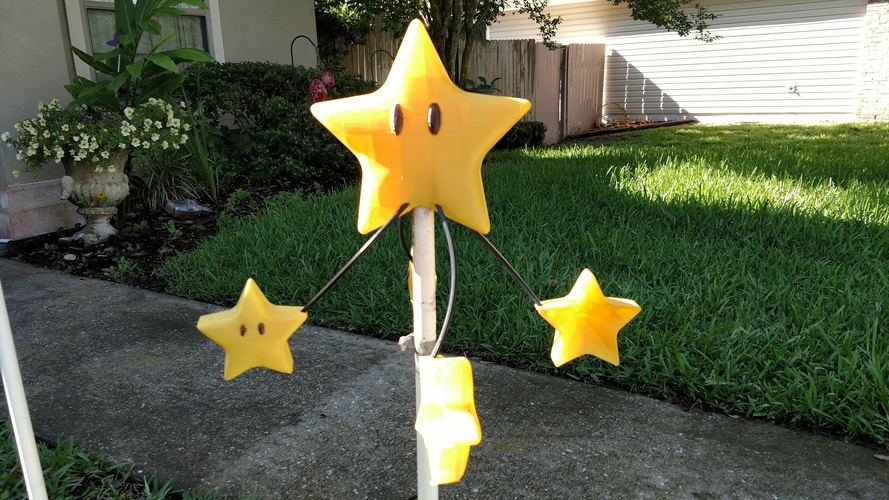
Make your lawn invincible with the Invincible Lawn Star! A proper whirligig, it spins in even the gentlest of breezes. It can sit atop a pole made from 1/2-inch PVC or you can hang it from a tree using the convenient hole in the top (use a fishing swivel or similar). No bearings required!
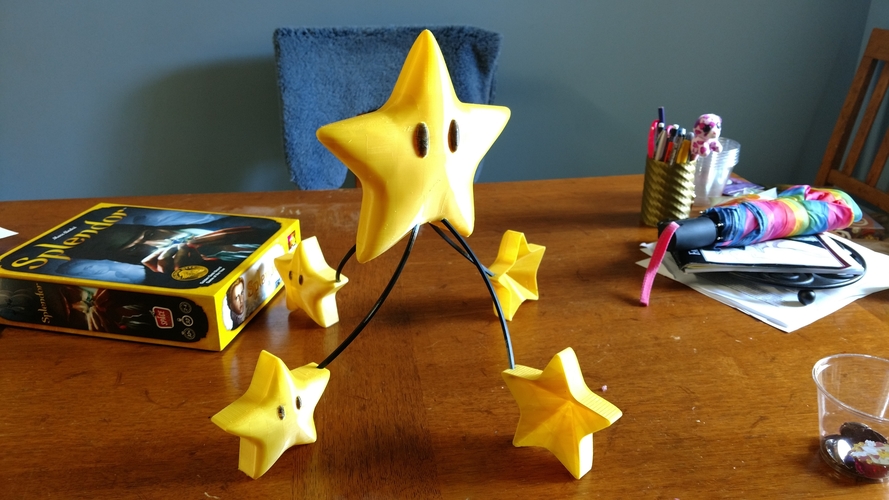
You'll need to print one big "Star", four of the little "Star Wind Cups" four "Star Arms", and have a black Sharpie handy...
How to print the "Star" and the "Star Wind Cup":
- One perimeter is all you need! 2-3 is OK too it'll just be (slightly) heavier and will require more wind to spin.
- 1-5% infill works great. What infill pattern should you use? Stars of course! Triangles actually might be better because it's more symmetrical for this print. Don't use honeycomb or it'll be off-kilter slightly.
- Set the Infill "Fill Angle" to 0° to make it nice and symmetrical/even-weighted.
- Use a ~4mm brim to ensure it doesn't topple over during printing because there's not much surface area on the bottom that can cling to your print bed.
- (Big) Star Only: Use supports! It doesn't really need supports to print they just ensure it doesn't topple over during printing. I highly recommend a 40° overhang angle, 0.2mm contact distance, honeycomb pattern, 2.5 pattern spacing, 1 interface layer, support on build-plate only, and "don't support bridges". Really though: Just give yourself enough supports that it won't topple over.
How to print the Nose Cone:
- At least 2 perimeters. I also used 20% triangle infill but it's probably fine at 5%. This part doesn't need anything fancy.
How to print the Star Arm:
- 2 perimeters, 2 top and bottom layers. Not too picky on this one though: 1 perimeter is probably OK I just didn't test that.
- 10% infill in a nice, evenly-distributed pattern. I found "Rectlinear" worked great. More infill is OK too if you live in a super gusty area.
Finishing up:
- Color in the eyes with a black Sharpie. Just be careful near the edges because Sharpies like to bleed on those layer lines.
- Connect the arms to the Star Wind Cups then connect the other end of the arms to the big Star. You might have to pull the arms out and stick them back in a few times to get proper cool-looking alignment.
- Stick the Nose Cone on a 1/2-inch PVC pipe you've jammed into the ground and place the Invincible Lawn Star on top. I designed the nose cone to fit inside SCH-40 PVC but it'll fit in the thin-walled stuff too--loosely.
- If you find the stars are twisting or are too loose just set the Invincible Lawn Star down on a flat surface (like in the picture), adjust the Star Wind Cups so they're standing upright (flat) then put a drop of CA glue on each arm where it connects to the Star Wind Cup. Then they'll stay put =)
- Enjoy your Invincible Lawn Star!
Design Files
File Size
Invincible Lawn Star Wind Cup.stl
3.18 MB
Invincible Lawn Star Arm.stl
27.2 KB
Invincible Lawn Star.stl
4.61 MB
Nose Cone Half-Inch SCH-40 PVC.stl
9.87 KB
Comments