
Prints (0)
-
No Prints Yet
Be the first to upload a Print for this Design!
Description
THIS KIT WORKS BEST WITH 26'' Mountain Bike
with a front dropout(100mm x9mm) and Back dropout (135mm x 9mm)
Hello guys this is my first 3d print kit... unfortunatly i dont have a 3d printer yet....but i am trying my best to make this kit got print effortlessly for you guys i hope u like it and if there is anything that i can do for you guys please let me know in the comments below.... i dont have a 3d printer :/ but ill try my best to answer your questions......thank you for your interest......Have a nice day :D
Content :-
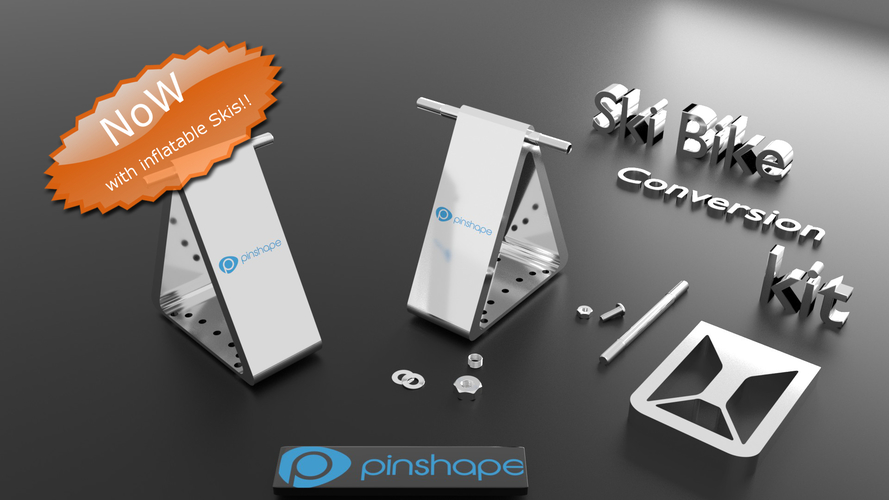
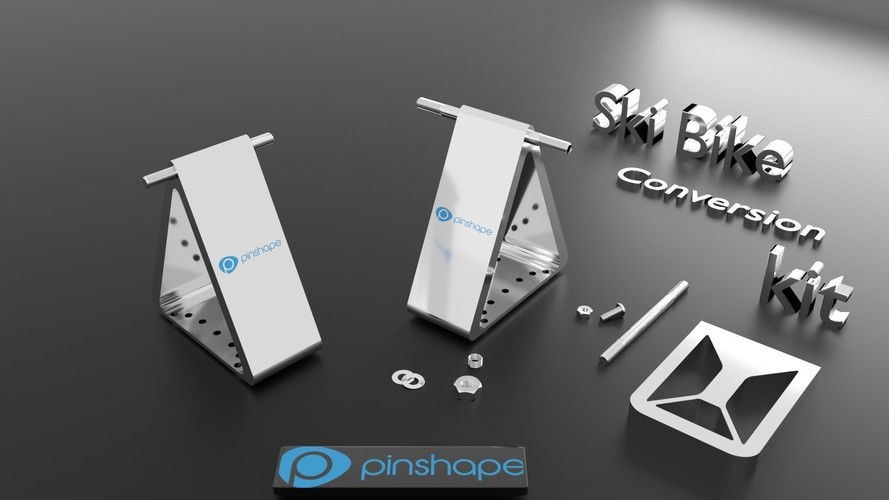
1) Mounting triangle x2* {Dim:- front= 140mm wide back:- 150mm wide}
2) Nut x2
3) Torshion spring x2
4) Spacer x2
5) footrest { dimension :- 9cm 12cm 1.7cm } x1
6) axle for footrest {175mm wide} with standard 3/8"(9.525mm) 26 Tpi x1
7) (6mm) nuts and bolts
Bonus! :- 99cm Ski inflatable ski(this consist of 7 individual pieces with a max length of 15 mtrs + ski joint
P.S:- MORE INFORMATION IS IN THE DOCUMENT :D
HOW TO PRINT:-
All of the models should be printed with Plastic
here are some tips for best settings for the print {
}
and in order to perfectly fit in the joints to the ski parts :-
put the (PLA)joints in a boiling water then after 3min put it inside the ski part wate for it to get fit in... and thats IT! ur ski is ready :D
SETTING IT UP!! :-
AFTER successfully printing it we need to know how to setup the SKi conversion kit :-
U can read some important information from this site http://www.alpineskibikes.com/...
Step1 removing tires
Step 2 :-then just simply mount the mounting triangles to the front and rear dropouts then mount the triangle into the skis through given 6mm nuts and bolts
Step 3 :-then after setting up the front and rear its time to remove the paddles :-
Step 4 :-after removing the paddles simply put the standard 3/4 inch 16 tpi bicycle axle into the hole and then screw the stylis footrest into that axle
AND THATS IT.....................................NOW U ARE READY TO MASTER THE WHITE POWDER!!!
*( these numbers specifies the amount of minimum print that u need to make ur skibike a reality :D )
**(accept the ski(99cm) i am working on make it portable :D )
Comments