Prints (0)
-
No Prints Yet
Be the first to upload a Print for this Design!
Description
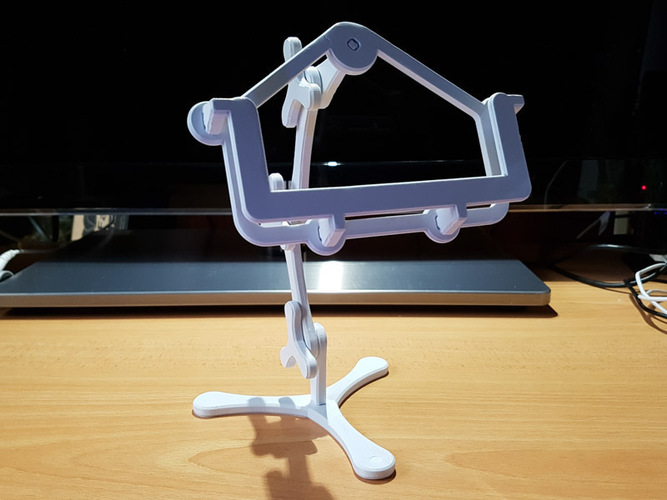
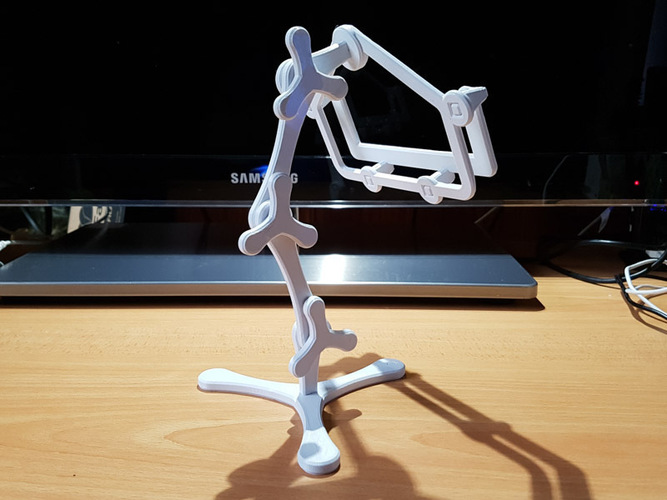
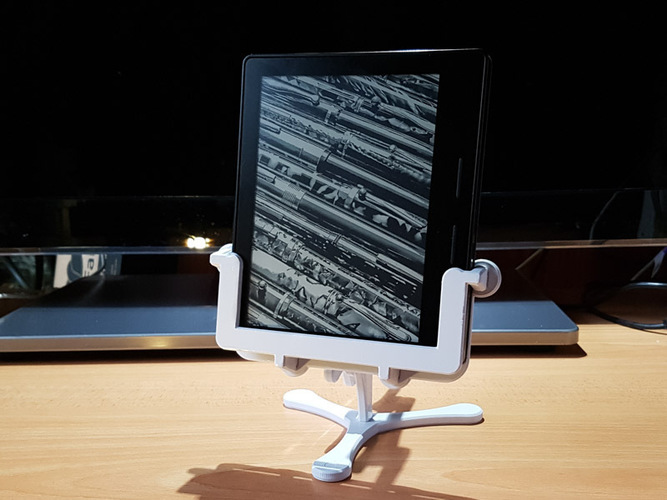
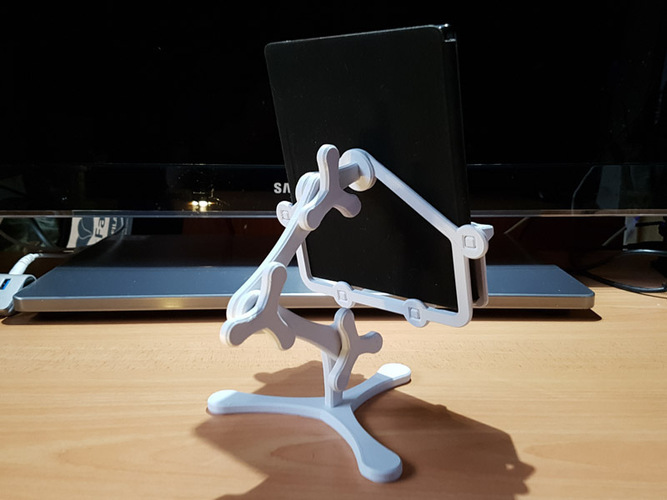
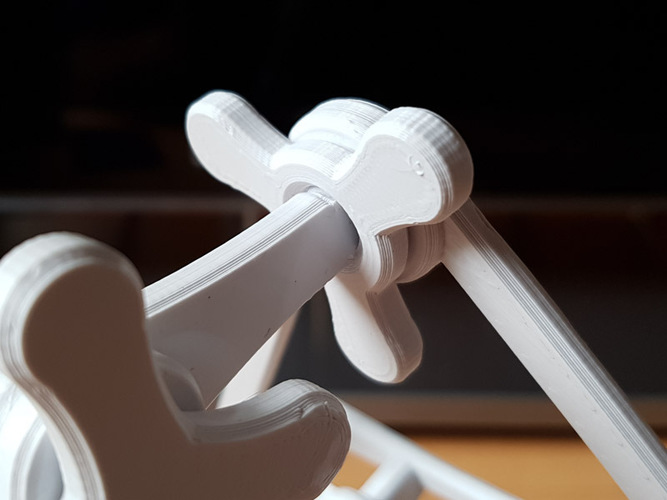
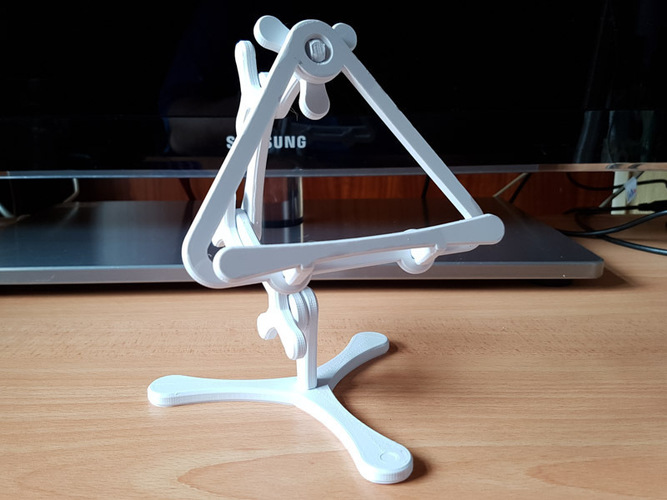
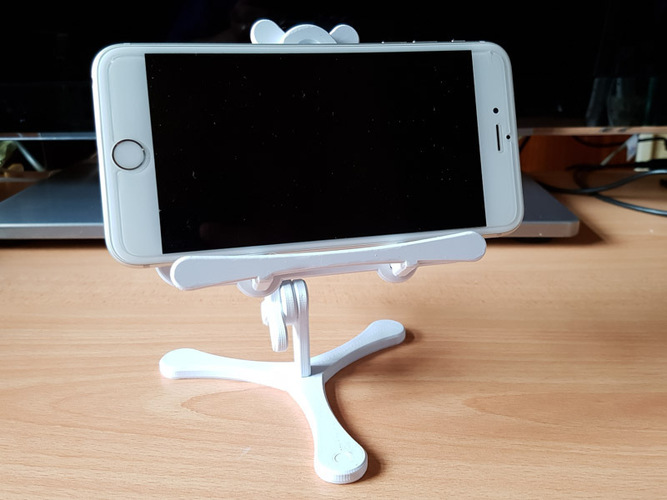
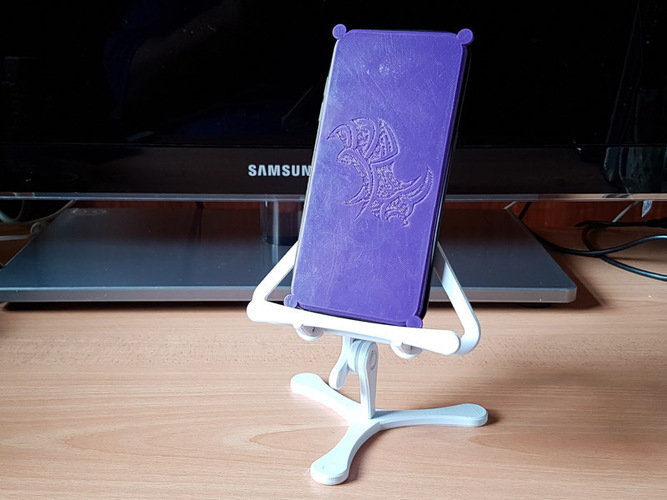
Summary I love the old flexible desk lamps. So I thought I'd create a similar styled holder for my Kindle. Now, I know what you're thinking, they are not that heavy, but when I'm in bed, I can't get neck round to read it when it's on my chest. At full stretch, this stand will lift the bottom of the kindle 100mm off the deck, more if you tilt it back a bit.... or substantially less if you wish. It's also a piece of art on its own. I then decided to make it a bt more generic as well. Too many parts!!!! Don't be too overwhelmed, there a few options to choose from. This was originally designed for my Kindle, then I realised I could make it a bit more generic. I started out with a honeycomb infill for the carrier, but realised that it looked cleaner without, so that became an option, and finally, I realised that friction fit wouldn't sit well with some, and doesn't with me if I need to glue things, so built the screw versions. All-in-all 8 carrier types, and 2 retainers. I should look at screw versions of the retainer arm but I think I'd overload my own brain. Here is how you tell the versions
"KS" in the carrier and retainer filenames indicates a Kindle (Oasis) specific part; "HC" in the carrier filename indicates that the back is a honeycomb; "FRICT" at the beginning of the filename indicates the friction fit parts; "SCREW" at the beginning of the filename indicates the screw fit parts.
Friction or screw parts? If you're unsure about the friction fit, I'd suggest glue. It is the cleaner option aesthetically. If you want to give the screw fit options a try, then your printer needs to be pretty accurate in the XY plane. Print out the bolts and arms first as you will need them in any case. Then print out the screw test. If it screws nicely into the bolt hole in the arm, then you're good to go. Print Settings Printer Brand: Ultimaker Printer: Ultimaker 2 Rafts: No Supports: No Resolution: 0.2mm Infill: 25% Notes: While everything prints fine at 25%, I'd recommend printing the nuts and bolts at 100% for added strength. You will need to print the following:
Three bolts Two pins One each of the arms One base One carrier One retainer
Post-Printing Friction pins If your printer is prone to creating an elephants foot in the first couple of layers, you will need to clear this out from the pins where they touch up against another surface. You can probably leave this in place for the pin itself as this will probably add a bit more friction :) Custom Section WARNING: Tolerances This thing is designed and tested on my printer, which seems pretty well calibrated so there is not much tolerance around objects that fit inside other objects. Some of the friction fit pieces here are also designed to be a very tight fit for obvious reasons. You may find that you need to drill or scalpel out a hole, or percussion fit a pin - despite only being printed at 25% infill they are remarkably resilient against a rubber mallet. Thanks I've been trying to work out the maths for the inner curves for ages, and then I stumbled across Rupert Rawnsleys Curvey Door Handle thing. It had the Maths right in there. Thanks Rupert.
Comments